That’s exactly what this post is all about, that, flag, or weather vane or the stabilizer – which I’m gonna call it in the following.
OK, you know, some times you will put a tail on your kite for improving its stability. The tail is acting like some kind of “wind anchor” stabilizing the kite up against the wind. I think the same concept will apply for the KAP-rig too, but rather than putting a tail onto it, I’ve made a simplified weather vane…
…and the reason for it is exactly the same as for putting that tail on your kite: Stabilizing and keeping the KAP-rig up against the wind.
So … how did I go about it?
Well, I first made a Google search for weather vanes in general – you know – to get some kind of inspiration and after some browsing and thinking, I started to get an idea of what I wanted. I jumped into my workshop and came out with a handful of items.
- A scrap piece of carbon fibre rod, 6mm in diameter and about sixty, seventy centimetres long
- A handful of zip ties
- A piece of plastic sheet, about 1,5-2 mm thick
- A leather hole punch tool
- An APA connector
- and a Leatherman tool (for cutting the excess zip ties)
I will not go into details on how to build this stabilizer, ‘cause I think that will be pretty self-explanatory, so, let’s cut to it, and take a closer look at the stabilizer itself!
All right, below you can see the KAP-rig with the GoPro camera mounted. The rig is then fixed to the flying line. I’m using a picavet – a camera suspension system – so when the angle of the flying line changes, the picavet is supposed to level (and stabilize) the KAP-rig.
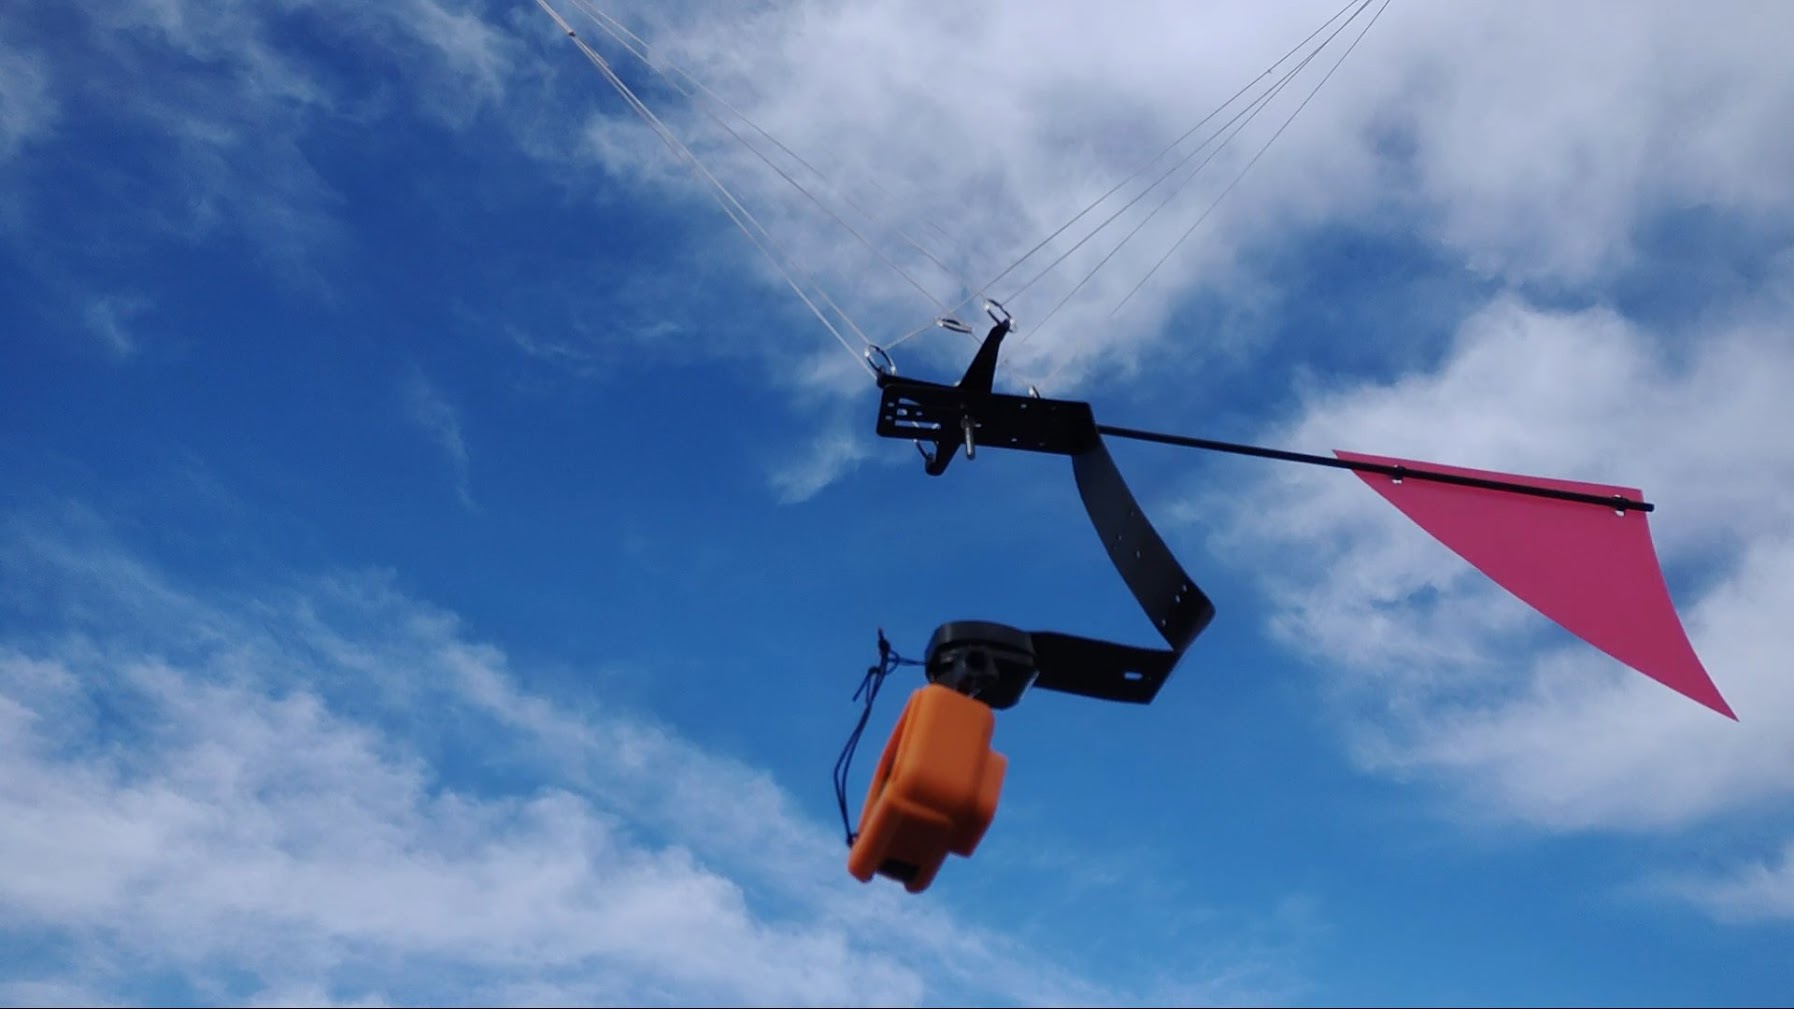
Now over to the stabilizer, you know, this “flag” piece of thing.
First, I cut out a triangular, kind of flag-shaped, piece of the plastic sheet. Then I used the leather hole punch tool to punch a pair of holes at each end of one of the “flag’s” straight edges.
Next thing is to align the carbon rod so it sits in the middle of the pair of holes and then strap the rod to the “flag” piece using the zip ties. Cutting off the excess zip ties and the “flag” piece of the stabilizer is complete.
Now we need to make an arrangement to fix the “flag” piece to the rig, and here’s where the APA-connector comes in to play. There is a bolt going through both the cross-shaped picavet and the rig itself and it’s fastened by this nut, (By the way, if you can get hold of a wing nut, that’s even more convenient.)
Anyway, unscrew the nut so the two pieces come apart and put the APA-connector onto the screw between the picavet cross and the rig before tightening it all again using the same nut. The connector should now sit tightly between the picavet and the rig-piece itself. And by the way, please make sure the APA-connector’s inner diameter fits the outer diameter of the carbon rod!
So now you pretty much know why the “flag” stabilizer, and the basics for how to make one yourself!
Finally, judging from my experiences with this kind of stabilizer I’d say it does add stability to the rig. It’s nothing that I can prove scientifically, but it seems to do the job!
Why not check out the video and give it a go yourself?!