There is of course a lot of “hardware” you can use when doing kite aerial photography and videography. Everything from the most simple setup to the incredibly advanced ones. I guess I’m about at the middle of this scale with my equipment.
In this post, I let you all in on what hardware I use when I’m out doing aerial photos or videos with my kites and it breaks down into three main items:
- The Picavet Suspension
- The Camera
- The Gimbal
Picavet suspension

You can of course attach your camera directly to the kite, but that’s far from the optimal solution. It’s way better to secure the camera to an adjustable rig suspended from the kite line at a significant distance from the kite. This will reduce excessive movement being transmitted from the kite to the camera and allows the kite to be flown into higher, stable air before the camera is attached. Here’s where the Picavet Suspension comes into play.
So let’s check out how Wikipedia defines the picavet suspension:
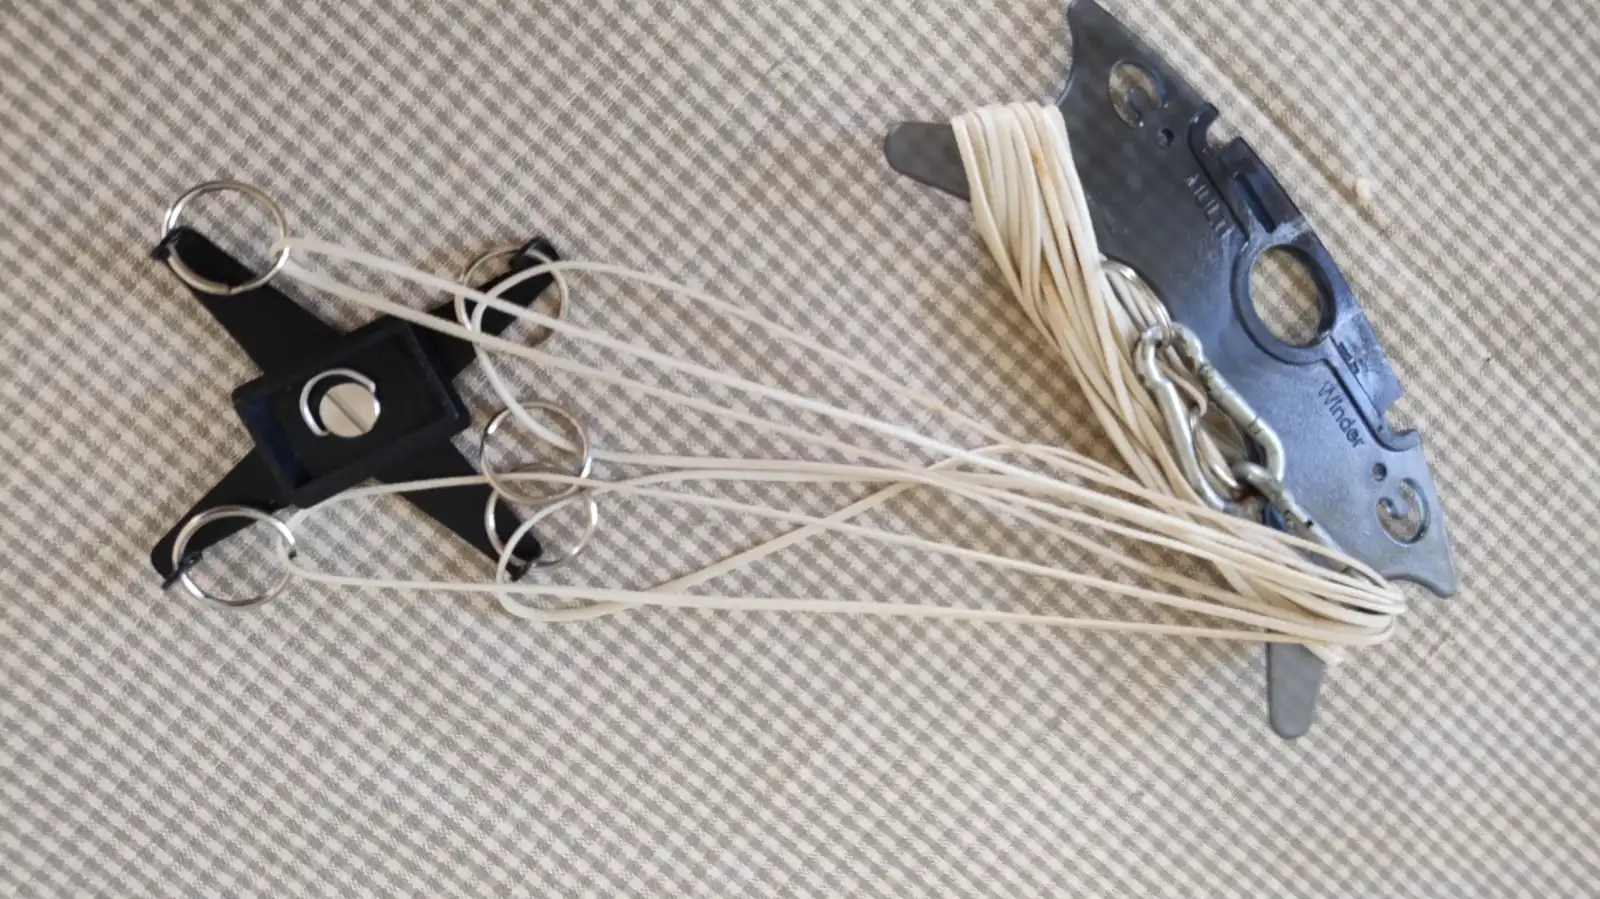
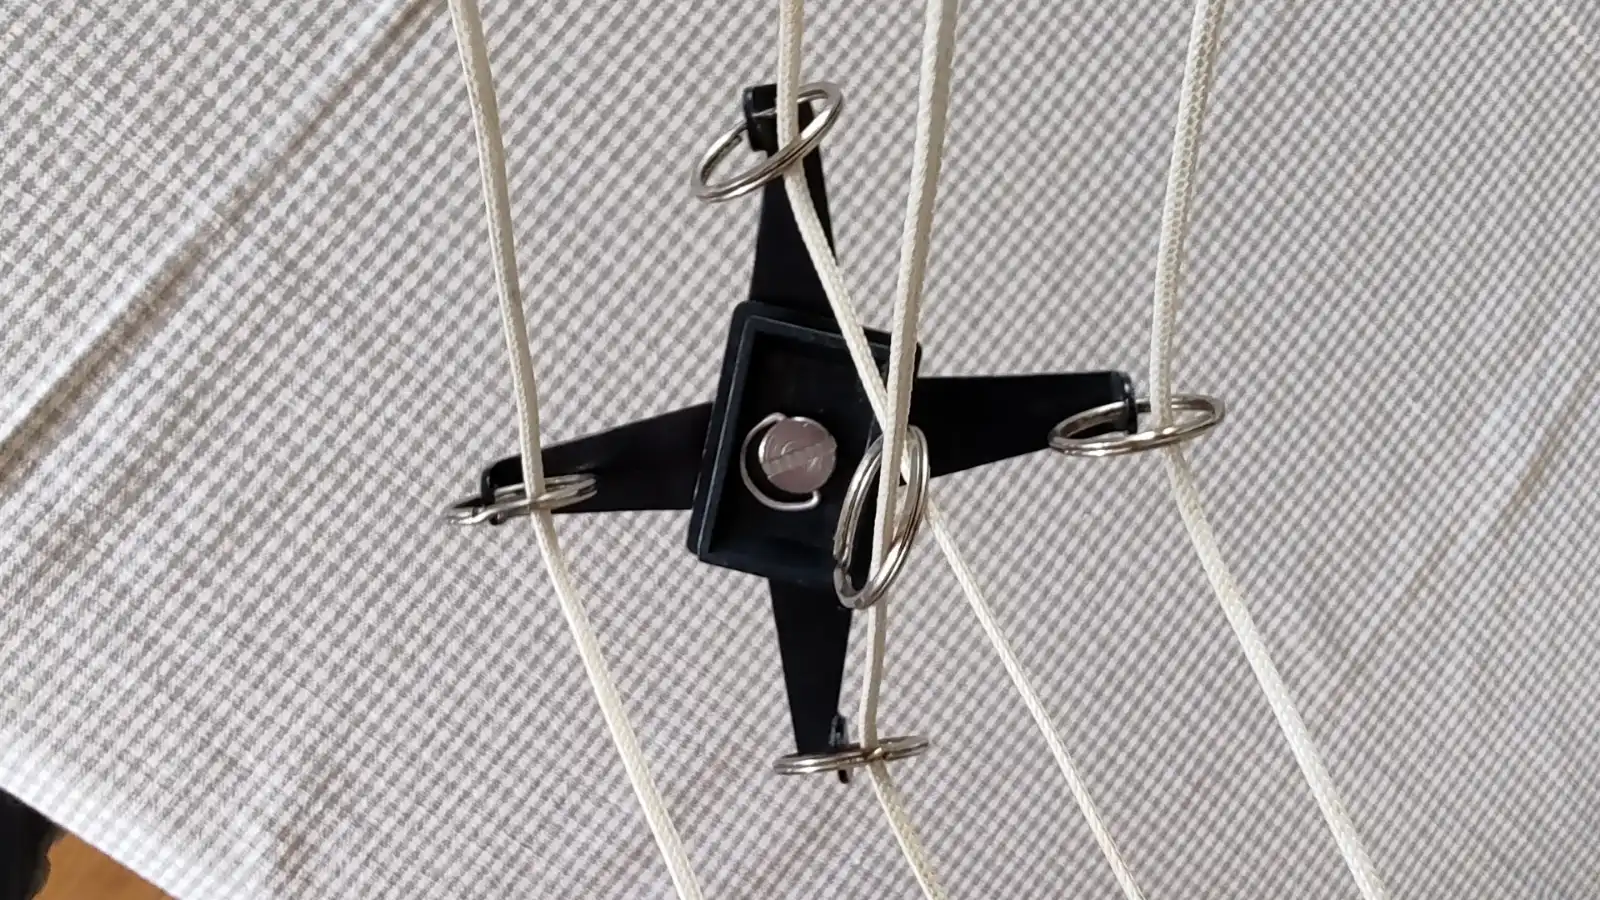
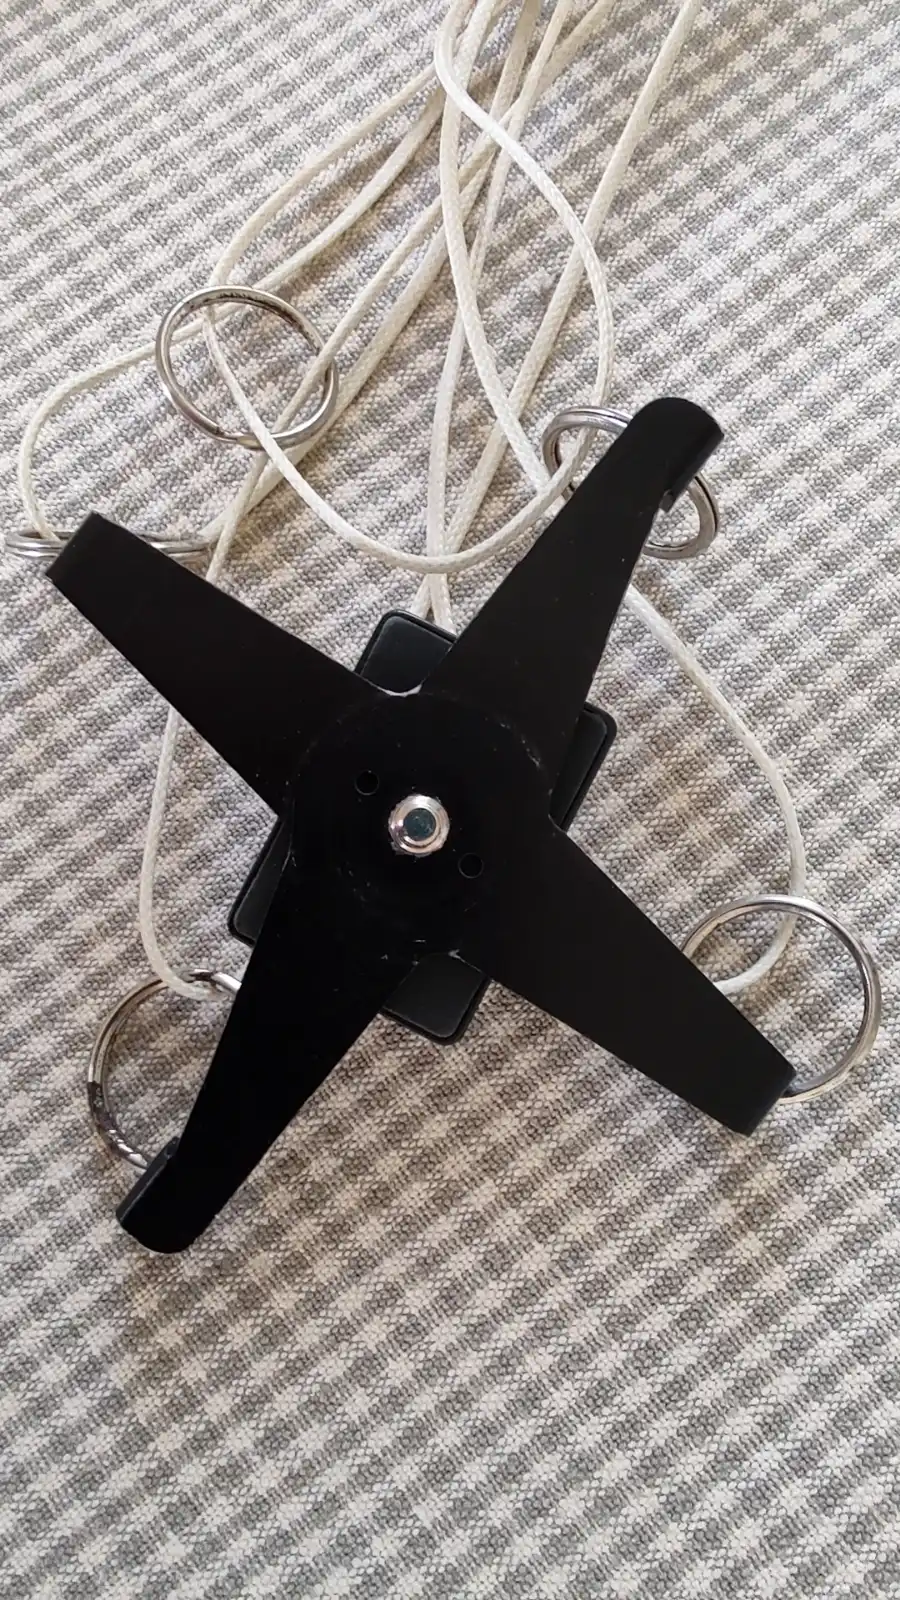
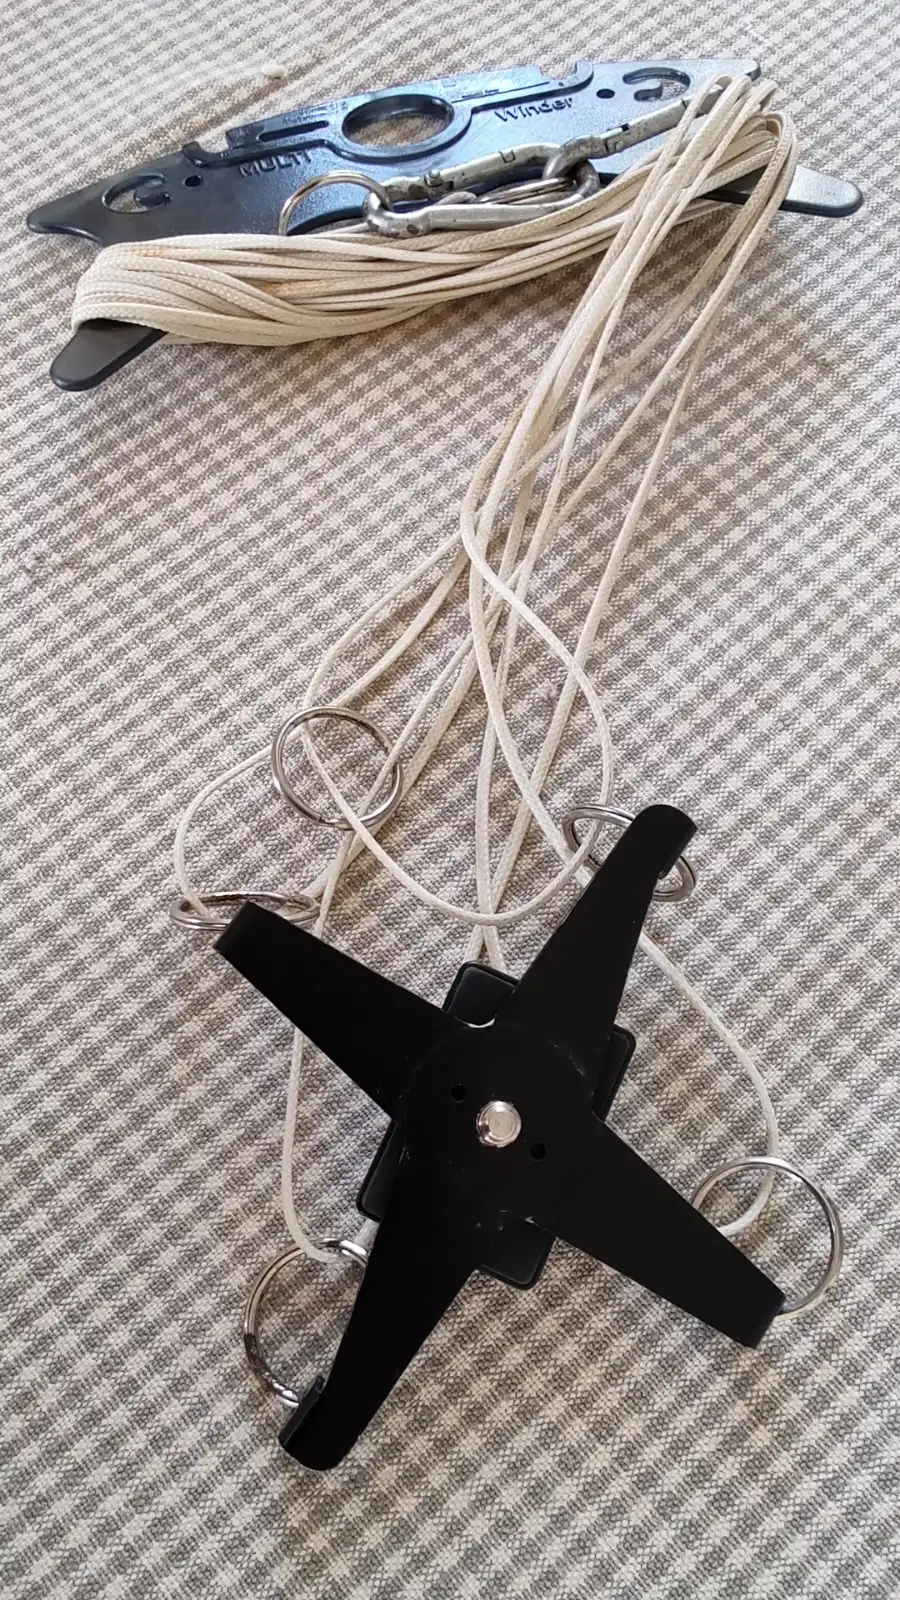
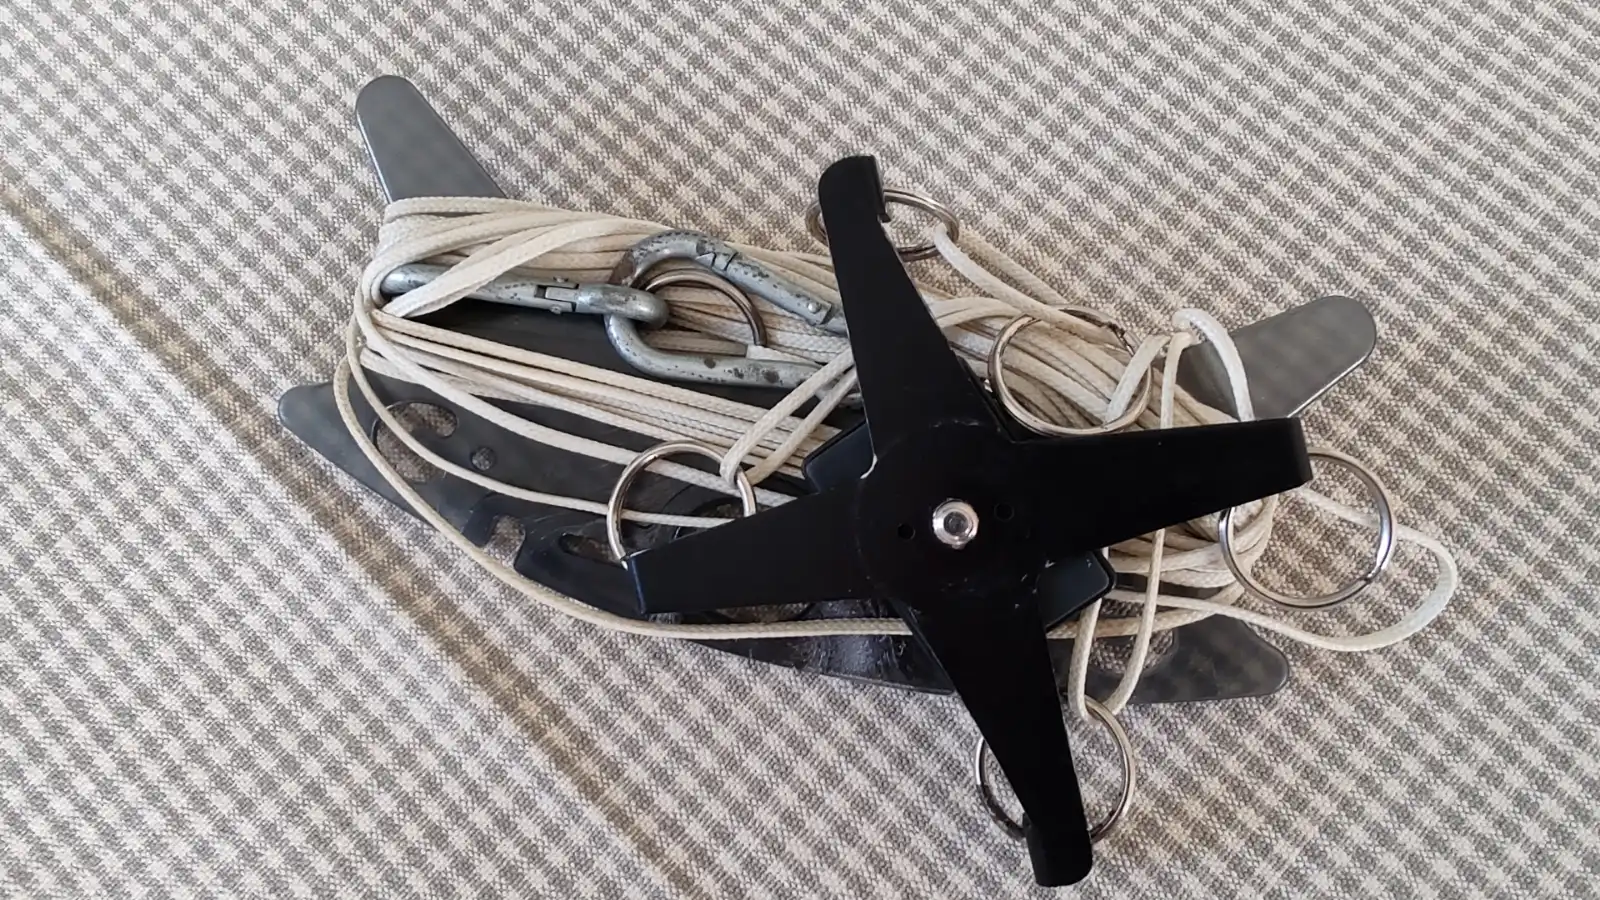
“… A Picavet suspension – named after its French inventor, Pierre Picavet – consists of a rigid cross suspended below the kite line from two points. A single line is threaded several times between the points of the cross and the points of attachment to the kite line and the rig is attached to the cross.
The Picavet line runs through eye hooks or small pulleys so that the weight of the rig causes it to settle naturally into a level position. The dimensions and shape of the Picavet have been adapted many times in attempts to increase stability or improve portability. …”
Here’s a link to more photos of miscellaneous picavet suspensions on Google.
As you can see from the photos above, the picavet suspension is a really simple piece of hardware that you can make yourself. The picavet suspension I’m using right now, however, I purchased online many years ago and it does a good job of stabilising the camera rig. But like says, you can also make one yourself.
Cameras
Then you of course will need a camera! …and these days there are a lot to choose from!
When I started out, I used my Sony HDR-PJ410 video camera. Still, soon I found the camera kind of clumpy and its image stabilisation kind of mediocre, at least when the camera is hanging from the flying line, even though the picavet somewhat suspends it.
I’ve also used my phone on a few occasions, but what if it comes lose and falls to the ground?!
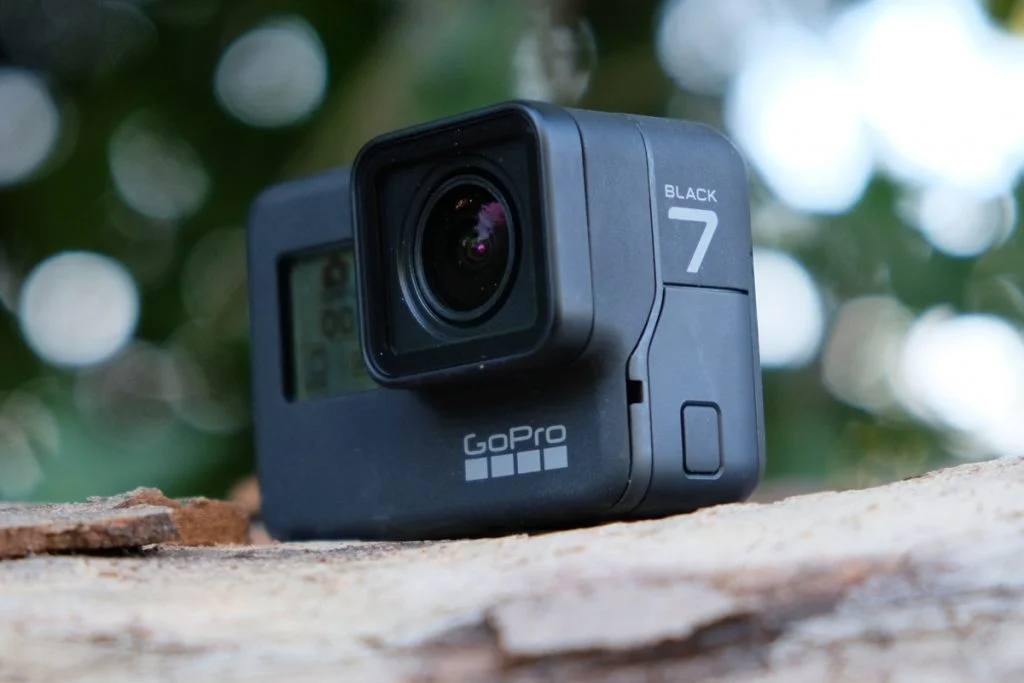
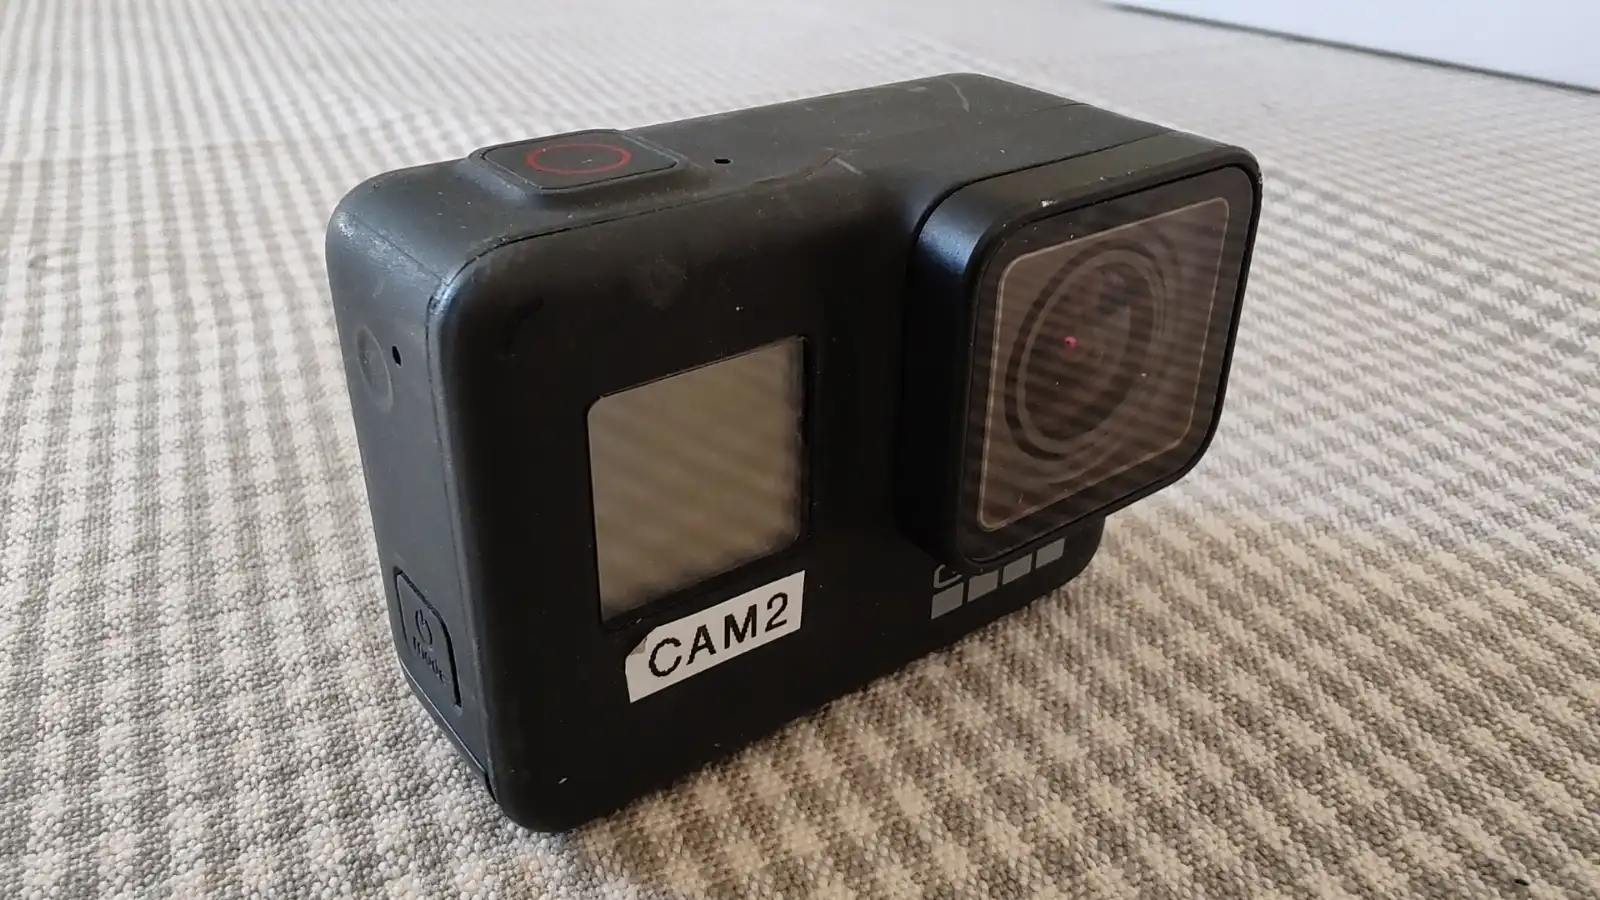
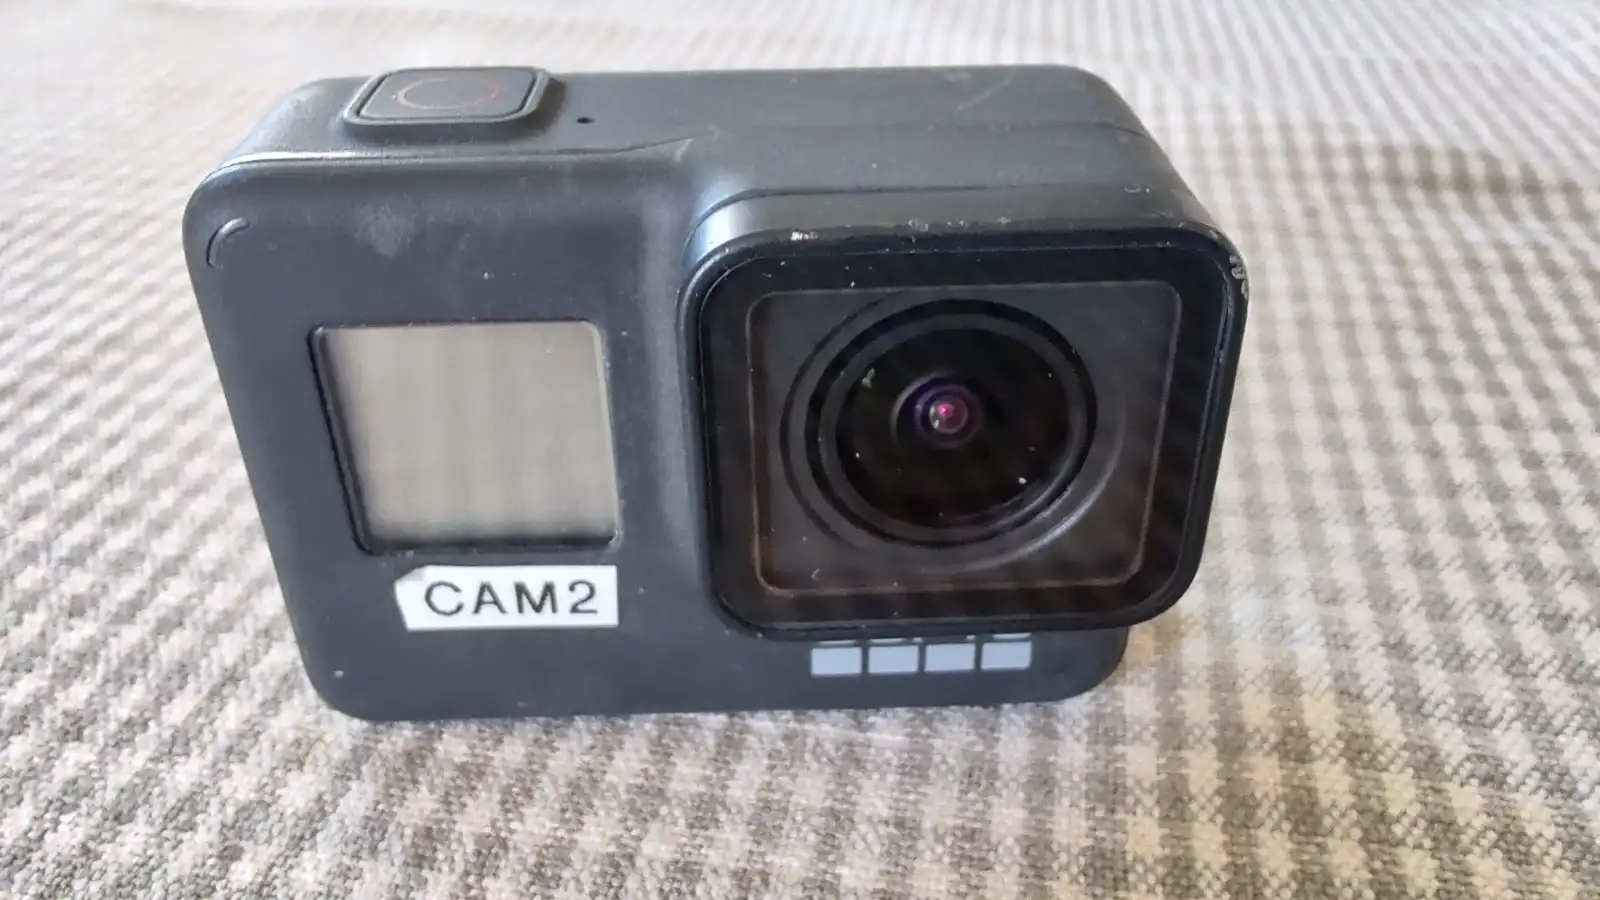
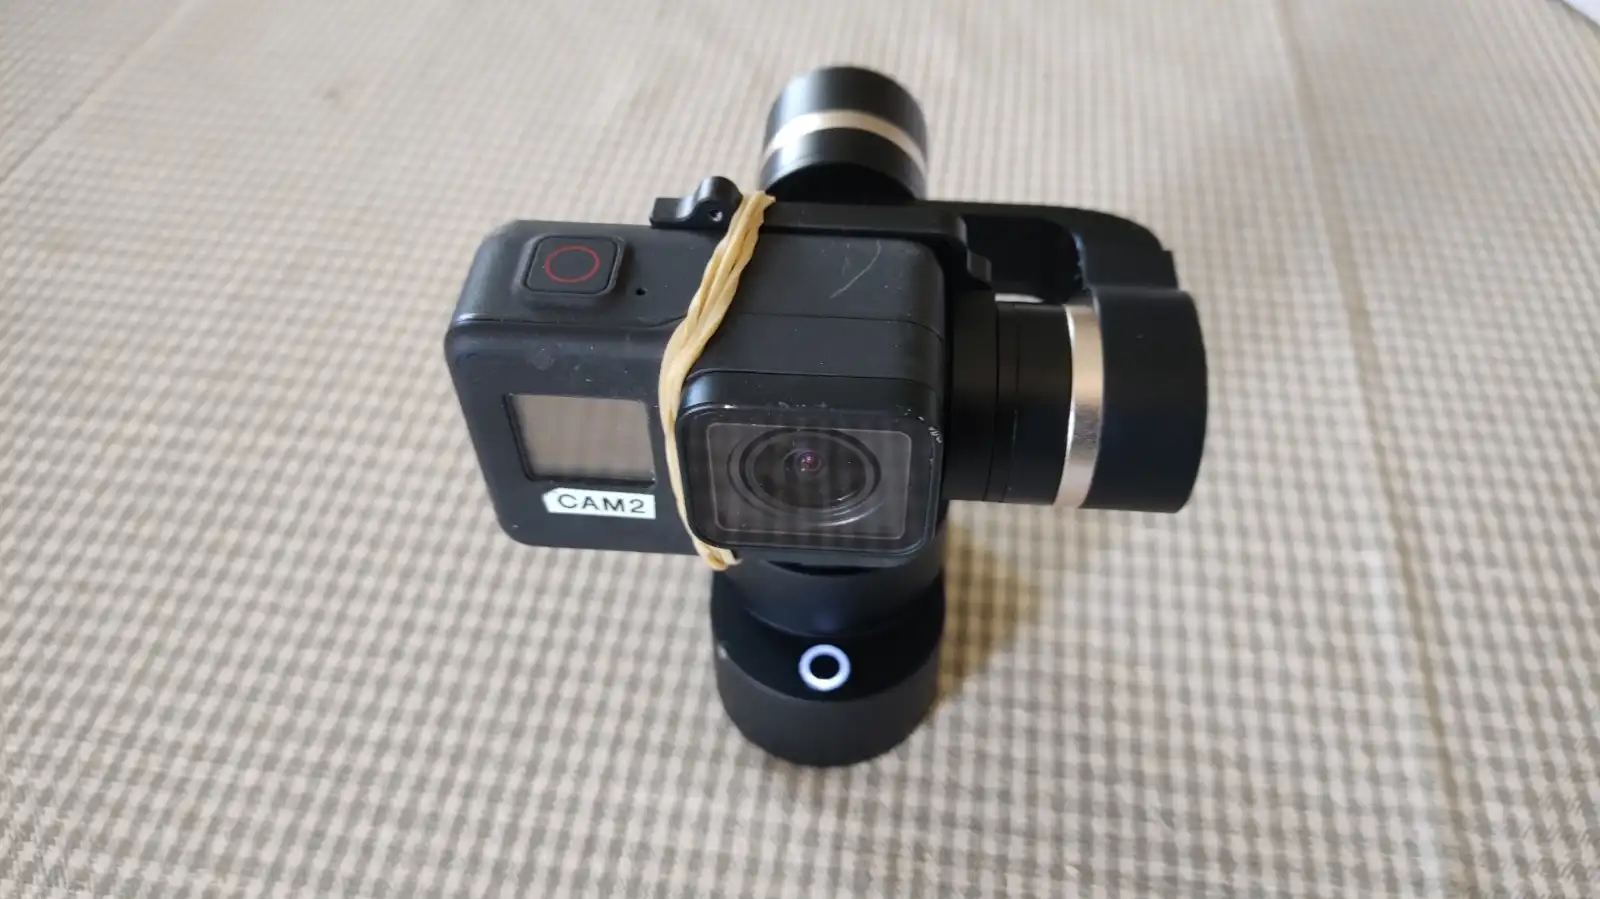
So a couple of years ago I bought myself a second-hand GoPro Hero 7 Black after having read a LOT of reviews. The GoPro Hero 8 was released and the prices for its predecessor dropped quite significantly so I went for it!
I was pretty amazed by its Hypersmooth feature, which was doing an incredibly good job of stabilising the video! At its time it was a real game-changer, received raving reviews and when I got my hands on my GoPro I could soon agree to the claims. The Hypersmooth is incredible and just what I could use for kite aerial videography to capture that really smooth footage!
Gimbals


So what the heck is a gimbal? Well, let’s head over to Wikipedia again and see what we can find…
“…A gimbal is a pivoted support that permits rotation of an object about an axis. A set of three gimbals, one mounted on the other with orthogonal pivot axes, may be used to allow an object mounted on the innermost gimbal to remain independent of the rotation of its support.
Gimbals are also used to mount everything from small camera lenses to large photographic telescopes. …”
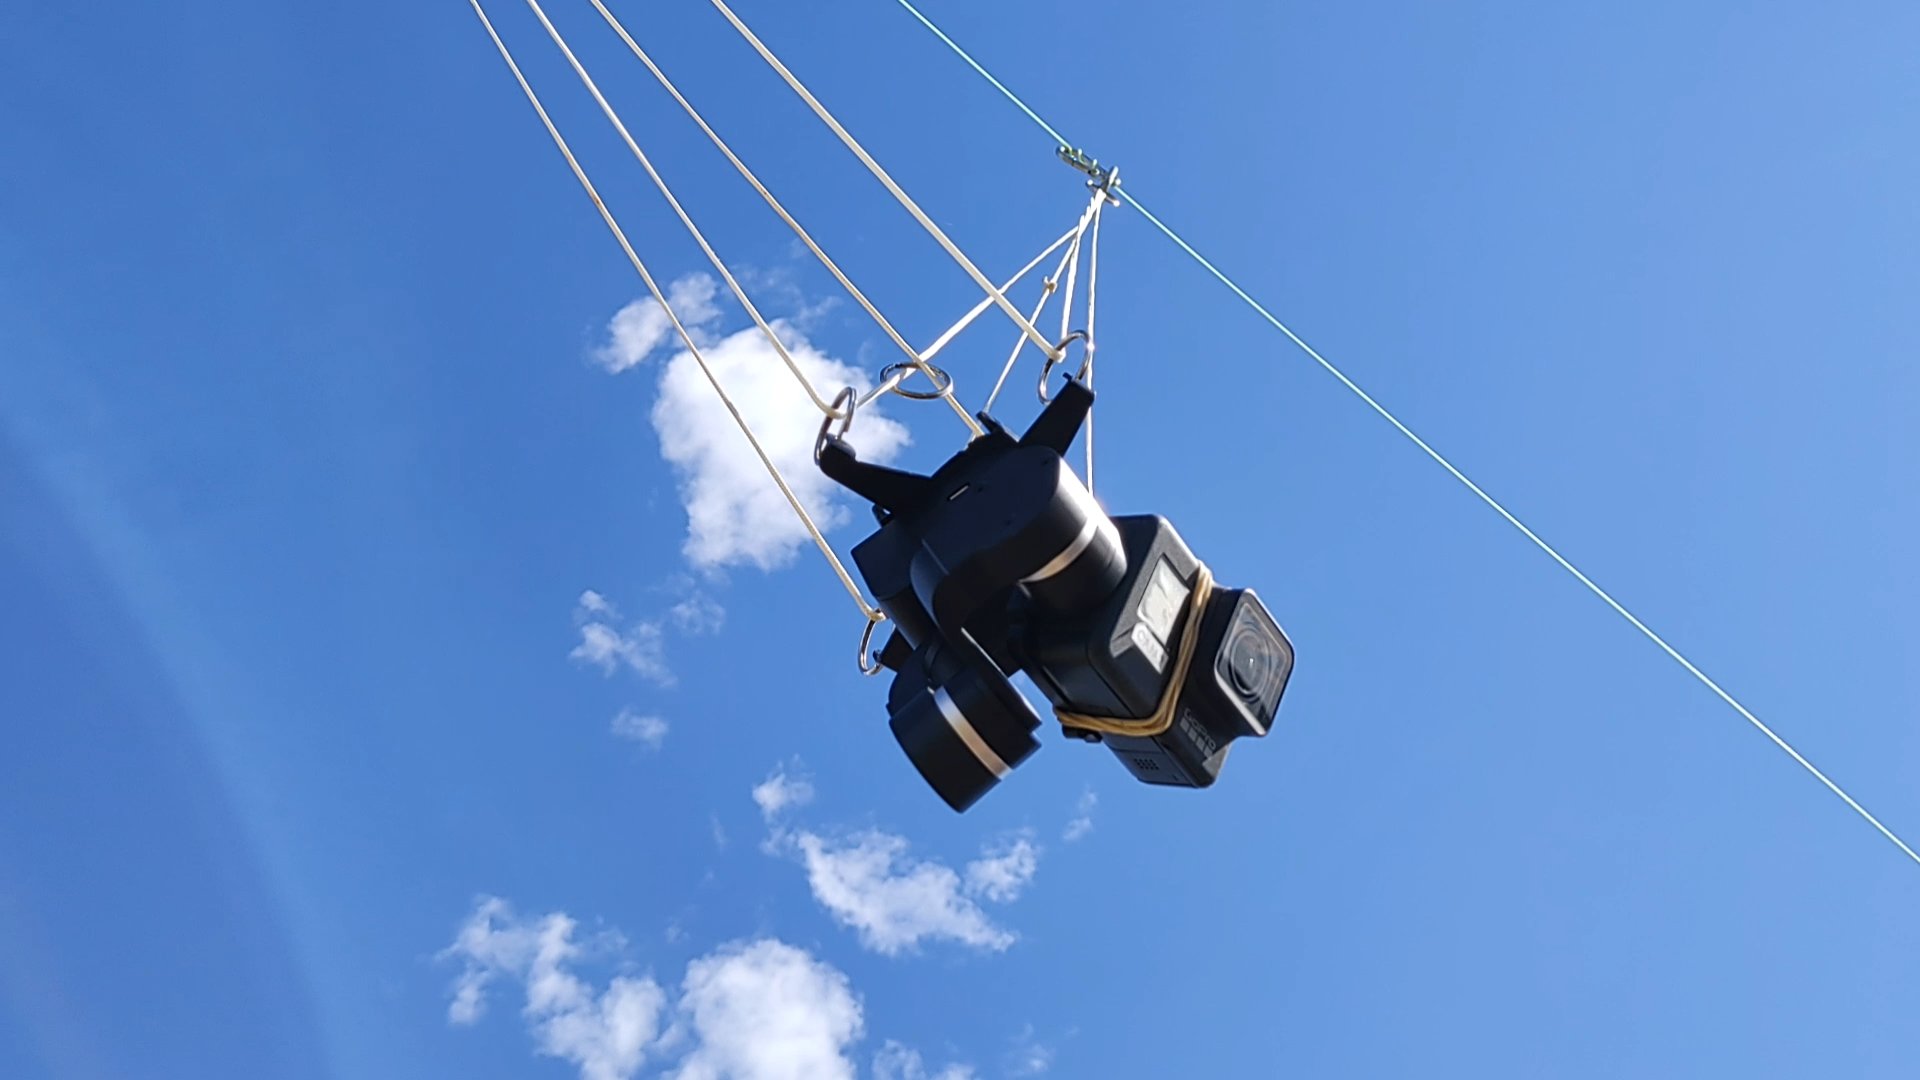
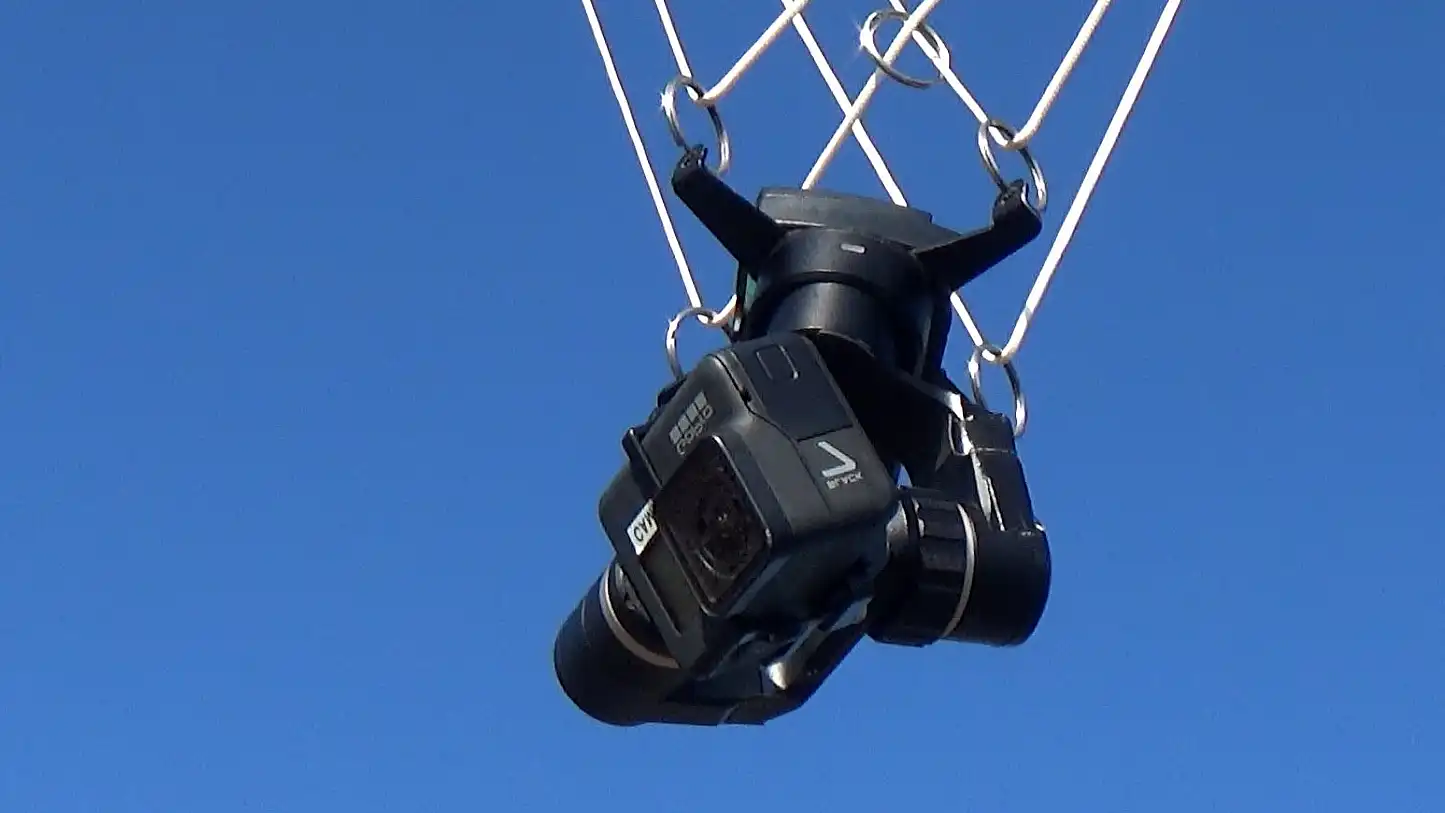
Handheld and so-called wearable 3-axis gimbals – the ones I use for KAP and KAV – are used in stabilization systems designed to give the camera operator the independence of handheld or wearable shooting without camera vibration or shake. Powered by three brushless motors, motorized gimbals have the ability to keep the camera level on all axes as the camera operator moves the camera.
Gimbals can be mounted to cars and other vehicles such as drones and … KITES! …where vibrations or other unexpected movements would make tripods or other camera mounts unacceptable.
I have two different wearable gimbals that I use when KAPing and KAVing:
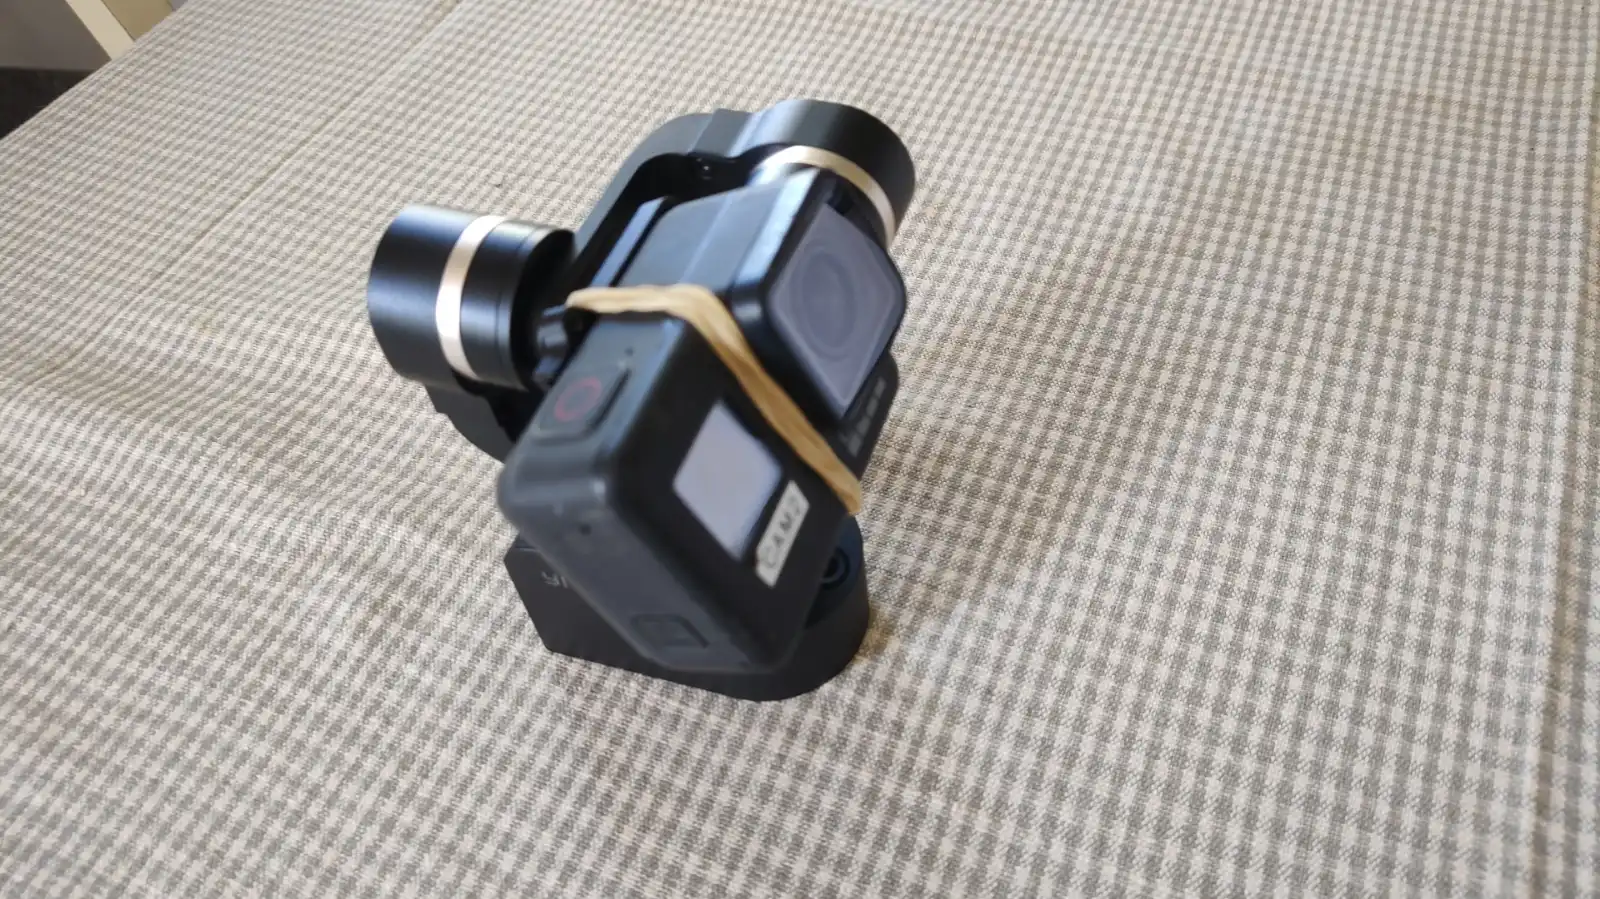
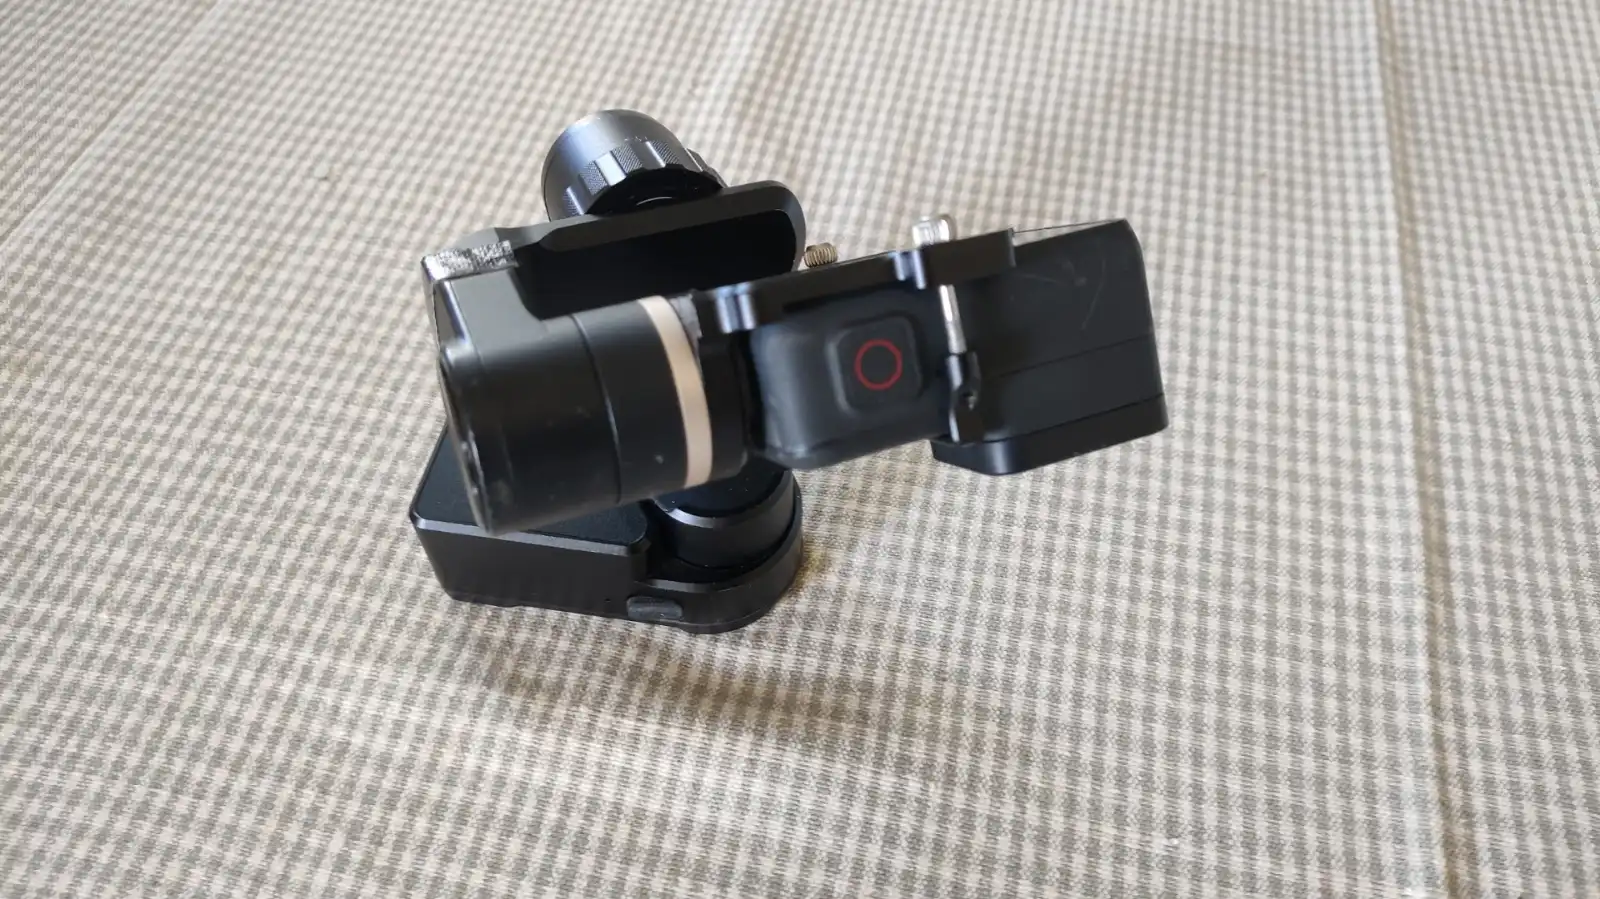
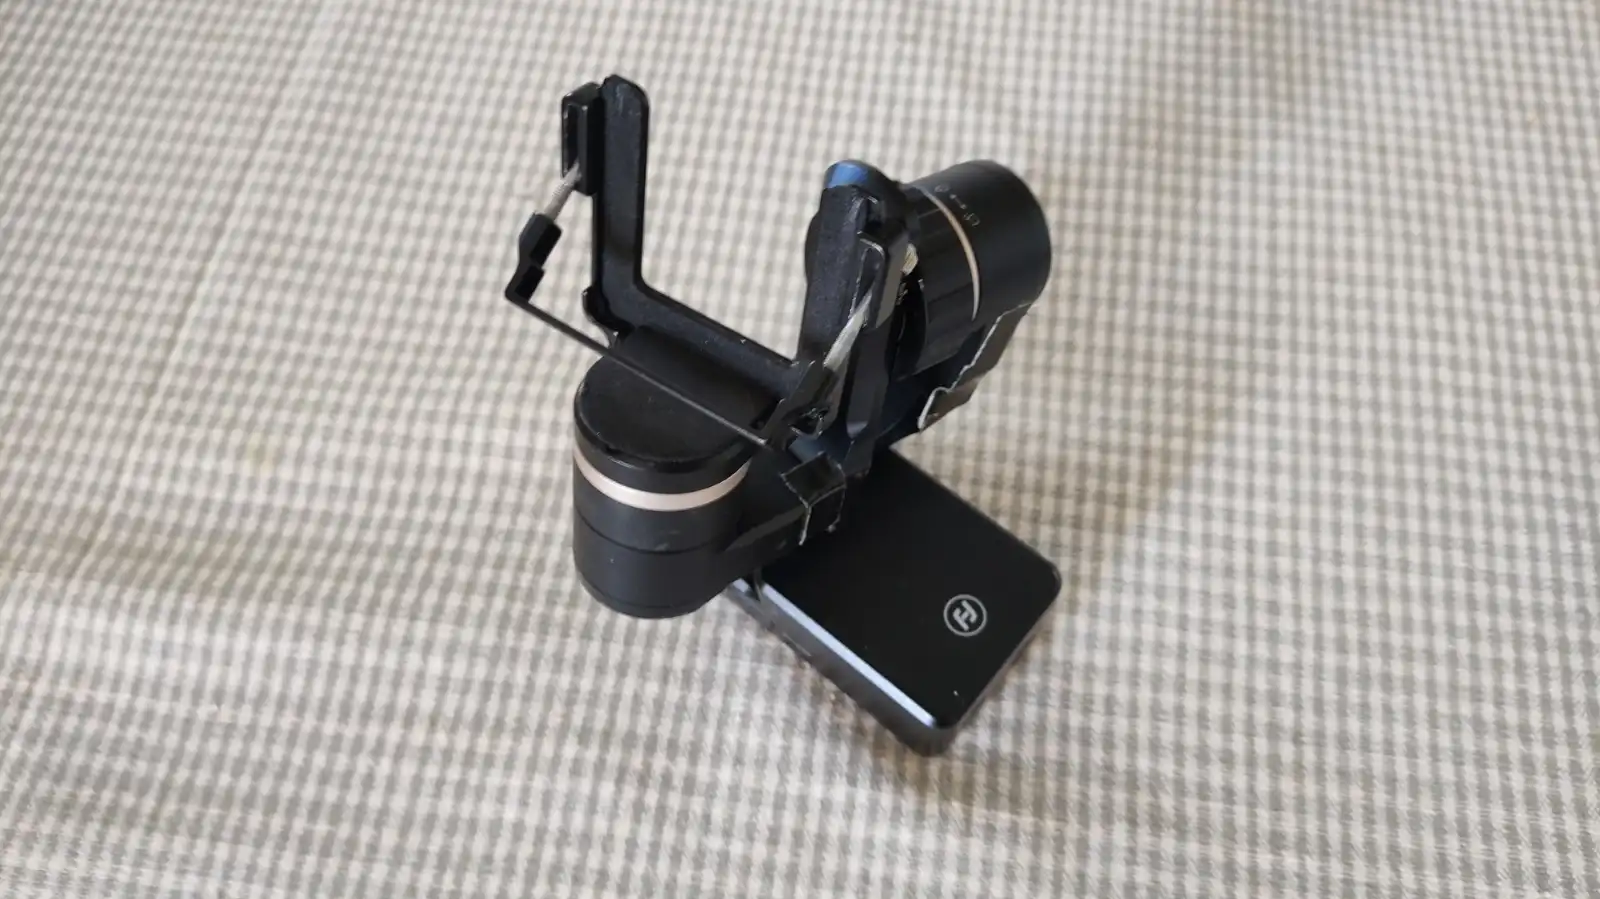
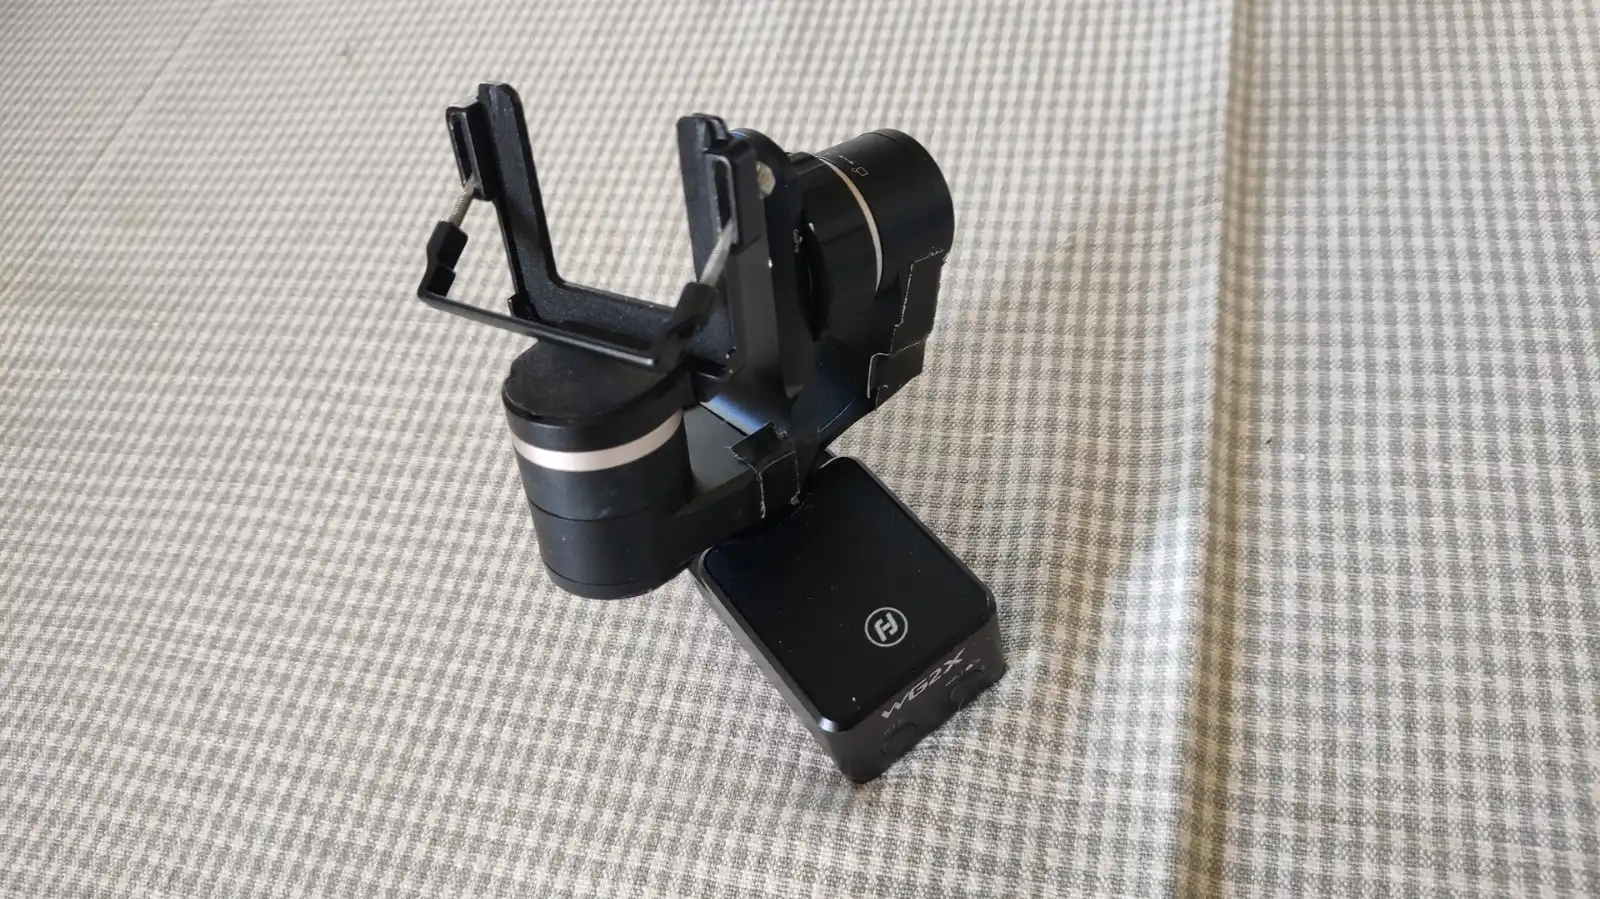
- The Feyiutech WG2X
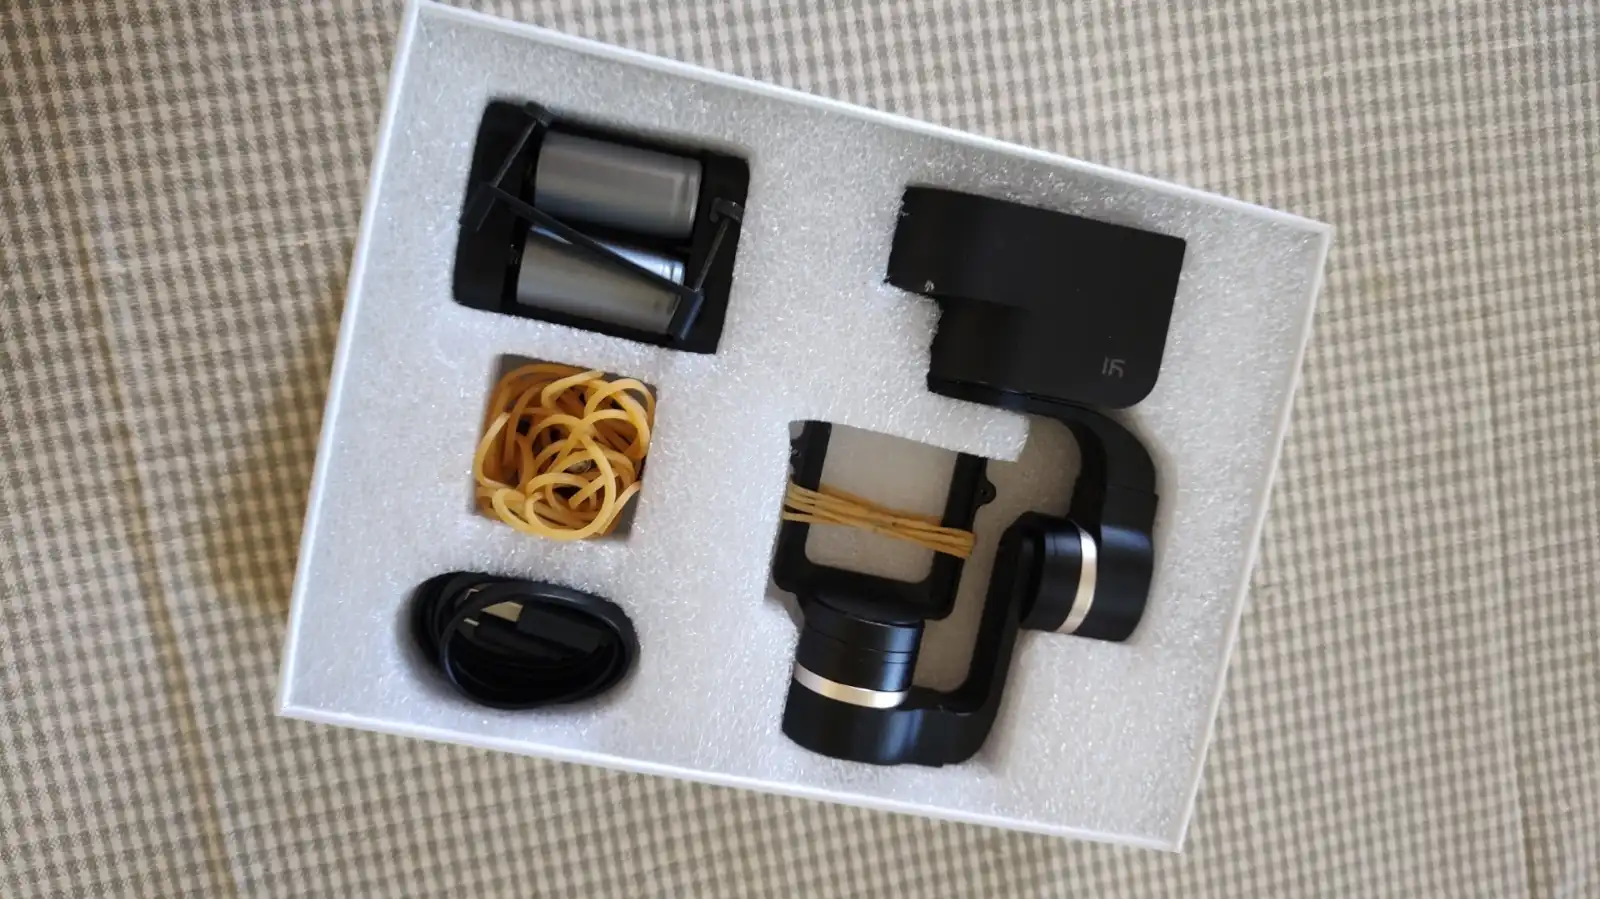
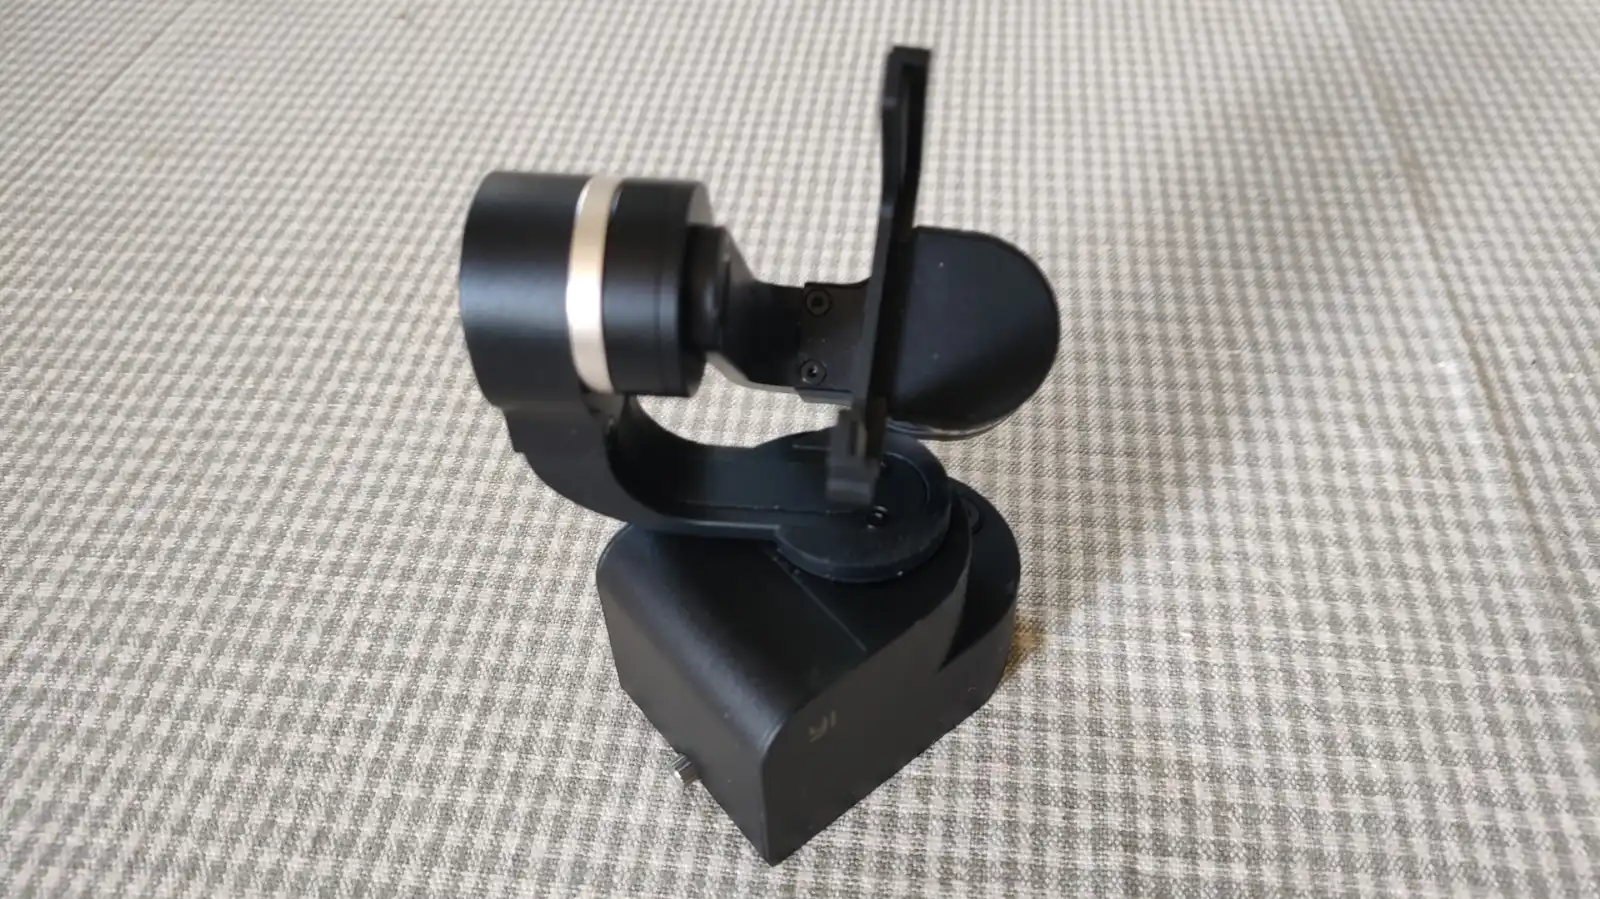
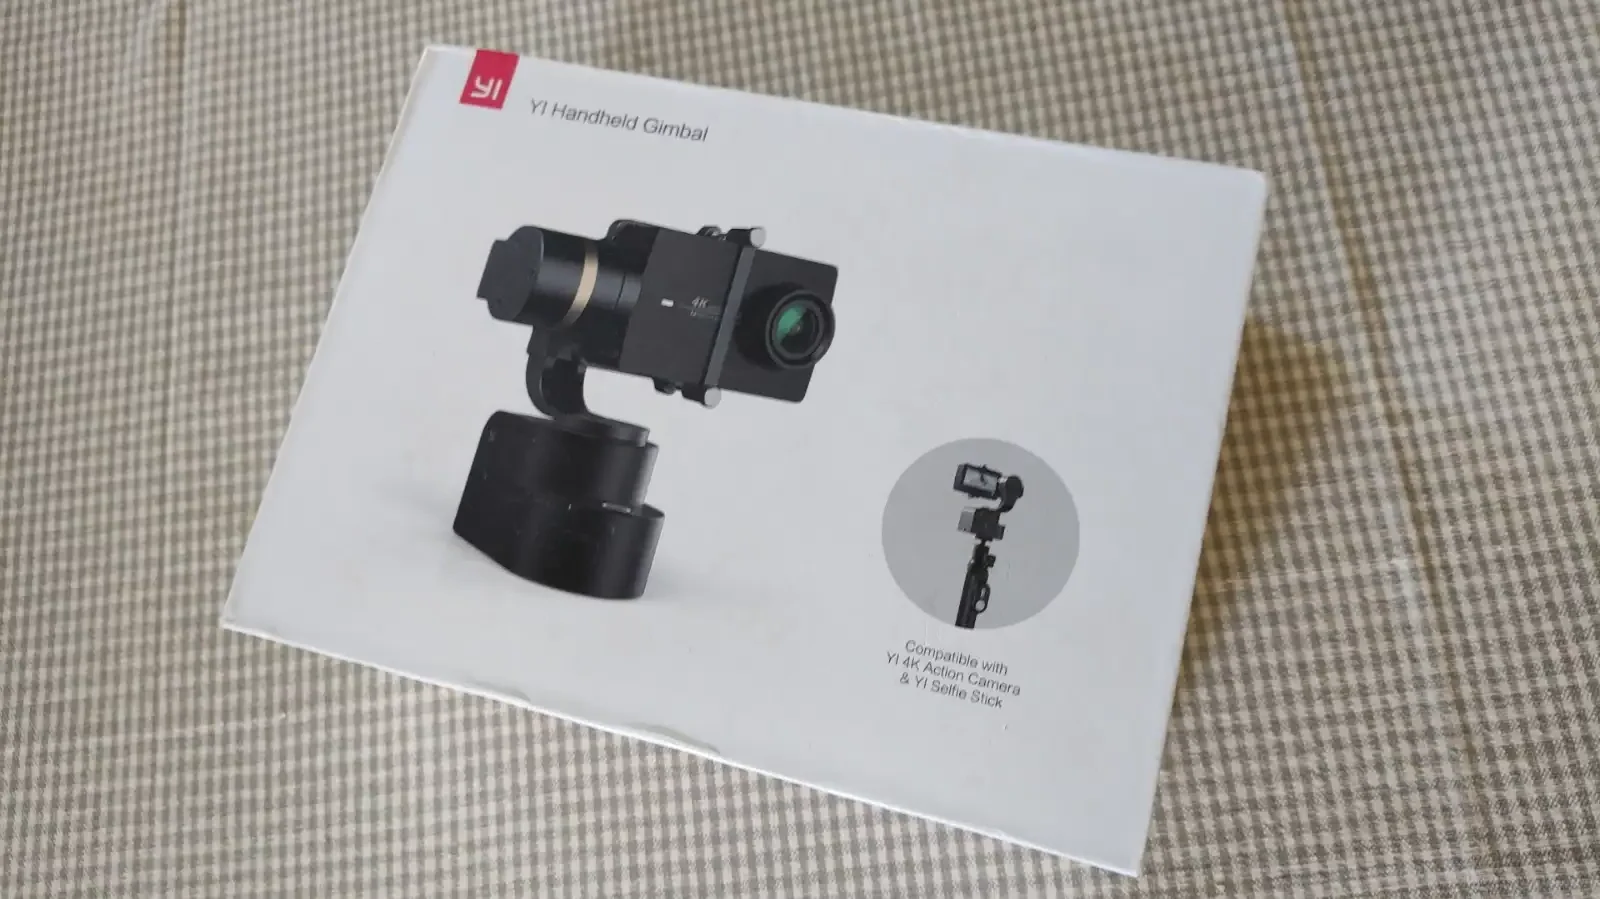
- The YI 3-axis gimbal
The reason for having two gimbals is because the first one – the WG2X – fell down from the sky and something happened to it. I can still use it, but some of its functionality got lost when hitting Mother Earth a little too hard!😉
So I got hold of a second-hand 3-axis gimbal from YI and it surely does a great job stabilising the footage, as does the WG2X.
You can look closely at the two videos in the tabs below. The first video is shot without the use of a gimbal and for the second one, I’m using the WG2X. The difference is highly significant!
This video is shot with my GoPro Hero 7 Black using Hypersmooth suspended with a picavet.
This video is shot with my GoPro Hero 7 Black using Hypersmooth suspended with a picavet AND a gimbal.
So… do you really need a gimbal?
Well, that’s not quite up to me to answer. You will need to consider your needs and requirements, but there’s no doubt that the gimbal – in addition to the picavet suspension and the camera stabilisation software – definitely improves the overall result of your aerial videos. So I guess I will give it a thumbs up!
(Kind of) Conclusion
So when I go out to the beach, the field or wherever I want to do my aerial photos and videos I always make sure to have all these three items in my bag:
- The picavet – for basic suspension
- The gimbal – for improved stabilisation
- The camera – for obvious reasons I guess!
…and always make sure to
- Charge the batteries of your camera and gimbal(s)!
- Bring the memory cards for recording!
Yes, of course, I’ve been there! 😉
Listen to this!