Added reinforcement
First of all I was a bit afraid of that the friction between the thin glass fibre rod and the sail would cause wear to the sail so I have been playing with some ideas to prevent, or at least reduce this wear.
Finally I decided to cut two pieces of plastic hose with an inner diameter just slightly larger than the outer diameter of the rod. Then I gently pushed the hose through the slits in the dacron and finally I pushed the GF rods through the hose before inserting the rod into the fittings on the down spar.
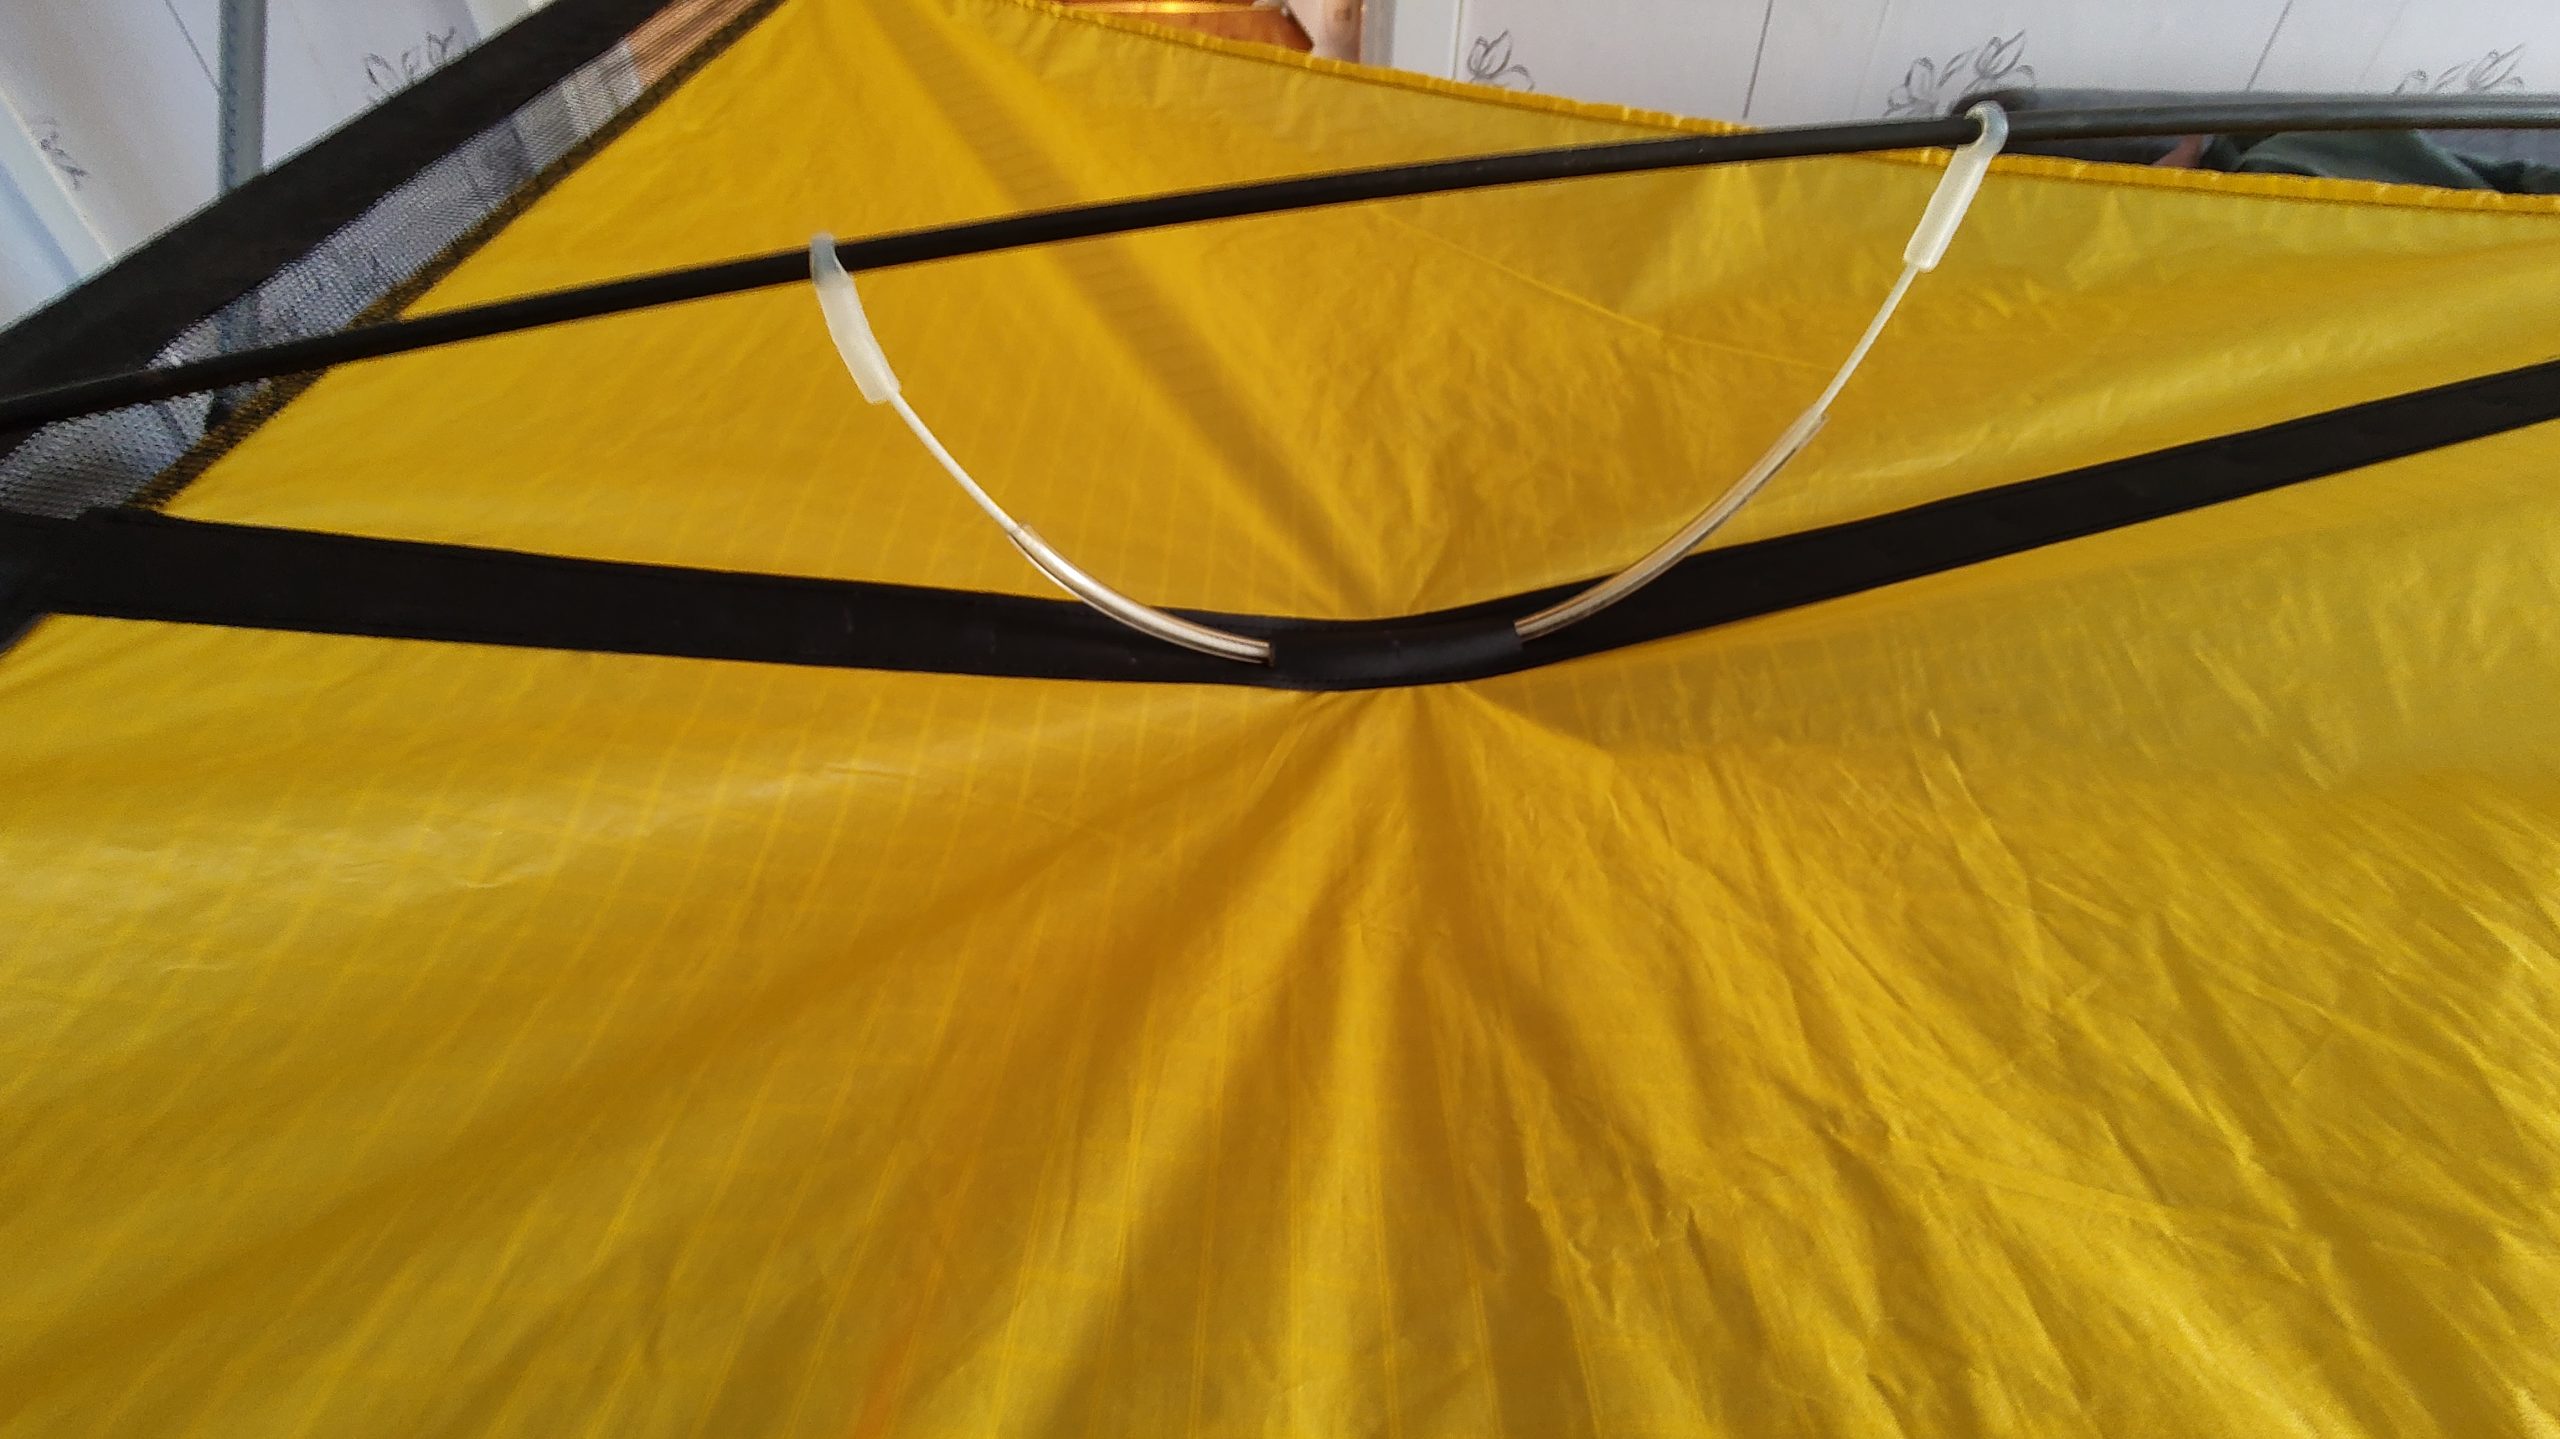
Hopefully, this softer plastic hose will cause less wear to the sail than the much harder GF rod without sacrificing any of the features of the GF rod. And best of all, the new mod won’t interfere with the 3D shaping of the sail at all. So only time will tell if the wear will be reduced, but my gut feelings say yes!
Stable Backflips
As you can see in this video, backflipping the 3D kite is easy as pie, but it won’t sit for long in a stable backflip. I even had to grab and pull both brake lines closer to my body for having the LE sitting as low as possible.
However, this seemed not to be enough even when walking the kite downwind. So I wanted to do something that would allow the LE to go deeper in a backflip. And how to do that?
Well, it didn’t take long before I had an idea that was both easy to install, easy to remove and easy to adjust!
I threaded a connector onto each of the top ends of the down spar followed by a few steel nuts. The connector acting like a stopper preventing the nuts from sliding down the spars.
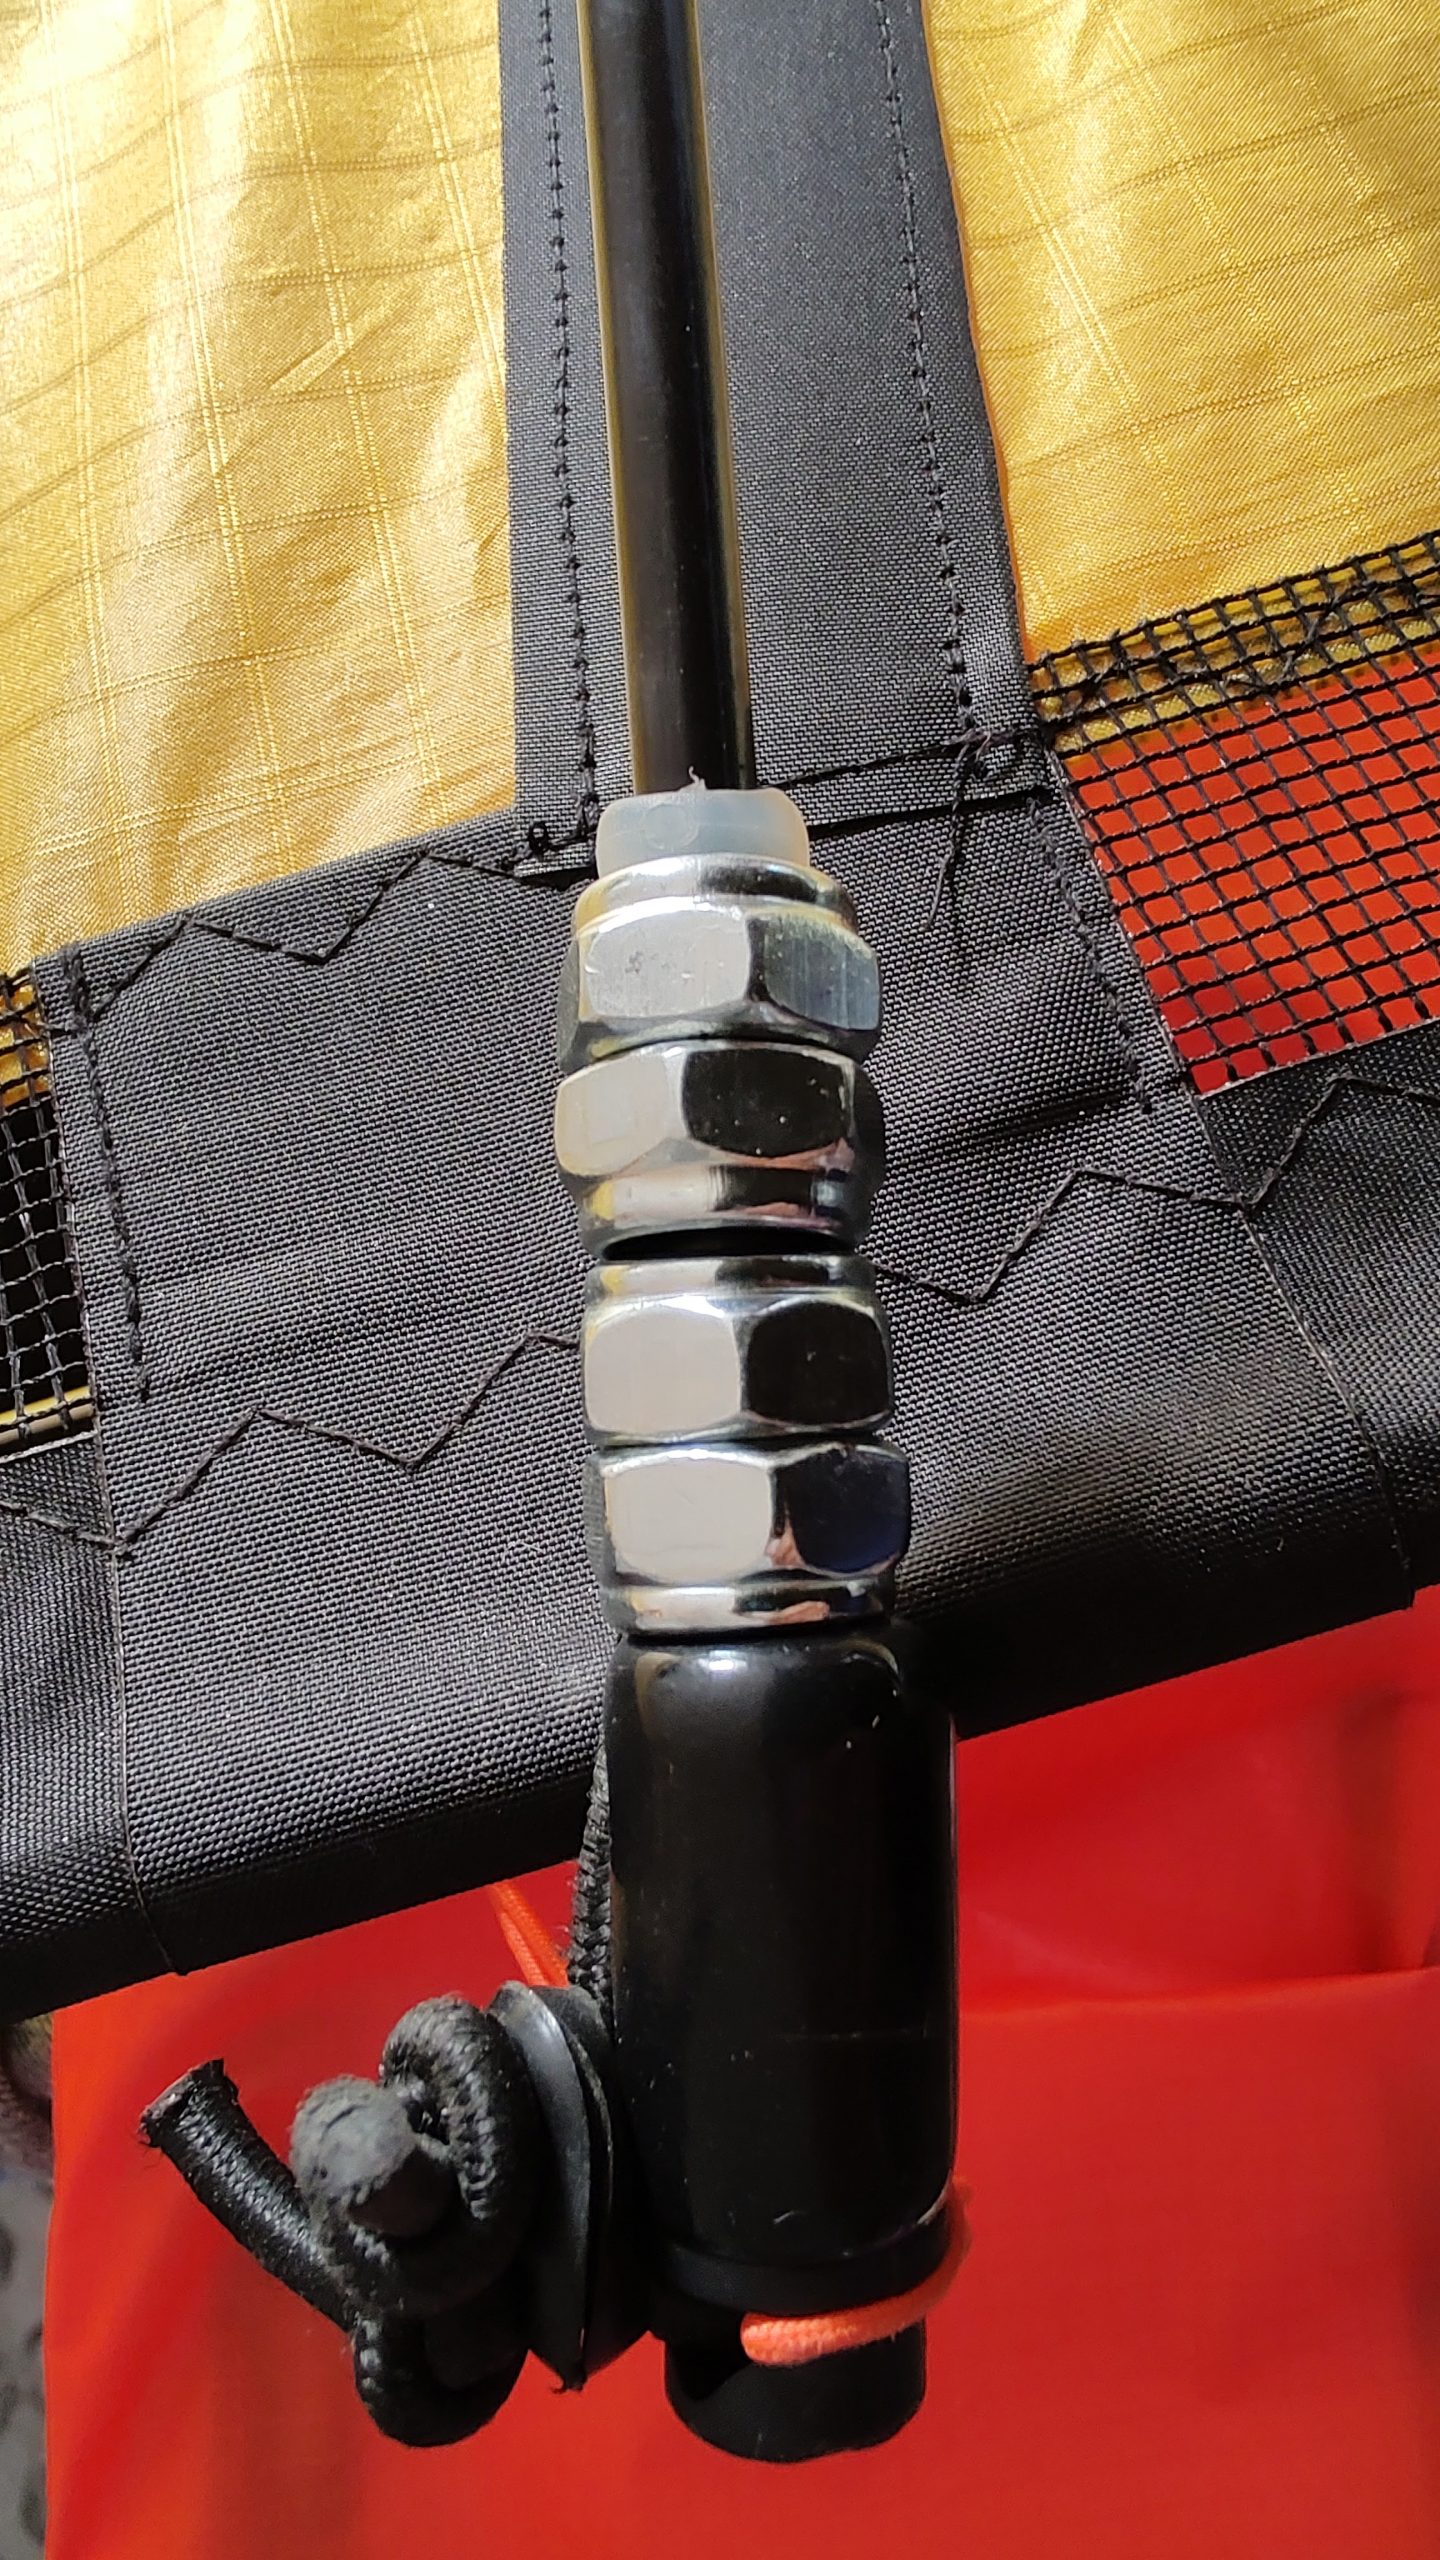
It’s super easy both to install and remove and adding or subtracting weight, all you have to do is add or remove nuts. Taking just seconds to adjust, I’m really satisfied with this modification!
So now all I have to do is wait for the right moment for the 3D QLK’s third test flight. I must admit I’m very curious on how these new modifications will work out and I can hardly wait to go flying!
…and you…? Well, you better stay tuned, ’cause I’ll keep you posted! ?
2 responses
At the cost of putting extra stitches in the sail (+time and delayed testing), skipping the extra tubing and adding a second patch of dacron to form a second pocket could be a way of reducing weight and thereby somewhat moving the centre of gravity closer to the LE. The original dacron strip/pocket would then be the part that protected the sail. The new pocket on top of that would be the actual pocked that would hold the glassfibre rod. You have probably already considered this though.
I enjoy following your development of and rapid prototyping of this 3D quad!
Yes, that thought has crossed my mind and I’ll probably do some experimenting along those lines a little later.
It’s probably several ways to refine this and I have a couple of other ideas up my sleeve too, but for now, I’m just playing around with what I’ve got. And yesterday evening I managed to squeeze in an hour and a half flying in the dying wind. …and I just say … WOW! This one is definitely different and really fun! Stay tuned for a new post and a new video really soon! 🙂