Initial decisions
I’d like to take you behind the scenes of my tutorial making. Letting you in on how I go about making a tutorial and what tools I’m using. Because, yeah, I’m a real nerd when it comes to making tutorials too, and here’s the story!
There are quite a few things that need to be addressed when making a kite flying tutorial. And one of the first thoughts that come to mind is if I want to do one tutorial (or just a couple) or a whole series of them. In my case this decision was easy. I wanted to do a series of tutorials for quad line kite flying, starting with the basics and gradually talk about more advanced stuff.
Intention
For my series of quad lined kite tutorials here at AERIALIS Kites I wanted to make sure that they are progressive in a way that you, by watching them, first will learn the basics and then take on more of the advanced stuff. This way you will build a solid foundation before you start building the “house”.
My Roadmap
I have a rough plan for what to include in the different tutorials. This all boils down to make sure you’re progressing as a kite flyer when watching them. You can call this my roadmap if you like.
Building it up
I have started to use Evernote as my tool for gathering all the information in one place and so far it’s working well! I’ve established a Notebook called ‘Kite Tutorials’ where I place Notes for each tutorial.
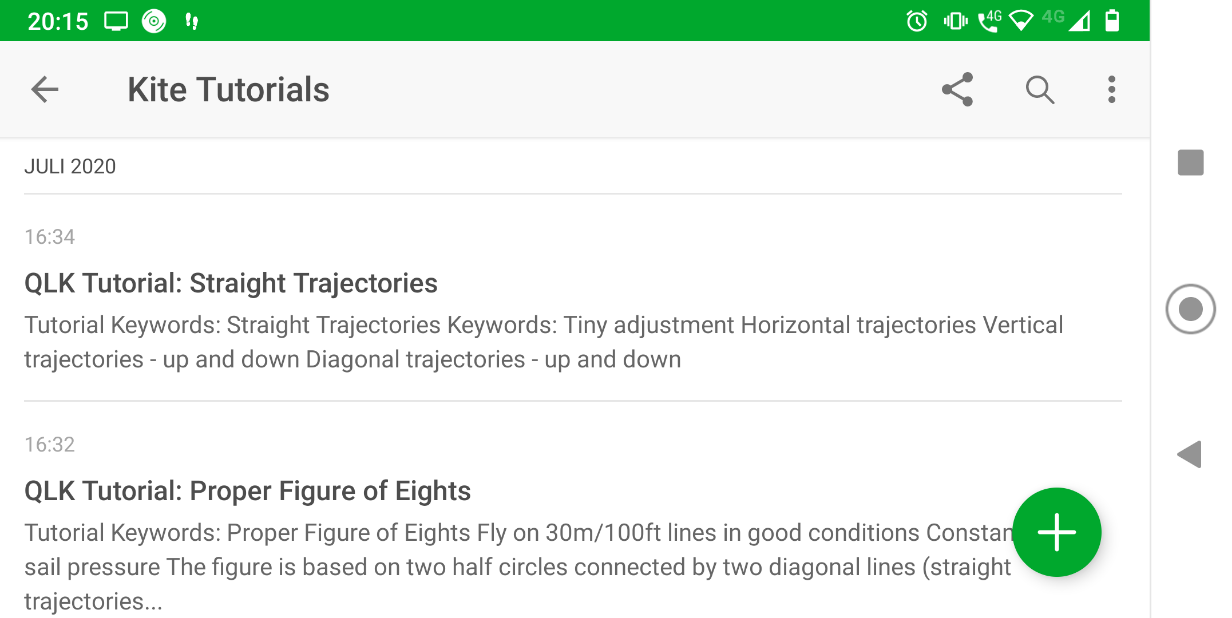
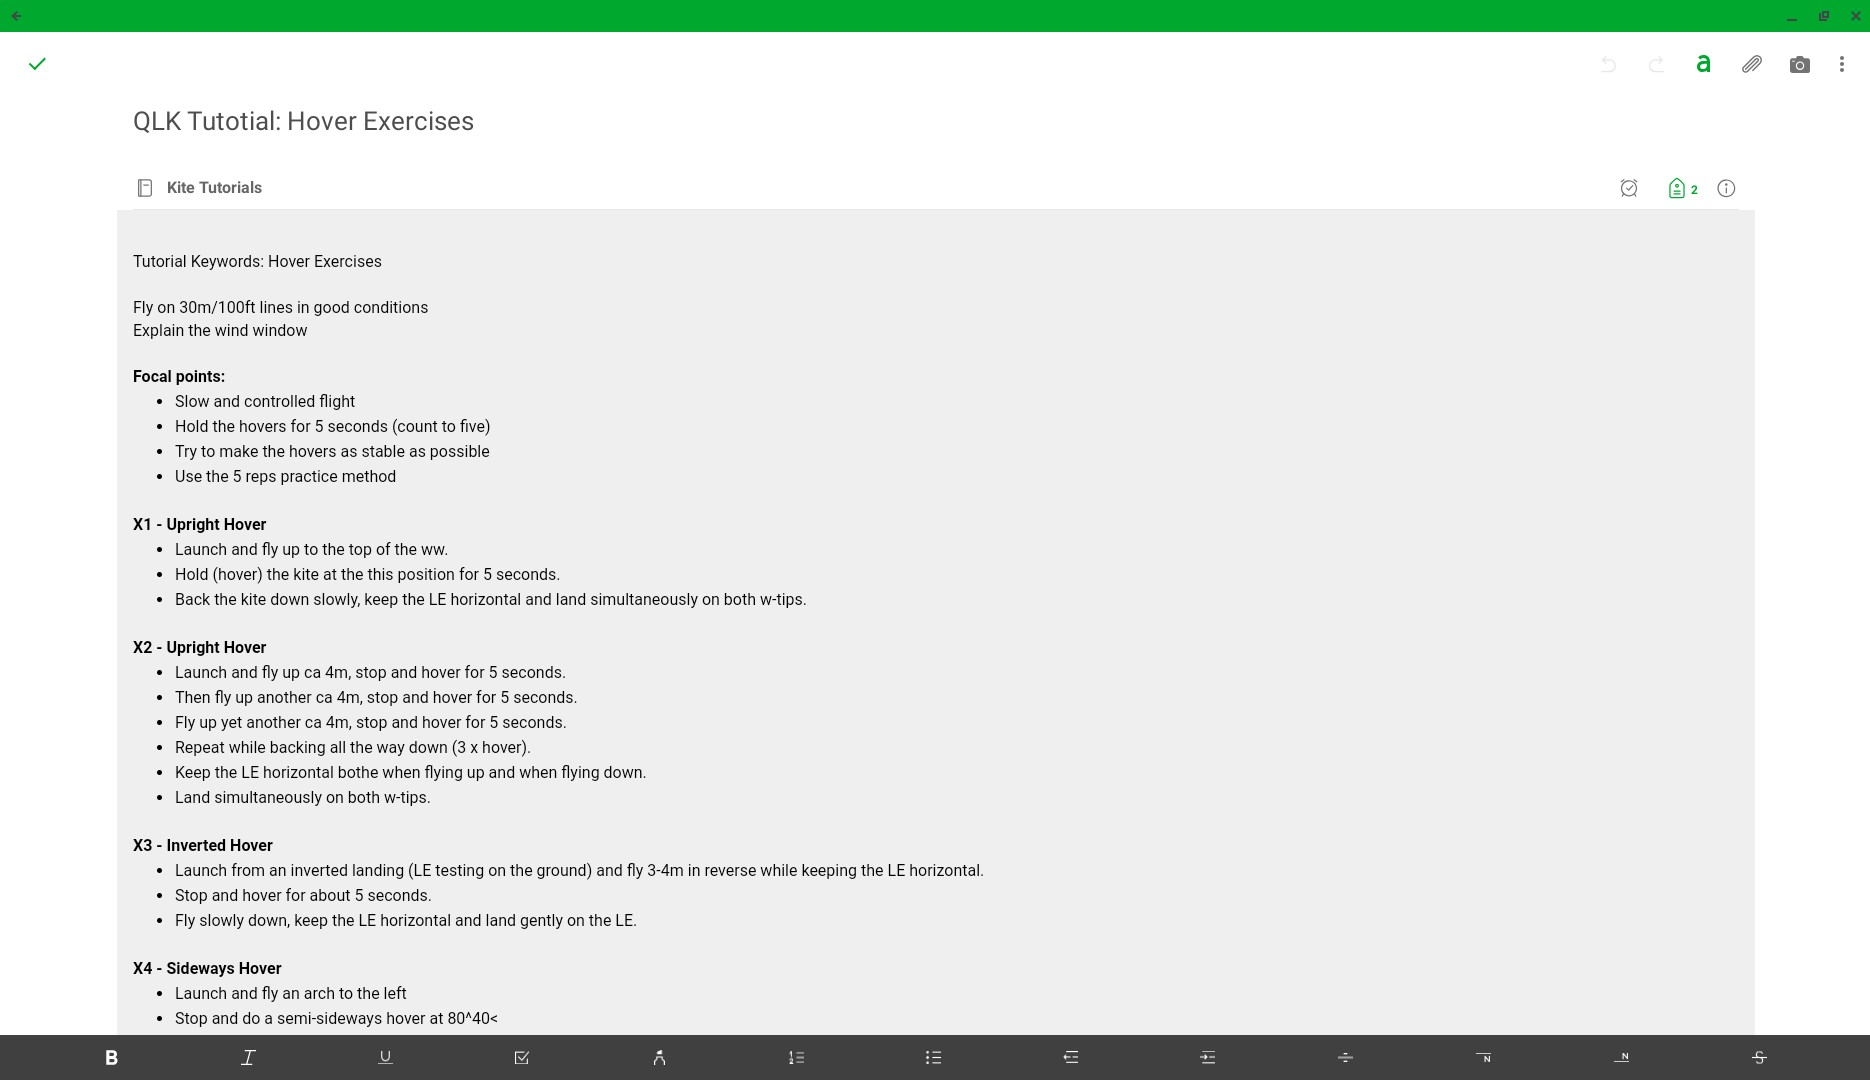
When I get to the specific tutorial, I start by opening a new note in Evernote and jot down thoughts, ideas, focal points, scenes, camera positioning and whatever comes to mind according to what the tutorial is going to be about.
Step by step I build up a foundation for the tutorial and what should be included. Initially, nothing is prioritized or sequenced, just written down right from the top of my head. After some time, I go into the details and try to find a way to structure it all and fill in more details if required. Finally – when all is done – I have a pretty good overview of what the to include and what the tutorial is going to look like!
Shooting the footage
The next step is to go to the flying field and shoot the footage for the tutorial. If the tutorial is about flying, I wait for a day with the best possible conditions. Good conditions make flying easier, better footage and finally a (much) better and clear tutorial! So I always plan for Plan B when heading out to shoot for a tutorial, because conditions might change to the worse and not being ideal for shooting the footage anymore! 😉
Before setting up for the shoot, I go through my notes on Evernote to make sure I get the right clips and the camera positioning. All good to go and I hit the RECord button!
Most of the time I always take more than one shot of each sequence. This way I can include the best of the takes in the tutorial.
Editing the video
After some trials and errors, I’ve found that I divide the (video) tutorial into five different sections:
- The title
- The introduction
- The main part
- The outro
- Credits
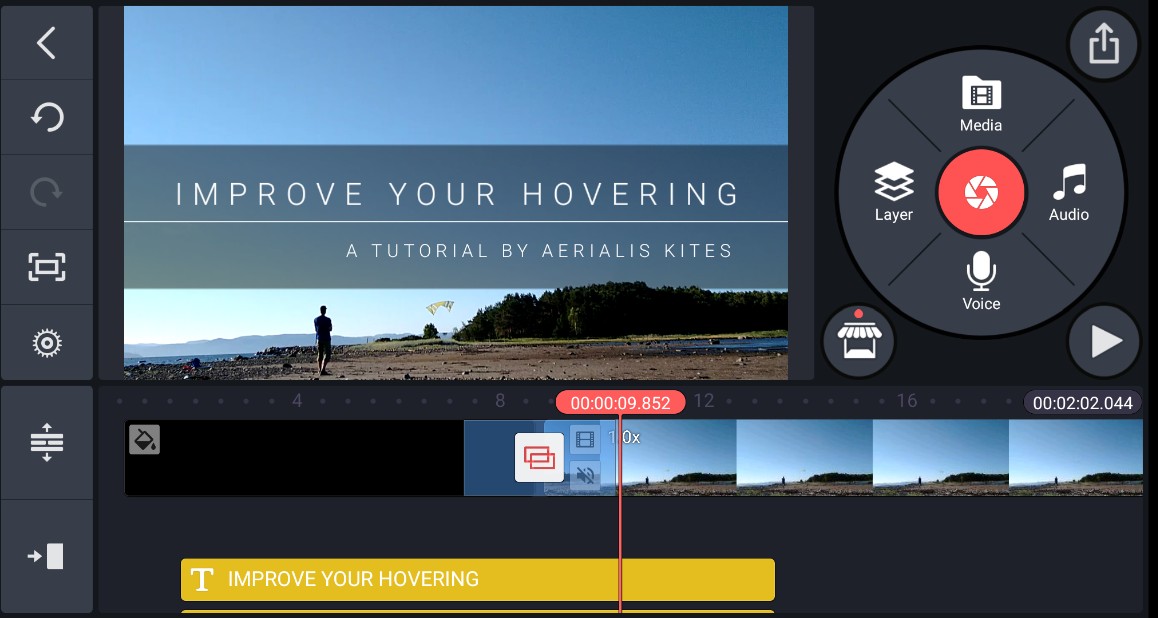
The title is a short description of the tutorial, what it’s all about. I also include a subtitle: “A Tutorial by AERIALIS Kites”
In the introduction, I’ll do a quick video summary of what the tutorial is about. Usually combined with a short vocal introduction telling you what you are going to learn from this tutorial.
Then there is the main part, which is the tutorial itself; the different scenes, the vocal guidance and any graphic elements required (blocks of text, arrows and other markings).
The outro is just a quick “Thanks for watching”, “See you in the next tutorial” and a request to follow AERIALIS Kites on the Internet, Facebook, YouTube and Instagram.
Finally, there are the credits.
I’m using Kinemaster for editing all my videos. Why? Well, I shoot at least 90% of my videos using my phone and why not using the phone for editing too? So I’ve foud the best (?) tool for this is the excellent Kinemaster app. Well worth the annual fee for getting the pro-version!
Quite a lot of time is going into editing. However, having a detailed description available in Evernote definitely speeds up the process!
The editing workflow is divided into five different parts:
- The main editing
Focusing on including all required clips and in the correct sequence and grabbing a good royalty-free piece of music to go along with it all. - Adding graphics
Focusing on adding various graphic elements, like arrows, circles, blocks of texts, and so on. - Adding vocal guidelines
Explaining what’s going on, emphasizing on the (most) important parts. - Adding the introduction, outro and credits
Just getting the uniforming right. - Tweaking and fine-tuning
There are always things (details) to improve before rendering the video, like trimming the clips, adjusting the sound, replacing text blocks and other graphic elements, and so on.
Finally I’m satisfied with the end product and I render the lot!
Publishing
When the video is ready I make a YouTube thumbnail and upload the video and the thumbnail to AERIALIS Kites’ YouTube channel. Then I write a blog post on the new tutorial and publish it here at the website and share the post on social media like on the Facebook page and on Instagram.
…and I guess that’s about it!
A quick side note at the end. What is Evernote? Well, according to Wikipedia….
Evernote is a cross-platform app for Android, iOS, macOS and Microsoft Windows, designed for note-taking, organizing, task management, and archiving. It is developed by the Evernote Corporation, headquartered in Redwood City, California. The app allows users to create notes, which can be text, drawings, photographs, or saved web content. Notes are stored in notebooks and can be tagged, annotated, edited, searched, given attachments, and exported.
So now you know!