


A familiar beach, a rocky coastline, a forest clearing or a small village suddenly becomes something completely different when viewed from the air. Long before drones became common, kite enthusiasts were already exploring this unique perspective through Kite Aerial Photography (KAP).
For me, KAP is the perfect combination of several passions: flying kites, exploring landscapes, photography, and the simple joy of spending time outdoors. But a successful KAP session is rarely just a matter of attaching a camera to a kite line and hoping for the best. Good aerial images begin long before the kite leaves the ground.
Preparation is a major part of the adventure.
Choosing the Right Location
Every KAP session starts with the location.
A good spot needs more than just a beautiful view. It also needs suitable wind conditions, enough space to launch and land the kite, and a safe area where the kite can fly without obstacles such as trees, power lines or buildings.
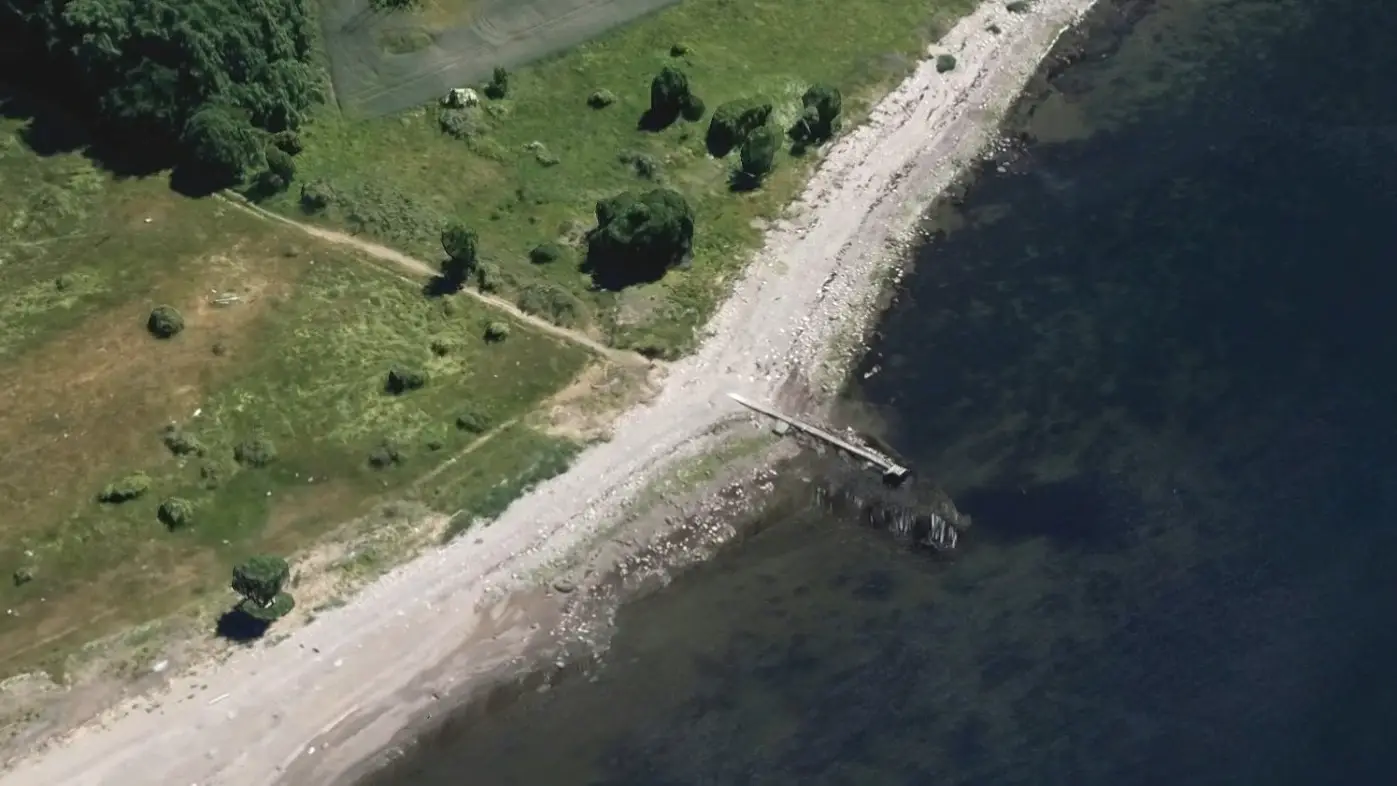
I often look for places where the landscape itself tells a story. A dramatic coastline, an old harbour, a hidden beach, unusual rock formations or a beautiful natural pattern can create images that show both the place and the feeling of being there.
The best KAP photographs are not only aerial views. They are visual stories about a location.
Before travelling, I study maps, satellite images and weather forecasts. I try to imagine how the landscape will look from above and where the kite might be positioned to capture the strongest composition.
Checking the Weather and Wind
Wind is the most important factor in any kite photography session.
A kite that flies perfectly for normal flying may not always be the best choice for carrying a camera. The wind needs to be stable enough to keep the kite and camera rig safely in the air, but not so strong that controlling the system becomes difficult.
My ideal conditions are usually:
- steady wind rather than strong gusts
- enough wind to create good line tension
- clear weather and good visibility
- predictable conditions throughout the session
Changing wind conditions can quickly turn a relaxed photography trip into a challenging kite flying session. A beautiful location is not enough if the wind does not cooperate.
Selecting the Kite
Different kites have different strengths when it comes to KAP.
Large single-line kites such as deltas, rokkakus and flowforms are often excellent choices because they provide stable lift and can carry a camera rig at a comfortable height.
The kite must be able to lift:
- the camera
- the KAP rig
- batteries
- additional safety equipment
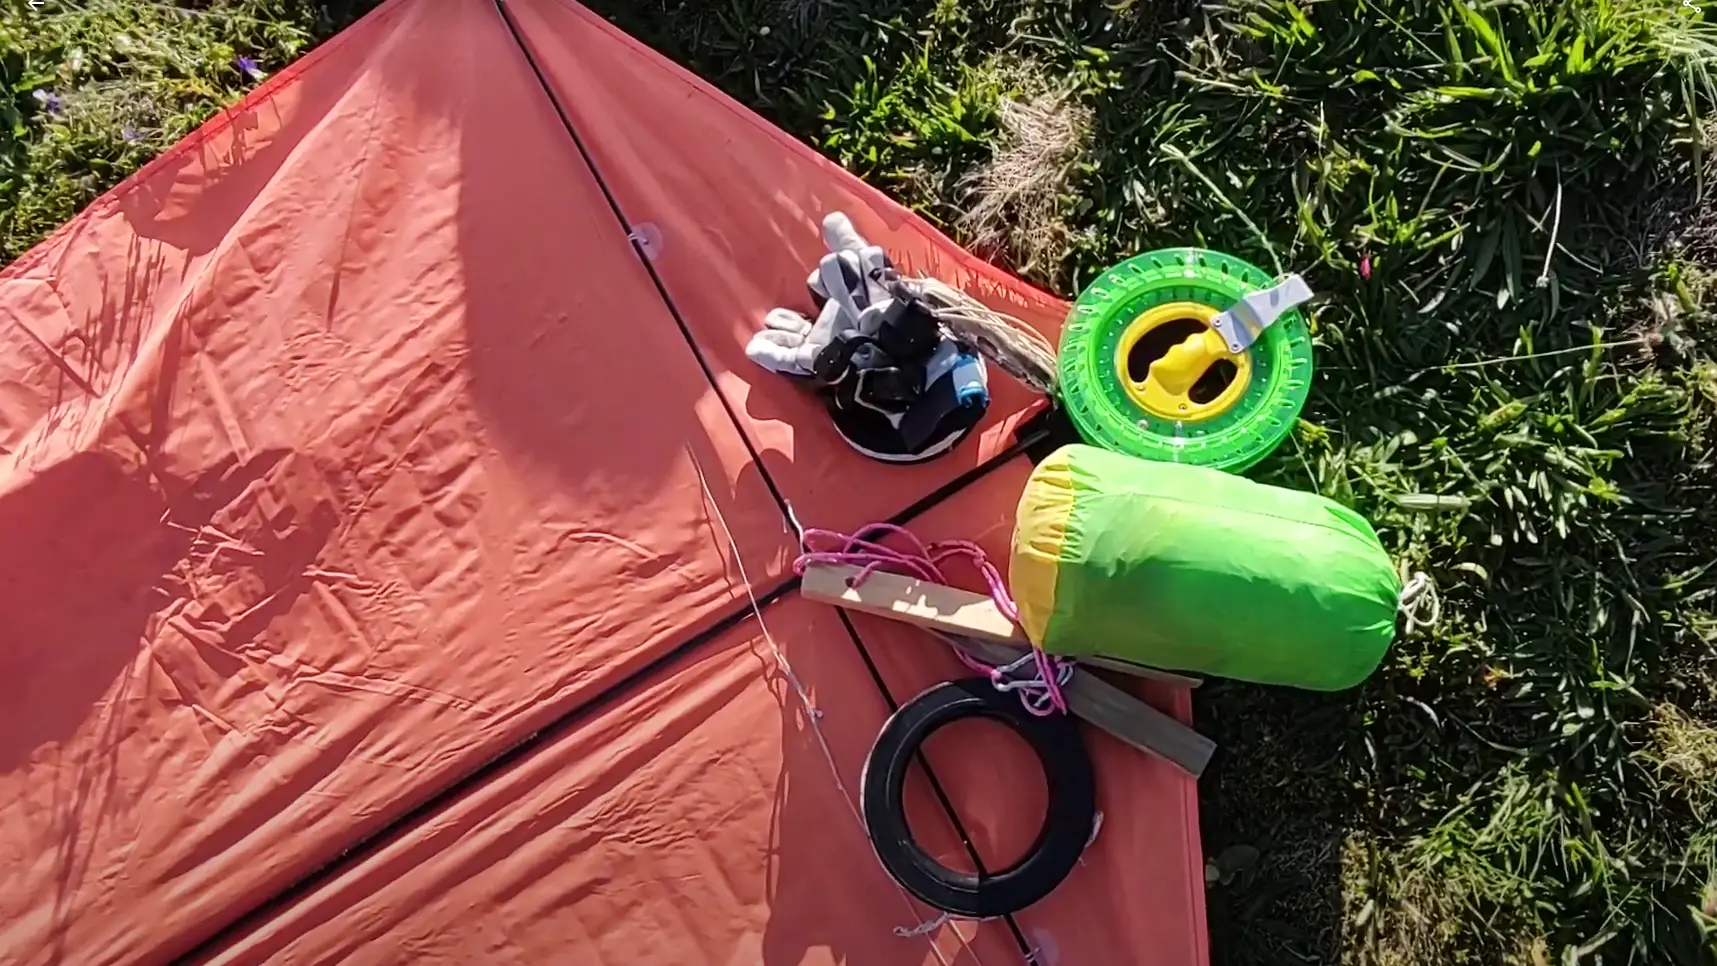
The goal is not simply to get the camera into the sky. The goal is to create a stable platform where the camera can capture sharp and interesting images.
For me, the kite is not just a tool. It is an important part of the experience. The sound of the wind in the sail, the feeling of tension in the line and the movement of the kite above the landscape are all part of what makes KAP special.
Preparing the Camera and KAP Rig
Before leaving home, I carefully check all equipment.
The camera needs to be ready, with:
- charged batteries
- enough storage space
- correct camera settings
- clean lens
The KAP rig also needs inspection. Small mechanical problems can become big problems several hundred metres above the ground.
I check:
- attachment points
- screws and connections
- suspension lines
- the Picavet system
- camera mounting
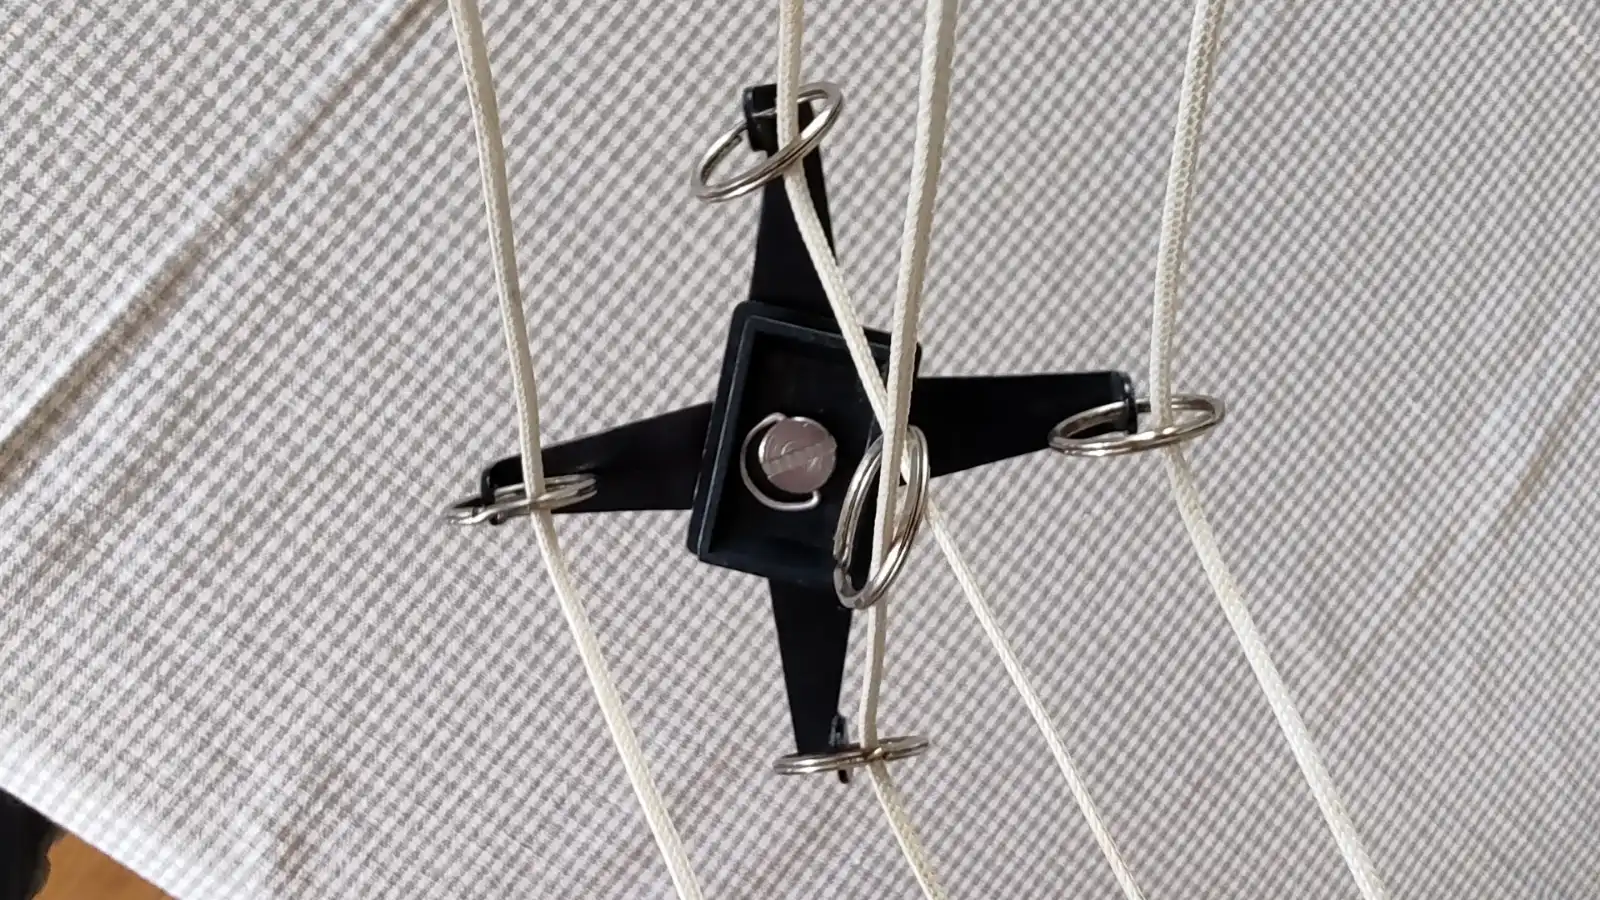
The Picavet suspension is one of the most fascinating parts of KAP. It allows the camera to hang from the kite line while keeping it relatively stable despite the movement of the kite.
Planning the Flight
Aerial photography is different from taking pictures on the ground. You cannot simply walk around and find the perfect angle. The camera is controlled indirectly through the kite.
Before launching, I think about:
- where the kite should fly
- what direction the wind will move the camera
- where the sun is positioned
- which landscape features should be included
Sometimes the best images happen unexpectedly. A slight change in wind direction can reveal a completely new perspective.
The Importance of Patience
KAP teaches patience.
Unlike drone photography, where you can immediately move the camera into position, kite photography depends on nature. The wind decides where the camera goes.
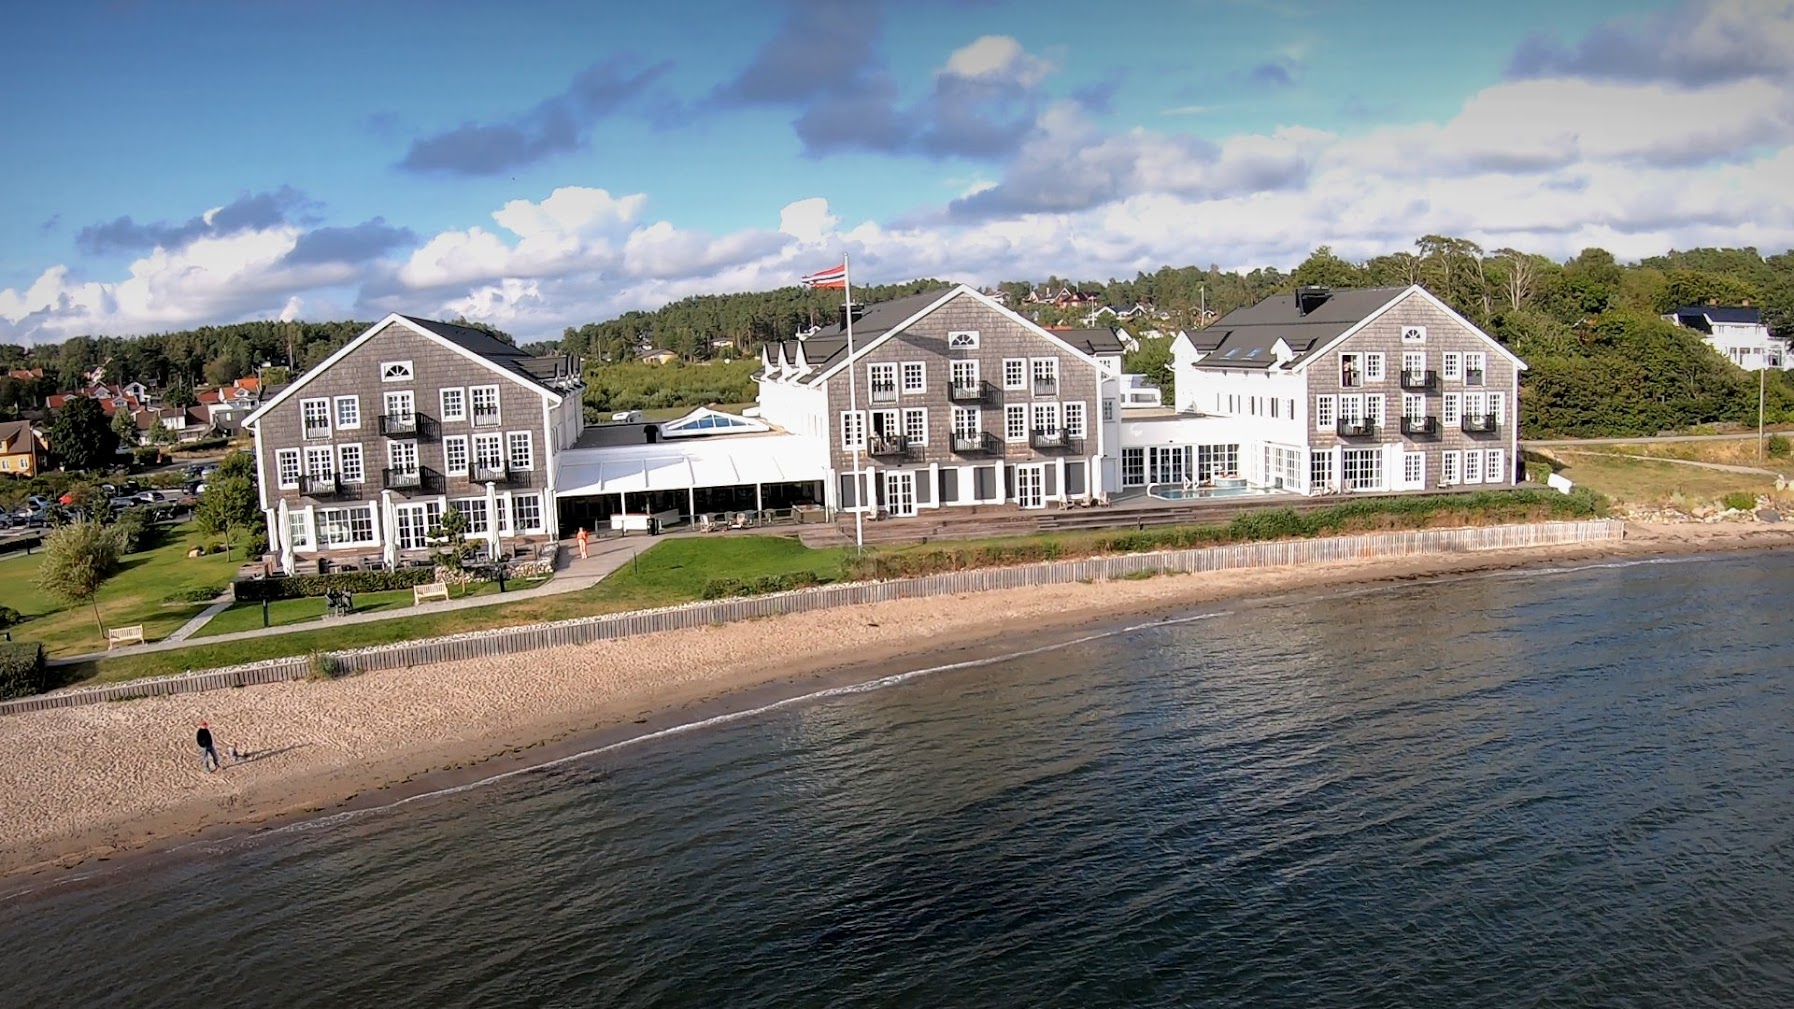
There may be moments when the kite needs to come down because the wind changes. Sometimes the perfect shot requires several attempts. Sometimes the best image appears when you are simply waiting and observing.
That is part of the charm.
KAP is not about controlling everything. It is about working together with the wind.
Safety First
A kite carrying a camera is a flying object with weight and power. Safety always comes first.
I always consider:
- people nearby
- changing weather conditions
- the strength of the kite line
- the space needed for launching and landing
A good KAP session should be enjoyable for everyone sharing the area.
Capturing More Than Just Images
For me, Kite Aerial Photography is about more than photographs.
It is about discovering places from a new perspective. It is about combining technology with something wonderfully simple: a kite flying in the sky.
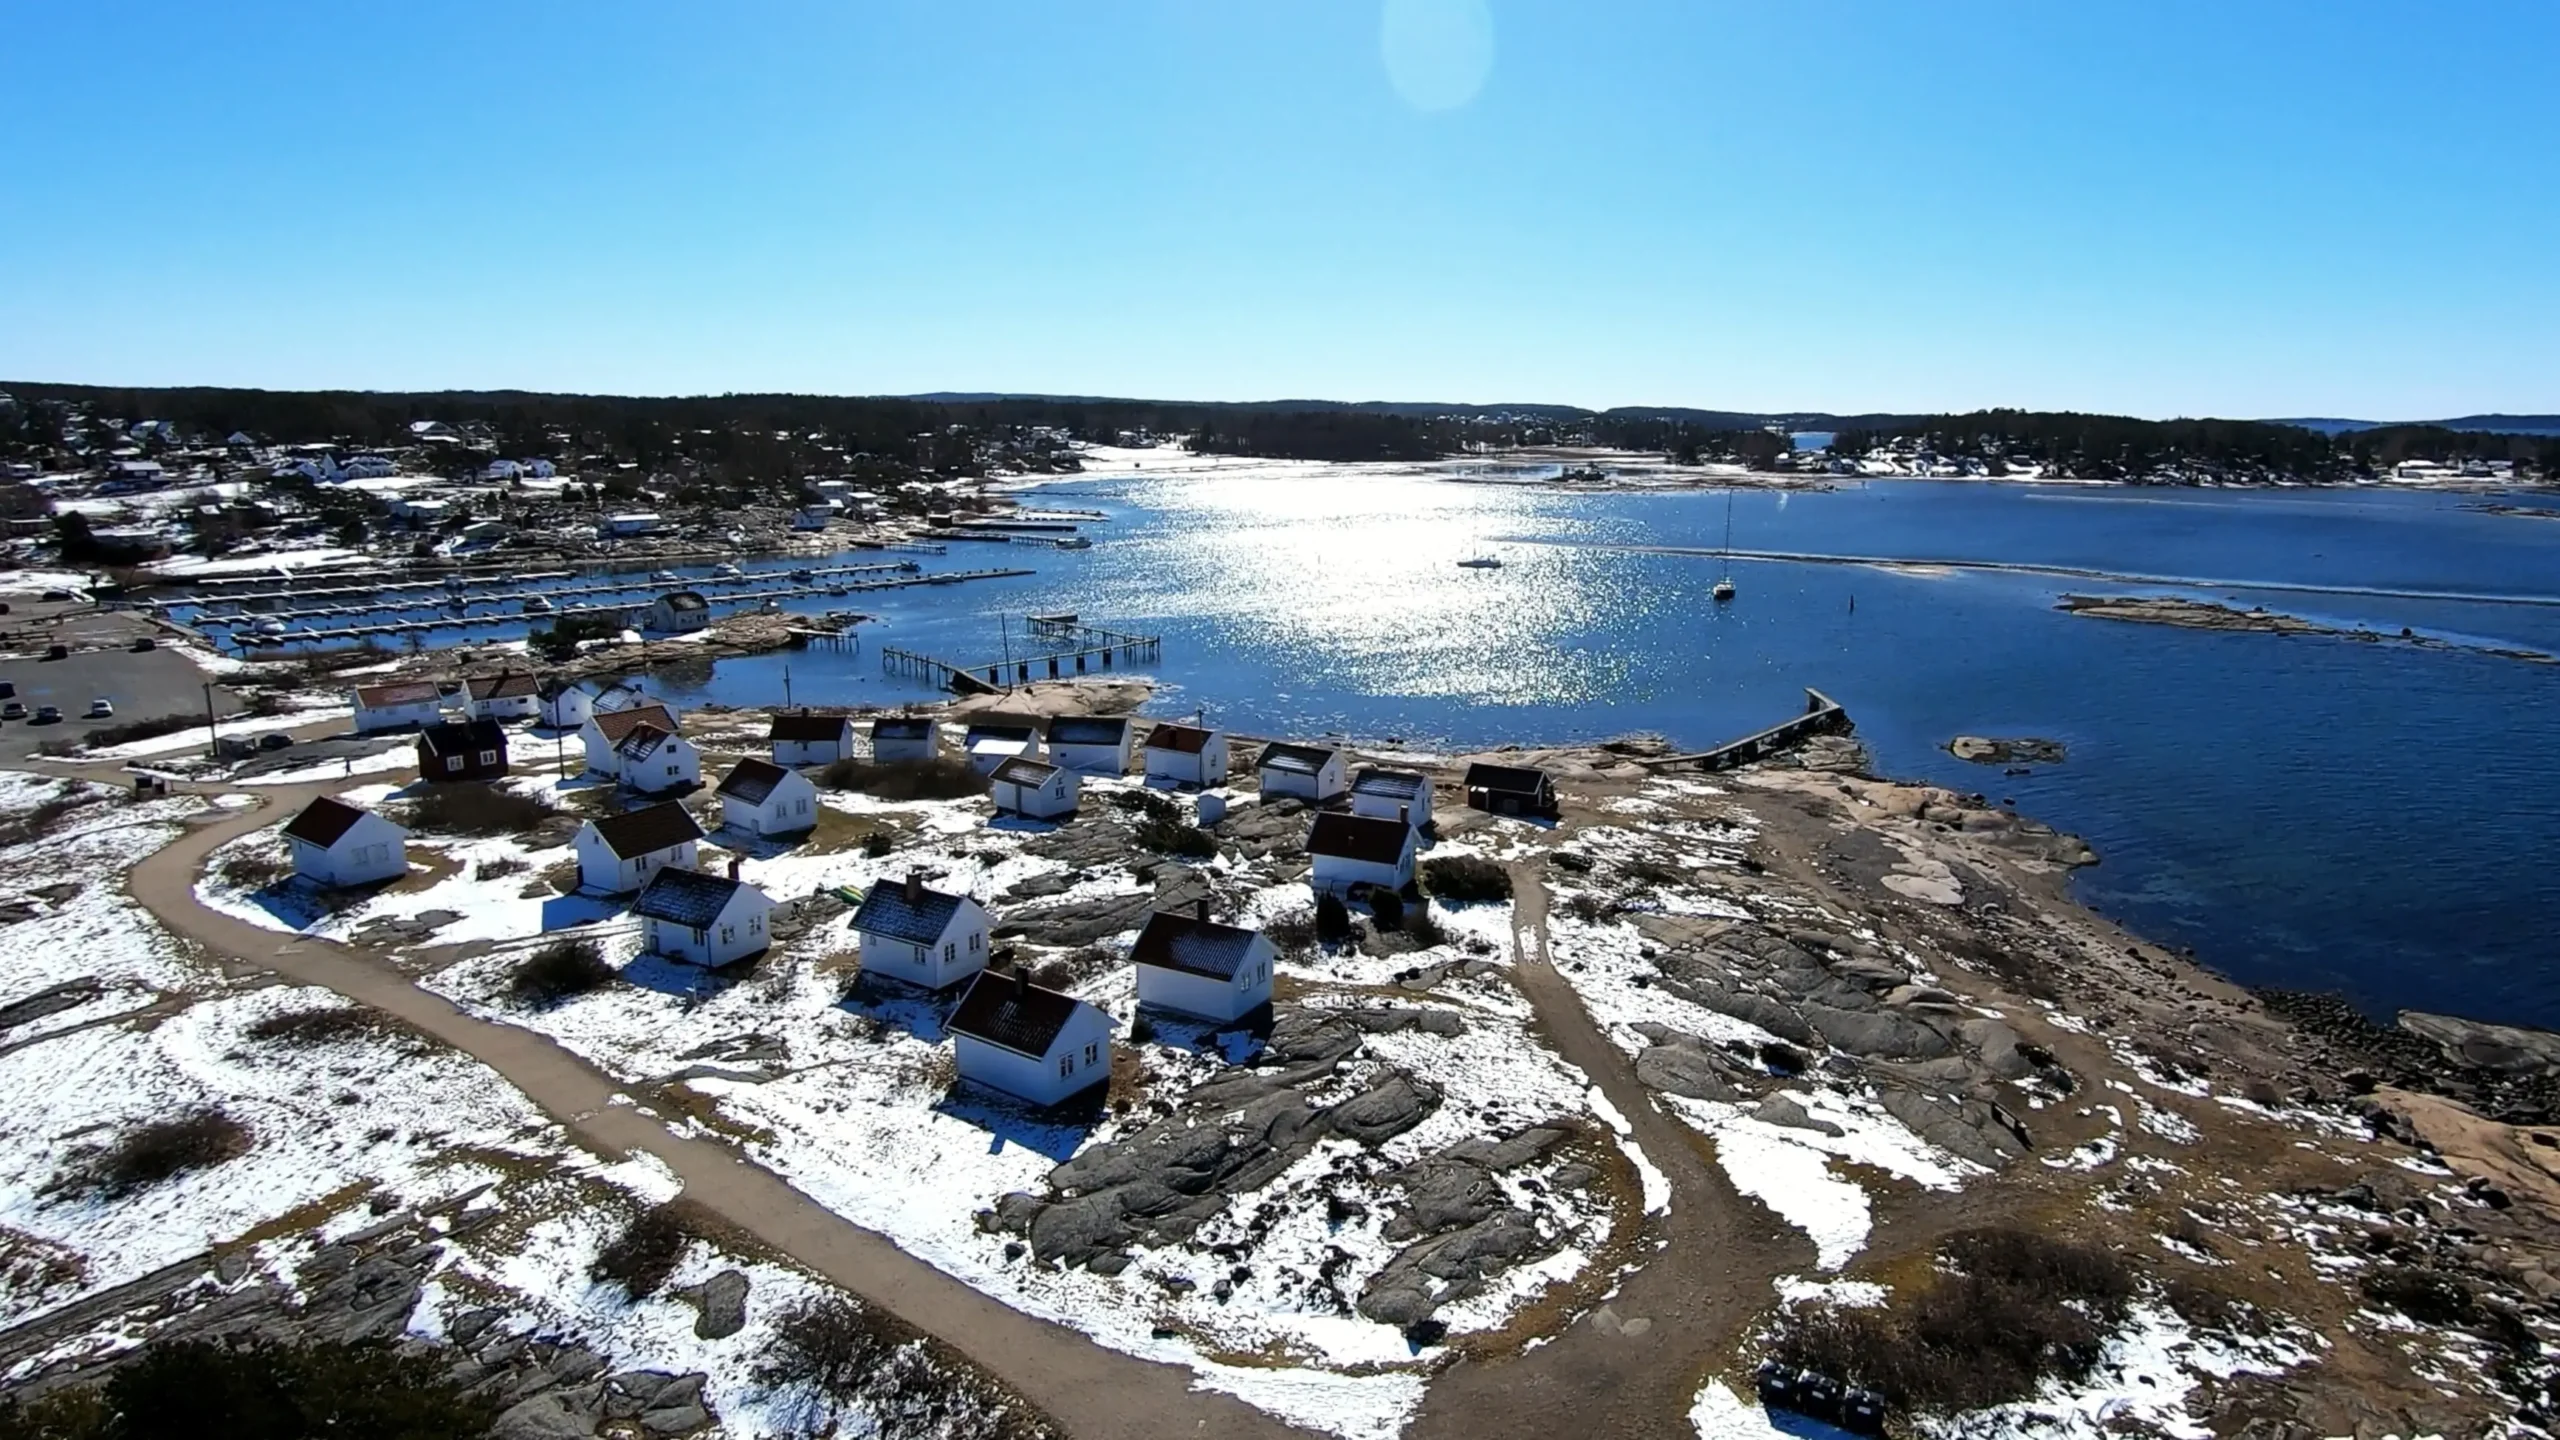
Every location has a story. Every landscape has patterns and details that are invisible from the ground. A kite gives us the opportunity to explore those hidden perspectives.
The preparation may take time, but when the kite rises, the camera starts capturing images and the landscape slowly unfolds below, all the planning becomes worthwhile.
The wind has become a camera operator.
And the sky has become the studio.