All right… There might be many things you can do, but I’m going to focus on three different … variables:
- Tails
- Flying line
- How to fly
Tails for Stability
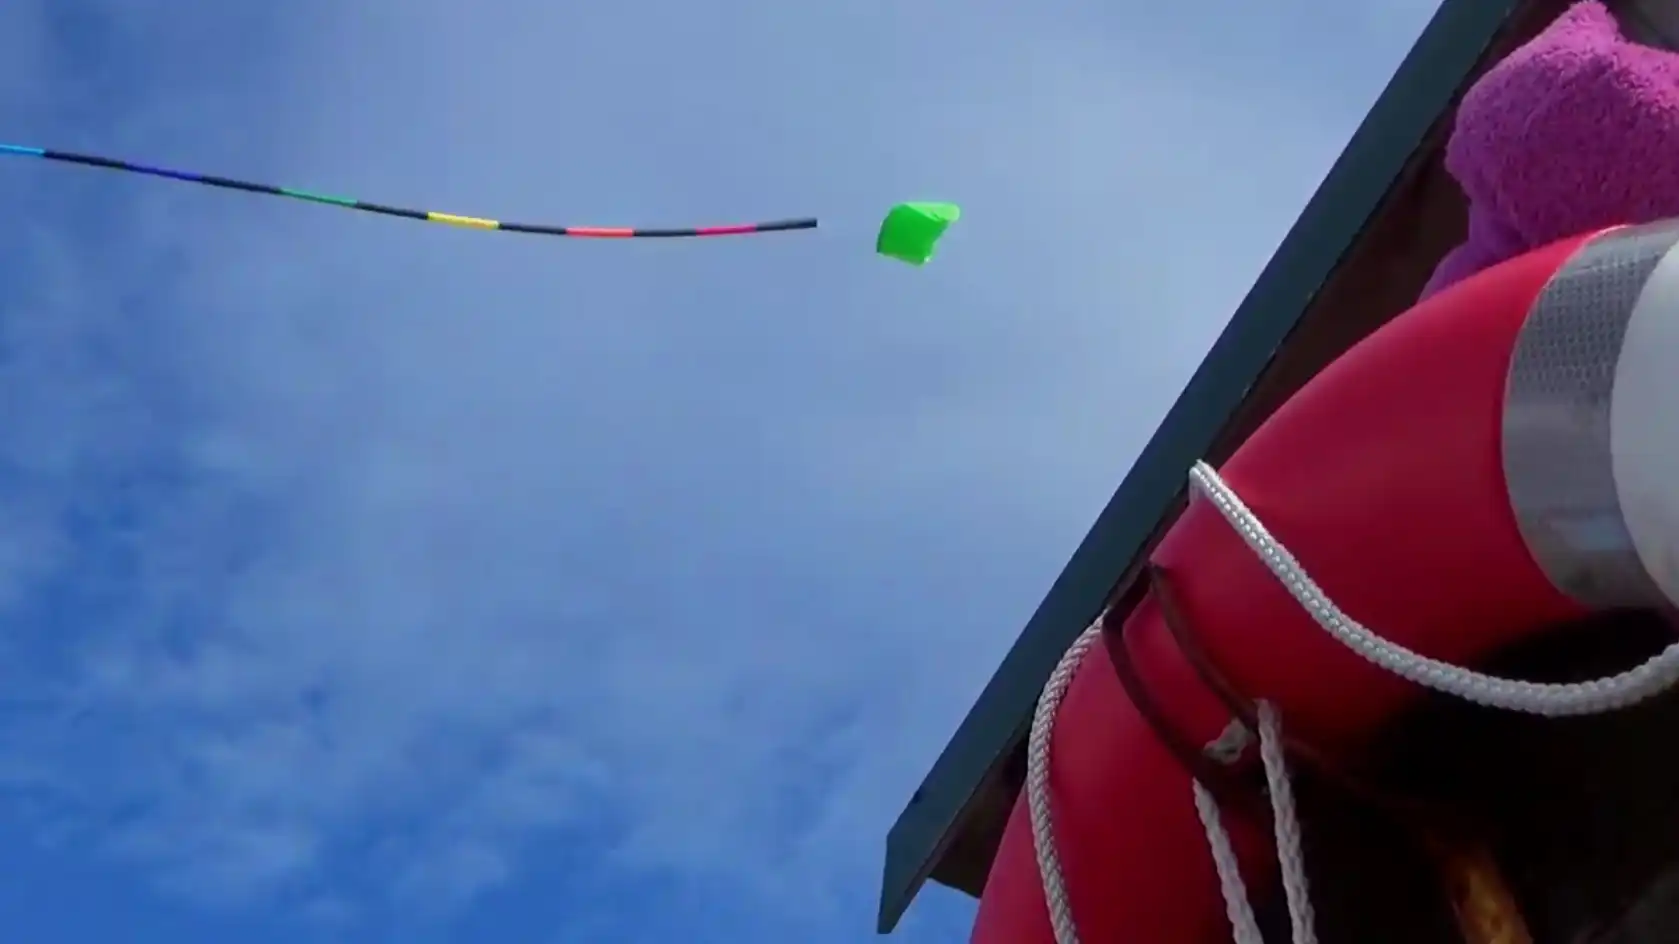
While kite tails are a quick and often easy way to add colour and flair to your kite, more importantly, kite tails also help to keep the kite stable and pointed in the right direction! A tail stabilizes your kite in stronger winds by adding weight and drag to its lower end.
So adding a kite tail is possibly the easiest and quickest way to make your kite stabilize itself and that’s why I always carry a handful of them in my KAP bag.
I have flat tails of various lengths, from just three, four meters up to thirty meters that I can attach to any of my kites for stabilisation. I also have a couple of tube tails that I can use in stronger winds. These tails add significantly more weight and drag to the kite so I use them only when the wind has really picked up.
The Flying Line
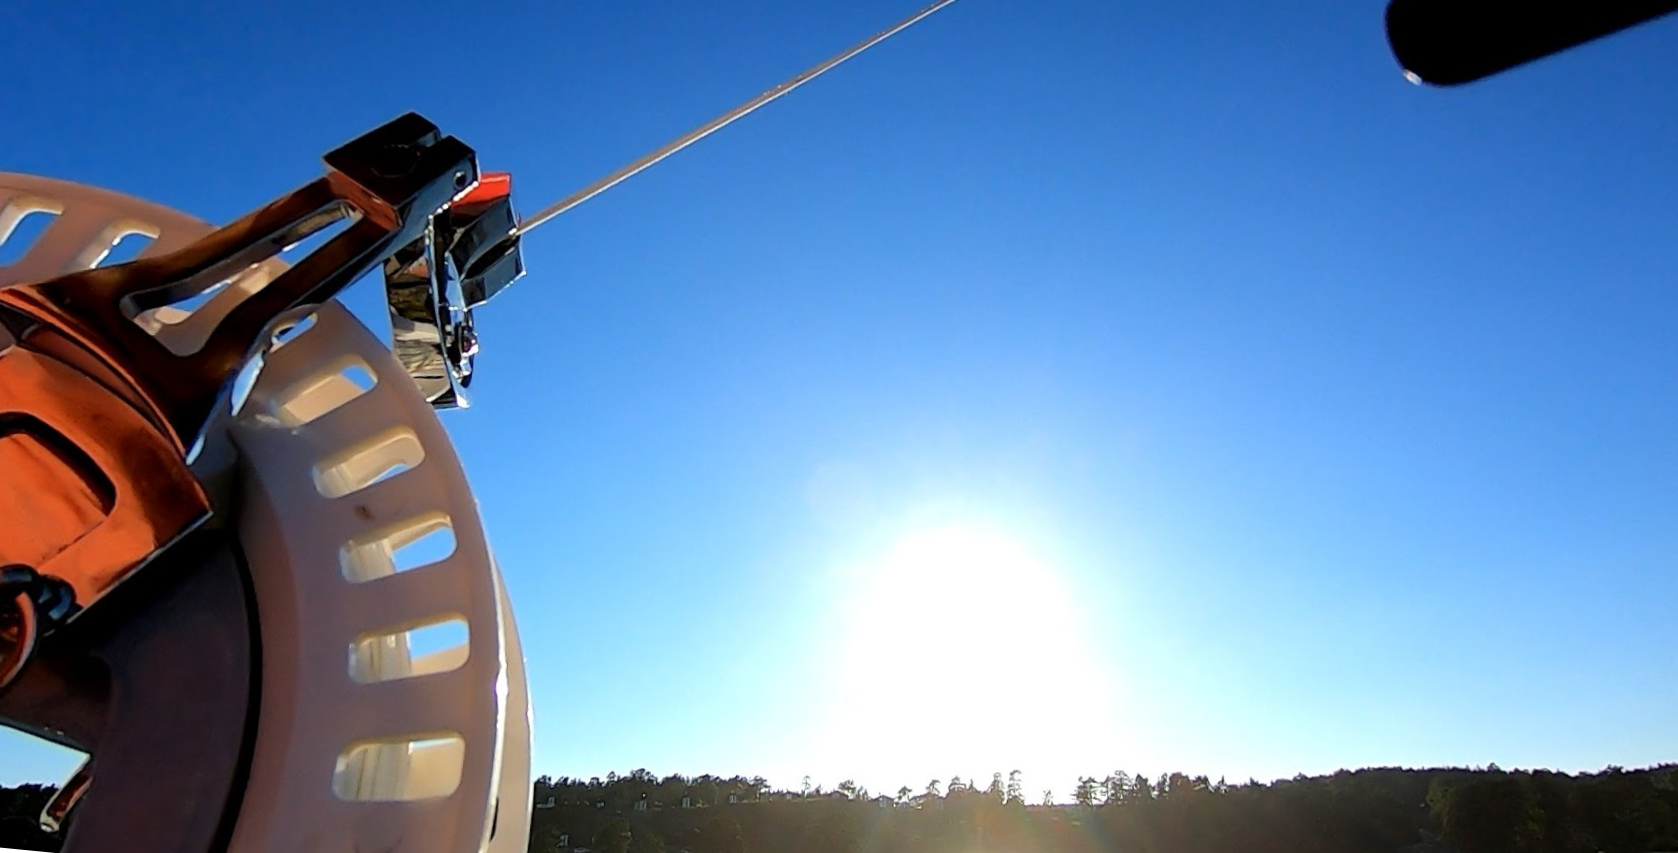
The flying line will also have an impact on the kite’s stability in the air.
Of course, you will have to pay attention to the wind speed and the pull of the kite when selecting the flying line. But you should also have in mind that using a line with the “right” combination of breaking strength, thickness, elasticity and weight can improve your kite’s flight stability.
If you have the time, playing around with different flying lines will let you come up with a good combo. …or else you will learn with experience!
How to Fly?

All right then…. Now I have chosen my prefered kite, put a tail on it and I even think I’ve selected the best flying line for the current conditions. But my kite is not quite as stable as I would like. What do I do?
No worries! You can actually do even more to improve the stability of your kite! I know that if you take at least three additional aspects into consideration, your kite will take on a more stable flight hence improving the quality of your aerial video or photos!
- Location
- Conditions
- Altitude
Location
The surroundings will have a significant impact on the wind and then again on your kite’s stability. Avoid flying close to objects that will affect the wind and create turbulence. Such as buildings, trees, heights, and other similar objects. Remember that the turbulence flow distance is ten times longer than the object’s (that creates the turbulence) height!
So staying away from any object that might create turbulence will ensure a more stable flight!
Conditions
You should also pay attention to the (wind) conditions. The wind comes in many variations and a bit of good advice is to check the weather forecast and look for information on the wind. You know, wind speed, fluctuations in the wind speed and – of course – wind direction.
When considering what impact these three factors can have on your flying – and making the best out of it – will also improve the stability of your kite.
Altitude
But what if you want to fly in a location that’s surrounded by objects creating turbulence. Can I still fly there?
Yes, there might be a solution! Fly your kite higher!
The wind is often (much) smoother as the kite climbs higher. Up high, the wind is normally not (as) affected by the objects creating the turbulence as when flying at a lower altitude. The difference in flying lower compared to higher is sometimes pretty amazing!
Have in mind though that by flying your kite higher in the air you will also have to let out more flying line. More line means also more weight for the kite to lift and this can have an impact on your kite’s ability to lift the KAP-rig.
Please note!
The wind is normally also a bit stronger as you climb higher with your kite. Keep that in mind when you select your flying line!
A Quick Summary
So now you should have added a handful of “tools” for improving your kite’s stability up there in the air! Hopefully, these “tools” will improve the quality of your aerial video and photography too.
But wait! We’re not done yet! I’ve still got more for you, so stay tuned for the fourth article in this little How To KAP series of mine: The Hardware!
Listen to this!