This time I’m going to take you all along the process, from the very start, creating the templates, to the very end, flying the kite!
So let’s just jump right into it!
First of all, I made sure I had all the required fabrics, the mesh along the leading edge, icarex for the sail and dacron for the leading edge pocket and various reinforcements.
Templates
This time I decided to do a bit more than using just one piece of icarex per wing half so I cut the one-wing-half-template into four smaller ones and put them all together to one wing half in different colours.
Marking the icarex
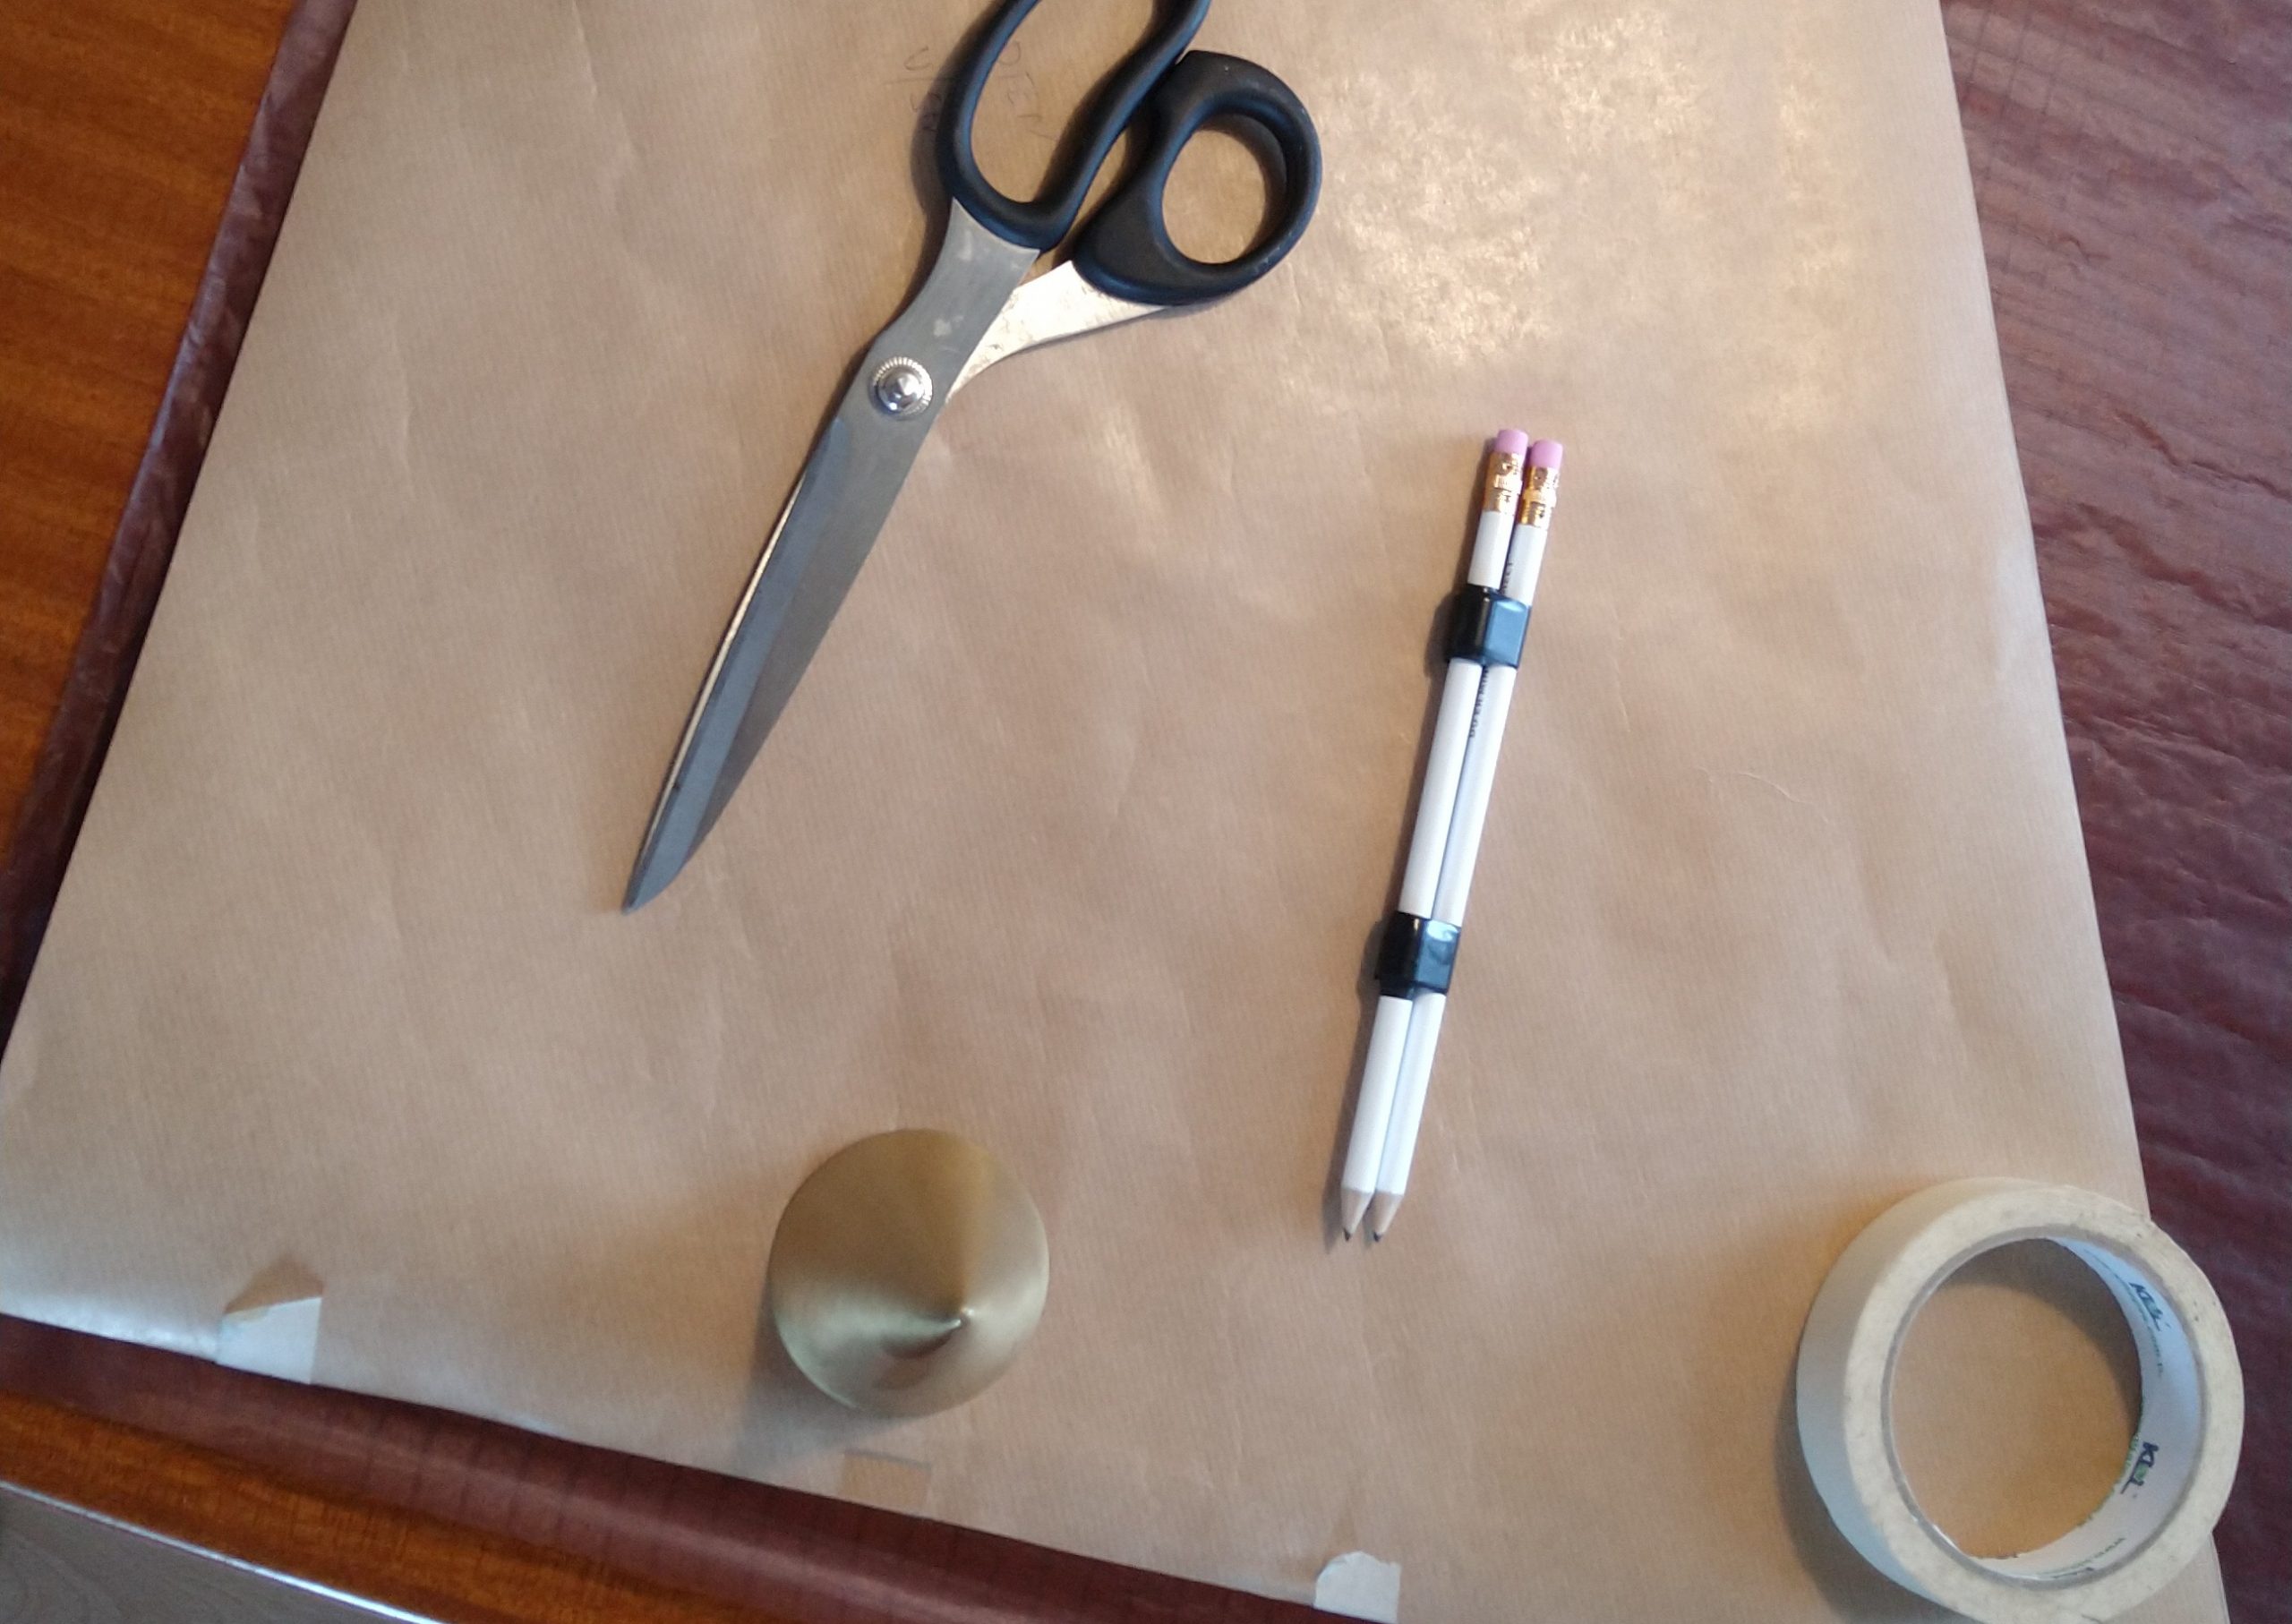
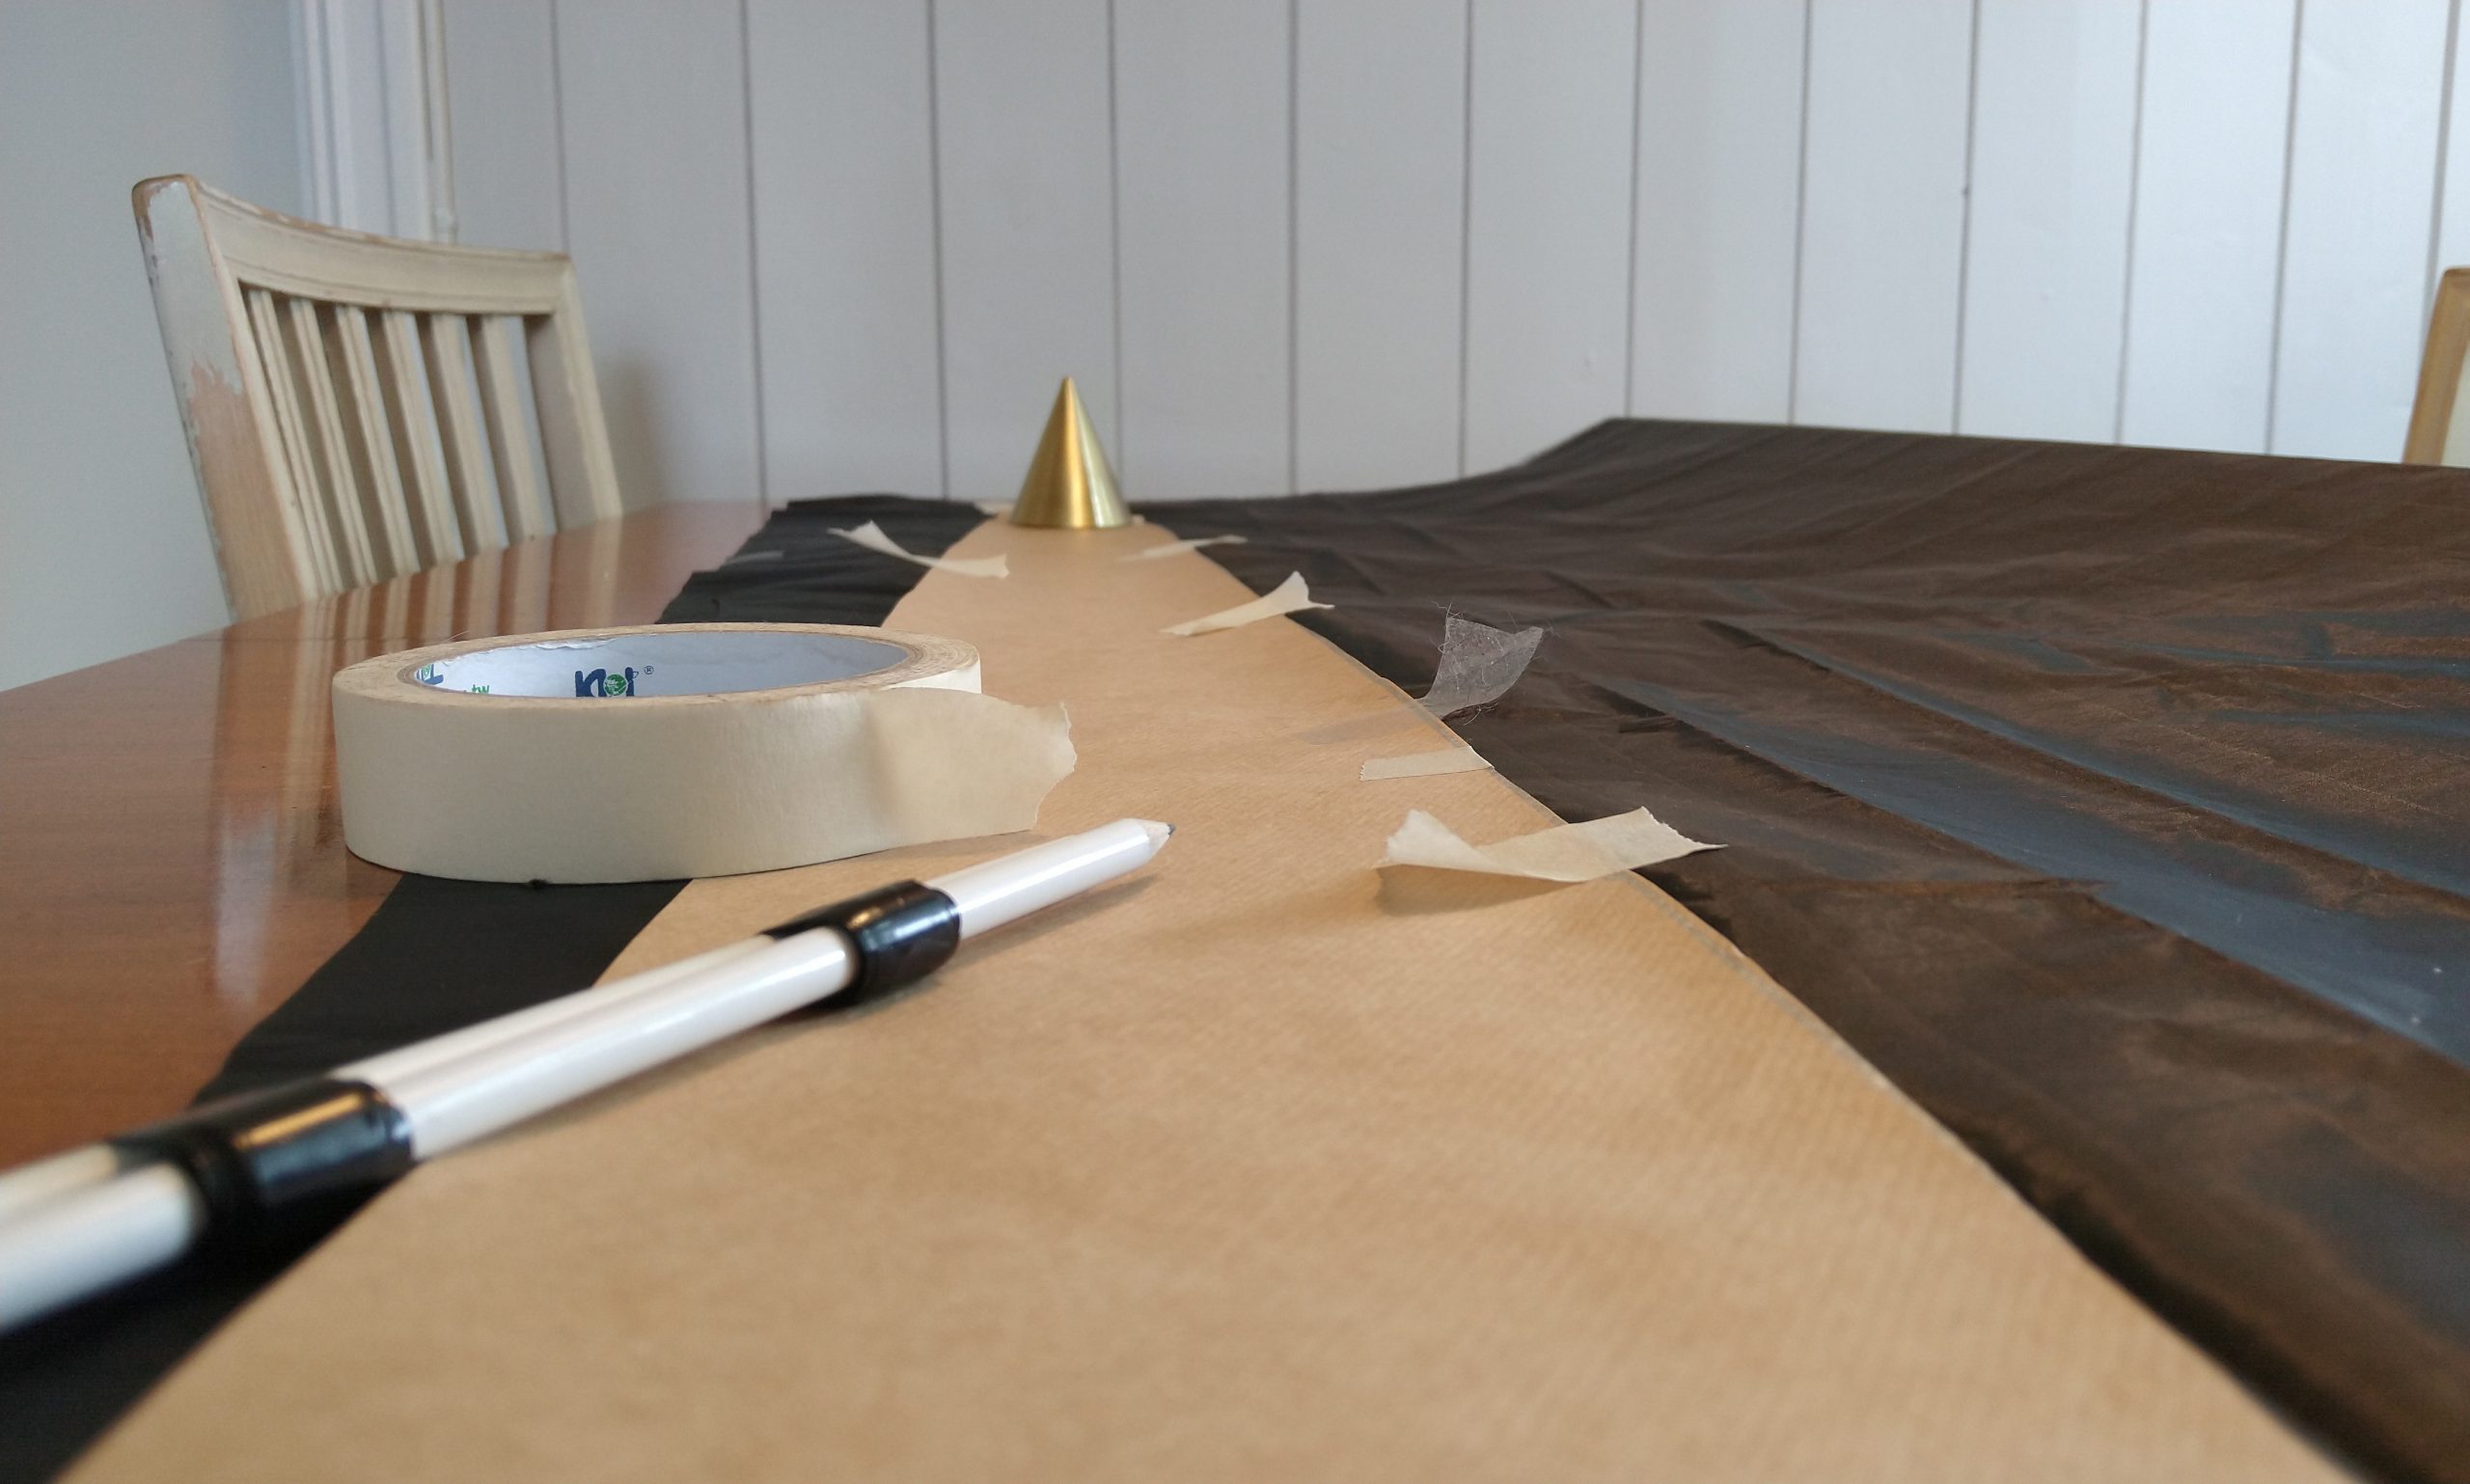
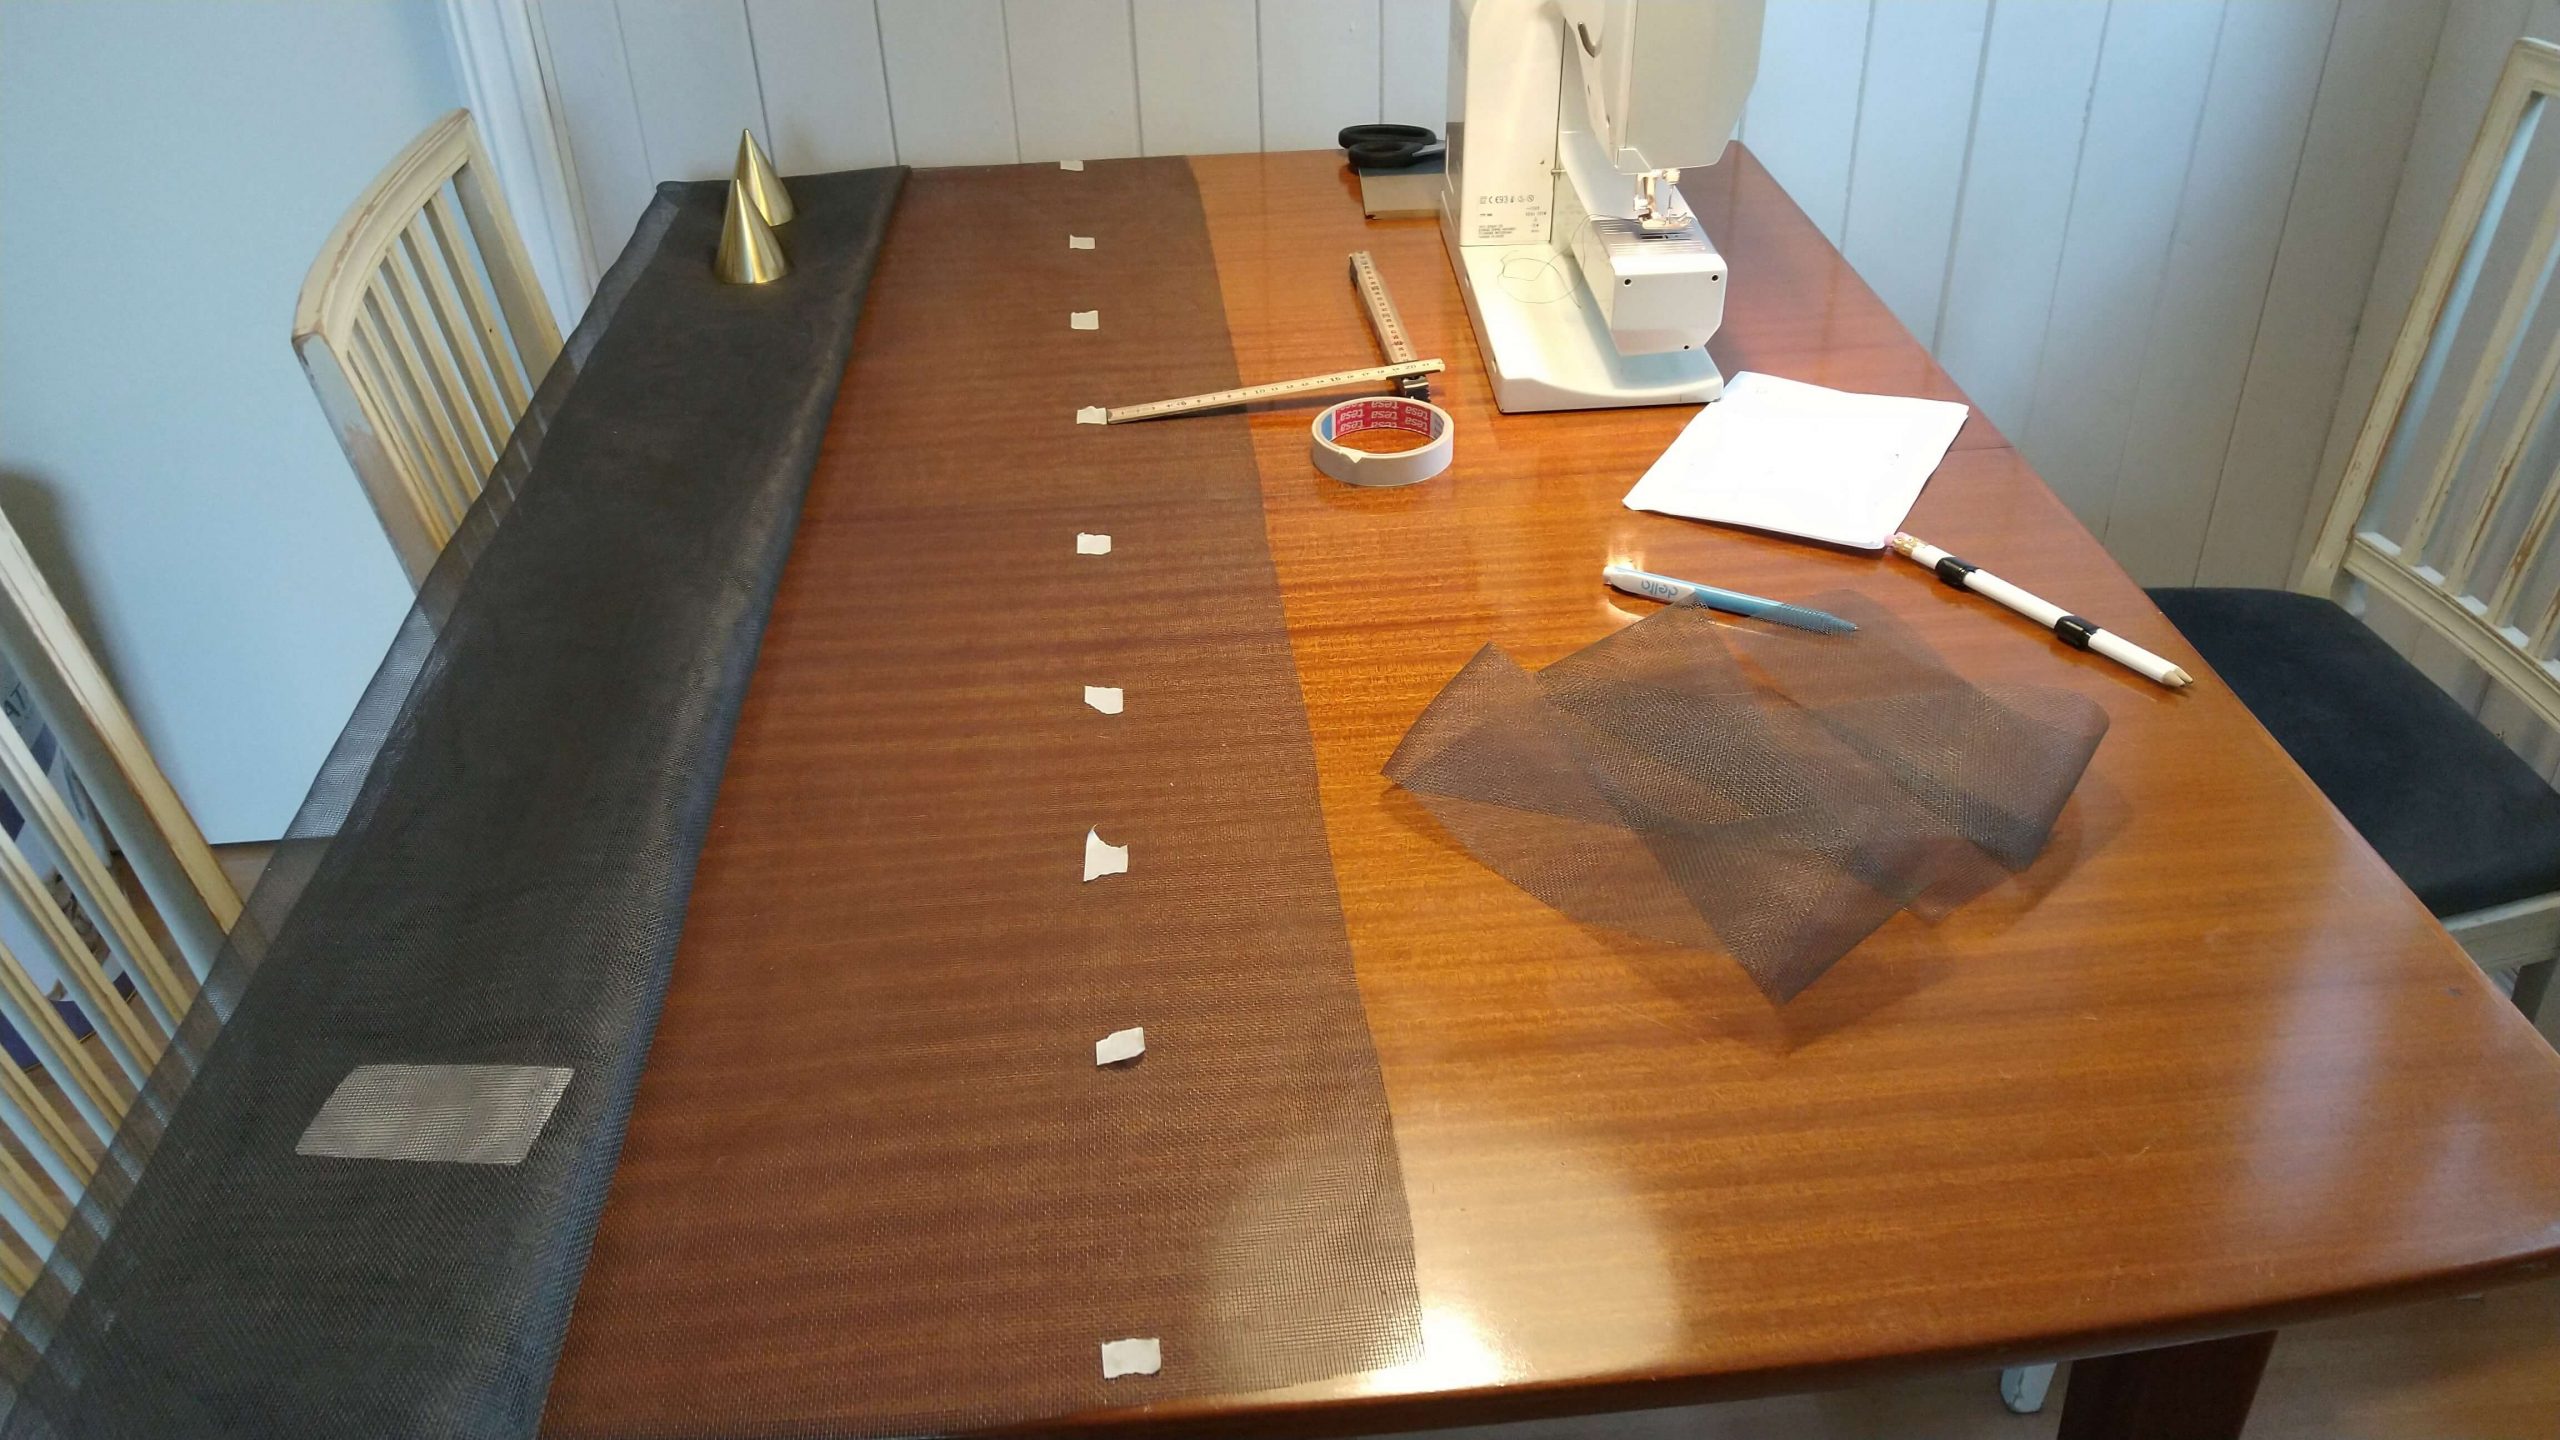
When all the templates were ready, I started to mark the icarex drawing around the templates using two pencils taped together. On pencil marking the edges of the template while the other one drawing seam/hem allowance! Finally, all icarex for both wing halves were marked and ready for cutting.
Cutting the icarex
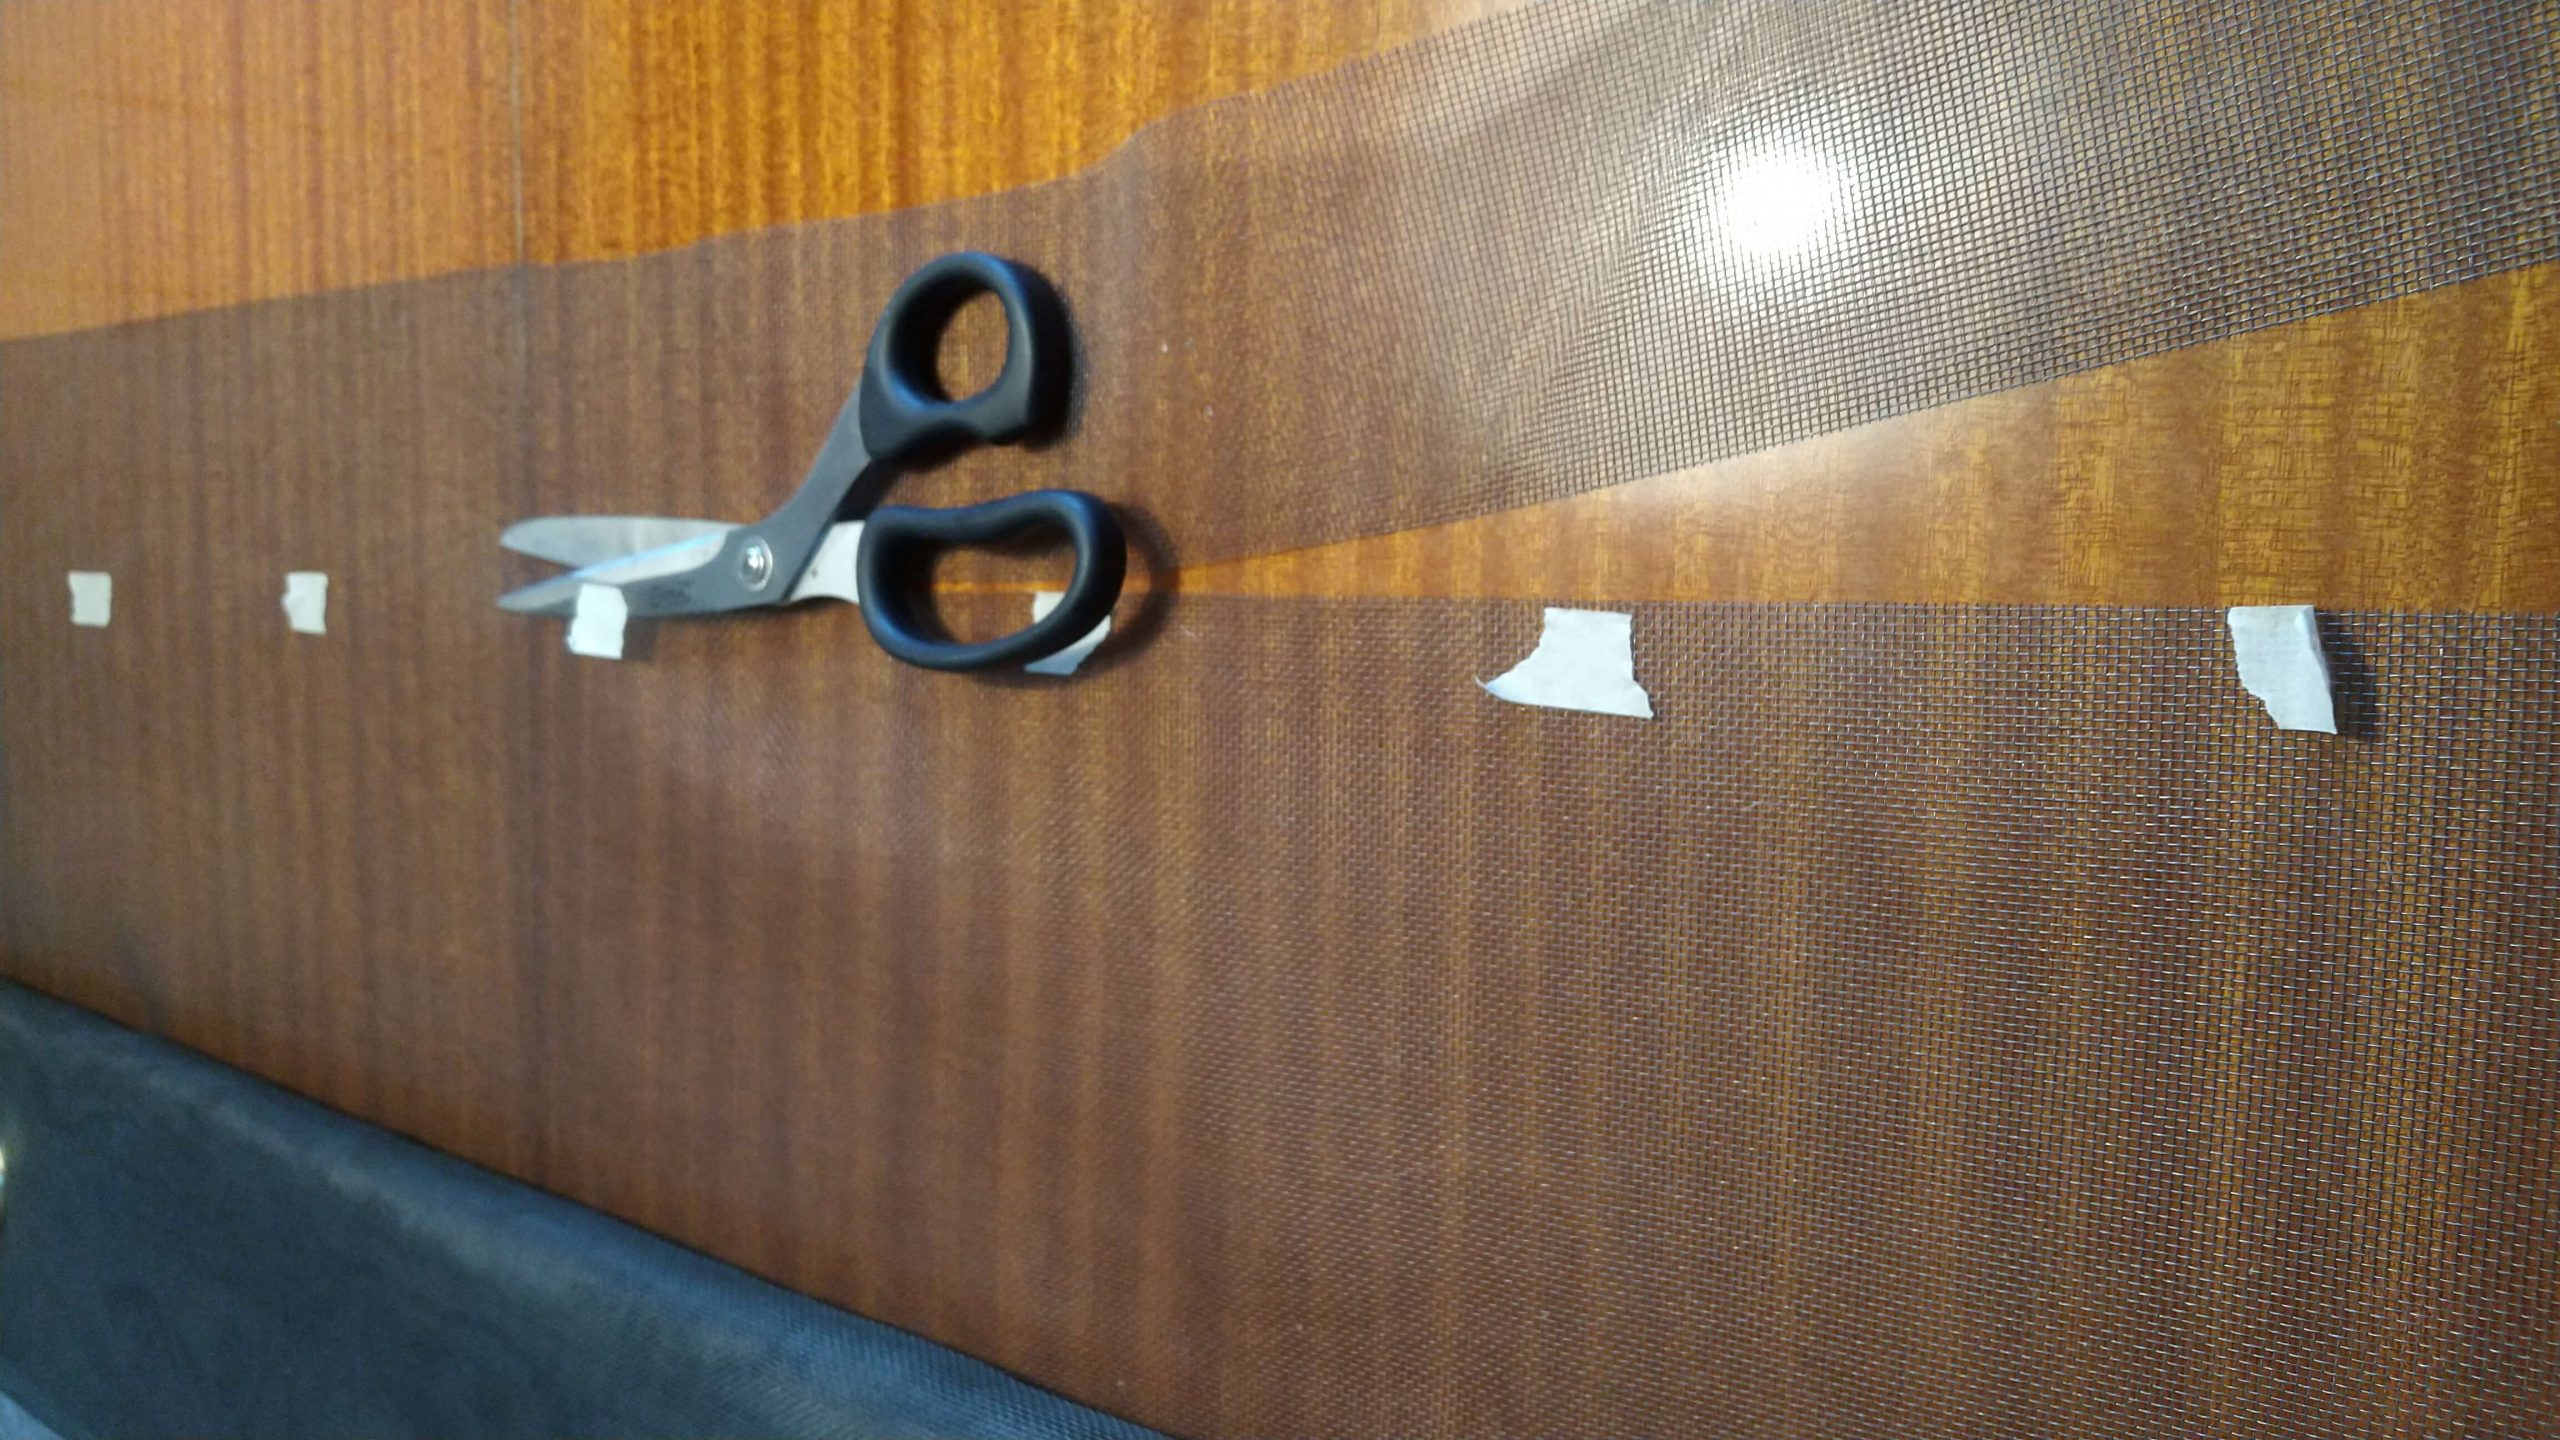
All template edges are straight lines, thus making them much easier to cut (than curved ones). I use a pair of scissors, open the blades slightly and just push the scissors forwards following the outer lines. This pushing makes the scissors cut through the icarex easily and as mentioned above, straight lines are no trouble less to cut. Finally, I cut the two “stripes” of mesh for the venting along the kite’s leading edge.
Starting to sew
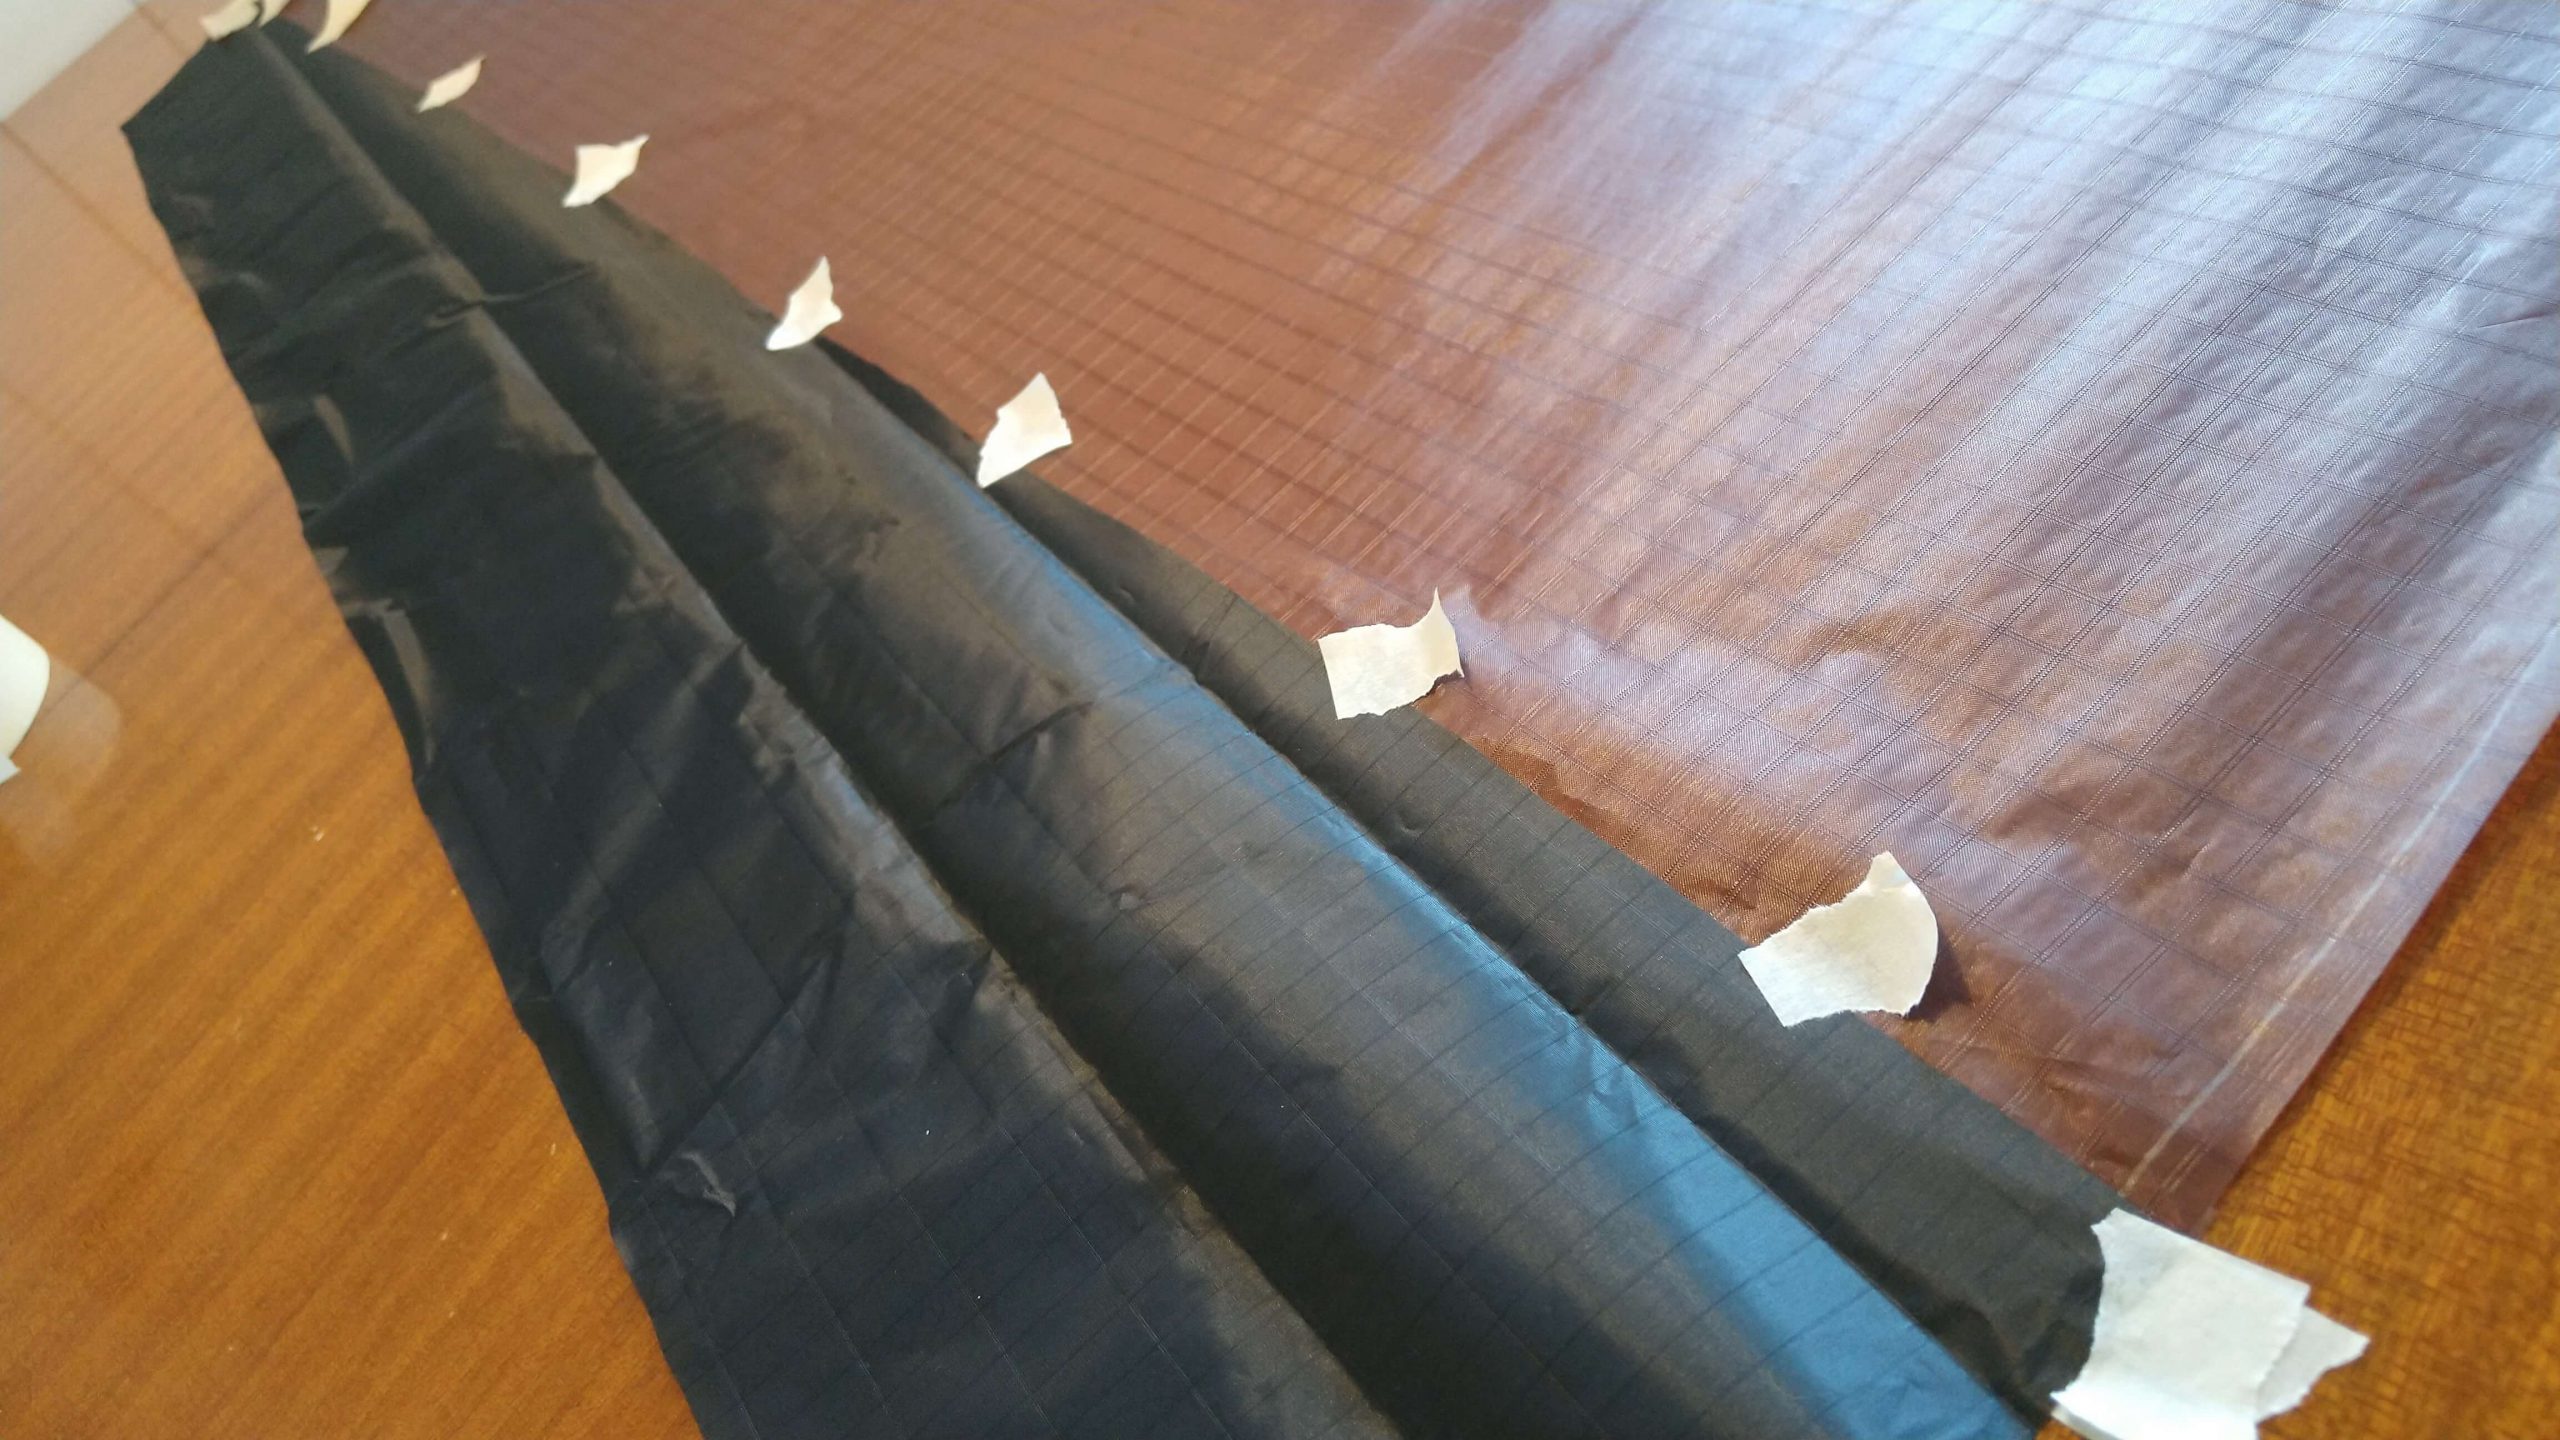
When all the icky pieces cut, it’s about time to start sewing, and my wife’s good old Bernina 1010 is up to the task.
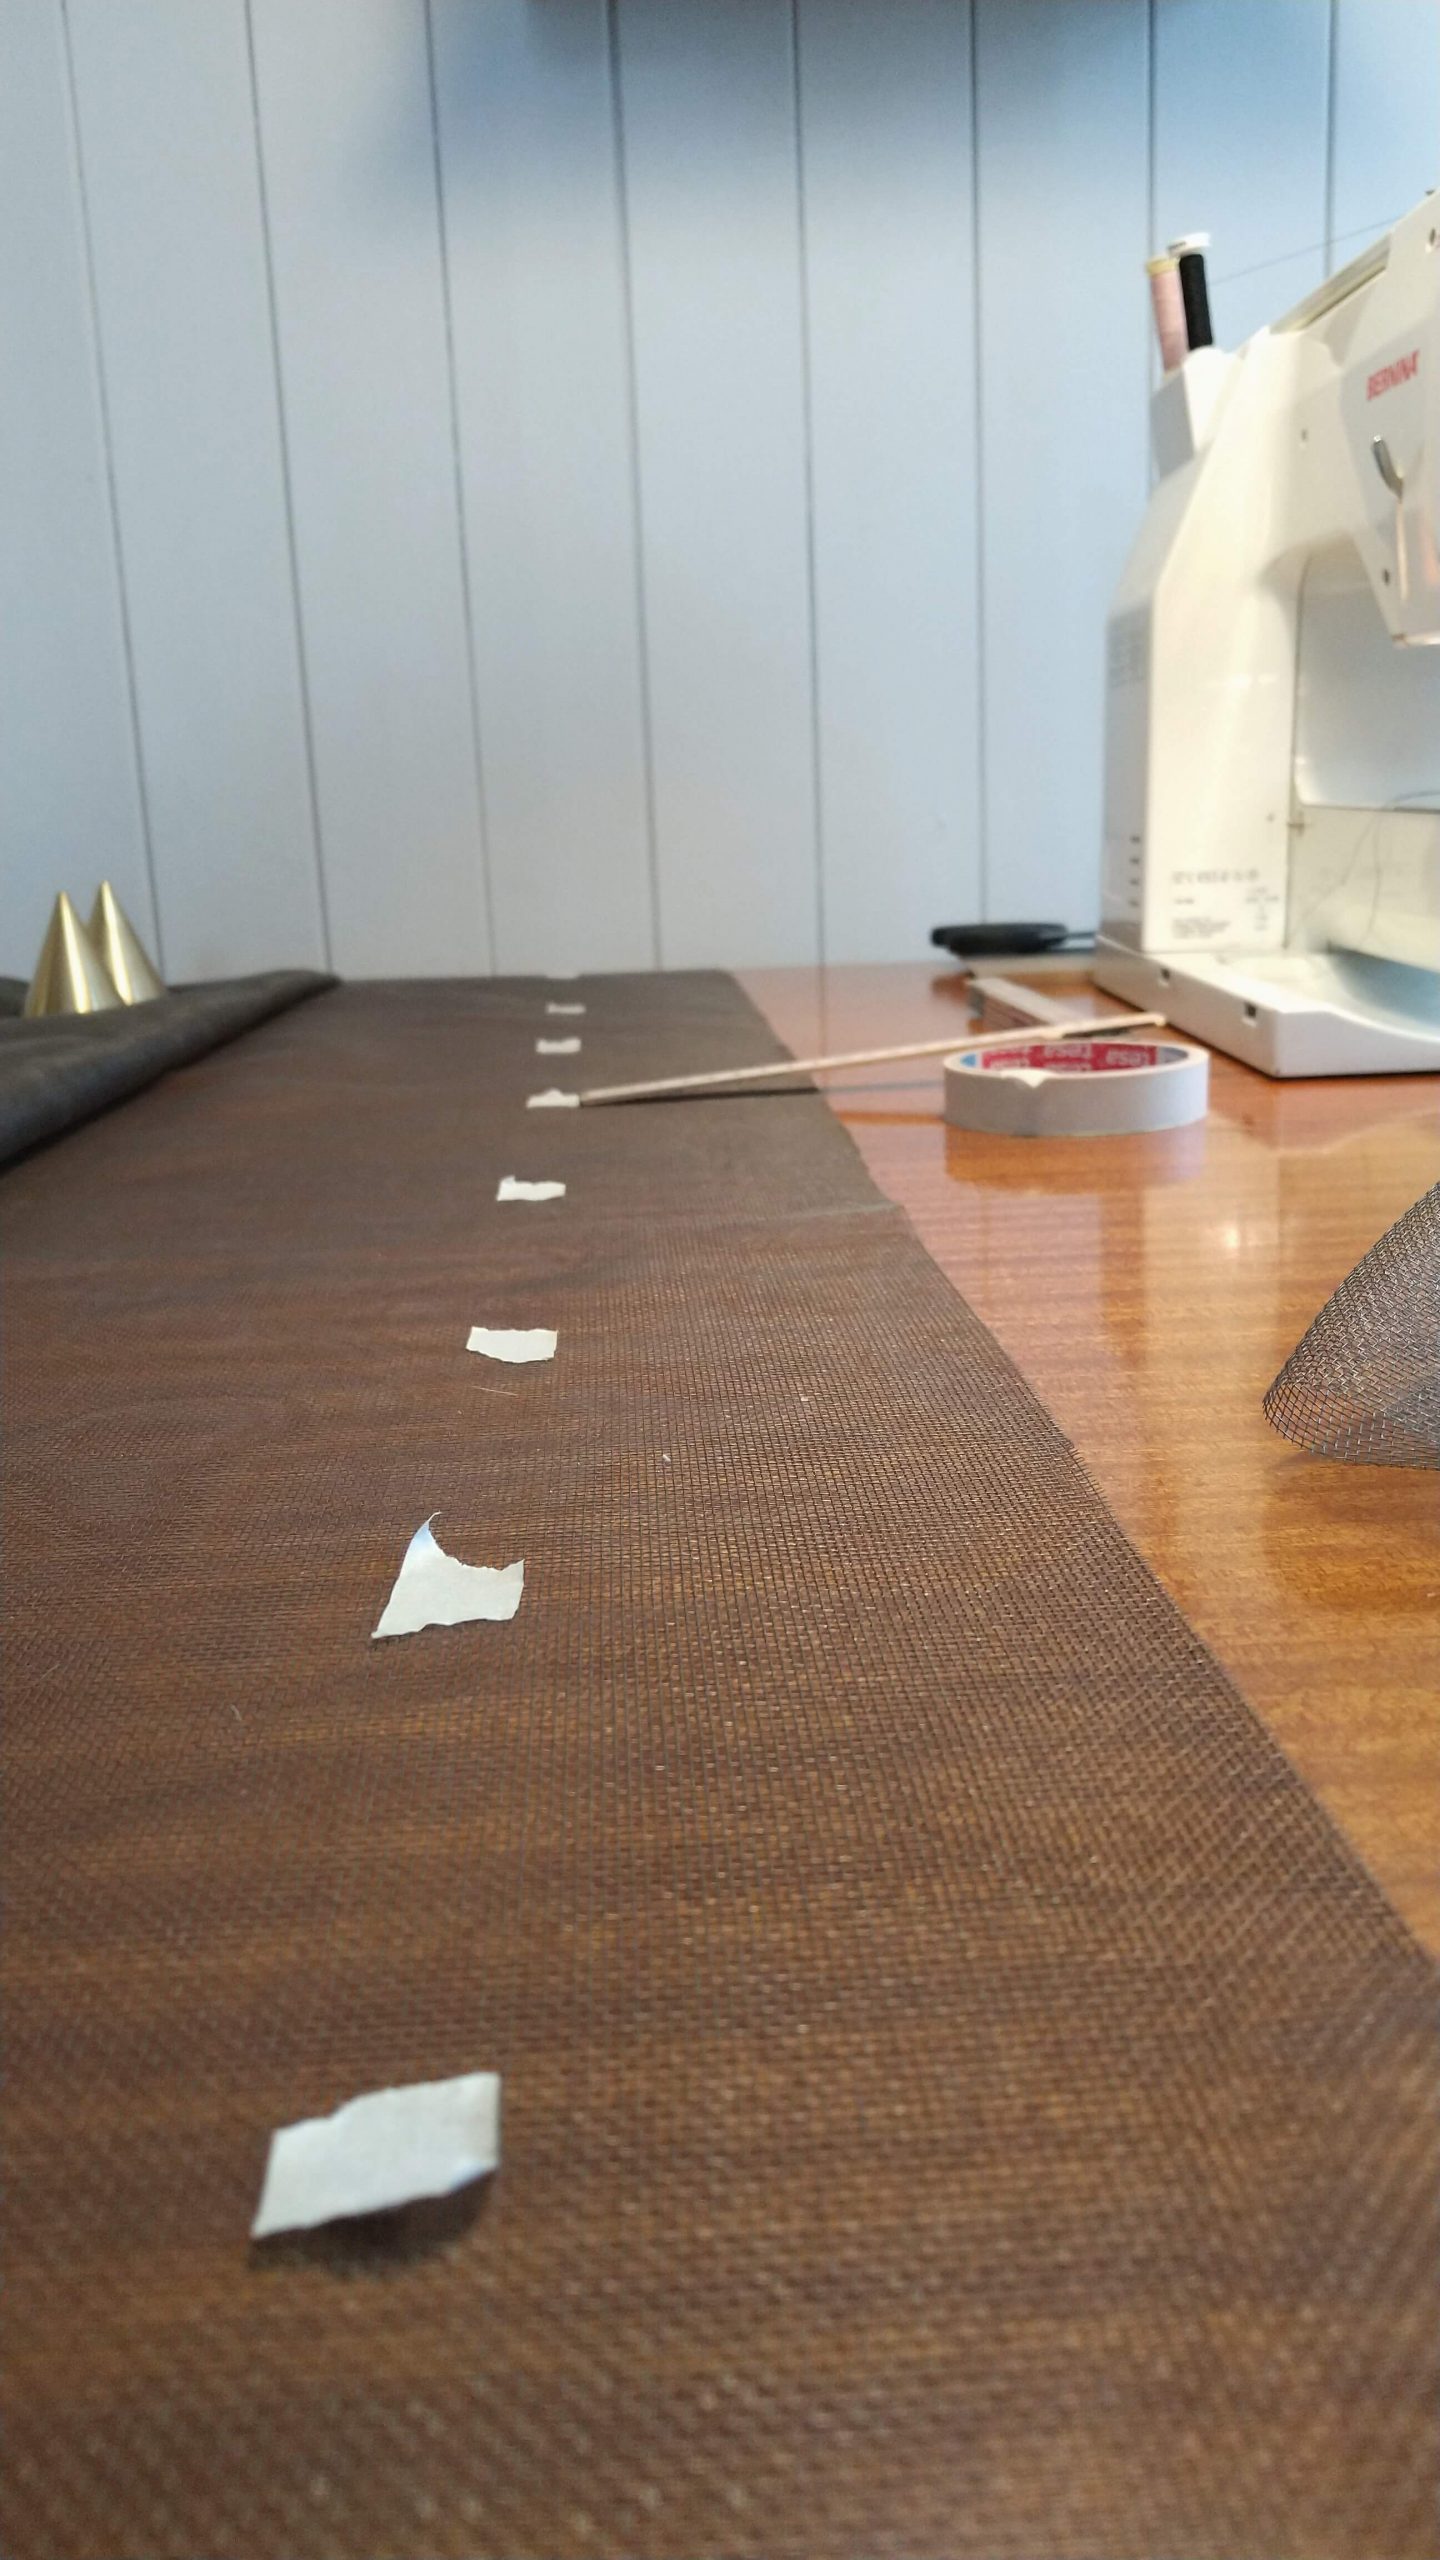
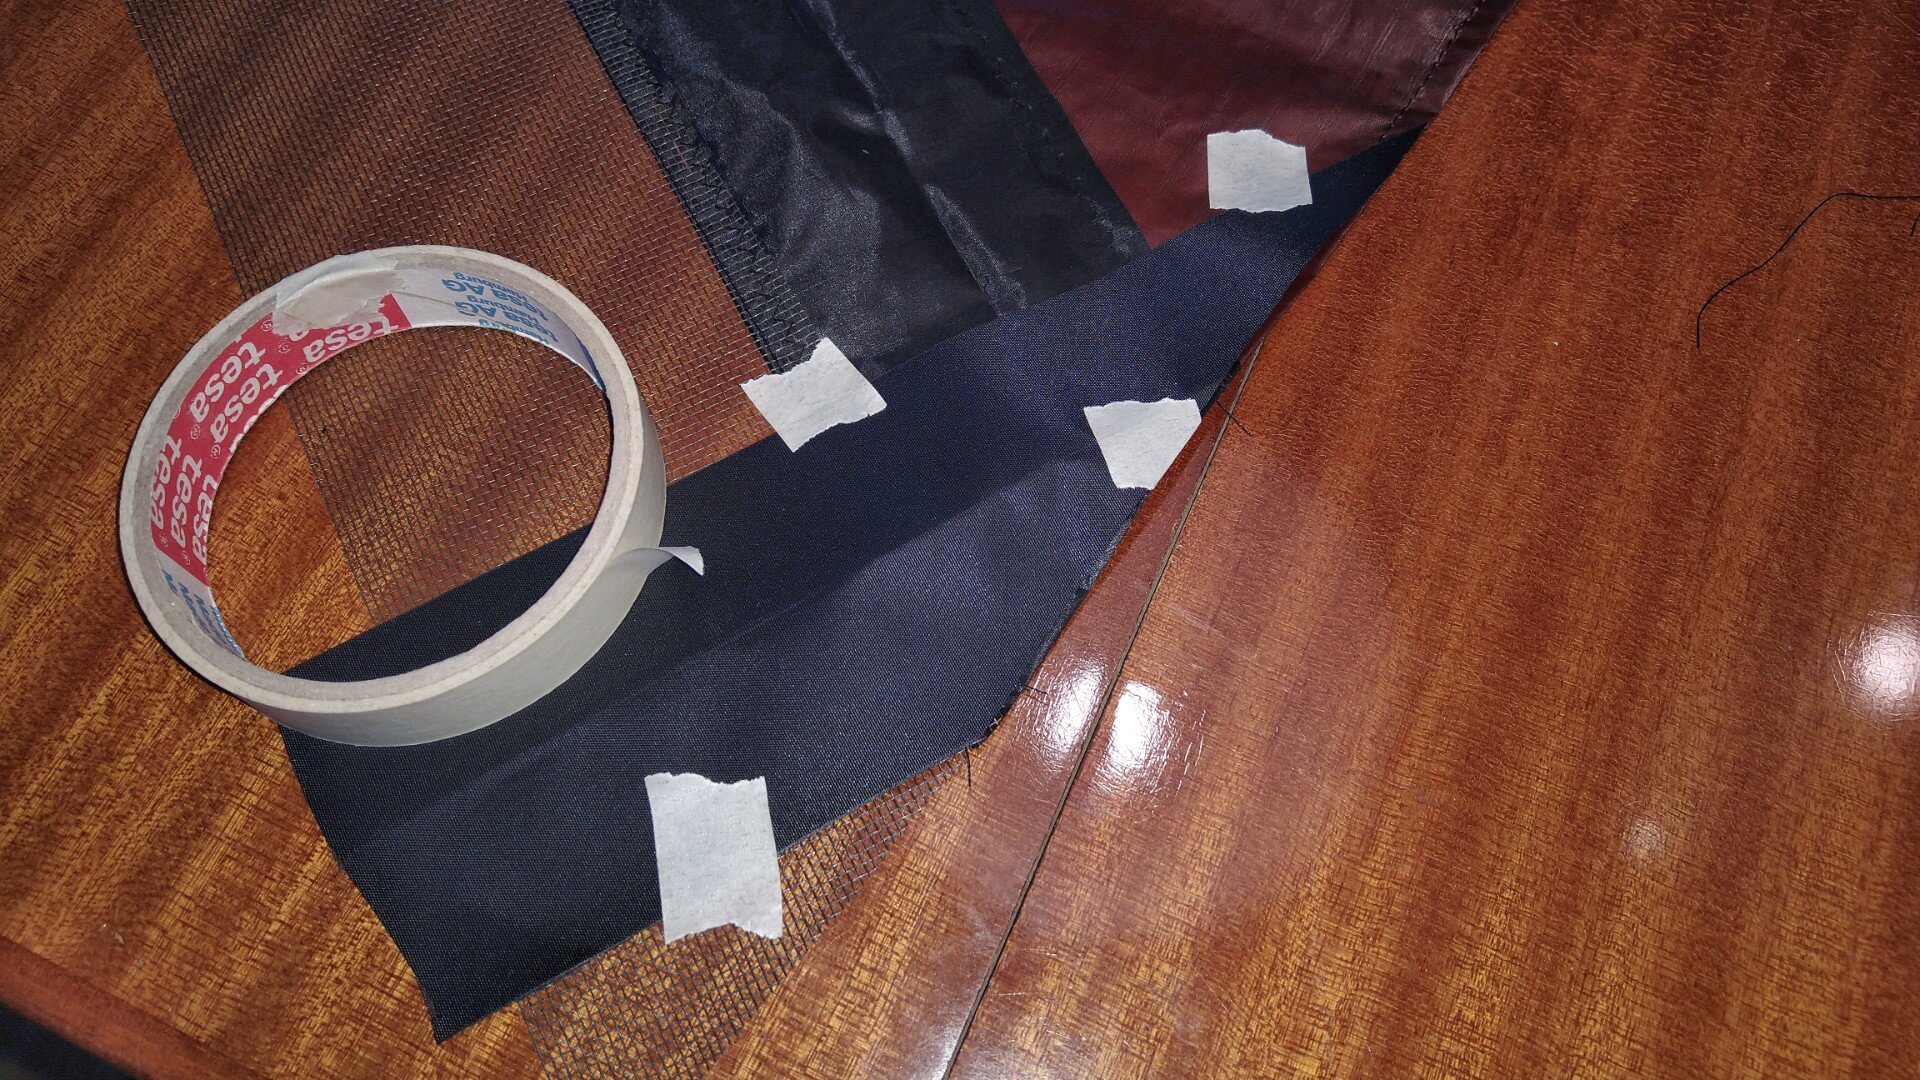
The best way to put the pieces together is by using double-sided tape, but I had no such tape available. I had to go for Plan B, using masking (or painter) tape. As a Plan B, they also do a good job holding the pieces together while sewing.
I plugged in the Bernina soon all the pieces were zig-zag’ed together forming two symmetrical wing halves including the mesh at the leading edge.
Hemming the trailing and side edges
Now it’s time to do the hemming of the edges. I complete the hemming of the trailing and the side edge of one wing half before I repeat the process for the other wing half. Making sure the hemming is on the back of the sails! ?
Reinforcing
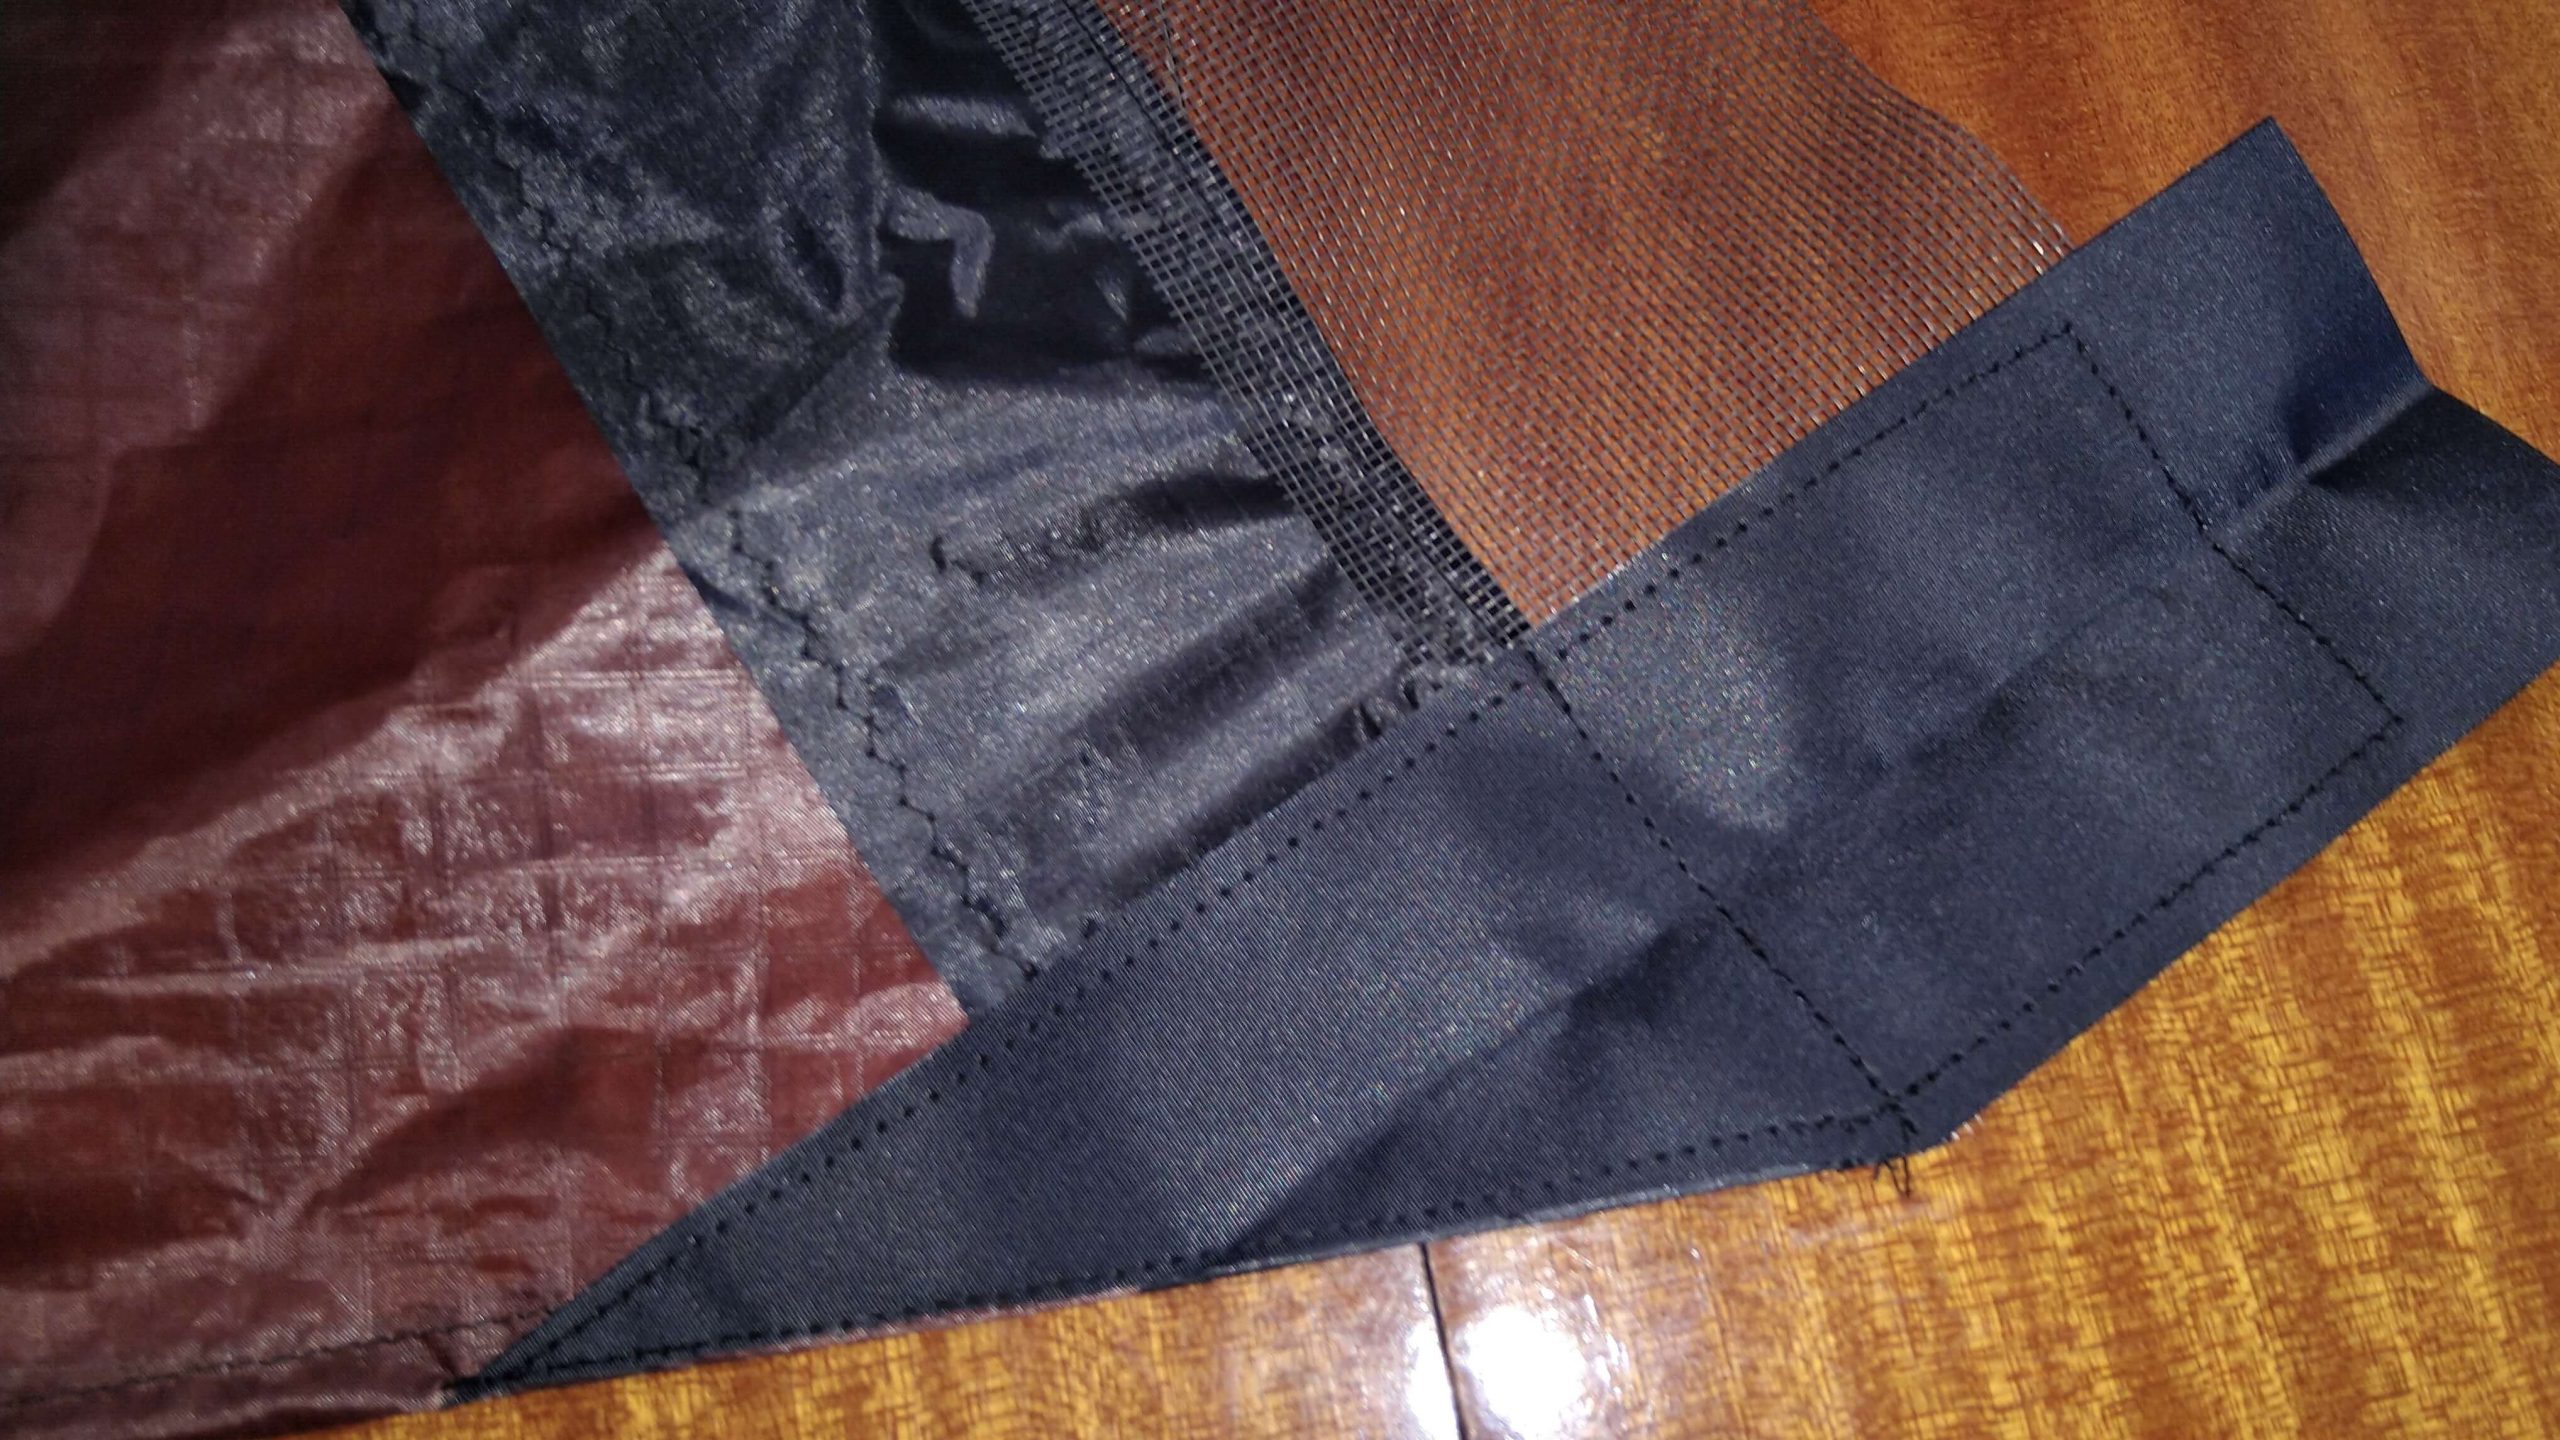
There are a few points on a quad that really takes a beating and it’s important to reinforce the kite in these places. I use pieces of dacron for these patches of reinforcements at the wingtips and at the two tips of the vertical spreaders (or the down spars if you like).
Starting to look like a kite
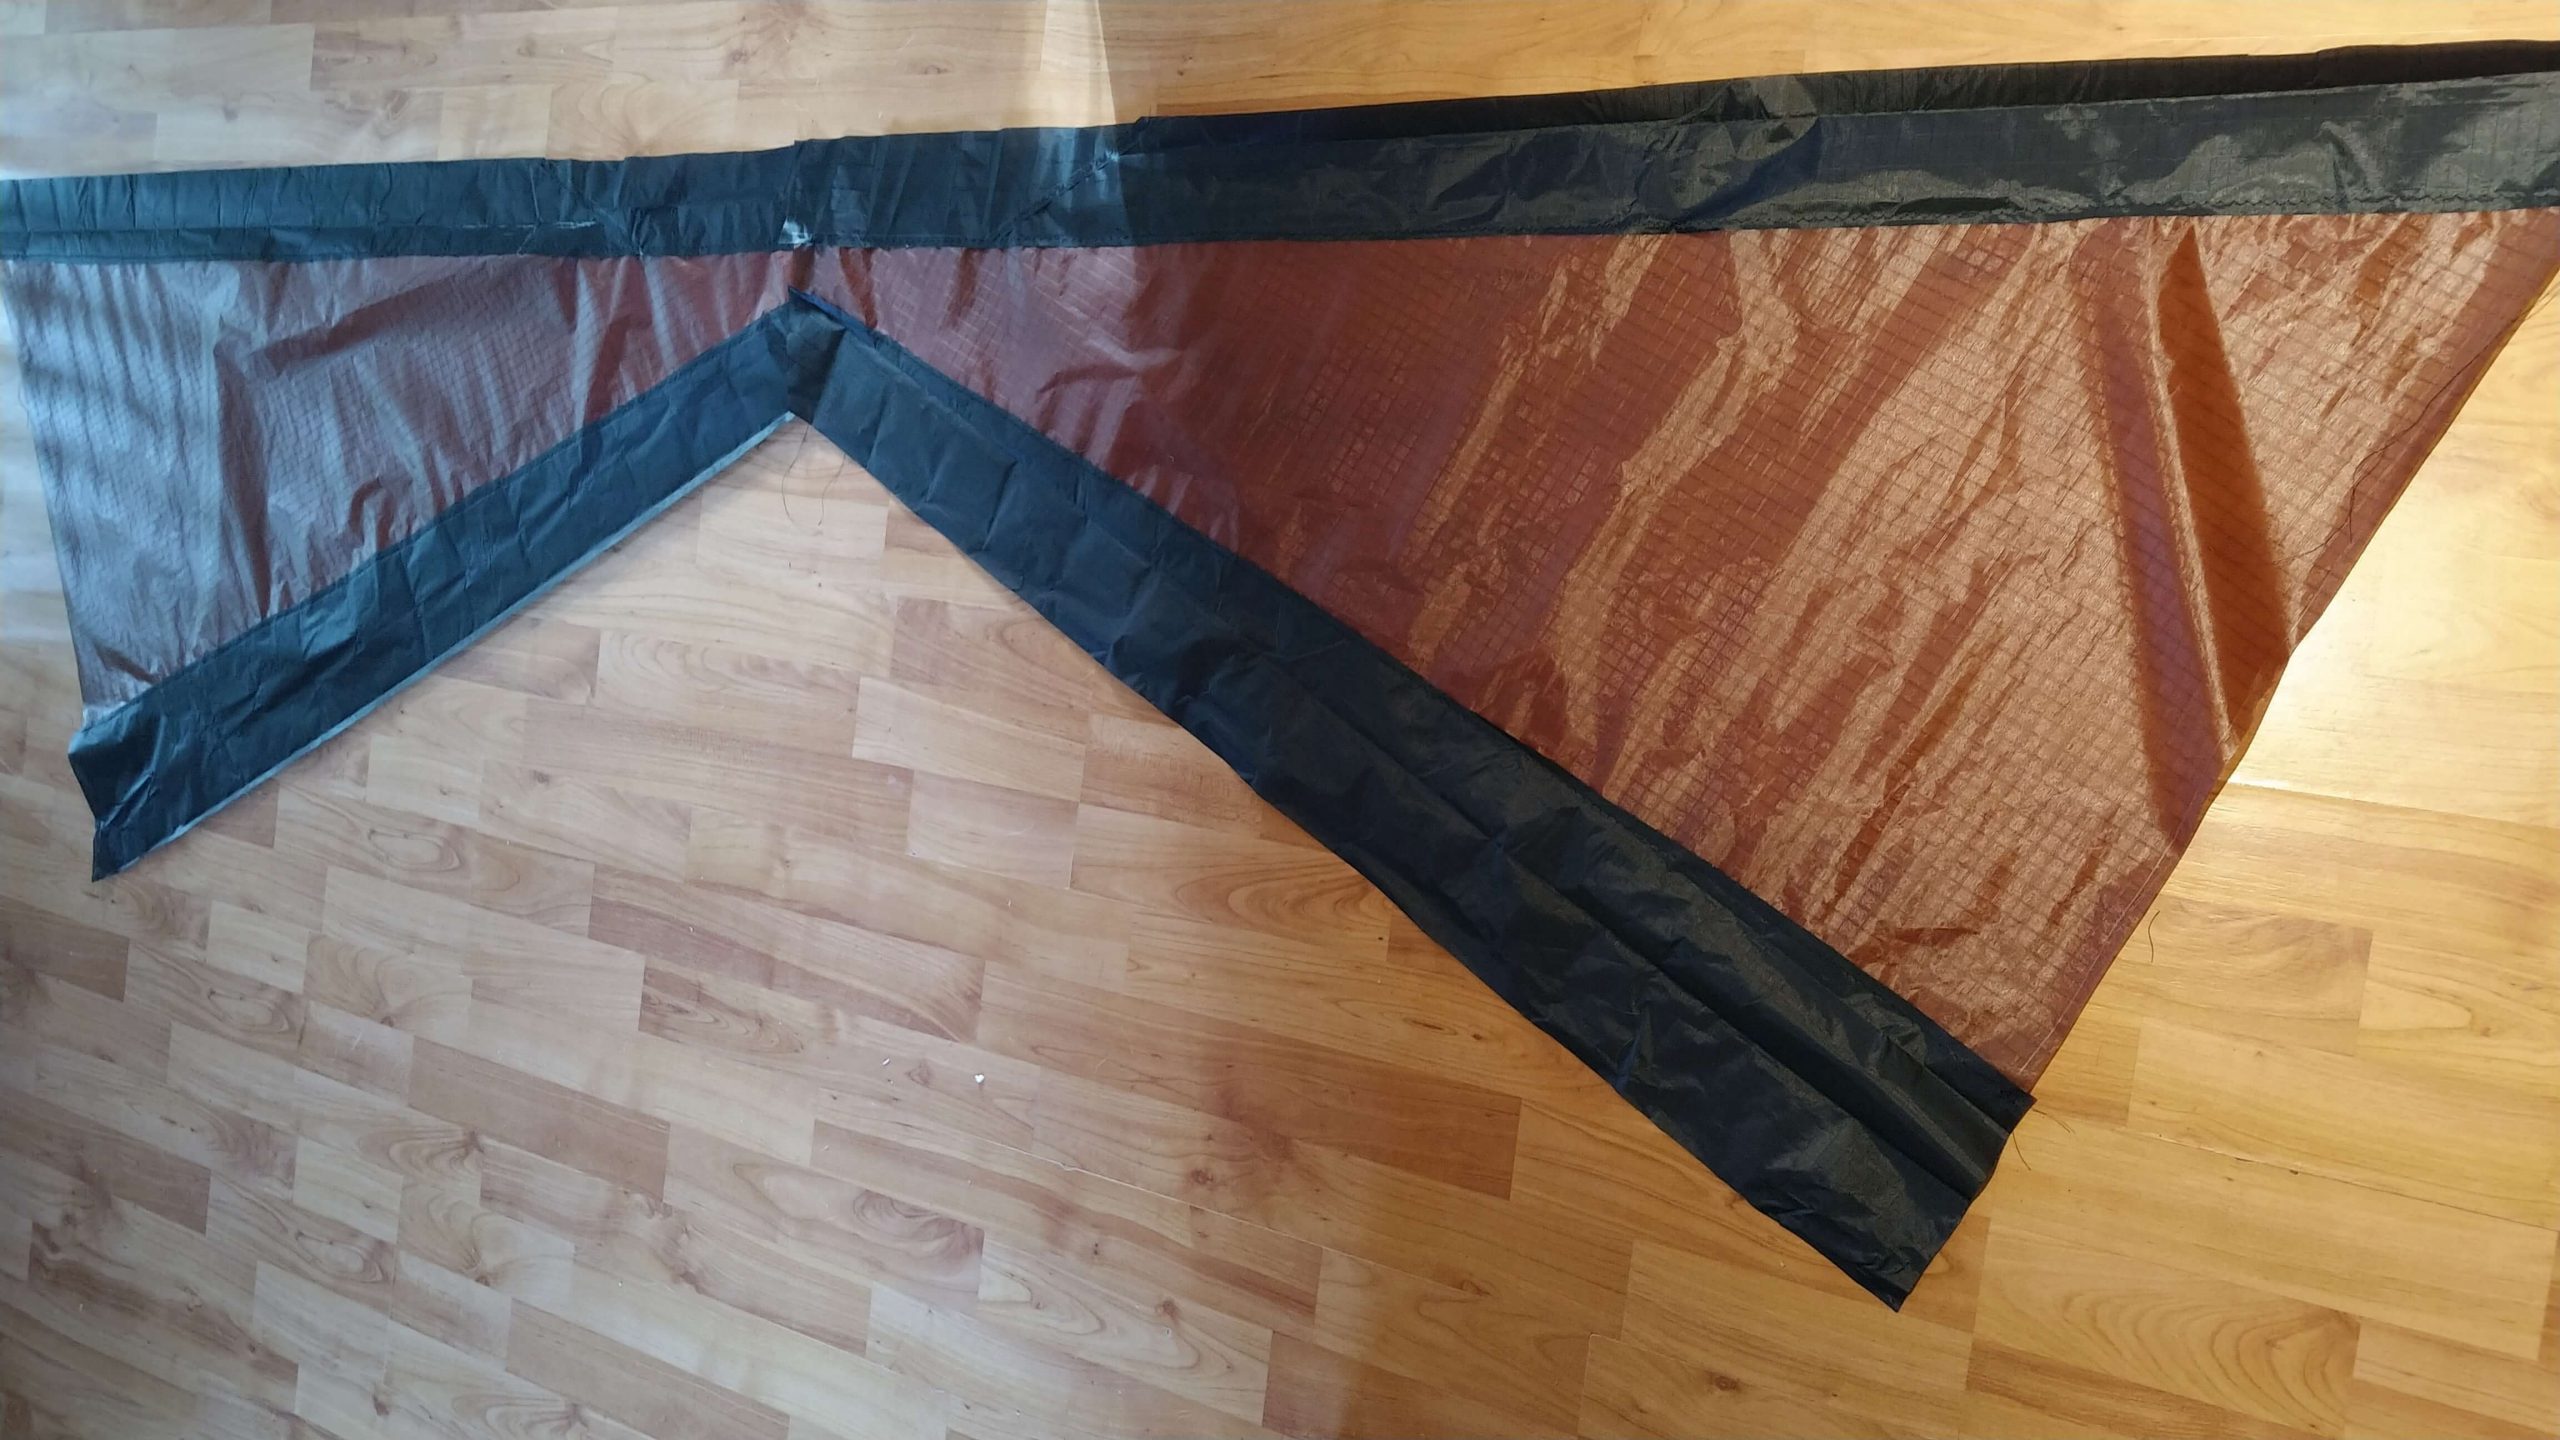
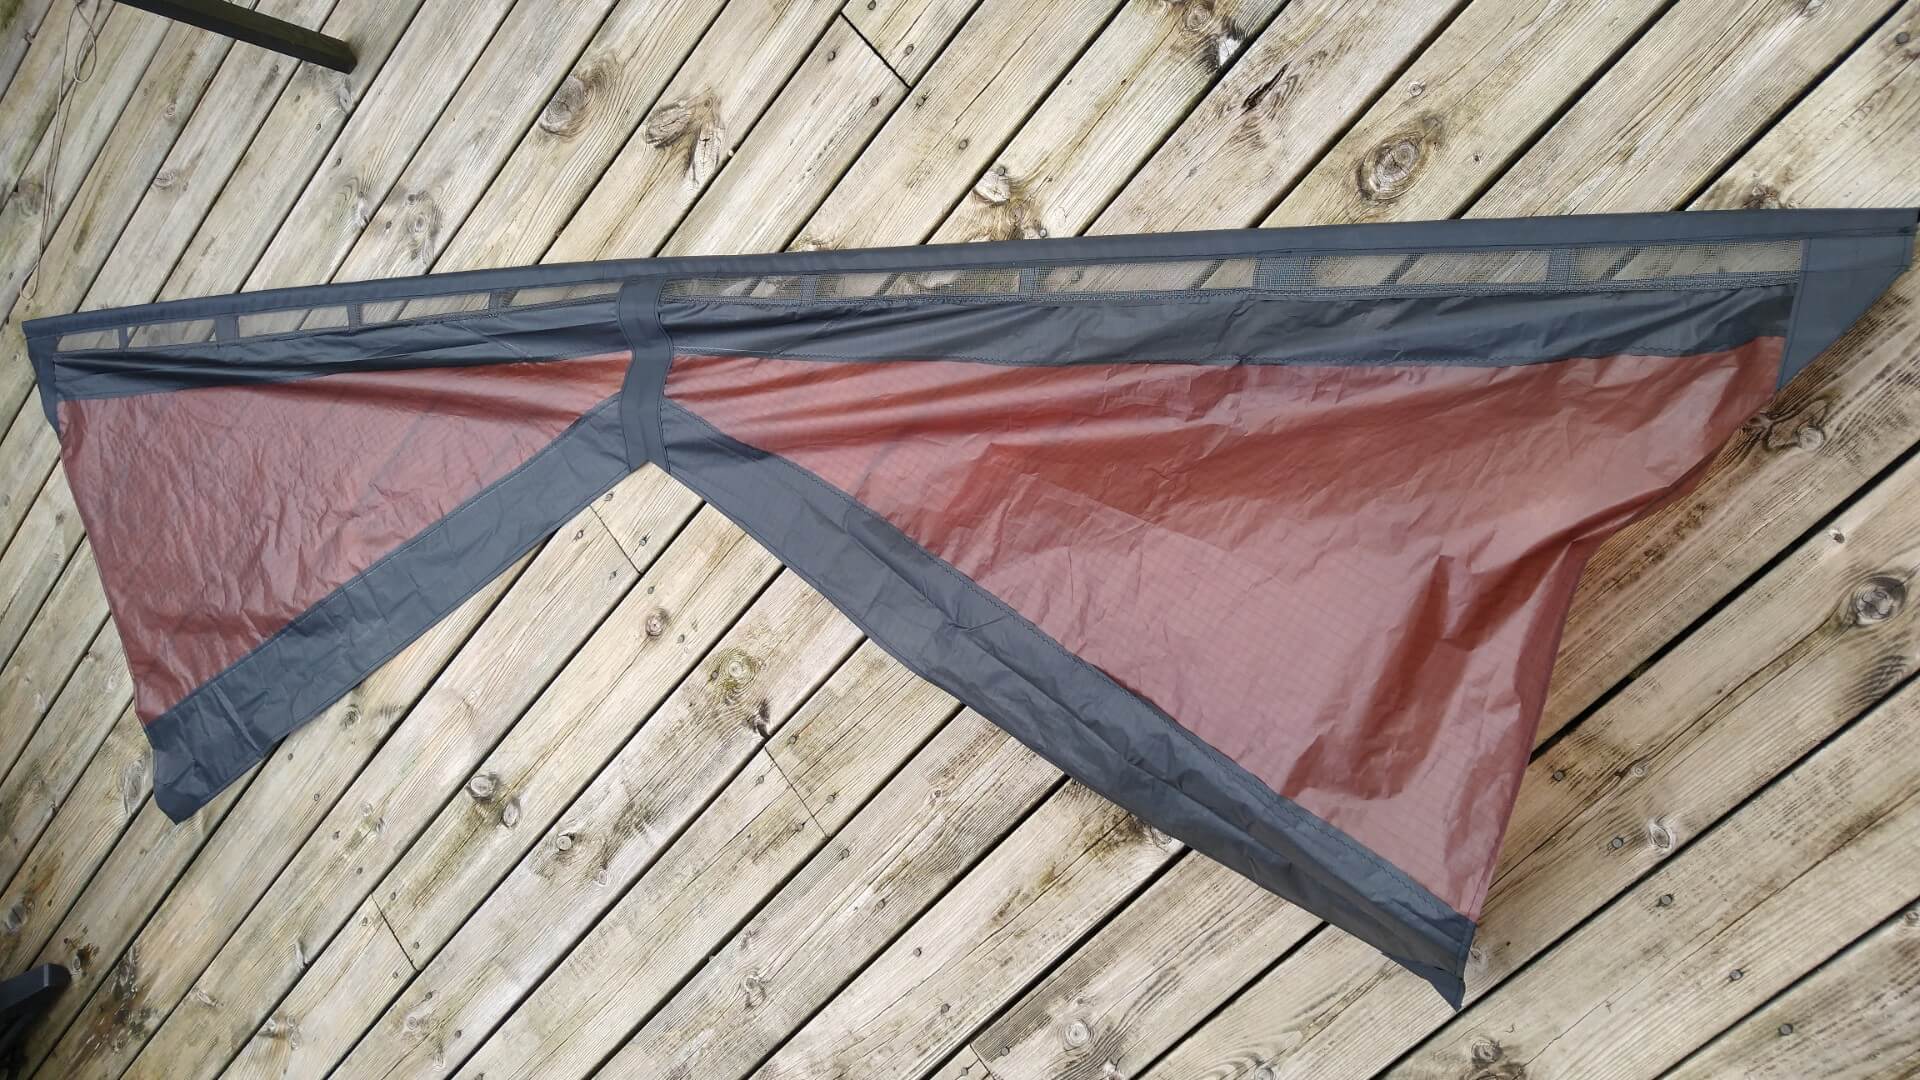
When the wing halves are completed it’s time to sew them together at the centre vertical making sure there is symmetry at this line. If all preparations and sewing are done according to plan, this should be trouble less.
In addition, to sew the two halves together, I like to add a strip of dacron vertically along the centre of the kite. This dacron will serve two missions. First, it’s another piece of reinforcement on an appropriate place, secondly, I think it adds a positive touch to the design.
Now this thing is starting to look like a kite!
The leading edge
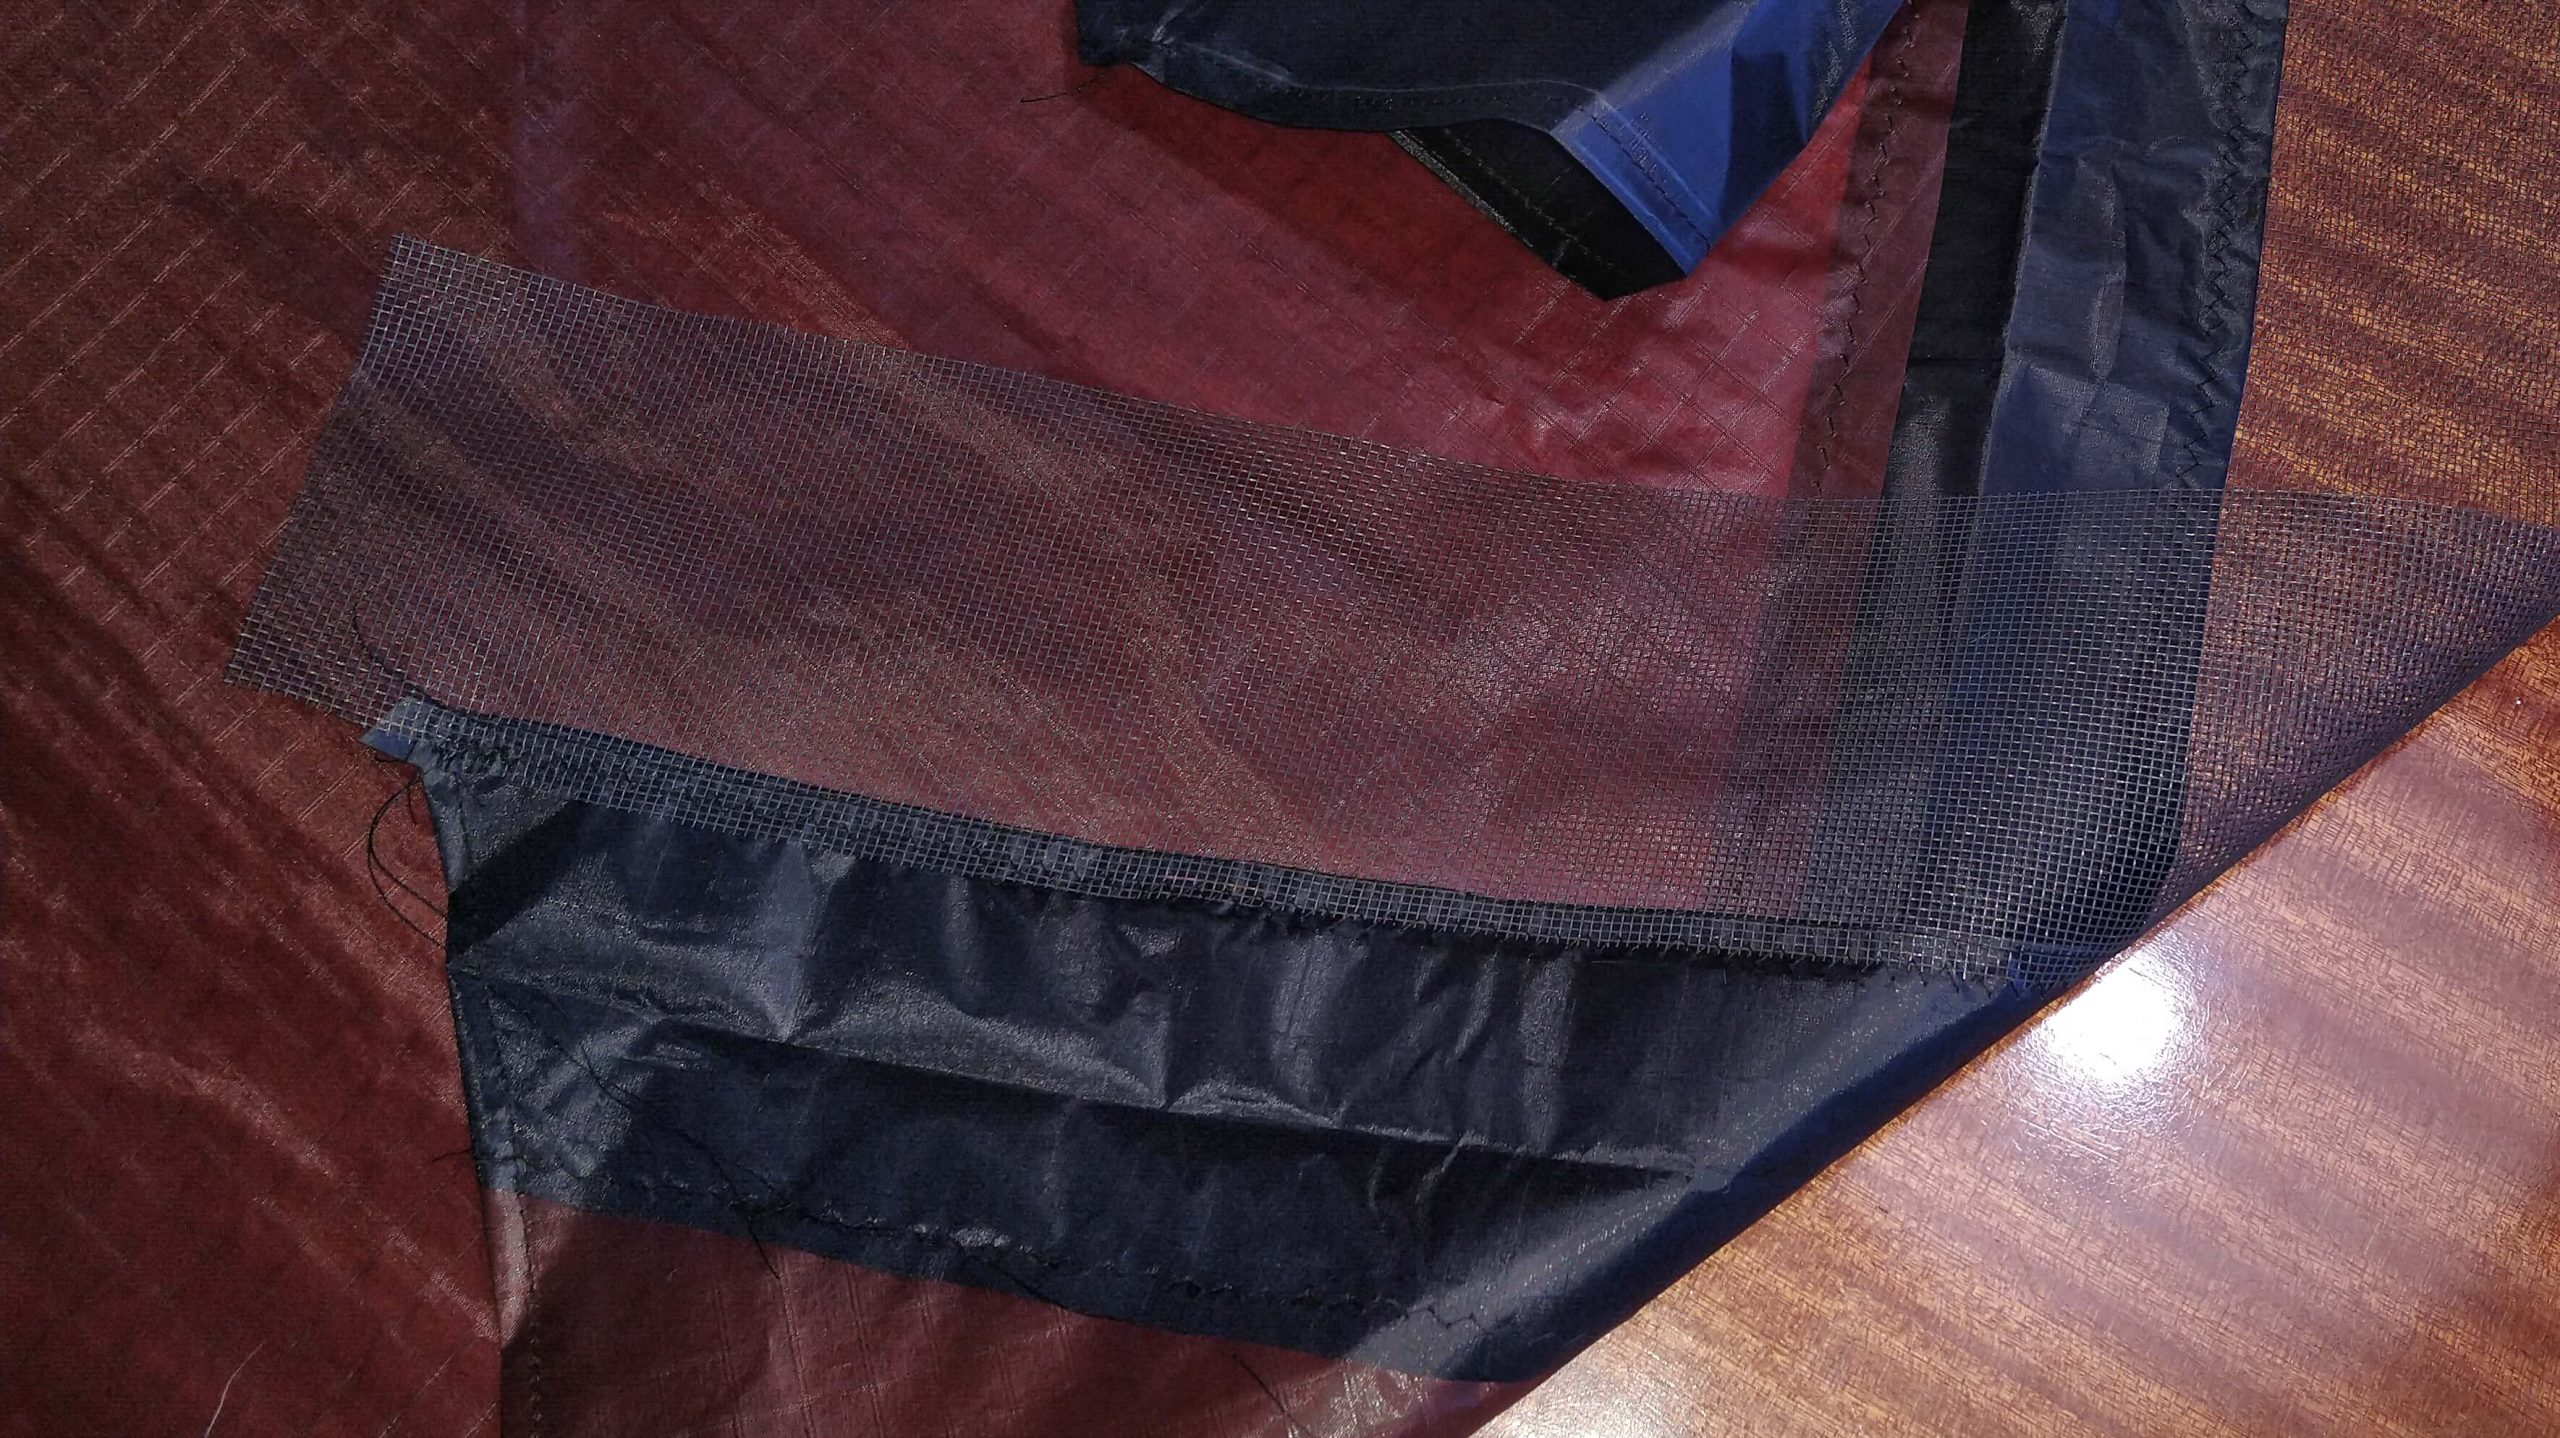
Along the leading edge, there will be a pocket for the framing. I make this pocket from a long band of dacron which I fold all the way along in the middle of the band.
But before I sew the pocket on the kite I cut a handful of smaller pieces of dacron for reinforcements at the mesh.
My preferred way of sewing the LE dacron pocket on to the kite is to place the *un*folded Dacron band on the mesh and sewing it on to the mesh with straight stitching. Then I fold the dacron band over all along and make yet another seam, but this time using zig-zag stitches.
Framing
The framing is a two-step process. First, you need to fit the connectors to the kite, then you put the framing into place.
I usually start with the tips of the two vertical spars. I cut two holes in the reinforced tip, thread a bungy with a connector through the holes, using two plastic washers at the back of the kite and securing the lot with an overhand knot on both ends of the bungy.
Next I cut two holes in the LE pocket for the upper vertical spar connectors.
Finally, I punch two holes for the wing tip connectors and secure them with a bungy tied to the kite.
Then I prepare the framing for the leading edge. I put one ferrule into each end of the middle LE tube and secure the ferrules with super glue. The LE framing consists of three rods. I put them together and push them into the LE pocket making sure to put the upper connectors onto the rod when passing through the cutouts. Finally, I secure the LE rod with the connectors at each wing tip.
Then we have the down spars. I cut them to the correct length using a hacksaw before I insert them into the upper and lower connectors.
Now it really is starting to look like a kite!
The bridle
The only thing left now is to bridle the kite. There are several bridles to choose or you could try to come up with one yourself!
For this kite I surfed the net for inspiration and based on several variations of a dynamic bridle I settled for a somewhat customised variation.
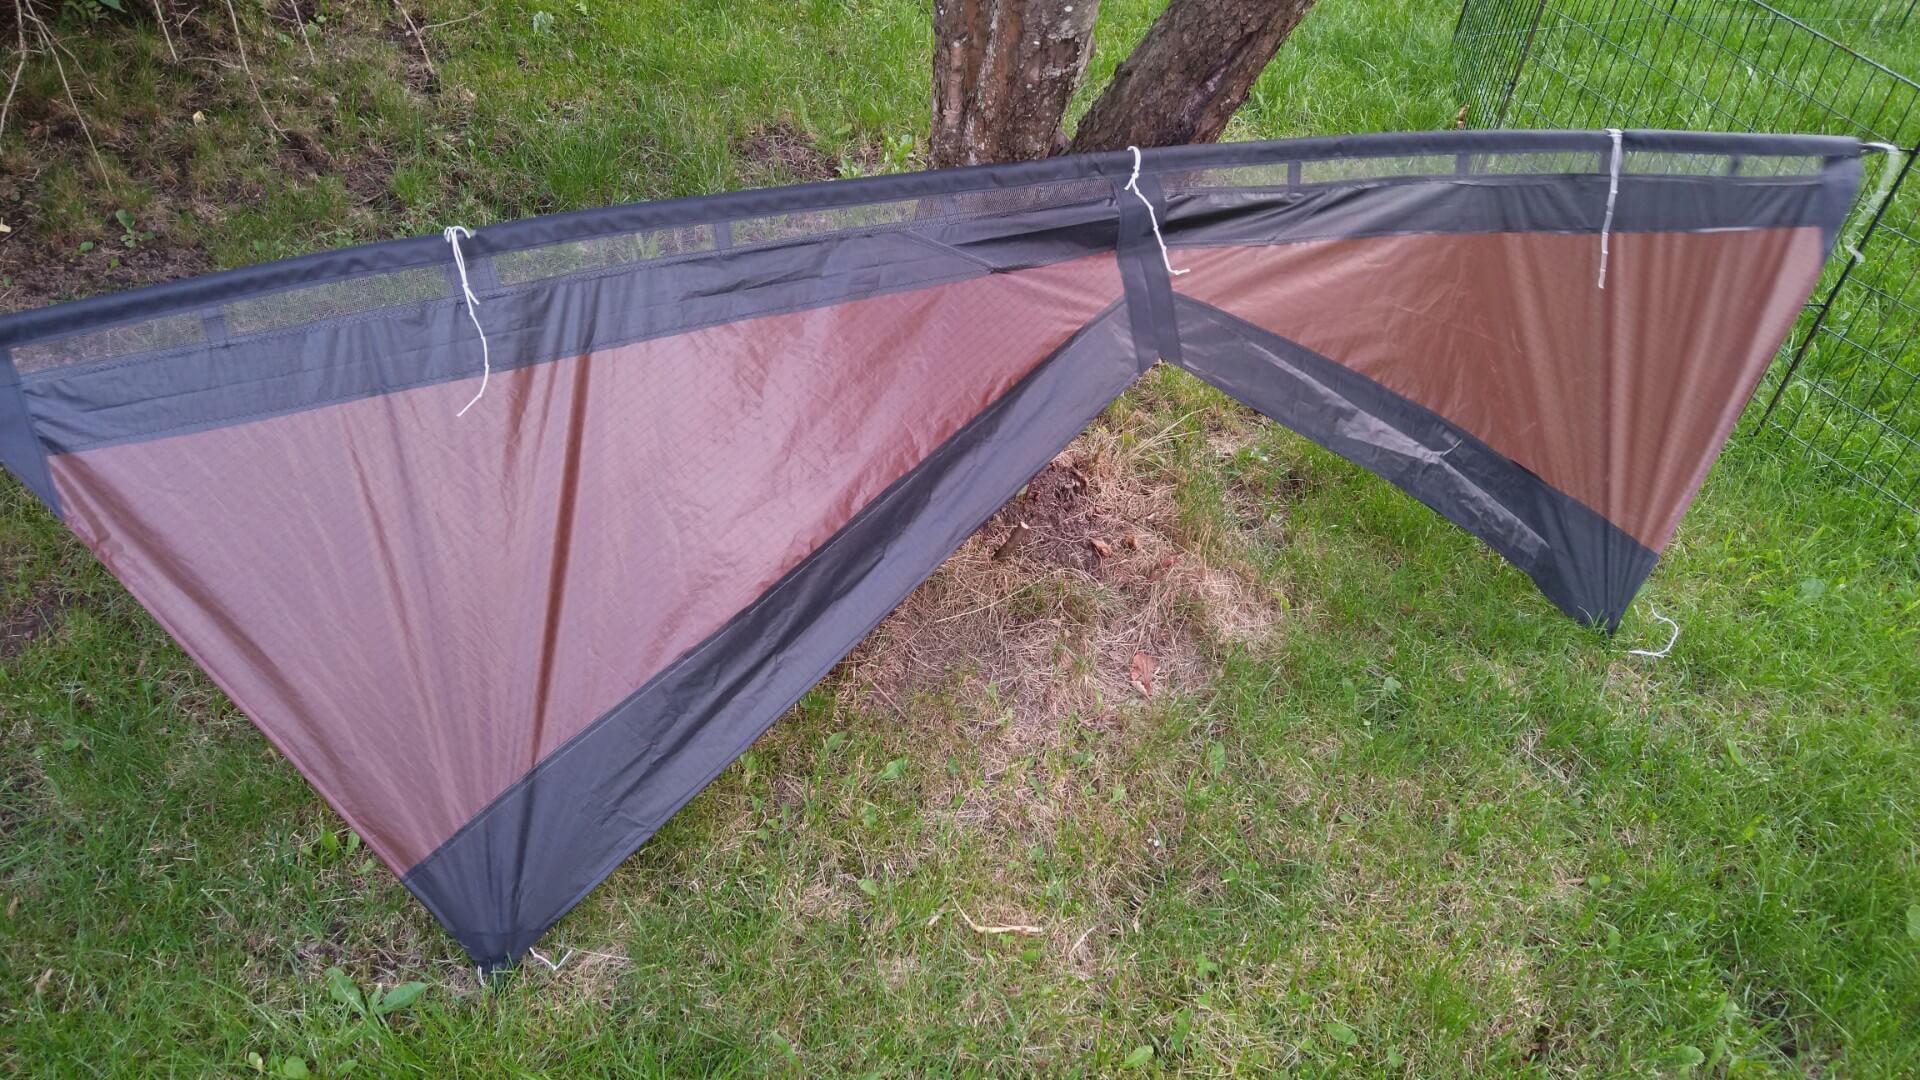
Now the kite is ready for the moment of truth. Will it fly?!
They actually do that most of the times, but there will almost always require some bridle adjustments on the field. But that’s another story.
So stay tuned for reports – and video – for the initial flight!
…and while waiting, you can take a look at the photos below that document the process!
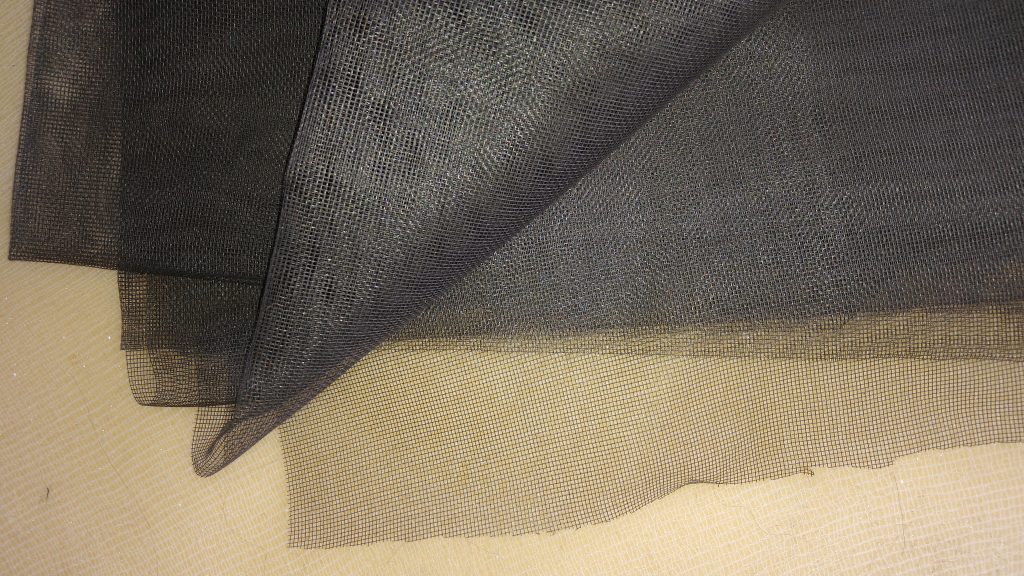
The required mesh 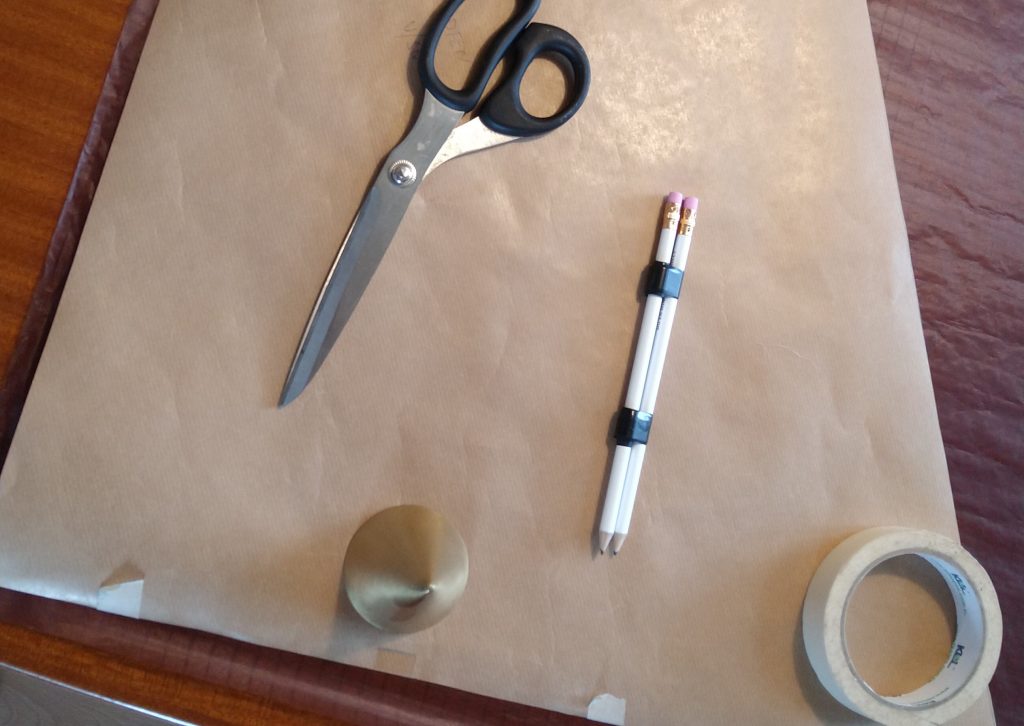
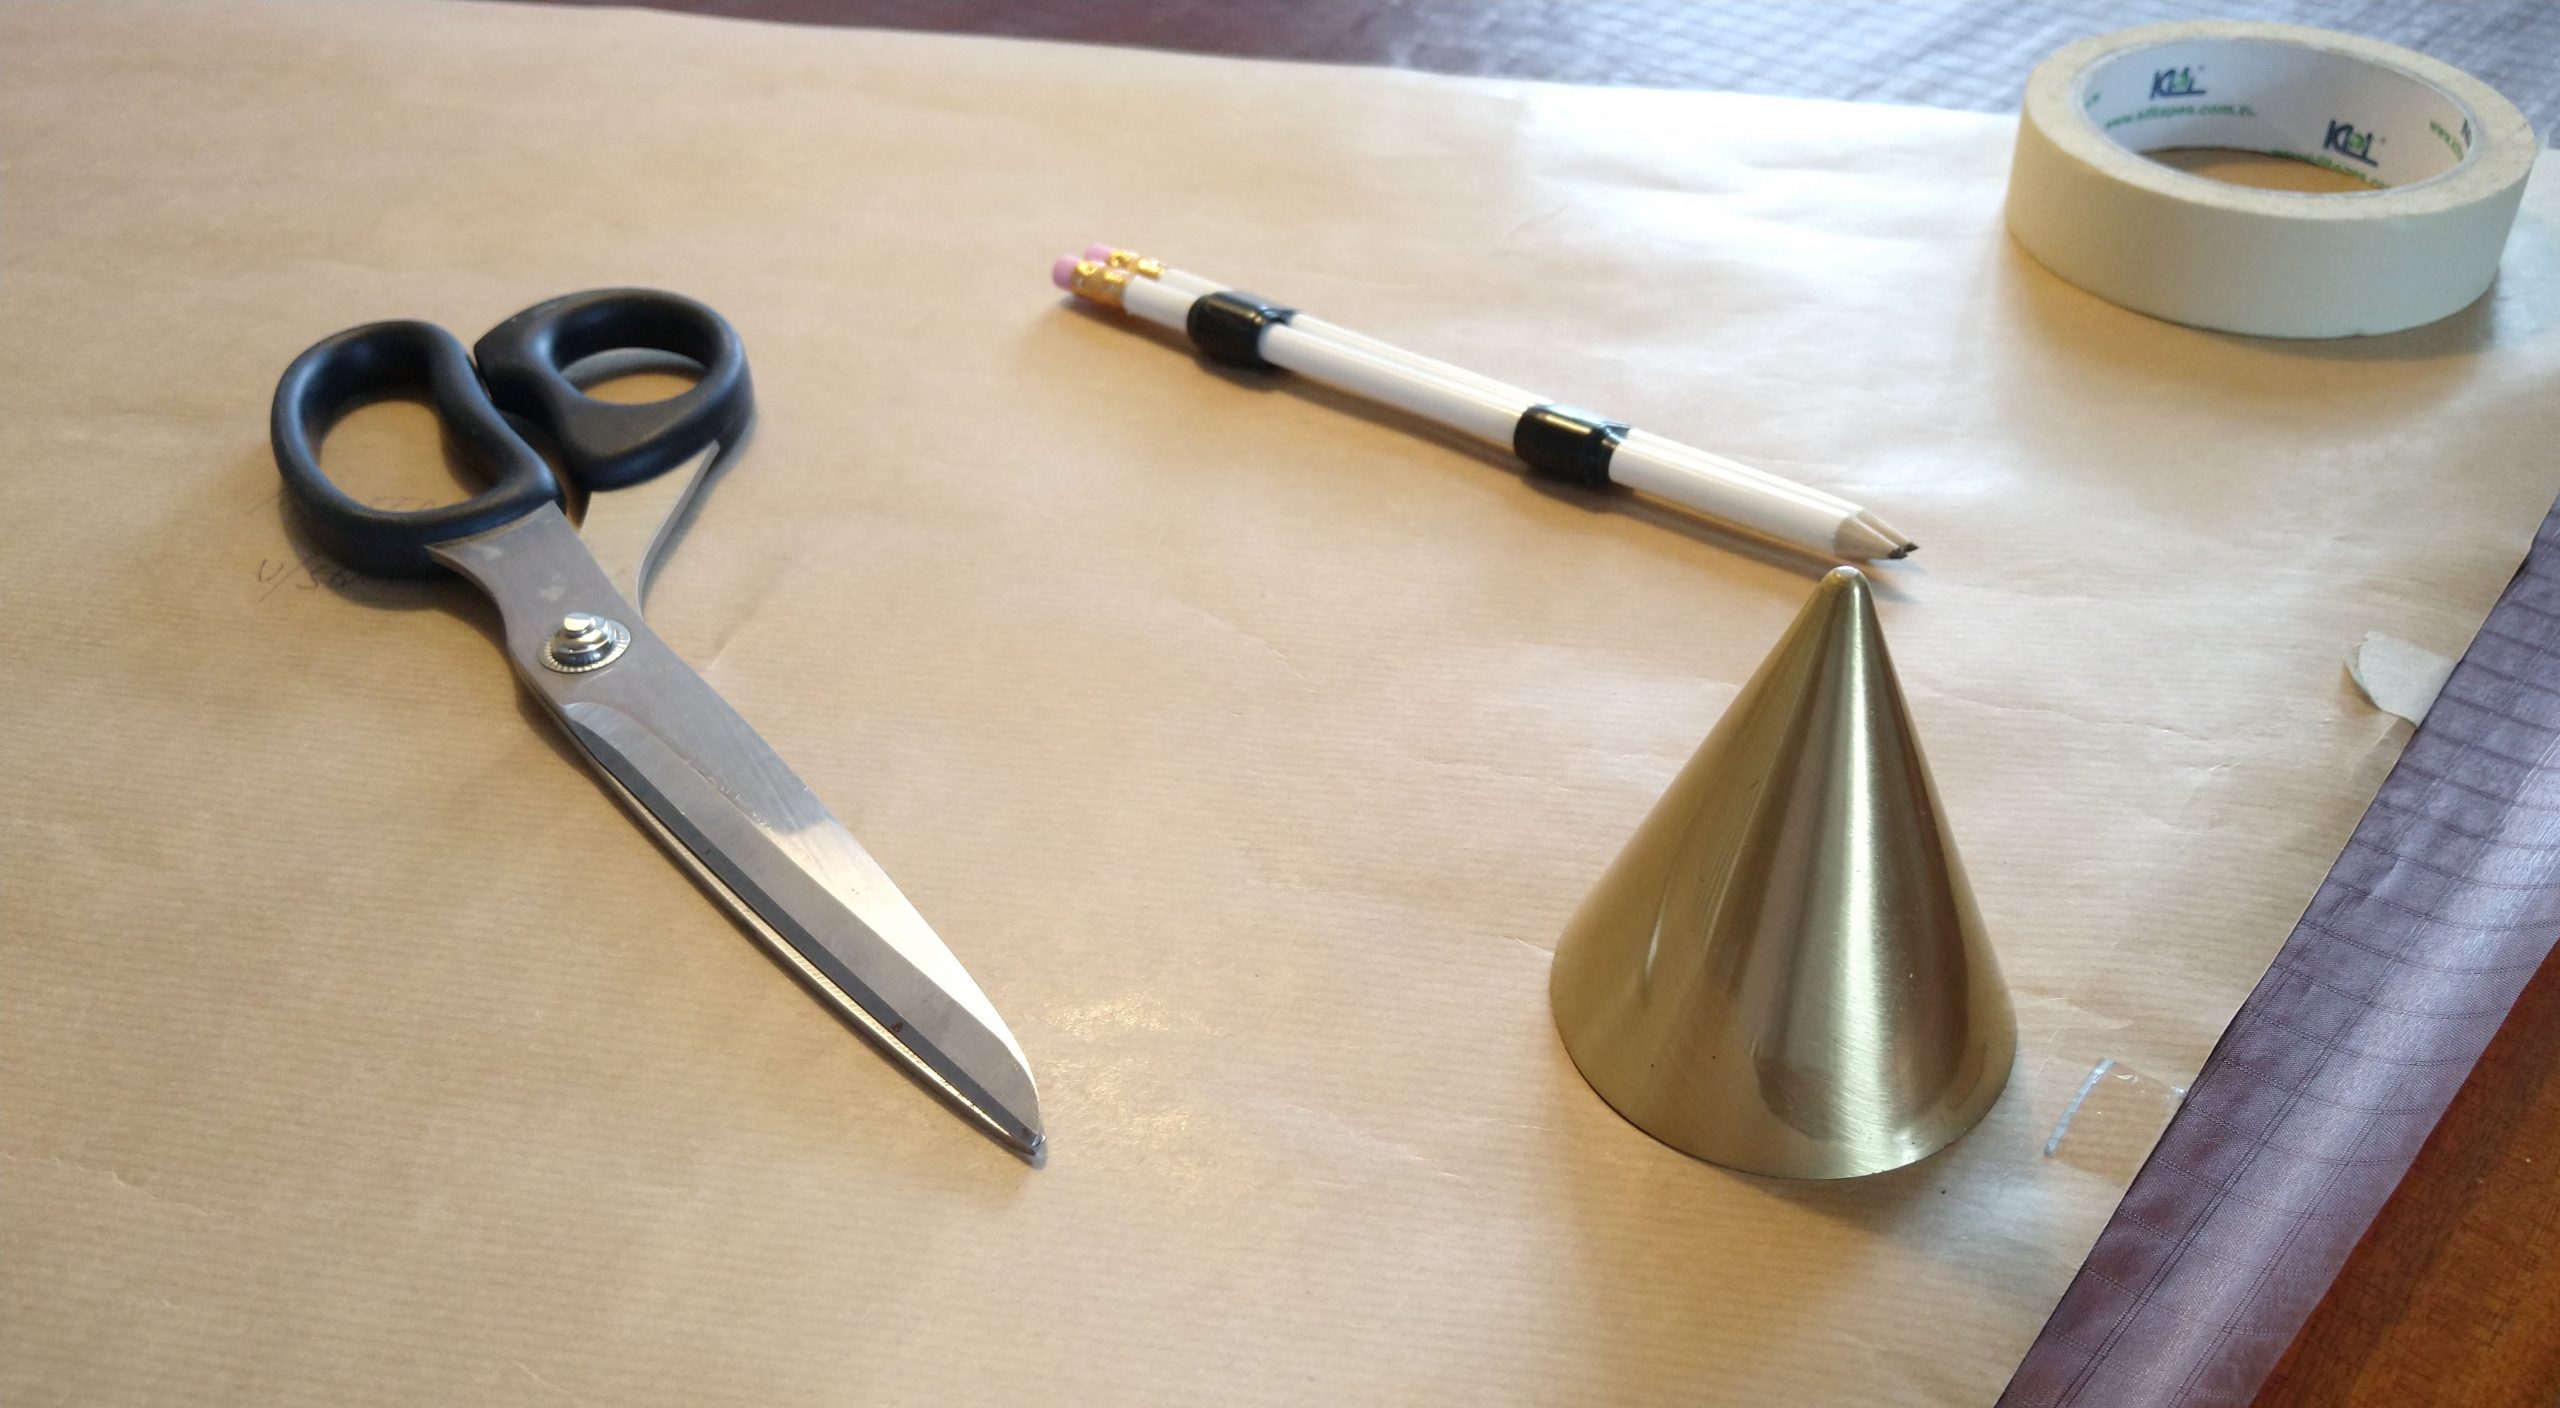
Template, sciccors, tape, pencils… 
Getting ready to mark the icarex 
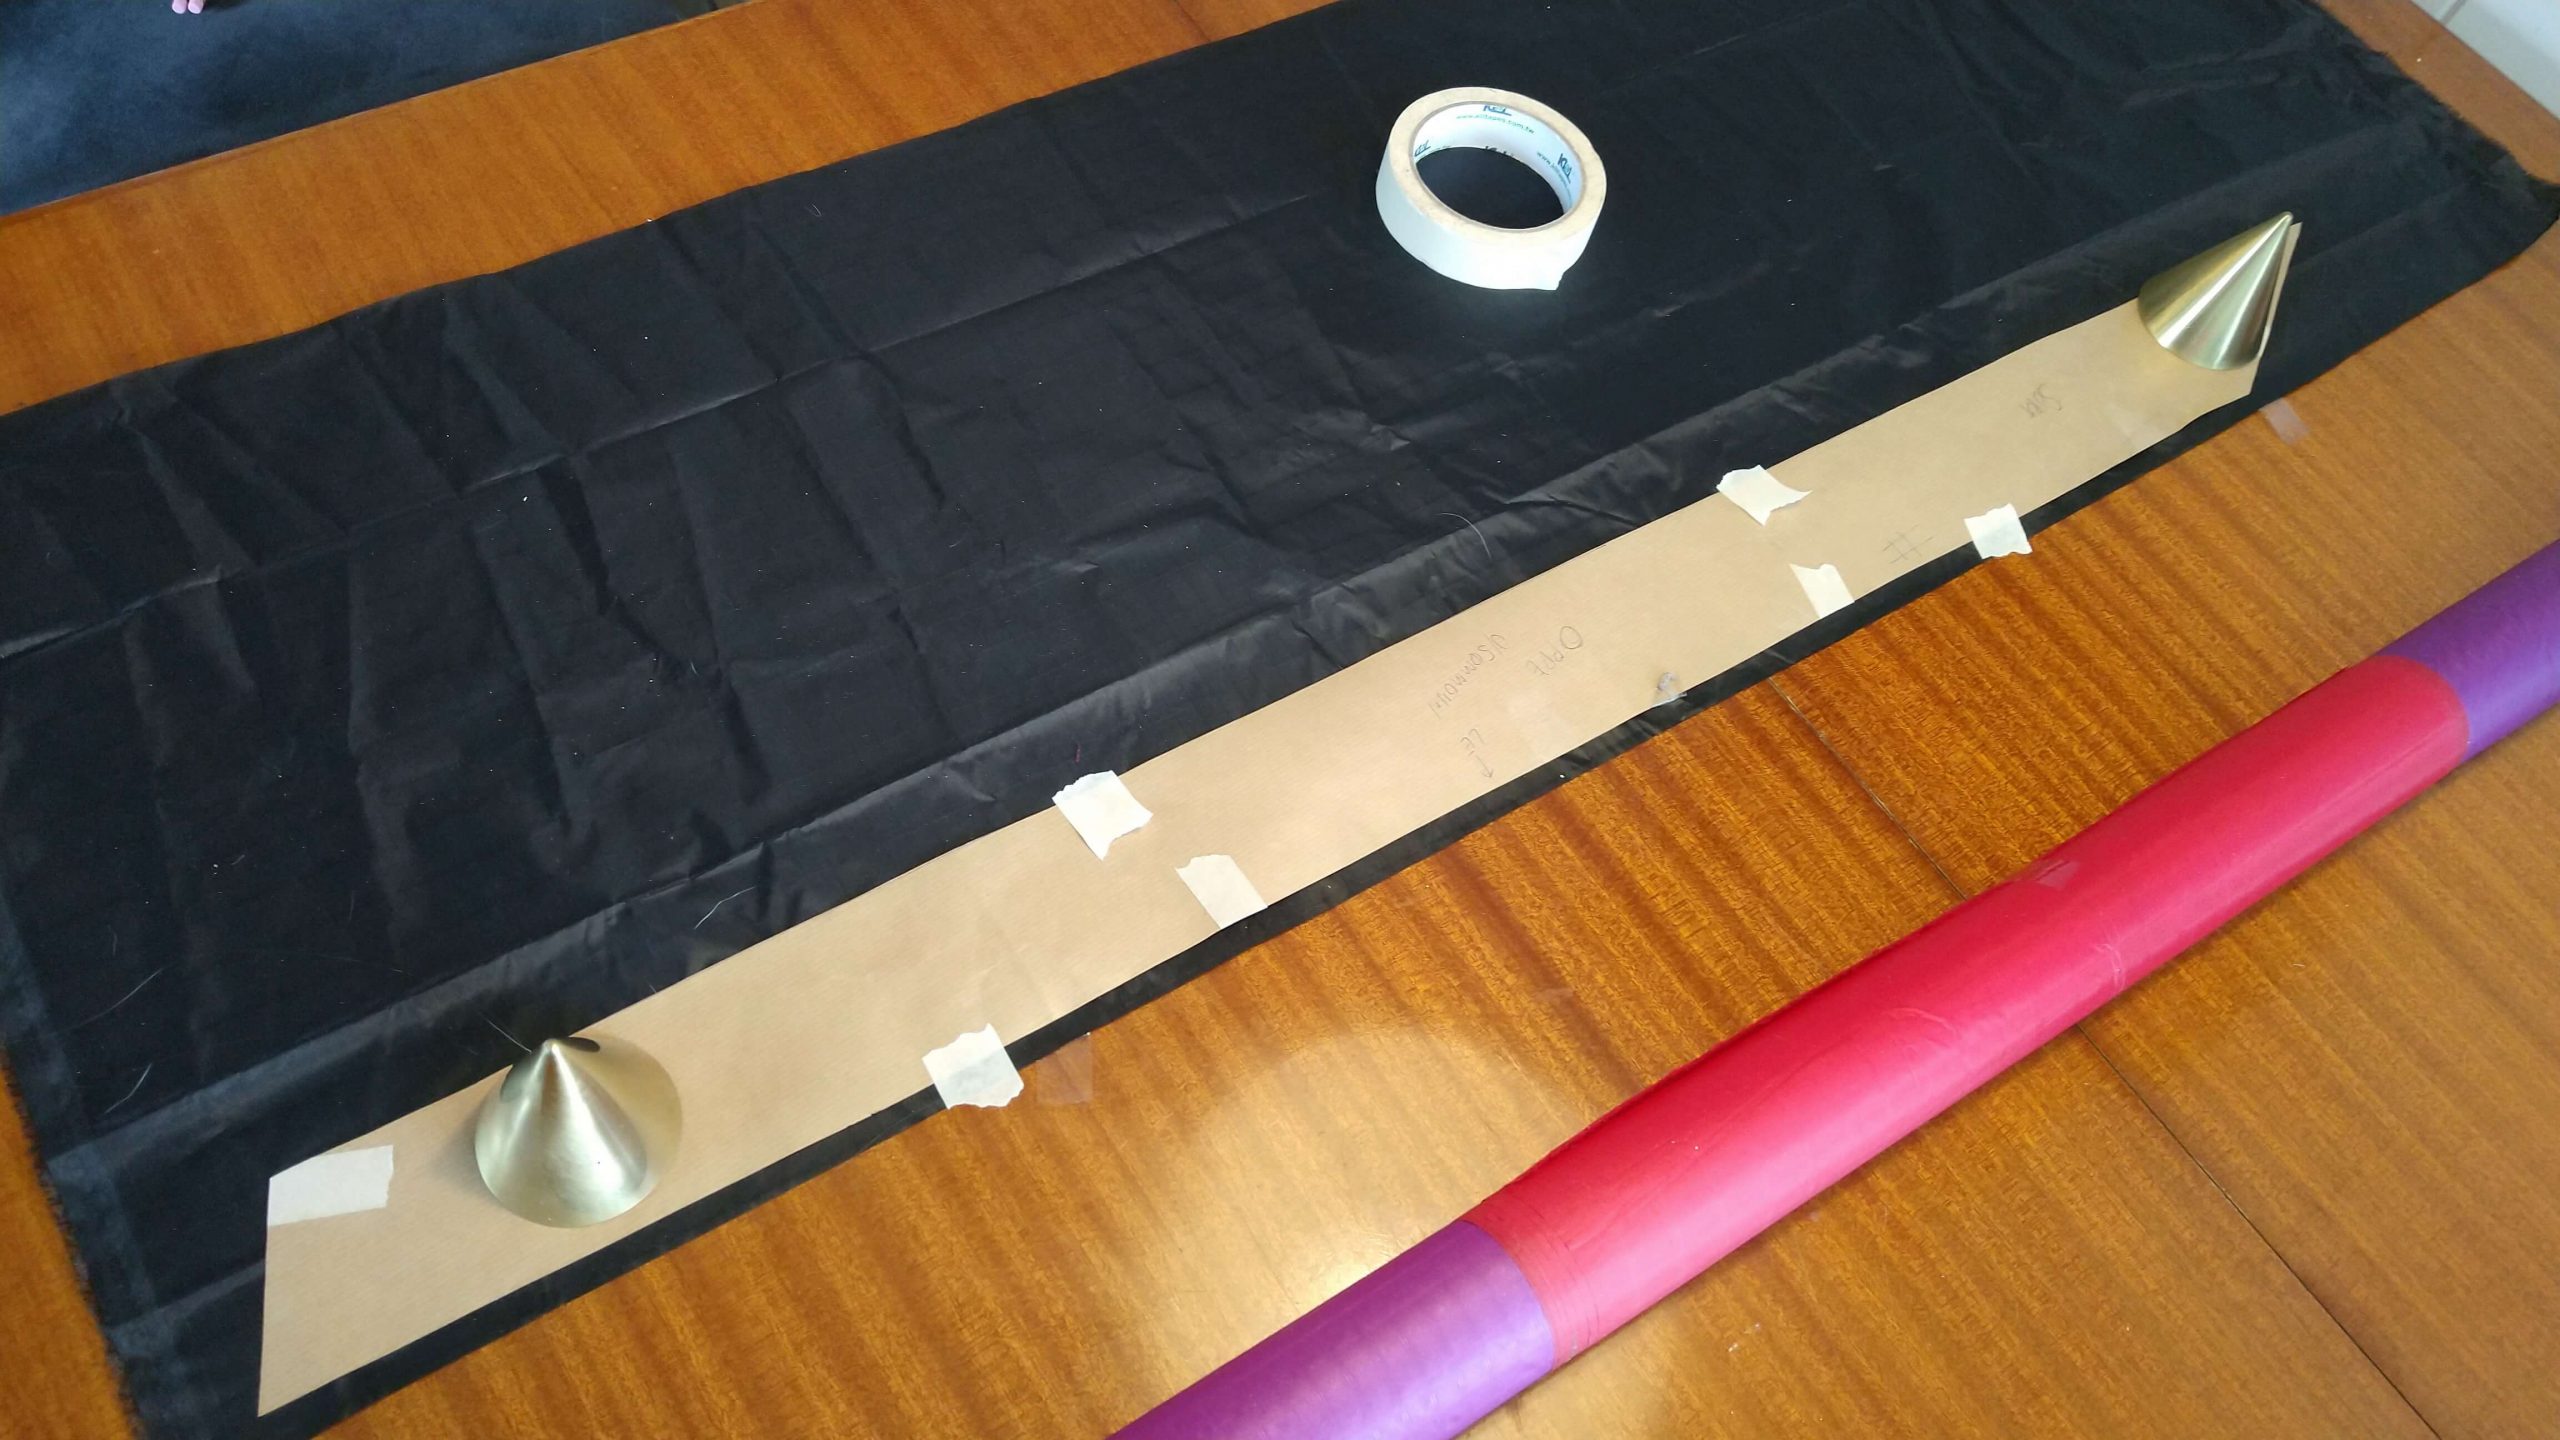
Taping the template onto the icarex 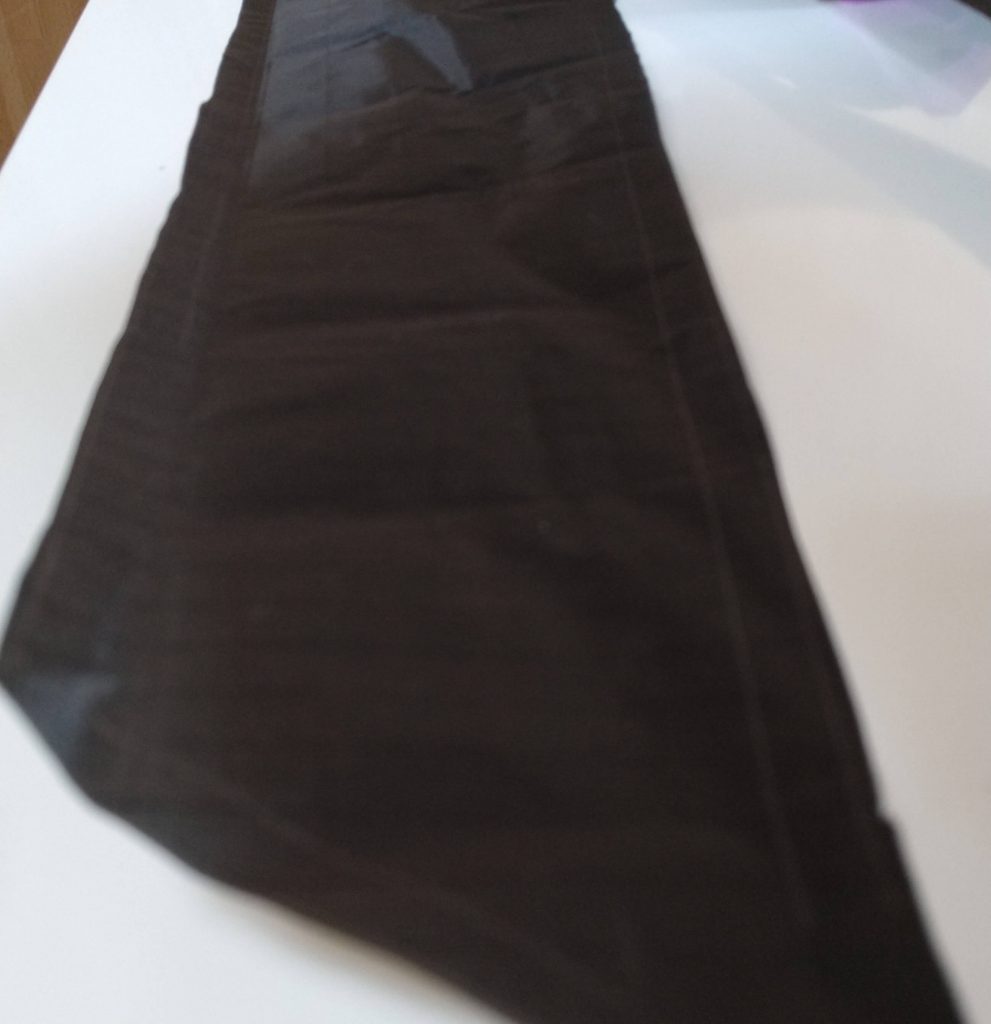
Hard to see, but there is a seam allowance here! 
The final cuts 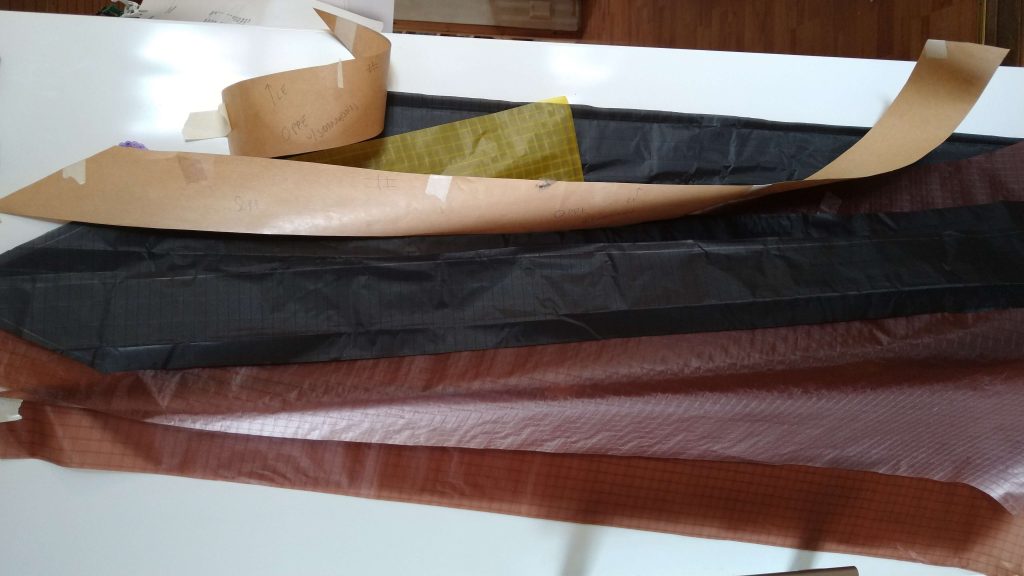
This is going to be a kite! 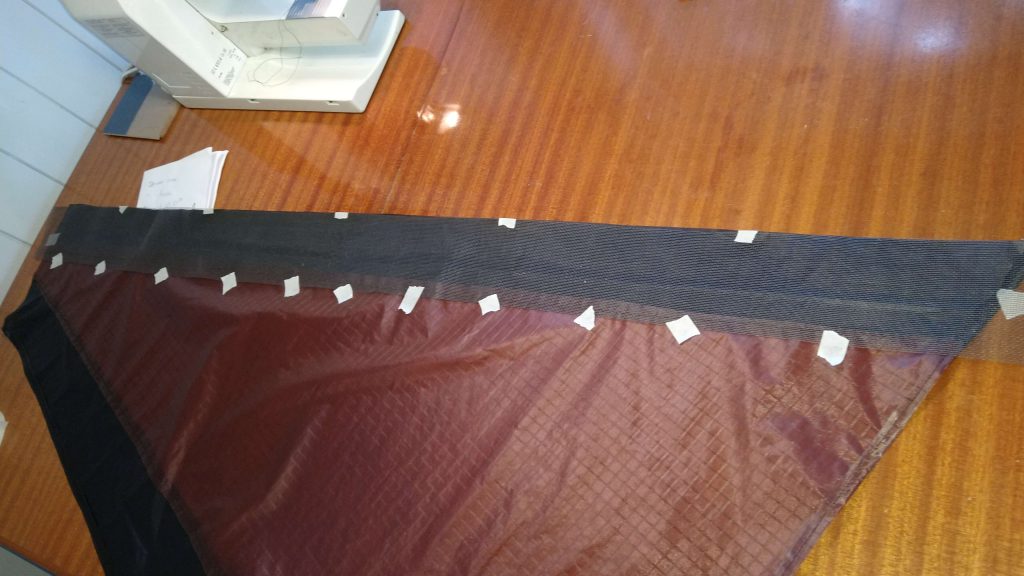
Forming the wing half 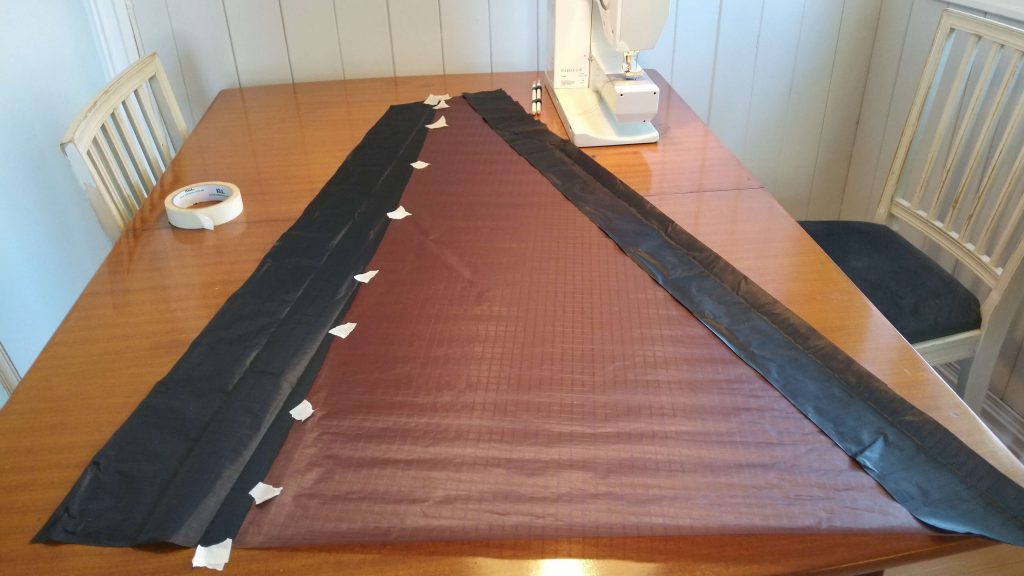
Getting ready for sewing 
More wing half details 
The two wing halves withut the LE mesh 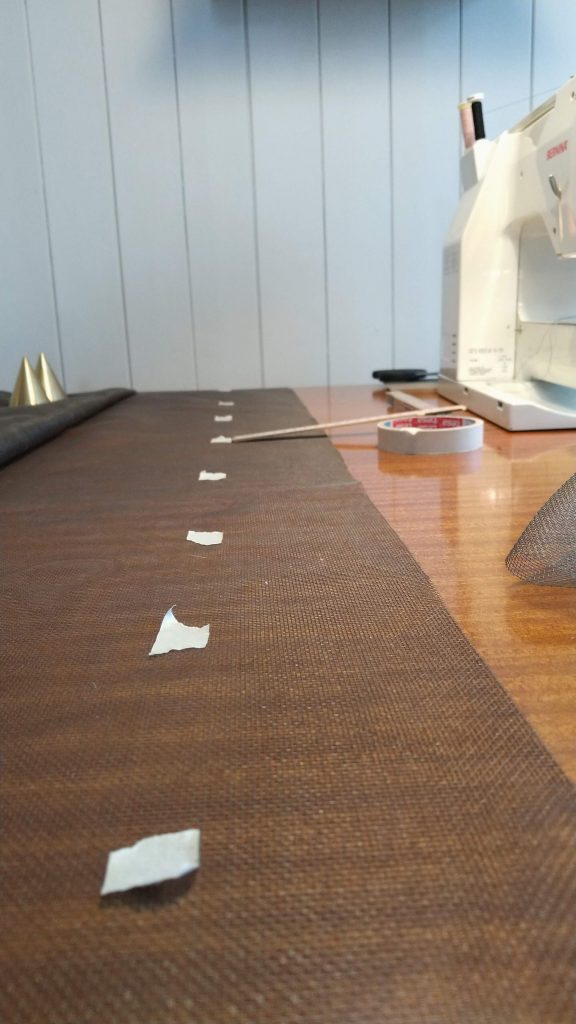
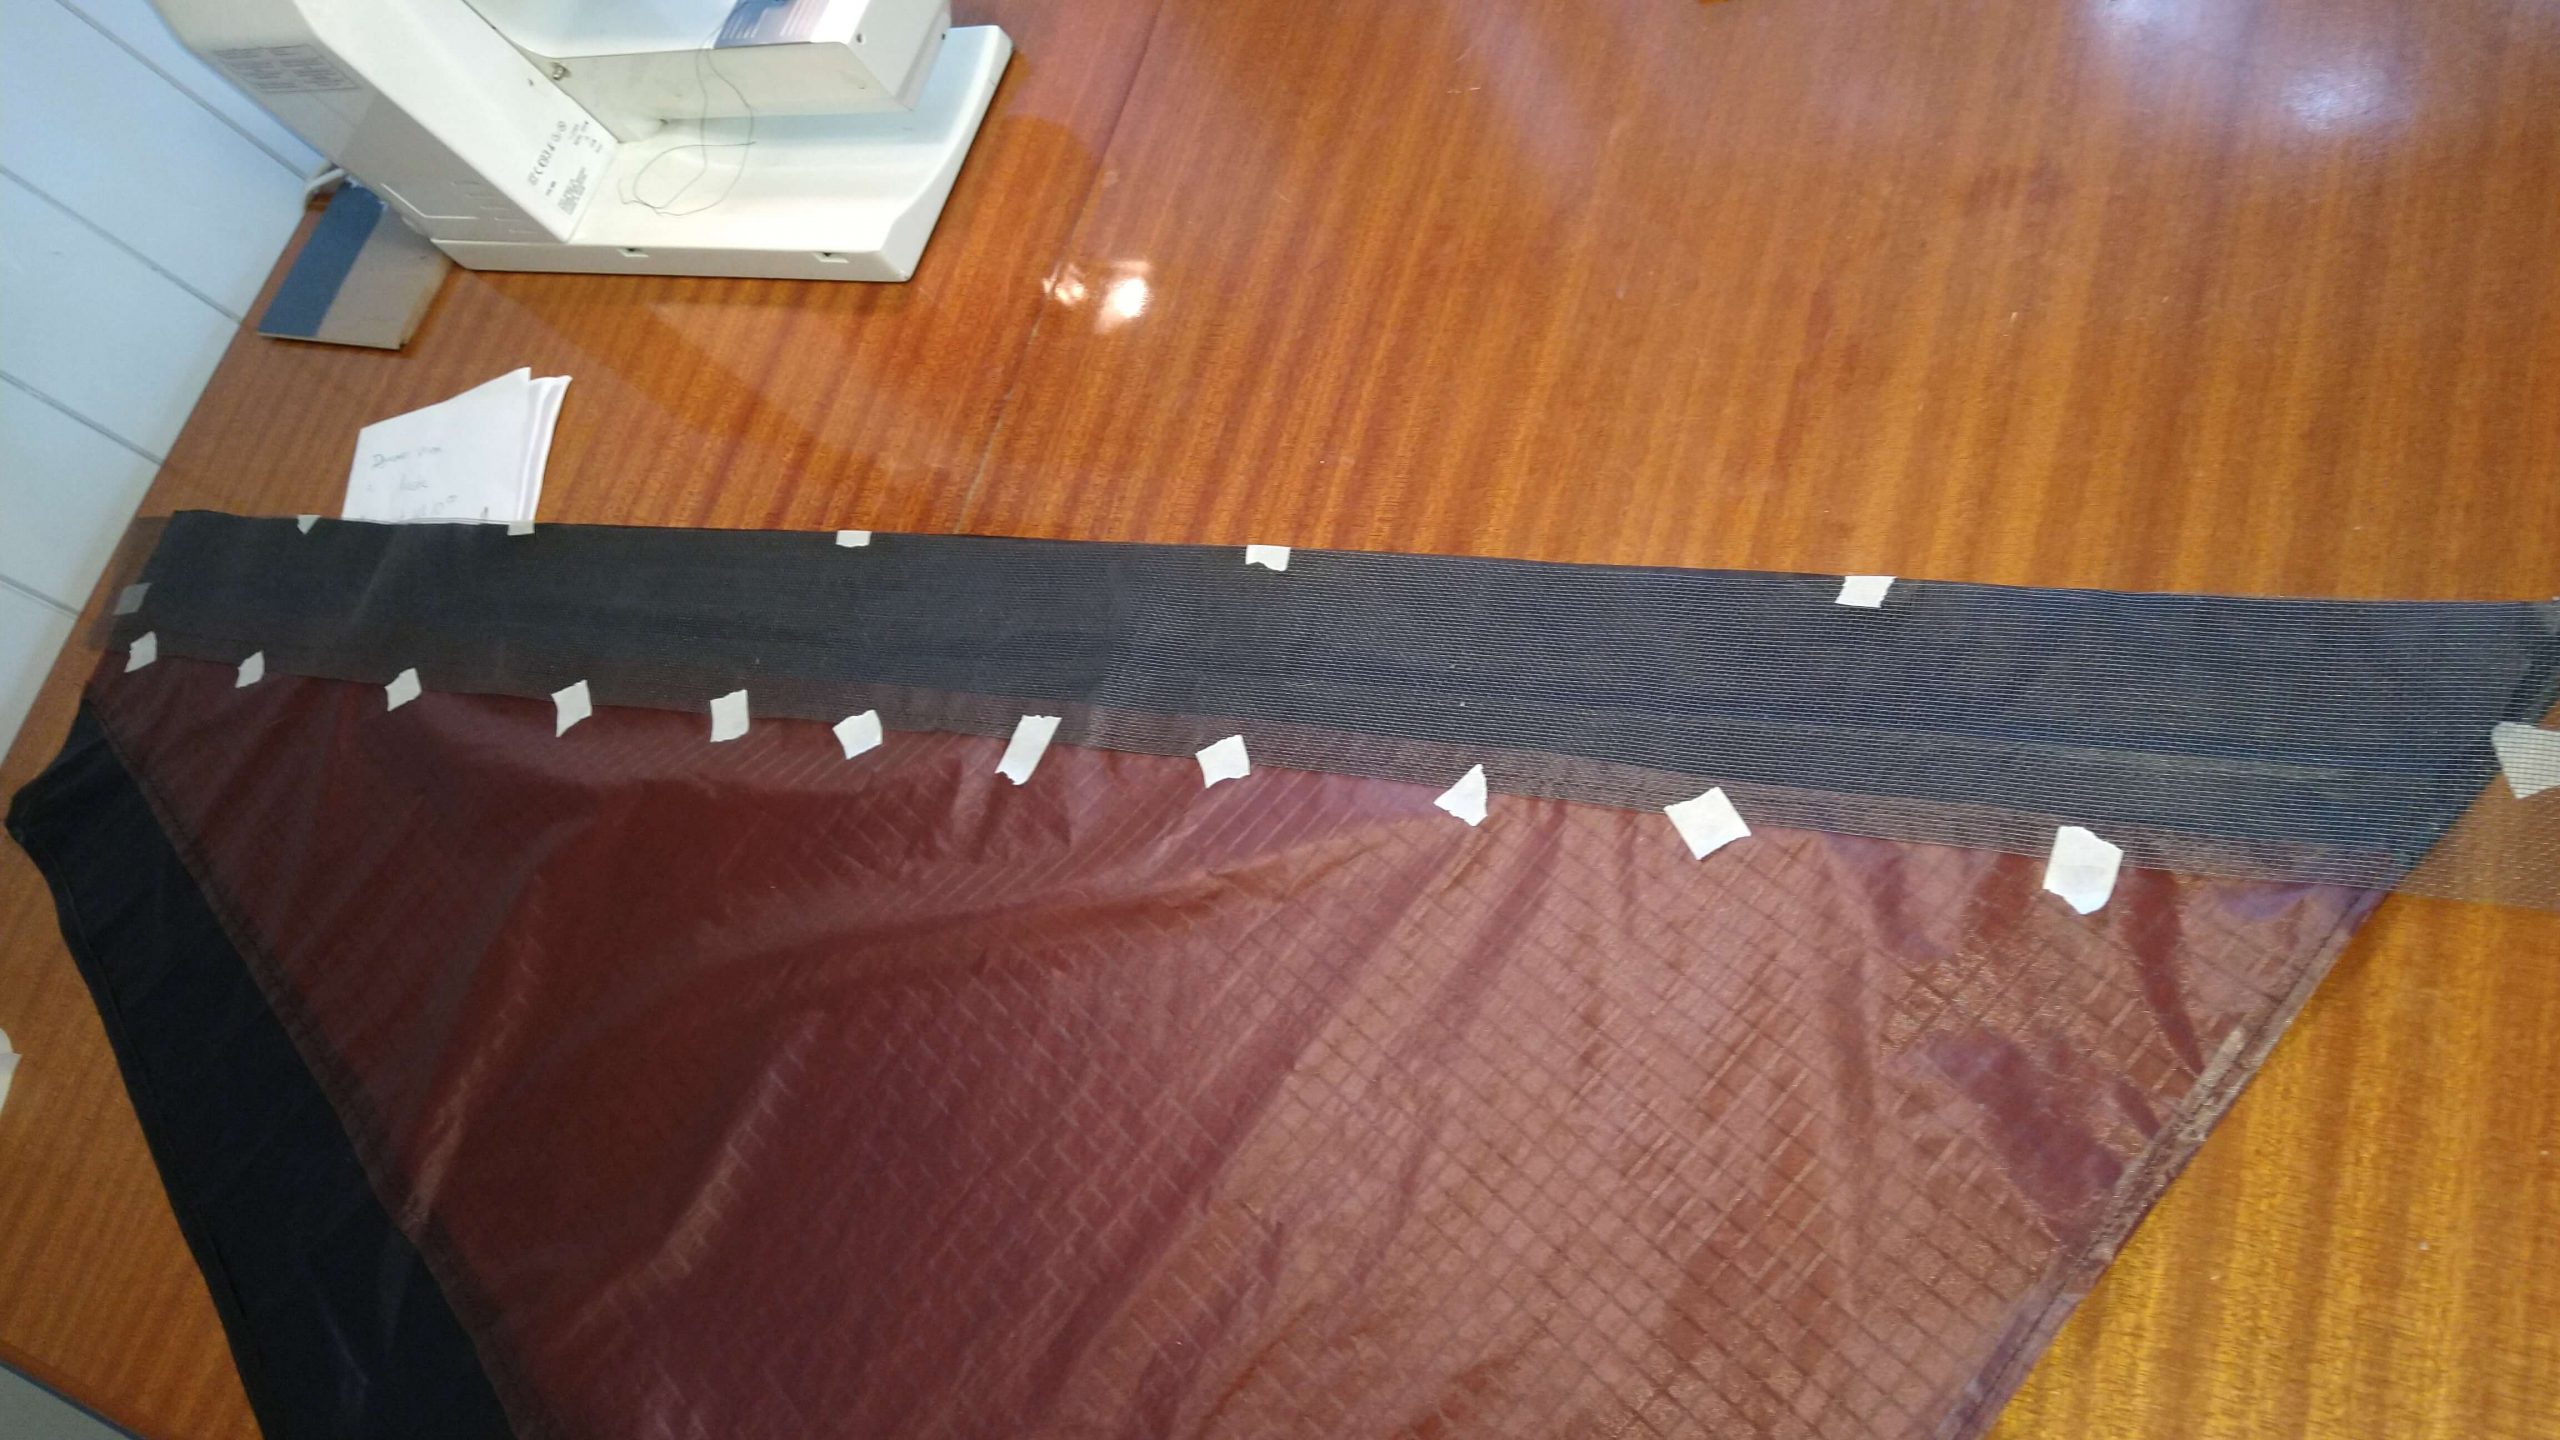
Mesuring the mesh… 
…for the cutting 
Cutting the mesh 
Preparing for reinforcement of the wing tips 
Close up of the wing tip reinforcement 
Sewing the mesh alongthe LE 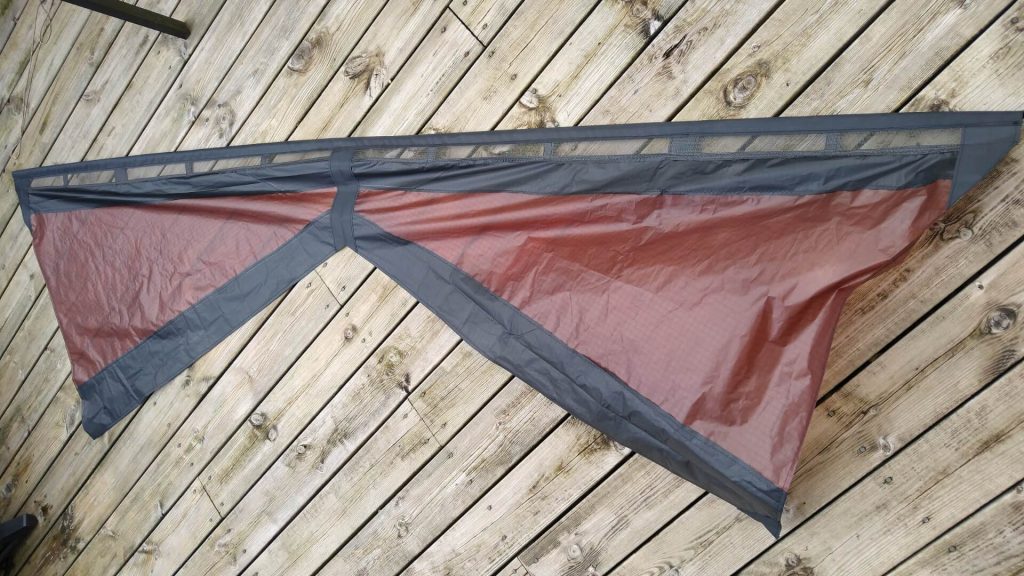
The kite is framed with it’s leading edge rod 
…and now the down spars are in place too 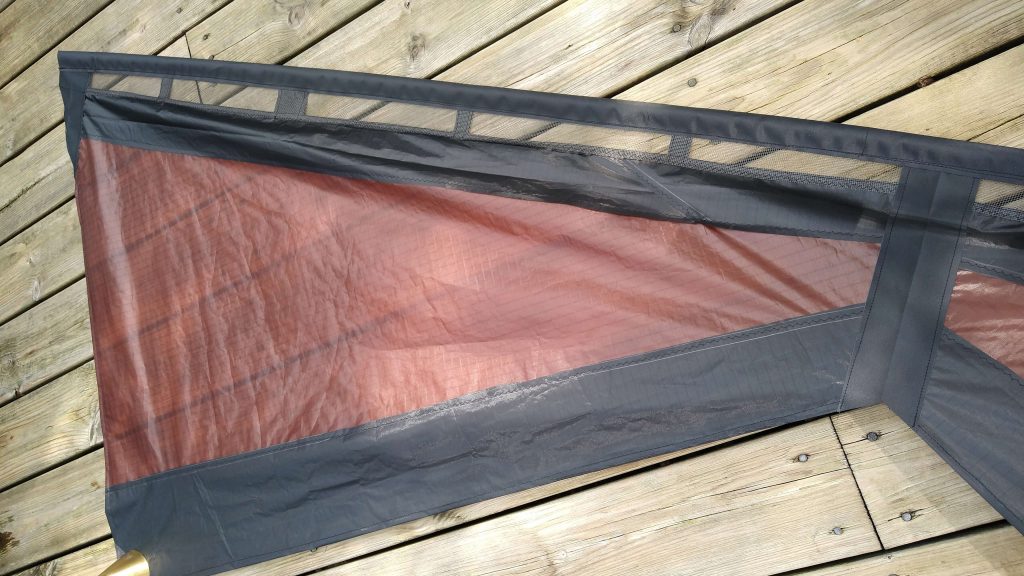
Now it’s ready for the bridle 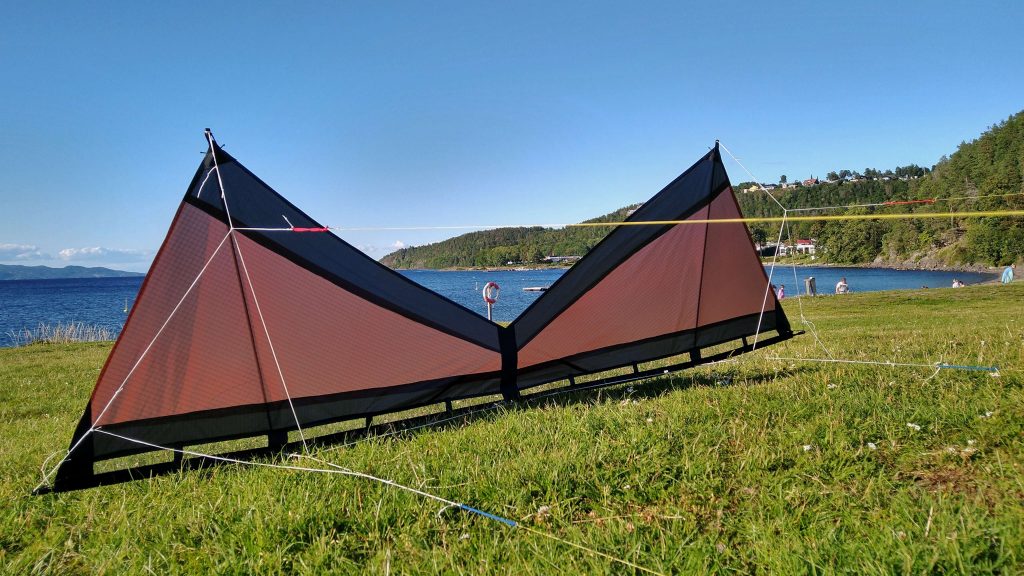
Bridle attached… 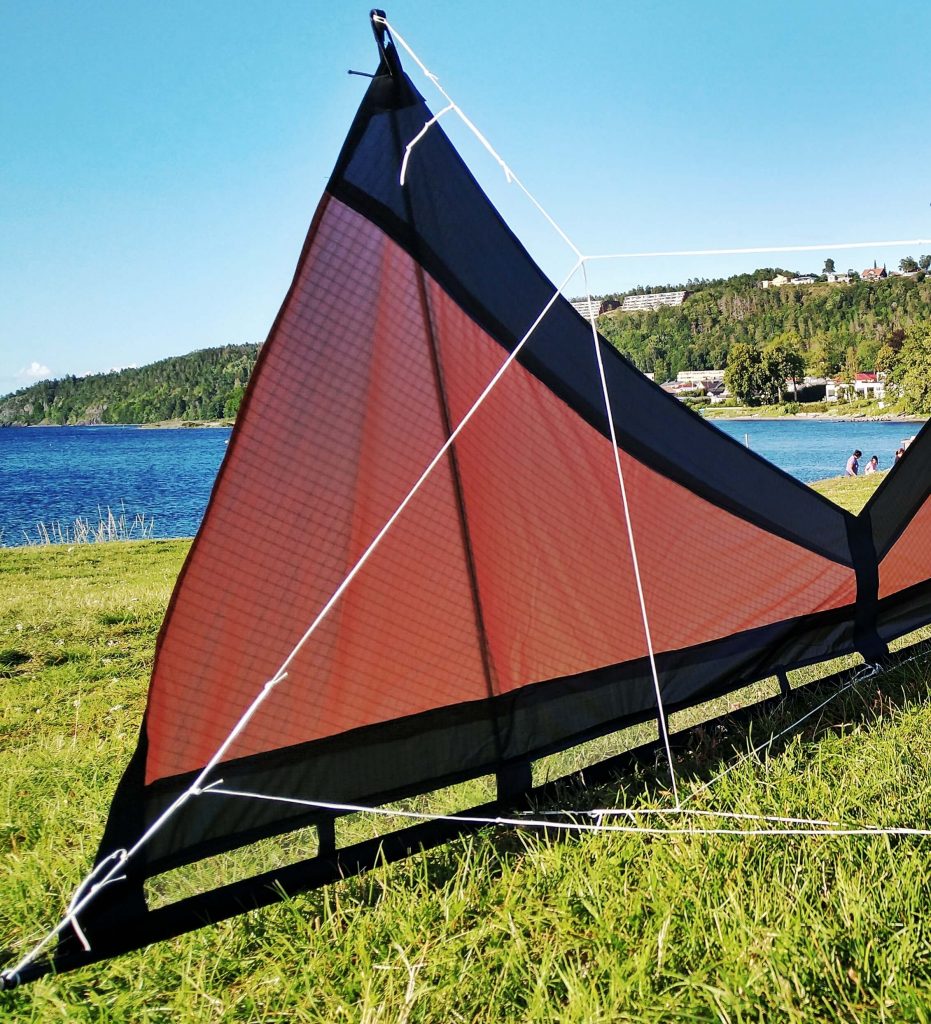
…and ready to fly!


4 responses
Hello Sven.
First I will say that I really like what you are doing, I learn so much from this blog.
I’ve just bought an semi vented
A-quad from Anders and I really like flying that one.
But I’m also very interested in trying build one my self and wondering a litelbit were you baught all materials for your kite’s?
Best regards
// Jonas from Öland (sweden) ?
Hi Jonas!
…and Thank you for your nice words! ?
Yes, I heard that Anders made you an A-Quad, a great kite that surely will put a big smile on your face!
Most of the materials I use for kite building are leftovers from an online kite shop I used to run ten years ago. ?
But if you’re looking for a place to buy building materials, I would highly recommend the German Metropolis Drachen! (https://www.metropolis-drachen.de/)
They’ve got everything you’ll ever need, reasonable prices and good customer service!
You can also buy from eBay with it’s pros and cons. ?
Check out any local “sewing shops” too. They might supply you with mesh, fabrics and different (ripstop nylon) bands.
If you have an archery shop nearby you can check out if they carry arrow shafts you can use for framing.
/Sven
very nice tutorial but the most important is missing, dimensions of the sail, rods and bridle. Well, unless it’s the intended effect
Hi Piotr!
Dimensions and other stuff will be published. I just need to do some more tweaks until I’m totally satisfied with the kite.
So…
Stay tuned! ??