So I took too the internet to see what showed up after a few Google searches. Quite a bit actually! …and making one without spending a fortune should be pretty easy. So my goal at the kitchen table today is to make one, and off course you’re invited to the process!
So yesterday I put on my face mask and stopped at the local Biltema store and picked up a box of paper clips, a picture frame and a square piece of acrylic sheet for just a tiny bit over NOK 100,00, approximately $12. Not bad, and the rest of the stuff that’s required, sits in a kitchen drawer or similar at home. So let’s get started!
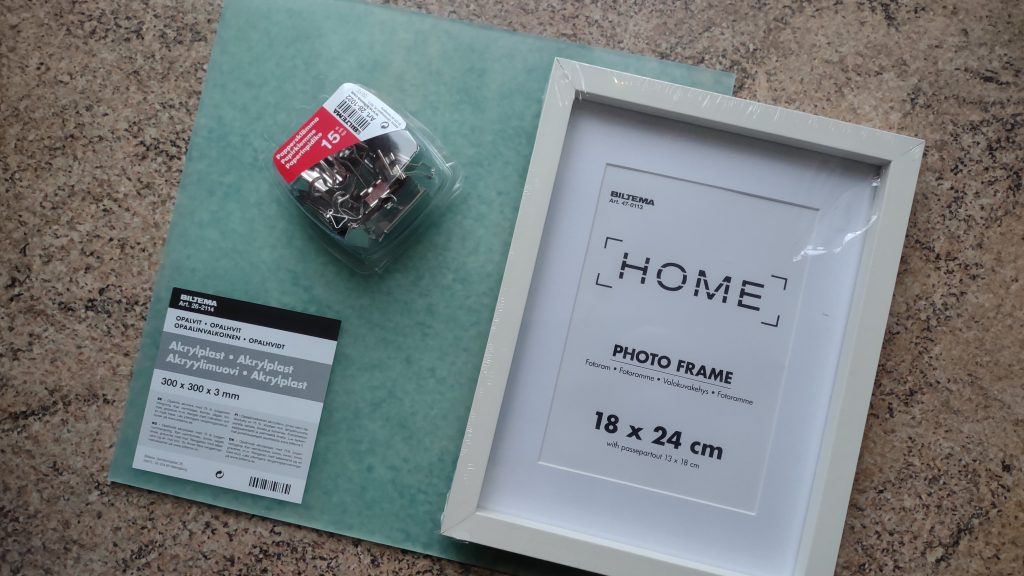
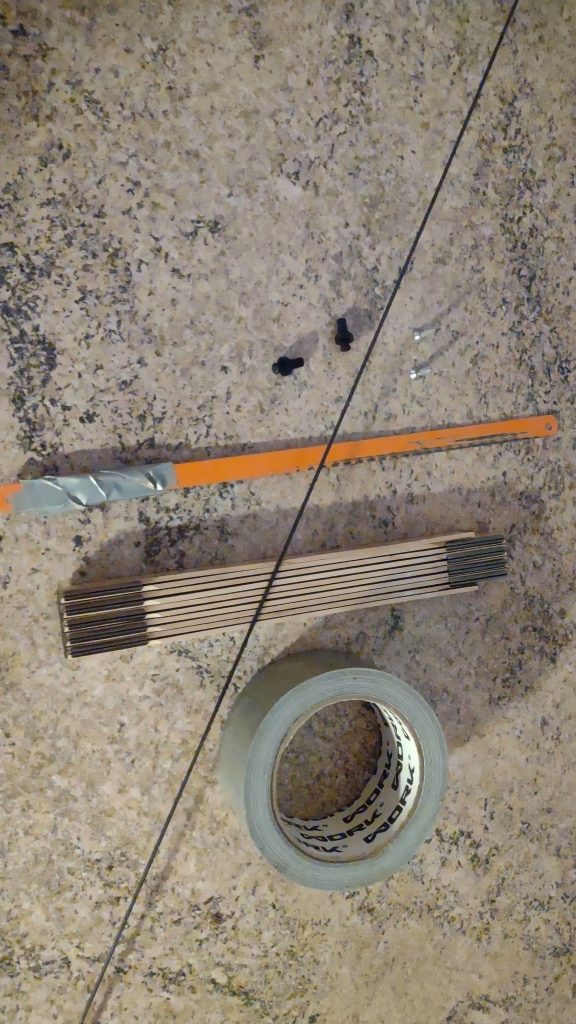
…and by the way, here is some more required stuff.
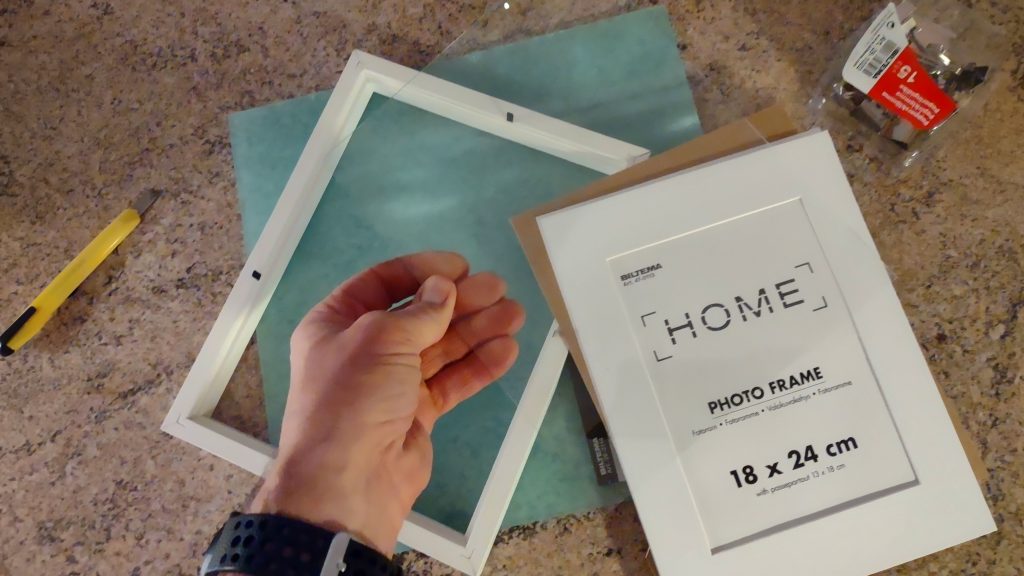
Ok, first thing to do is to wrap the plastic covering the photo frame and take out the glass. The frame itself can be recycled into …. well … whatever.
Now, remove the protective plastic film from the acrylic sheet.
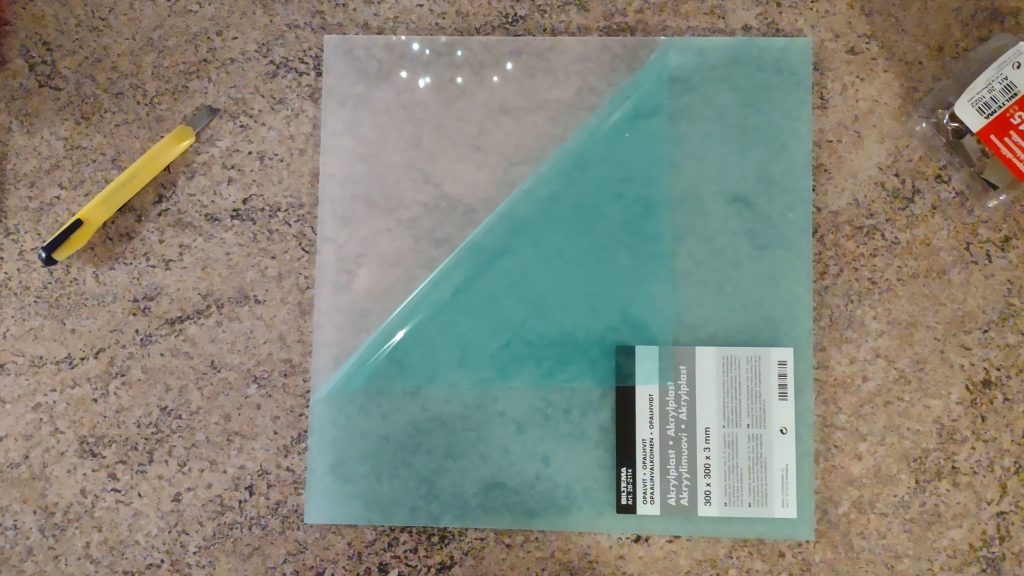
Now align the edge of the glass (from the frame) to the edge of the acrylic sheet … and make a tiny mark on the acrylic sheet at where the opposite edge of the glass goes.
The put a piece of duct tape across the acrylic sheet making sure the centre of the tape fits the marking on the sheet.
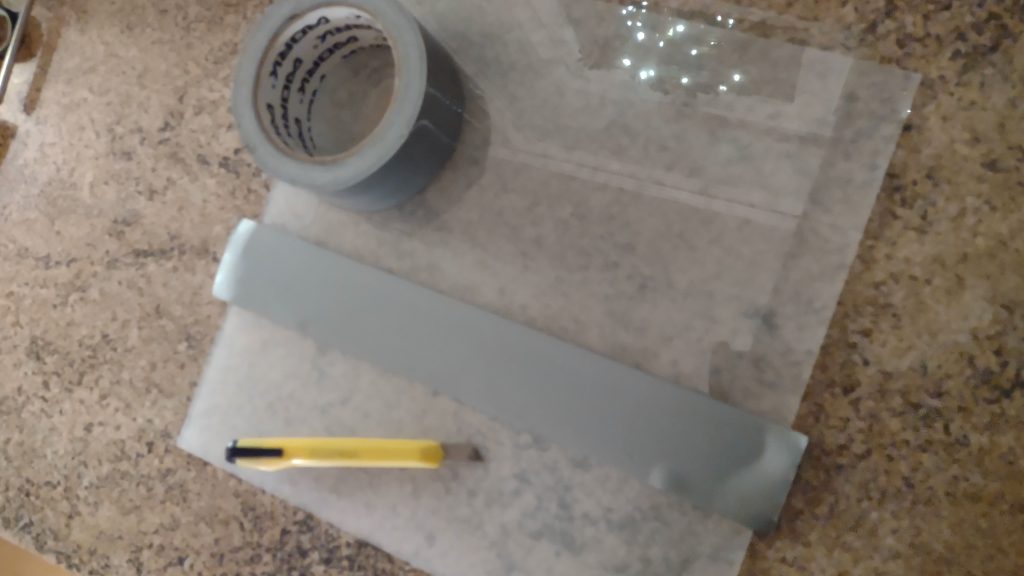
Cut off any excess tape on both sides of the acrylic sheet.
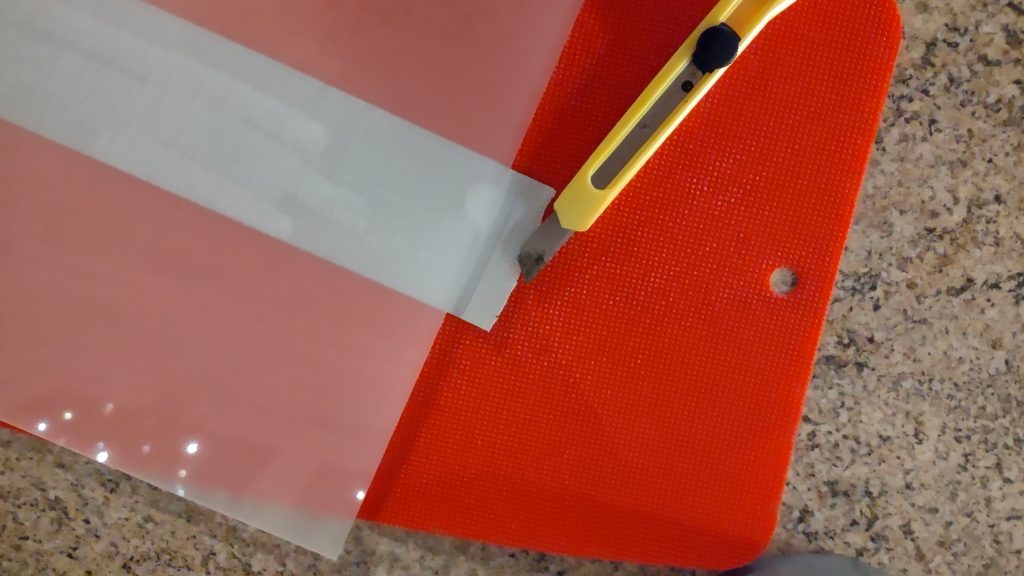
Now align the edge of the glass once again to the edge of the acrylic sheet. The other edge of the glass should now align perfectly with the center line of the tape, just like in the photo below.
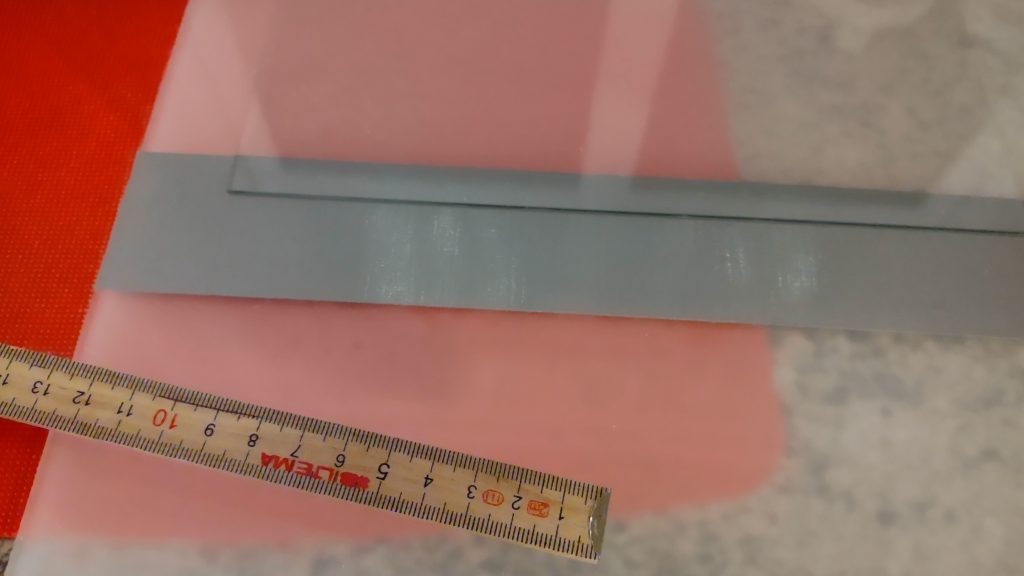
Now we’re ready for making the … “hinge” and off course we use some more duct tape!
Place the piece of tape across the glass/sheet just like in the photo below.
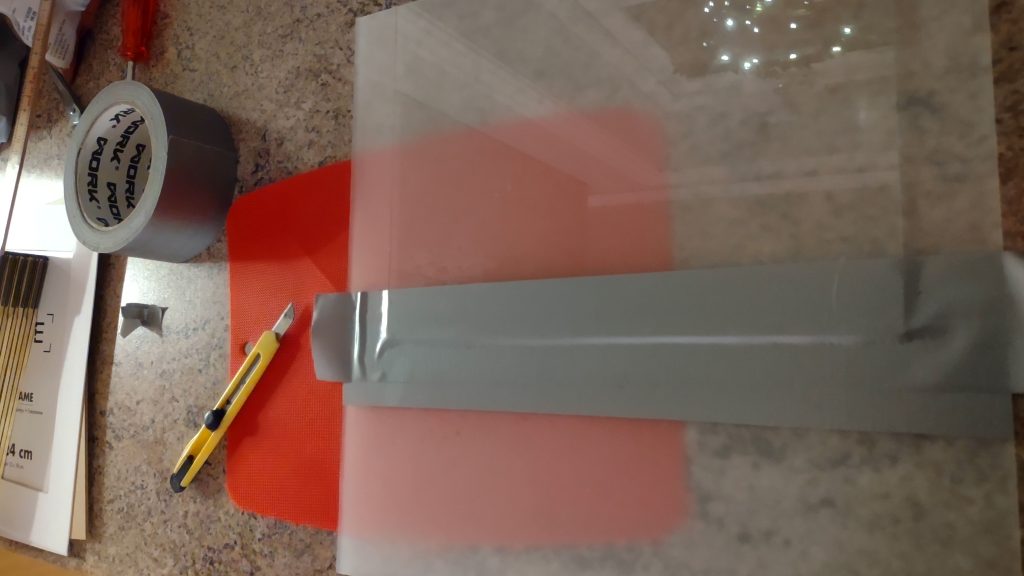
…and carefully cut off any excess tape on both sides.
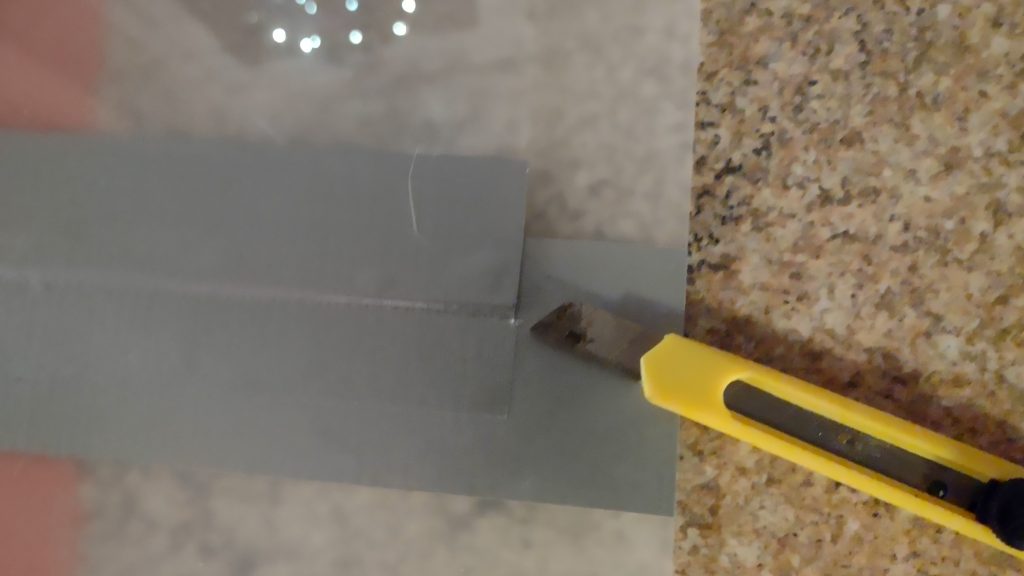
Flip the glass over (using the tape as a hinge) and repeat the taping from the other side of the glass.
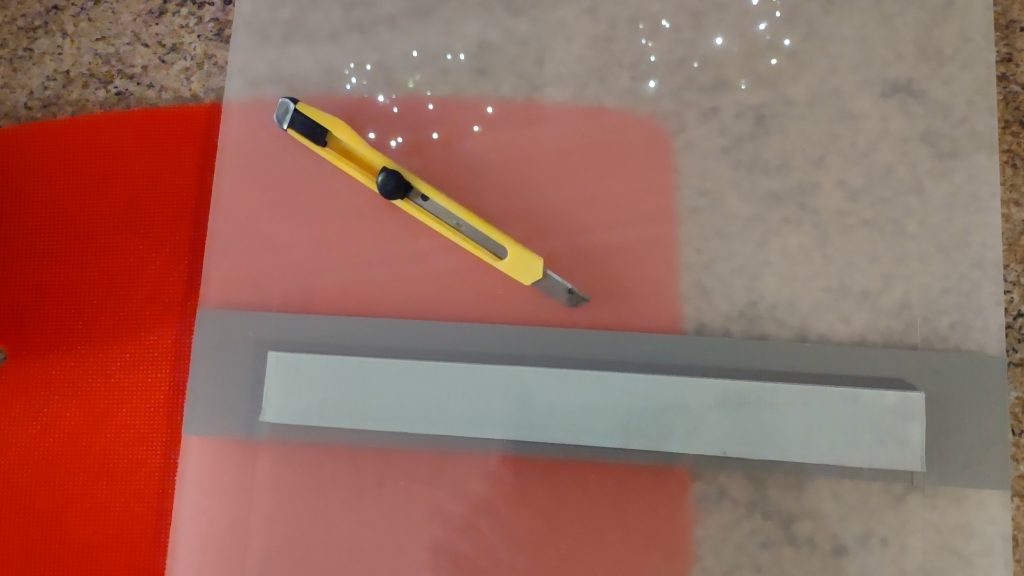
When done, make sure once again to carefully cut off any excess tape.
The “hinge” is now done and you can flip the glass back and forth.
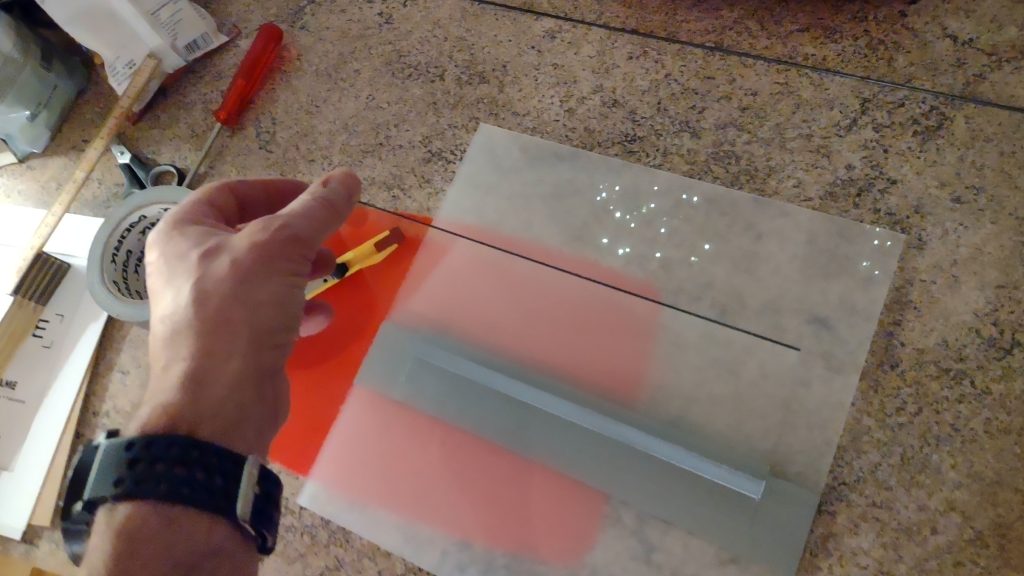
Not it’s time for the two paper clips! Clip them to the corners of the glass like in the photo below.
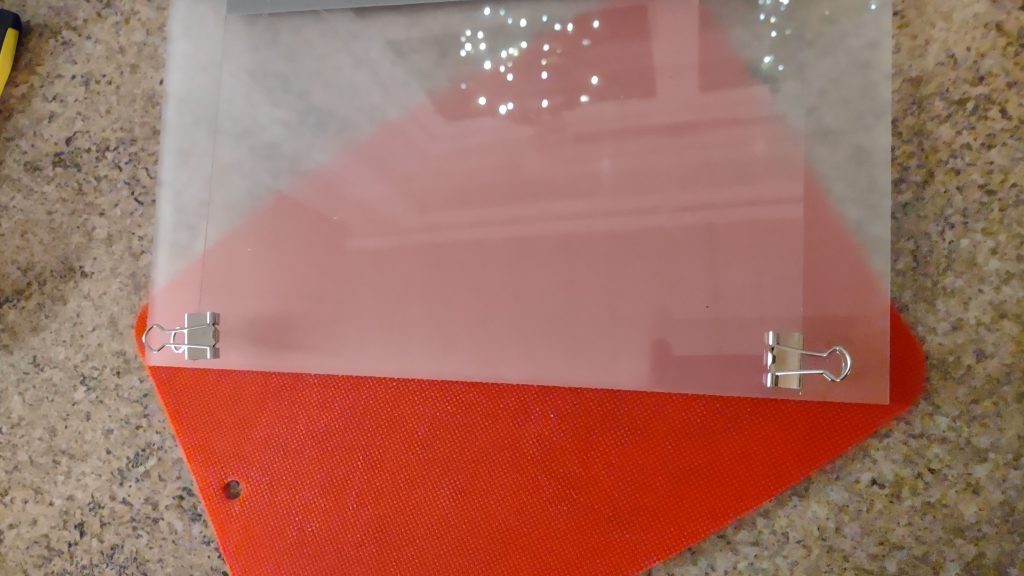
These clips will function like stoppers a little later.
Now cut two pieces of a 2 or 3mm glass fibre rod in two different lengths. (You will need to experiment a little to determine the lengths.) The two lengths will make it easier to adjust the angle of the teleprompter’s reflective glass so it will suit your recording position.
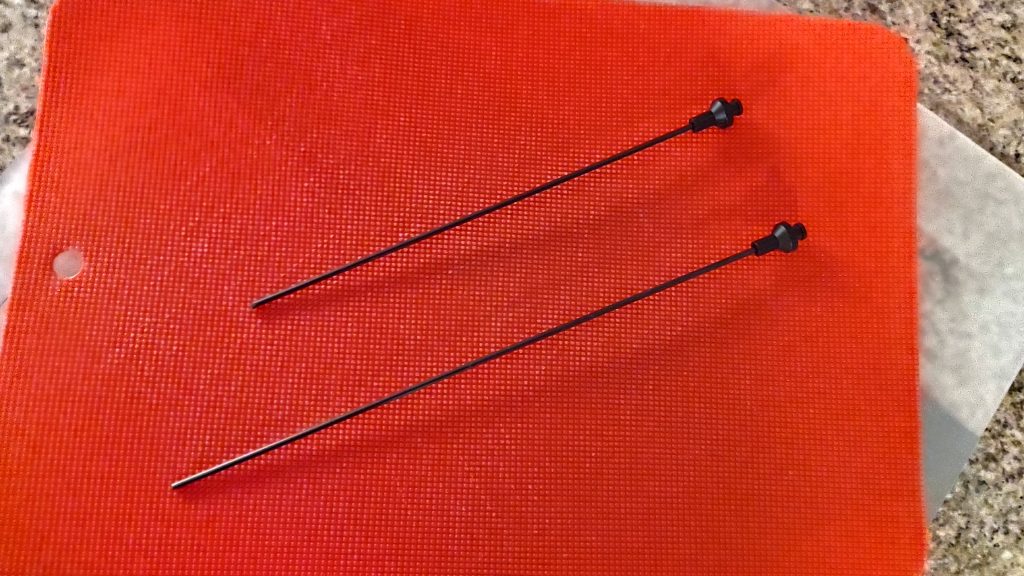
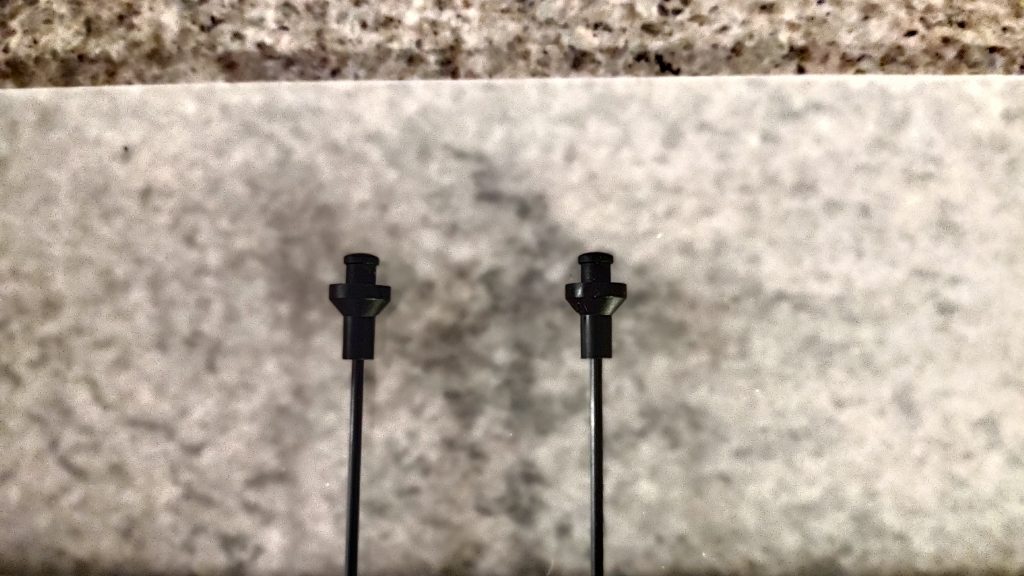
Slide a trailing edge connector onto one end of each g.f. rods line in the closeup below.
Now tape a “stopper” like this…
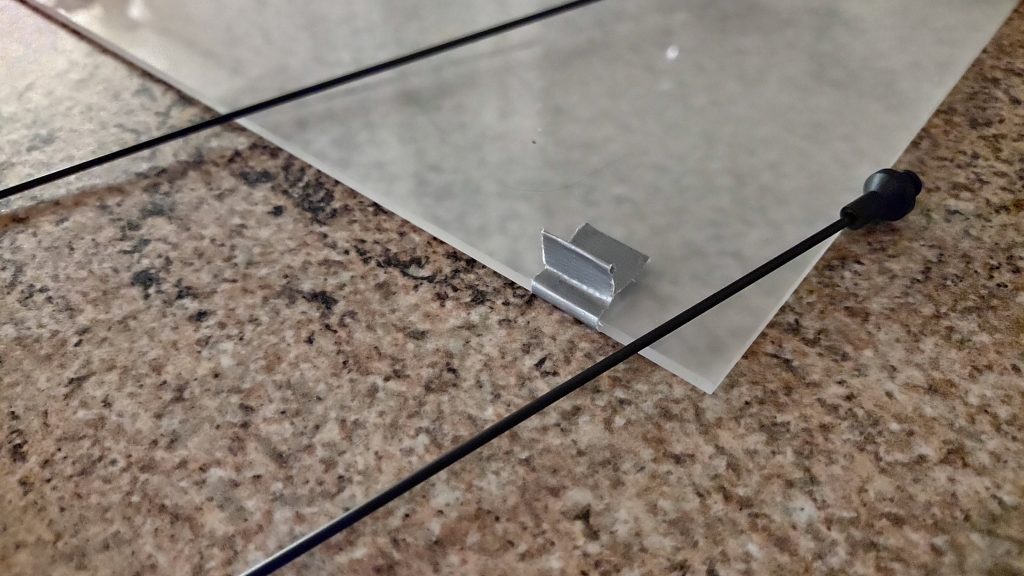
….close to the corners of the acrylic sheet….
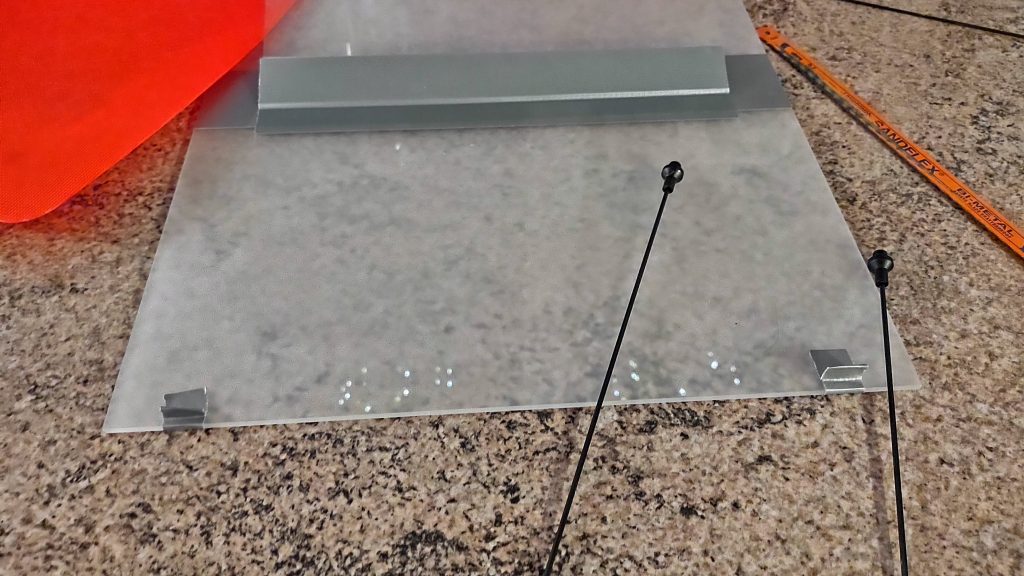
…and now everything is ready for testing the teleprompter. Just set it up like this using the g.f. rods.
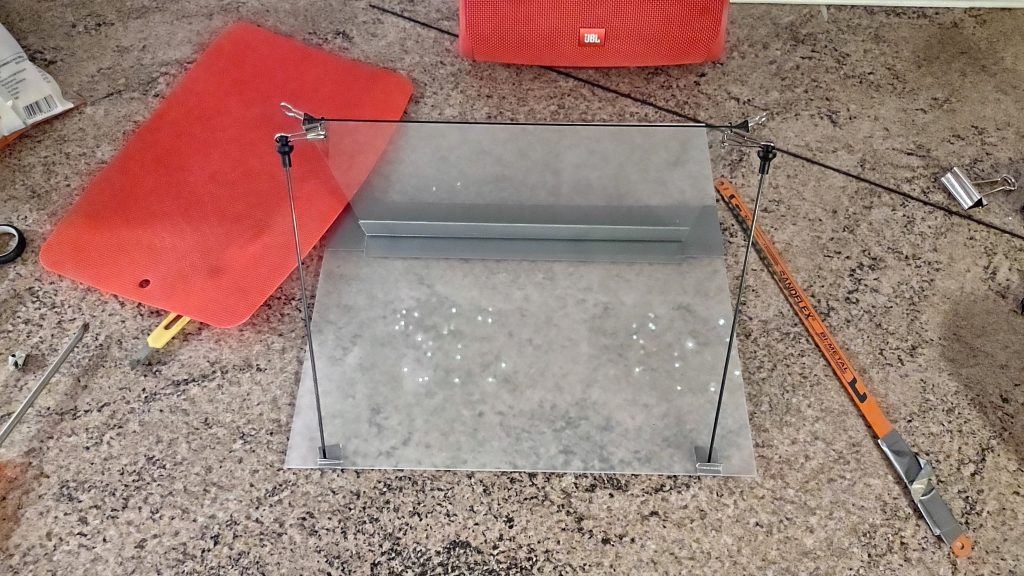
The glass used for this DIY teleprompter is light enough that you can use one g.f. rod only to make it stay open. By having two rods of different lengths, it’s easy to adjust the glass’ angle to your likings.
…and this is what the teleprompter look like in action!
(This video is self hosted, so I reduced the quality somewhat.)
All that’s left to do now is to figure out a way to make it possible to mount the teleprompter on a tripod. I have a pretty good idea how, so stay tuned for another post going into details about the tripod mount!


