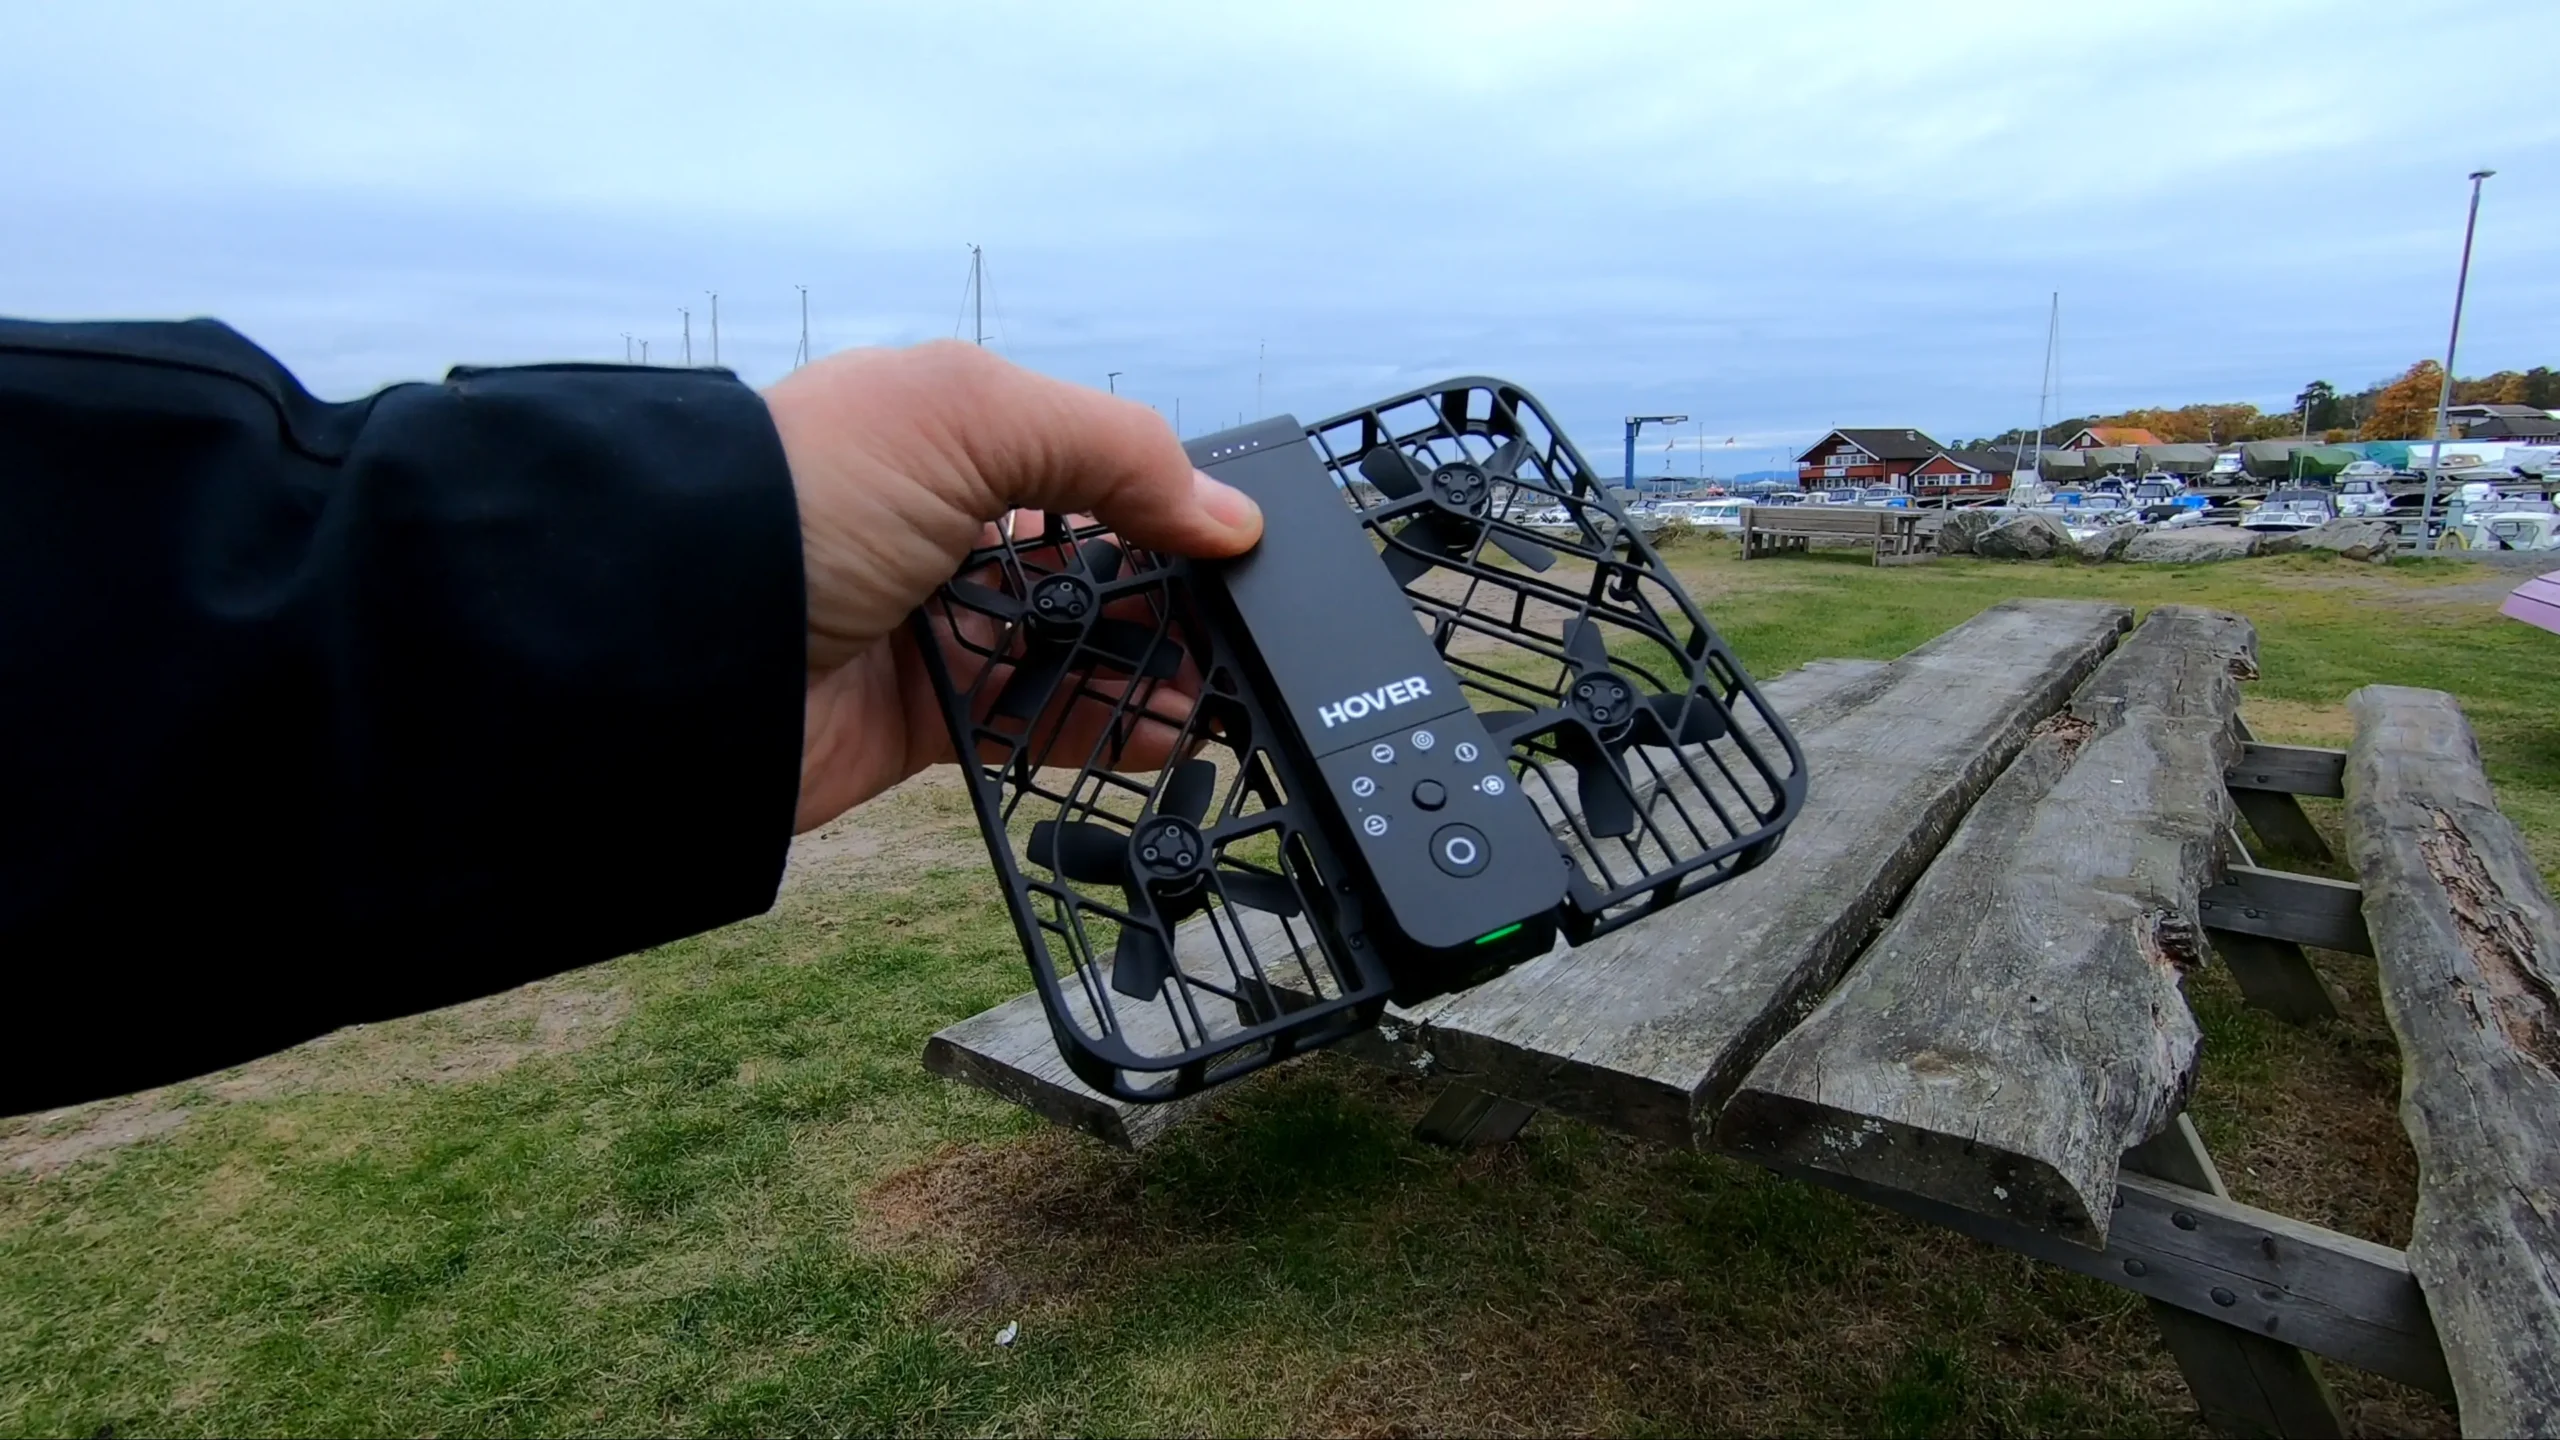



The final result may only last a few minutes, but behind every video are hours of planning, filming, problem-solving, editing, and countless small decisions that most viewers never notice.
That is why I am launching a brand-new series on AERIALIS Kites: Solo Kite Video Creation.
My Solo Film Making Process
This series will take you behind the scenes of my filmmaking process and show how I create my kite videos from start to finish. Over time, I will cover everything from planning a shoot and choosing locations to camera placement, editing techniques, storytelling, sound design, and the many practical challenges that come with producing videos outdoors.
The defining characteristic of this series is that almost everything I film is done completely on my own.
Why I Create Solo Kite Videos
I have several goals with my filmmaking. First of all, I really want to present the greatness of kiteflying itself. But I also want to tell a story, present the local scenery and surroundings, create a feeling of adventure and freedom, and hopefully make you want to go out there on the field, on the beach, or wherever you prefer to fly your kites!
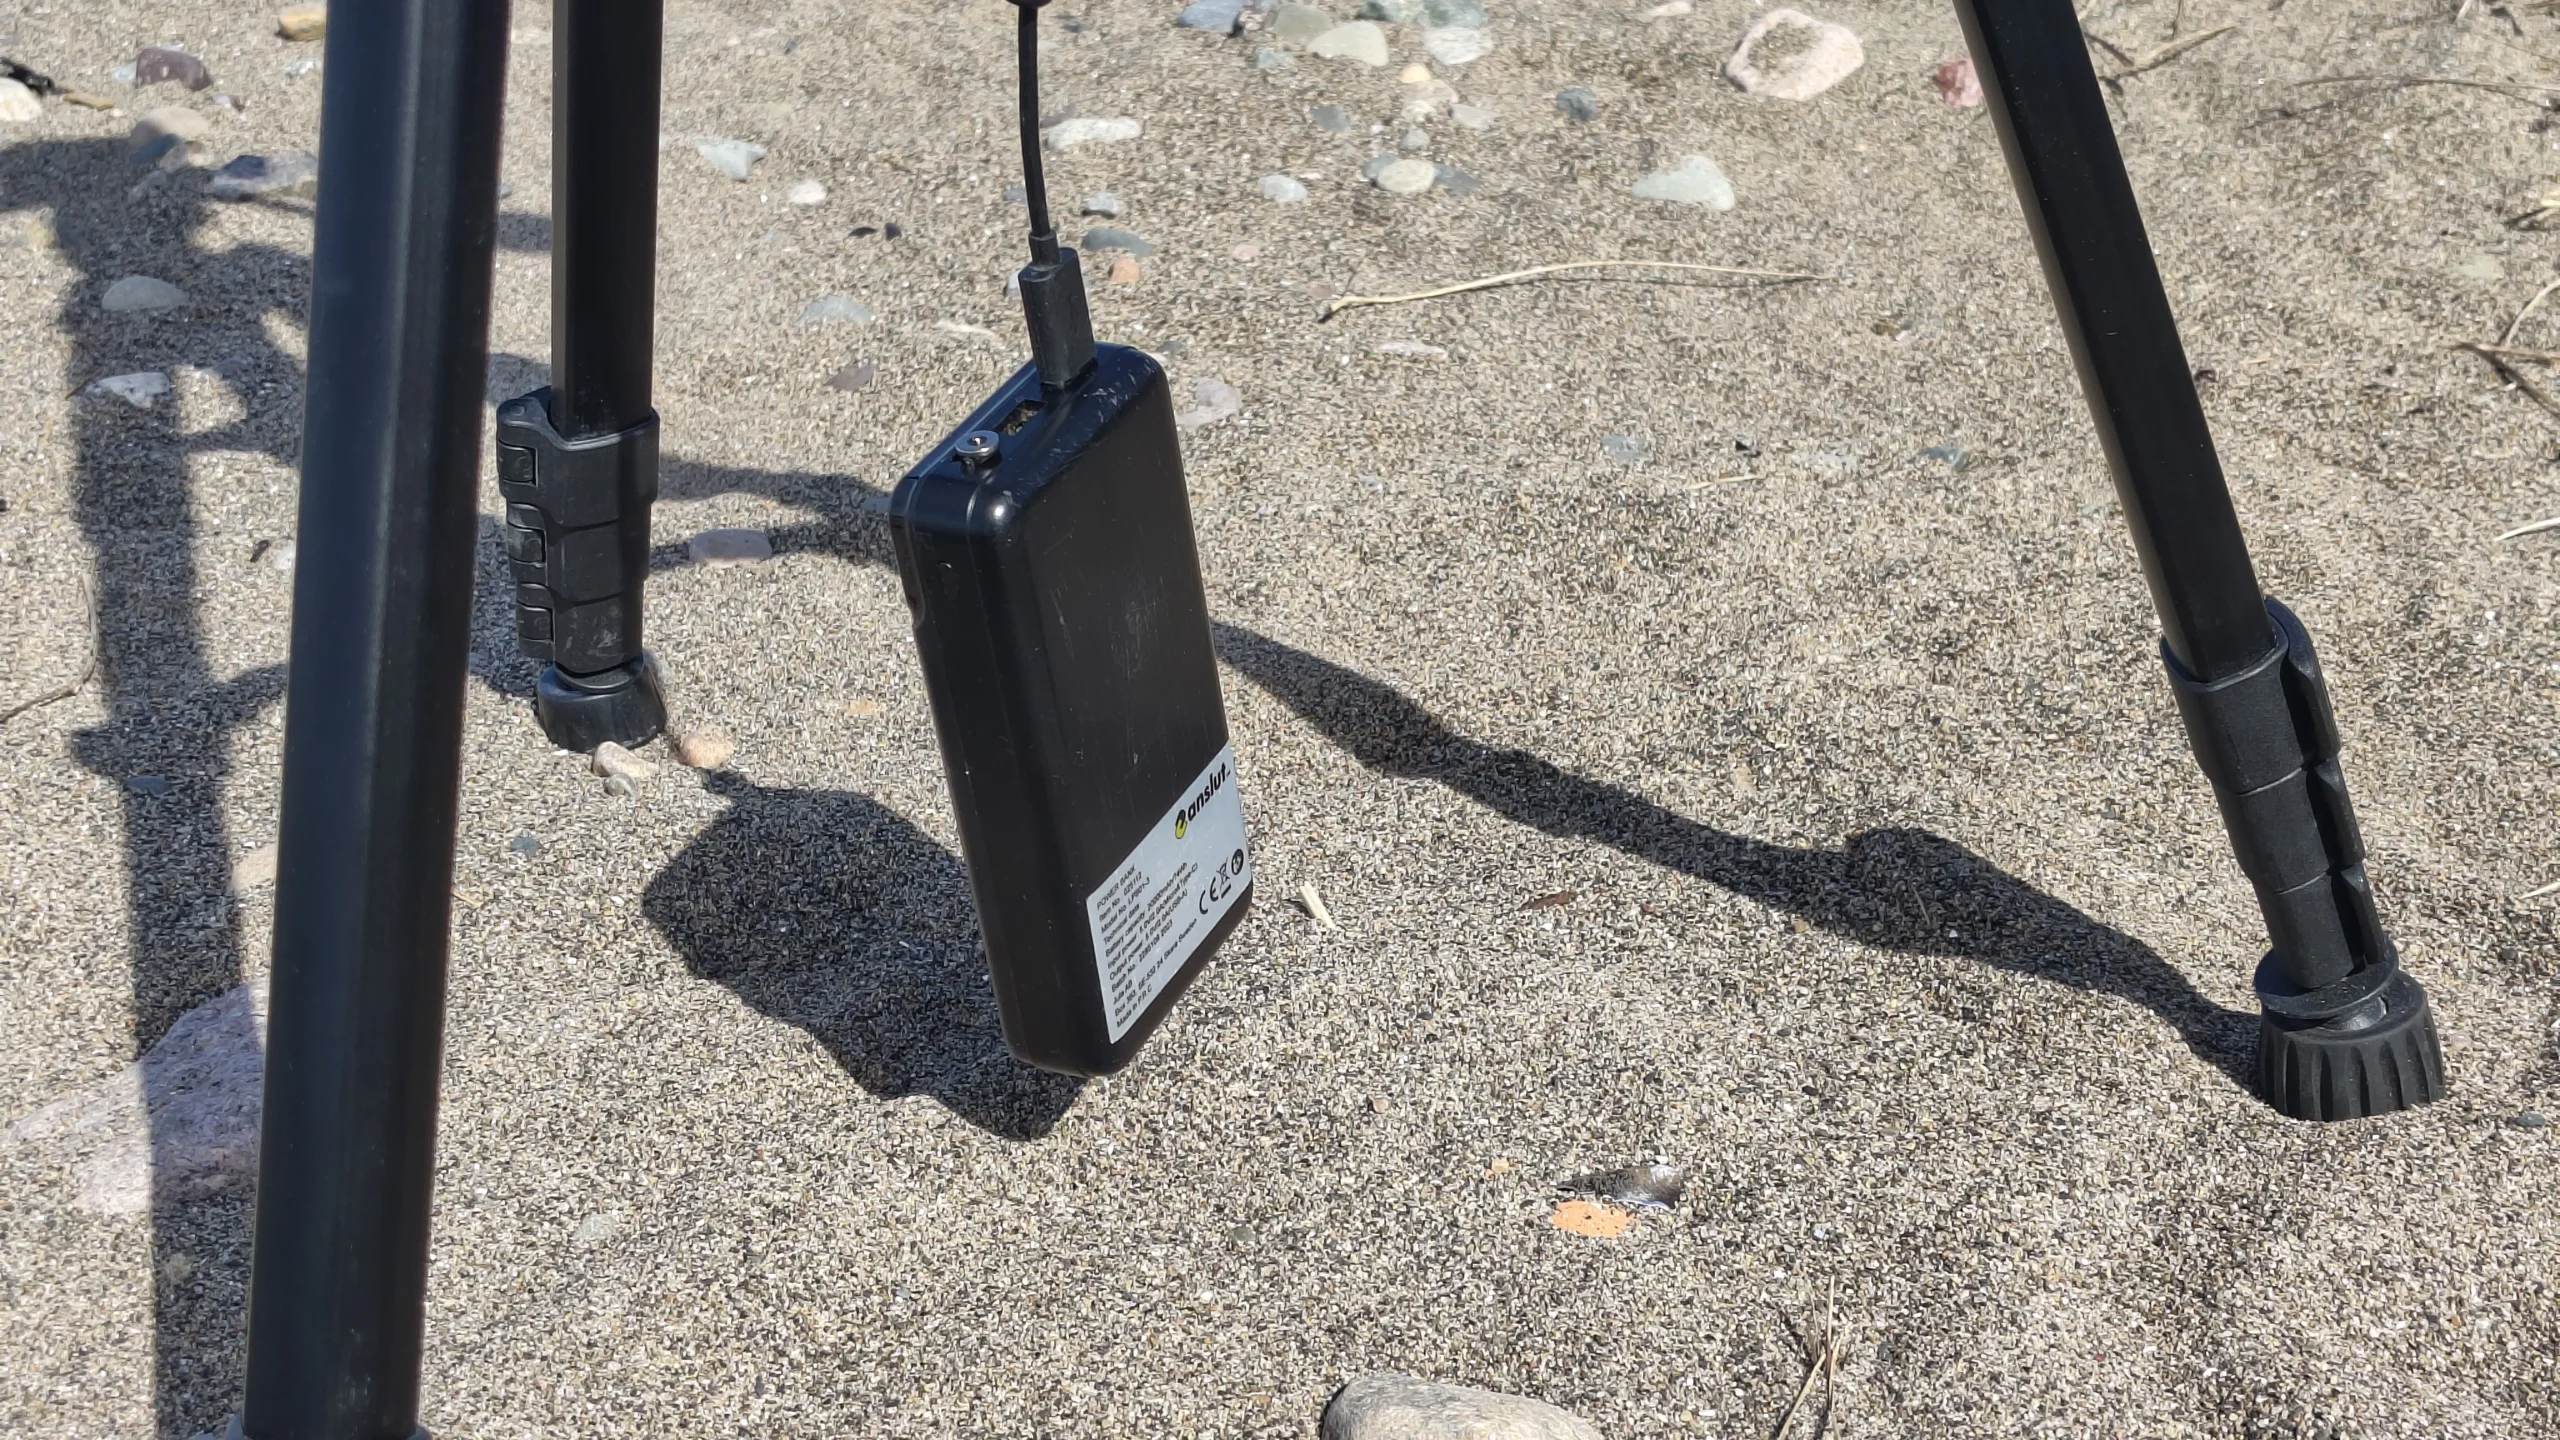
However, I have to do it all myself. I don´t bring along a crew or anything. No, it´s just me, my kites, and my (light) equipment.
Because unlike productions with camera operators, assistants, or drone pilots, solo filmmaking means that I have to be the kite pilot, the camera operator, the director, and often even the weather forecaster—all at the same time. Every shot has to be planned before I launch the kite, every camera position must work without someone standing behind it, and there is rarely an opportunity for a second take if the wind suddenly changes.
Creative Solutions for Solo Kite Filmmaking
While these limitations can be challenging, they also force creative solutions. Over the years I have developed workflows that allow me to capture footage efficiently while still focusing on what matters most: flying the kite safely and creating videos that are enjoyable to watch.
The first articles in this series will take a different approach than a traditional tutorial.
Instead of immediately diving into camera settings or editing software, I will break down two or three of my own videos and analyze them scene by scene. We’ll look at both the technical side of the production and the storytelling behind it.
- Why was a particular shot chosen?
- How does the opening establish the location and atmosphere?
- How do different camera angles help tell the story?
- How is the pacing built throughout the video?
- And perhaps most importantly, how can a simple kite session become a story rather than just a collection of flying clips?
Visual Storytelling in Kite Videos
I believe that good kite videos are about much more than documenting a flight. They should place the viewer in the landscape, communicate the weather, capture the mood, and create a sense of being there. Whether it is the anticipation before launch, the changing wind conditions, or the satisfaction of a successful landing, every sequence should contribute to the overall narrative.

Although the examples will naturally come from my own kite flying adventures, I hope the ideas will be useful to anyone interested in creating outdoor videos. The principles of visual storytelling, planning, composition, and working efficiently as a solo filmmaker apply just as well to hiking, cycling, fishing, wildlife, travel, and many other forms of adventure filmmaking.
Lessons From Solo Kite Filmmaking
My goal is not to present the “correct” way to make videos, but to share the methods, experiences, mistakes, and lessons I have accumulated over the years. If they inspire someone to think differently about their own filming—or simply encourage them to take a camera along on their next kite session—then this series will have achieved exactly what I hoped.
Welcome to Solo Kite Video Creation. I hope you’ll enjoy the journey behind the camera as much as the one in front of it.