I generally like the Rokkaku. I think it’s brilliant with its simple design and a great flyer. When you tune it correctly, it’s just stays glued to the sky!
The Rok generates good lift too and hoisting the rig into the air should be no problem whatsoever. I already have one Rokkaku I use for a lifter, but now I’m after another one for those days when the wind decides to drop.
Rather than bore you with a lot of mumbo jumbo, here’s a gallery showing you the process from A to Z!

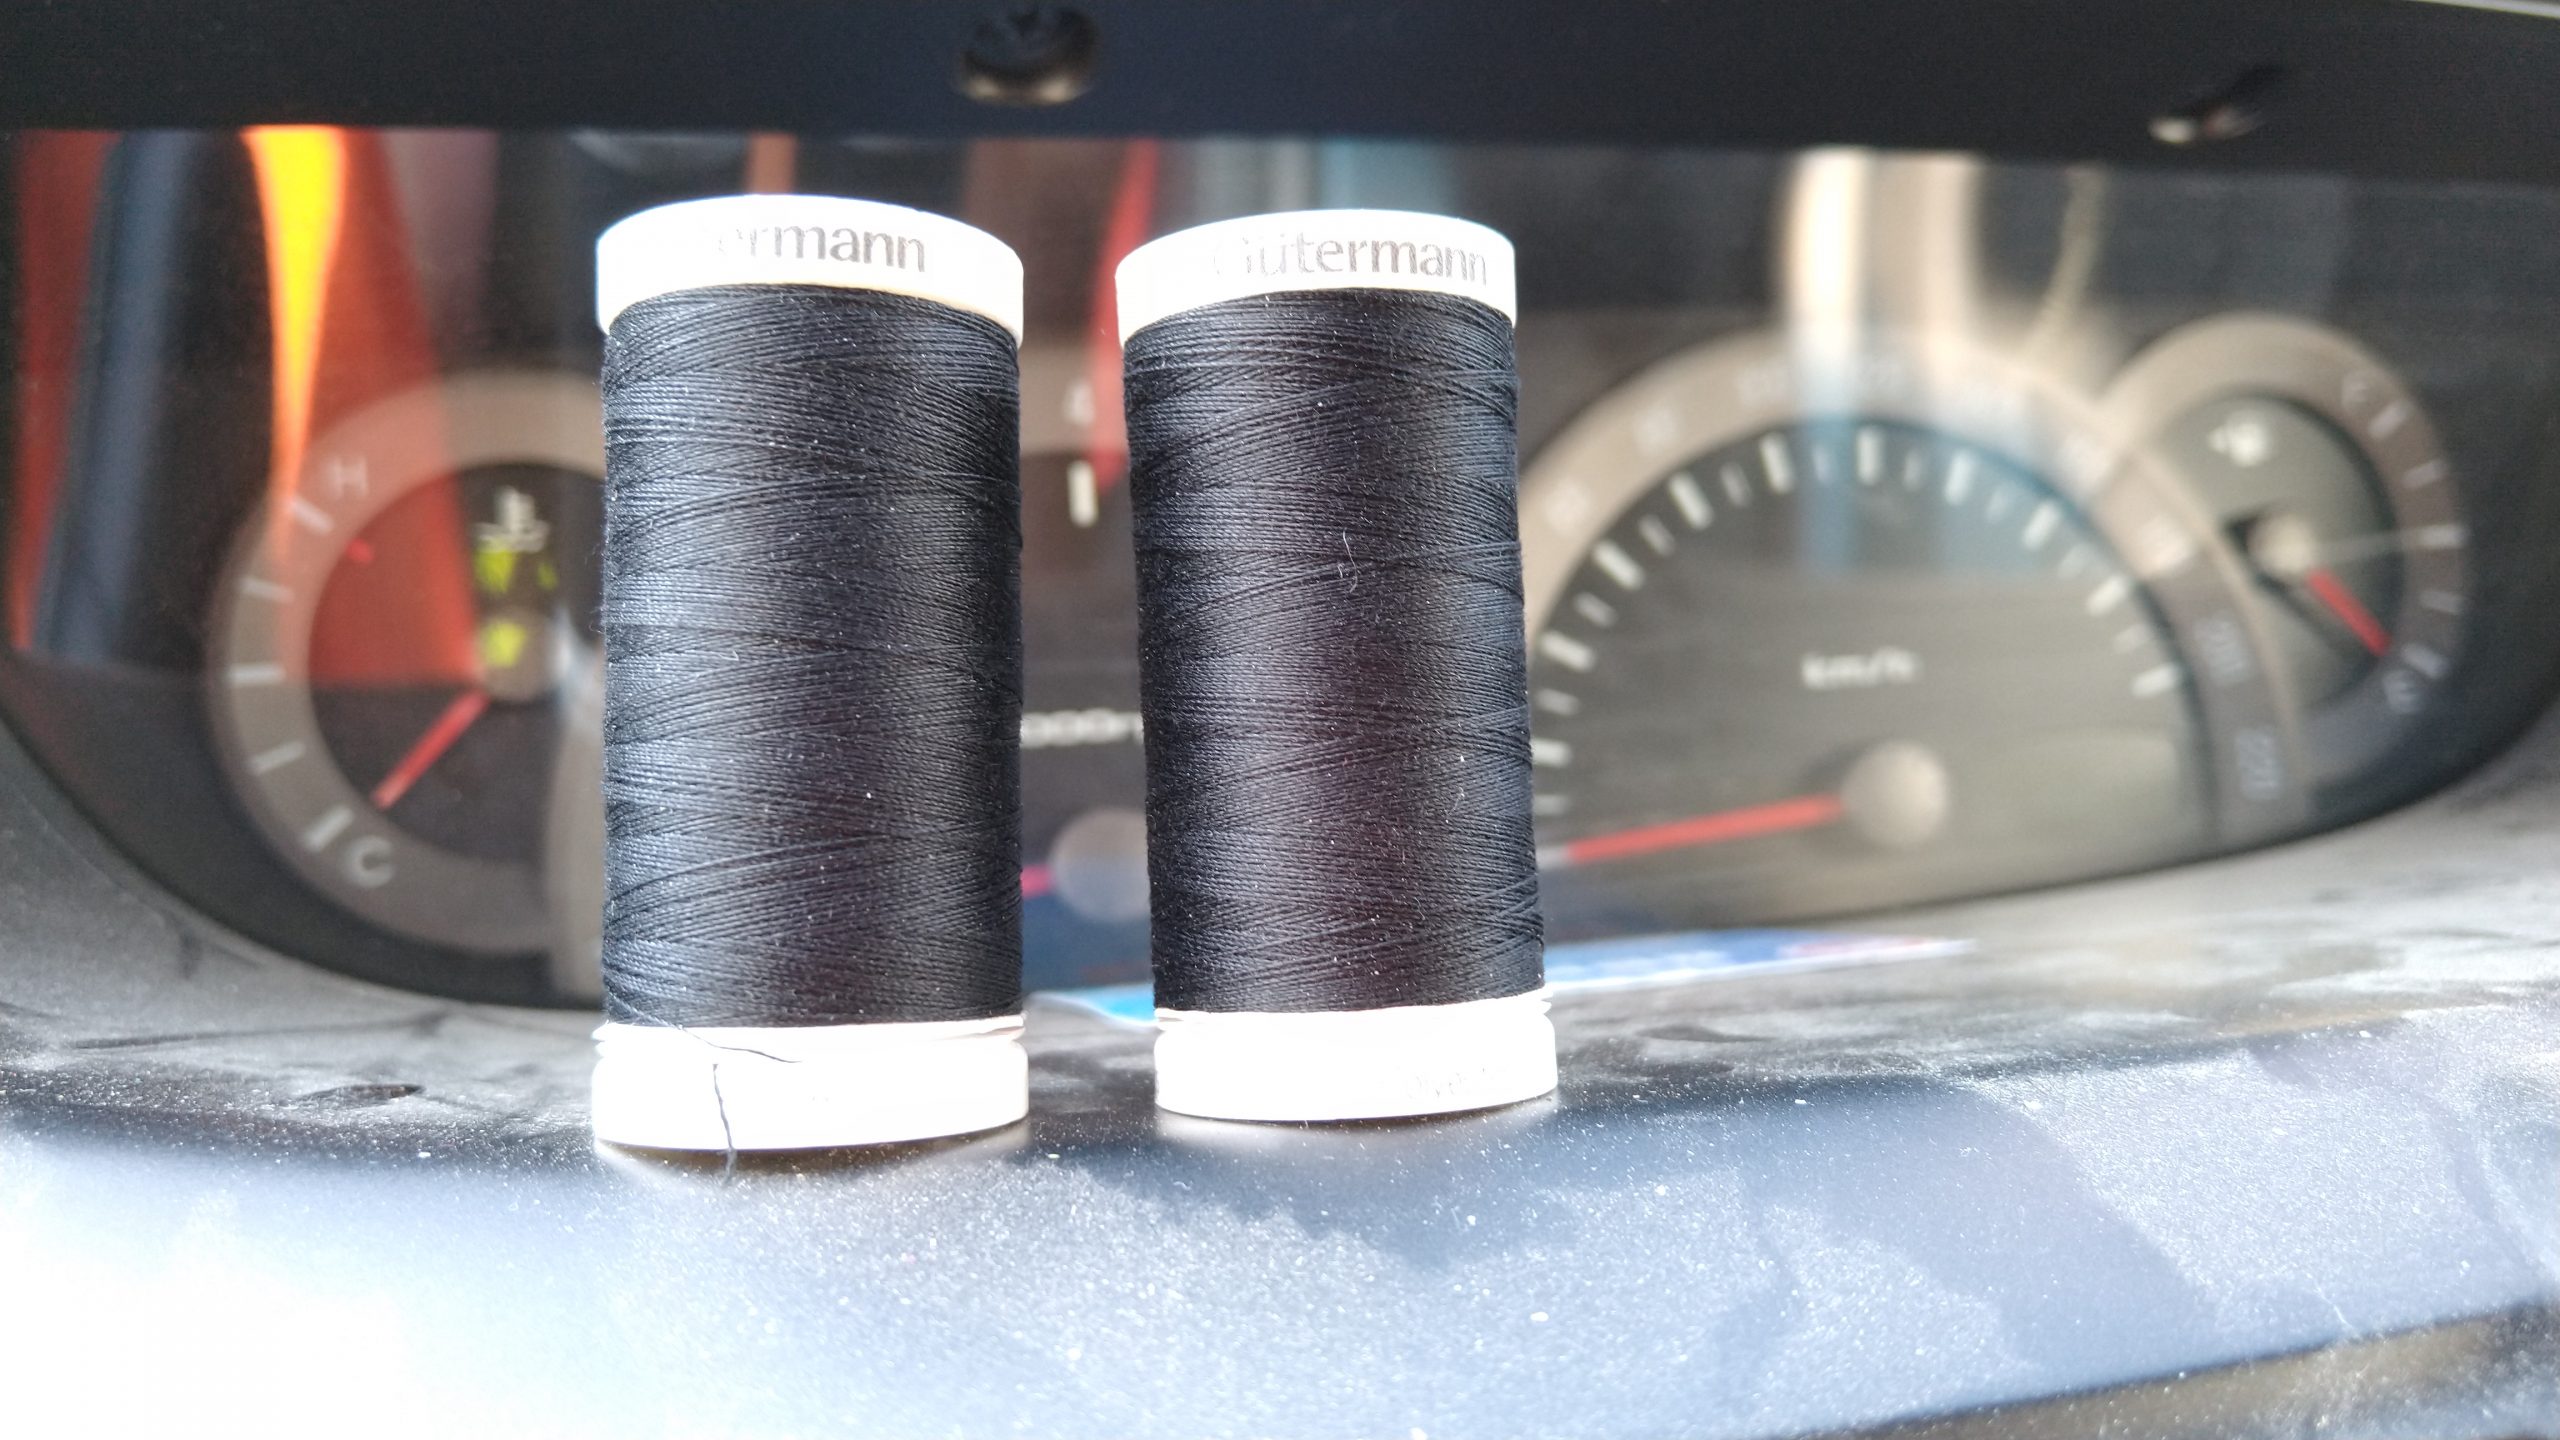
1 Polyester trhead 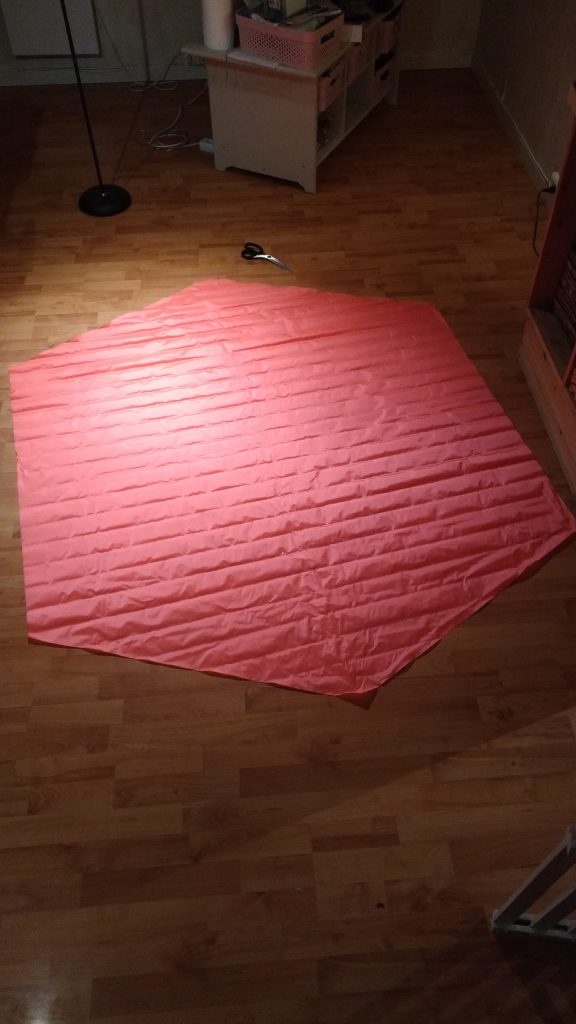
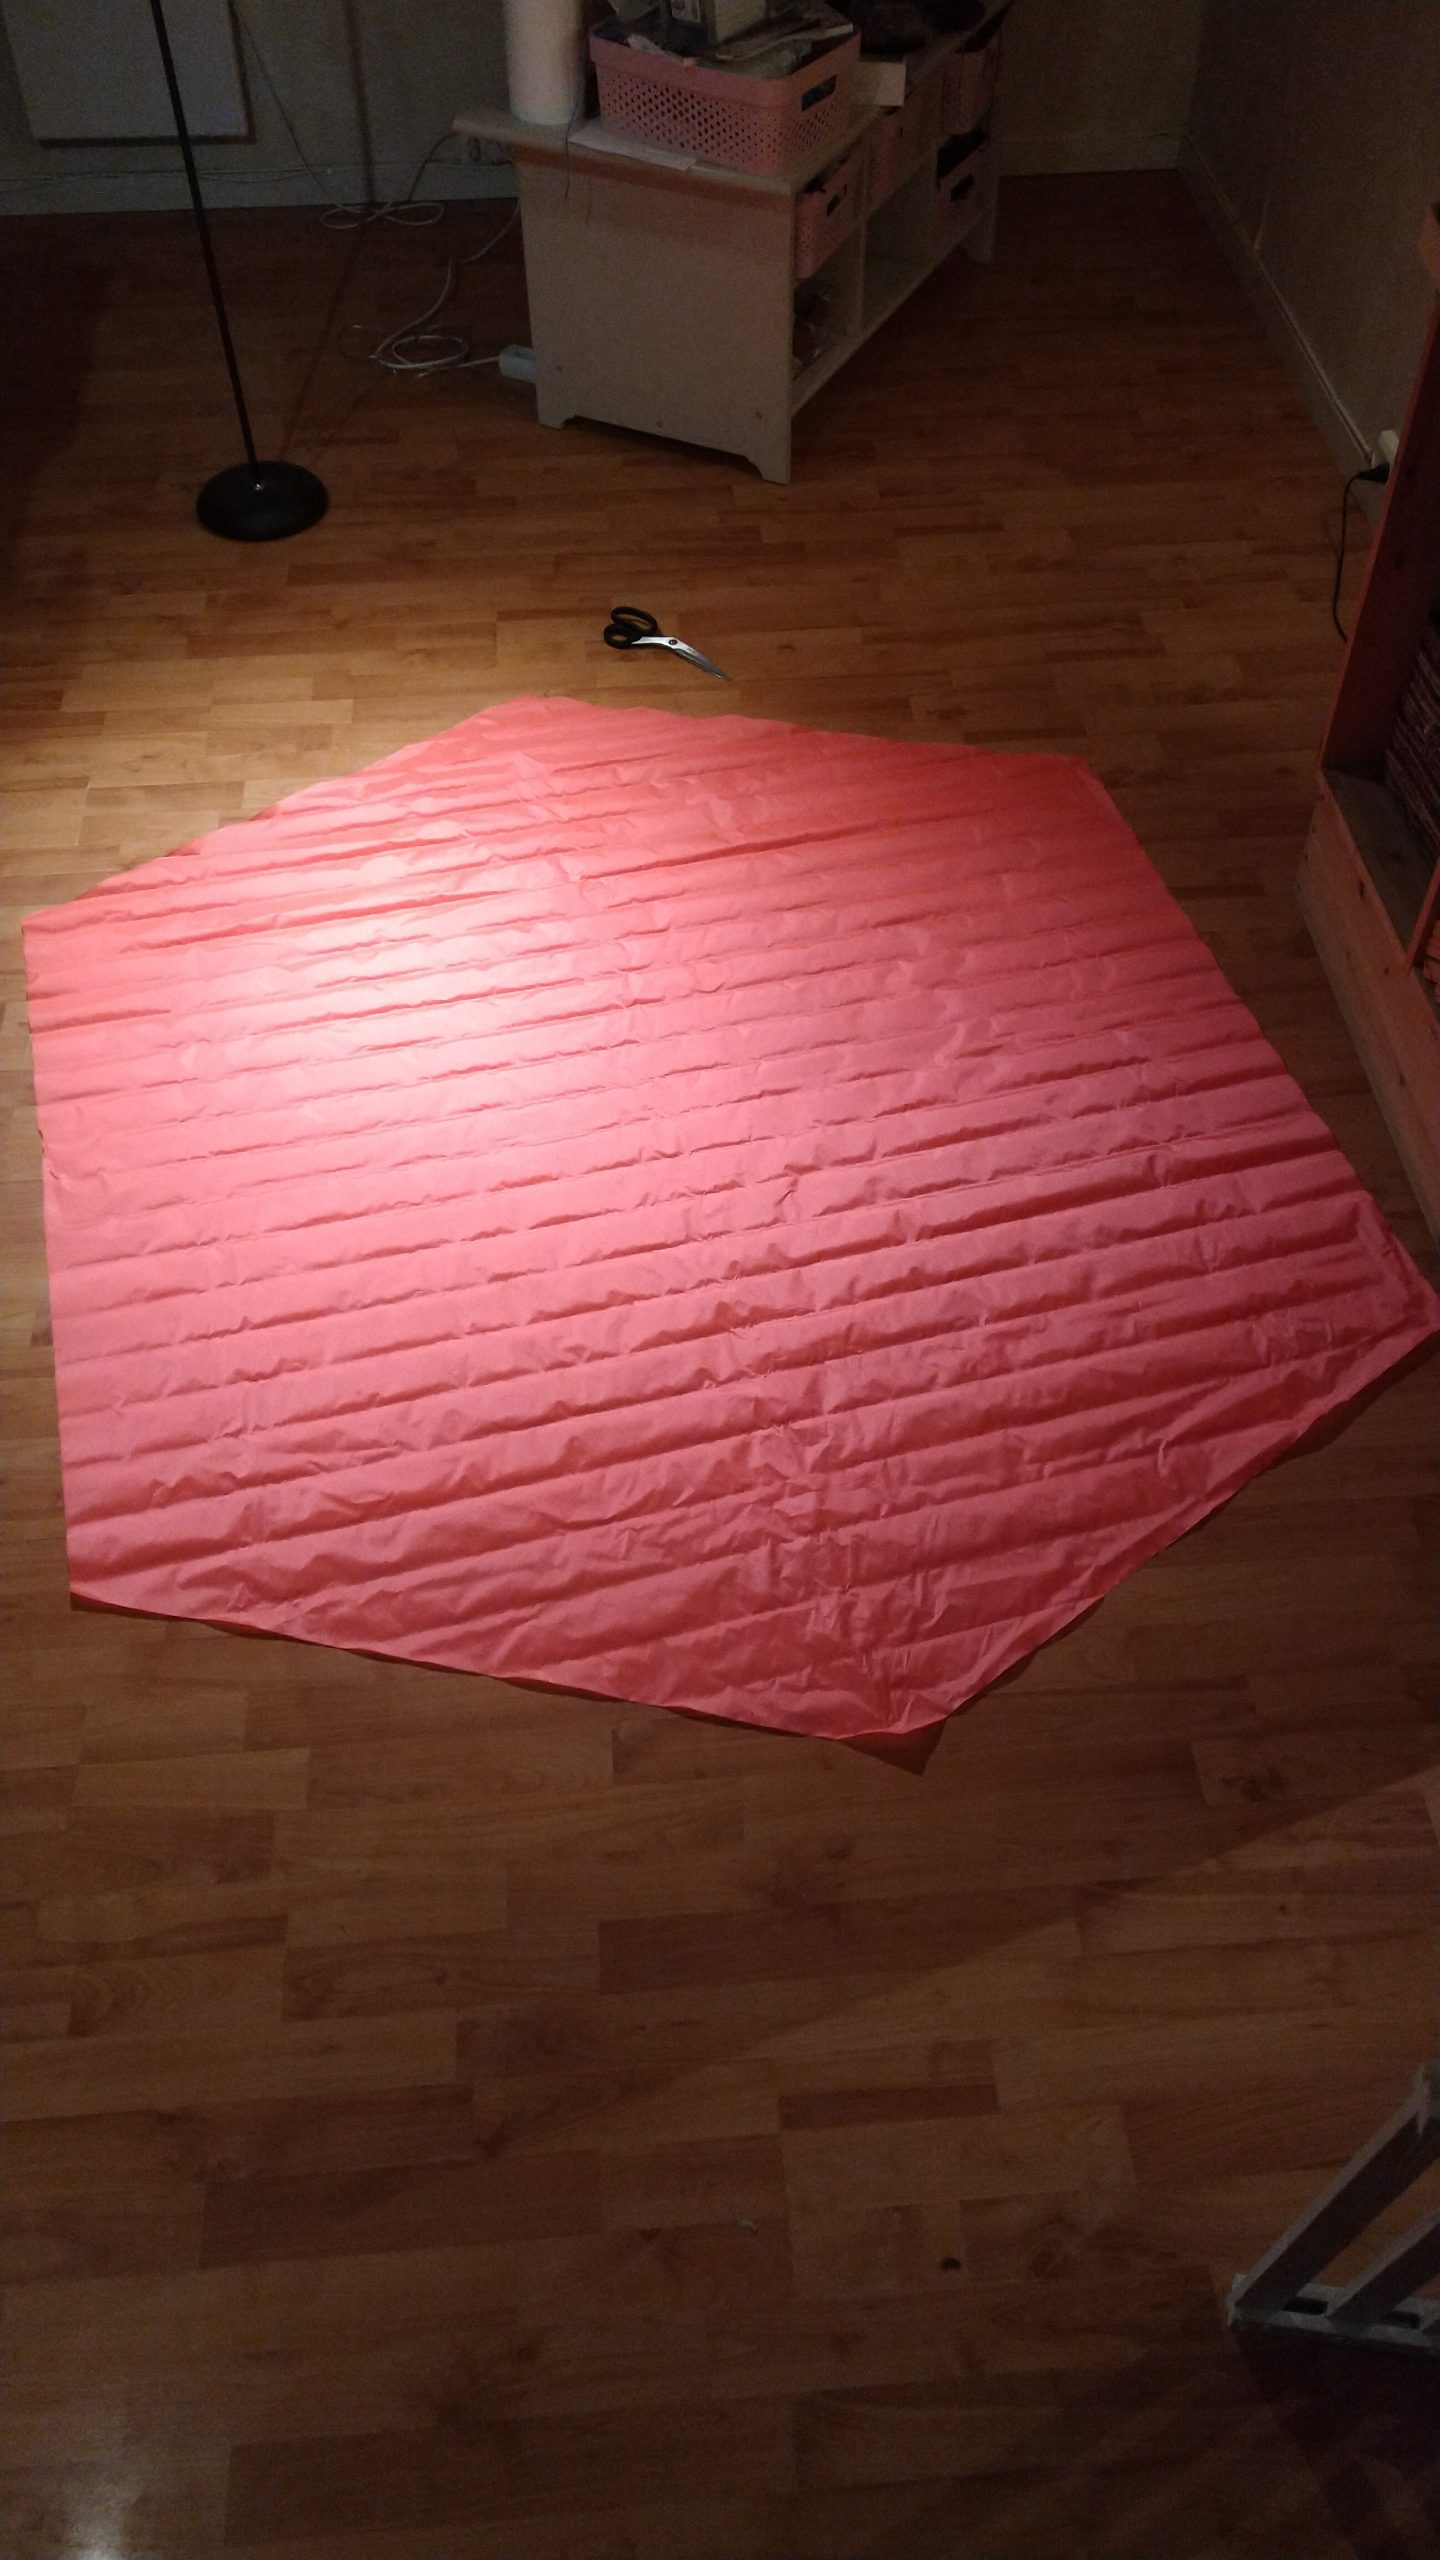
2 One large piece of ripstop 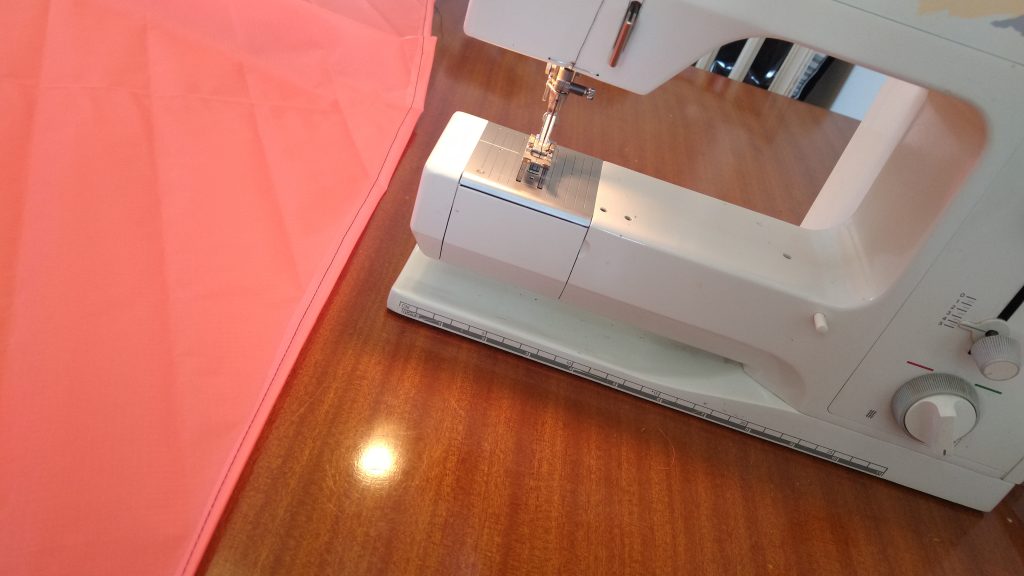
3 Setting up the machine 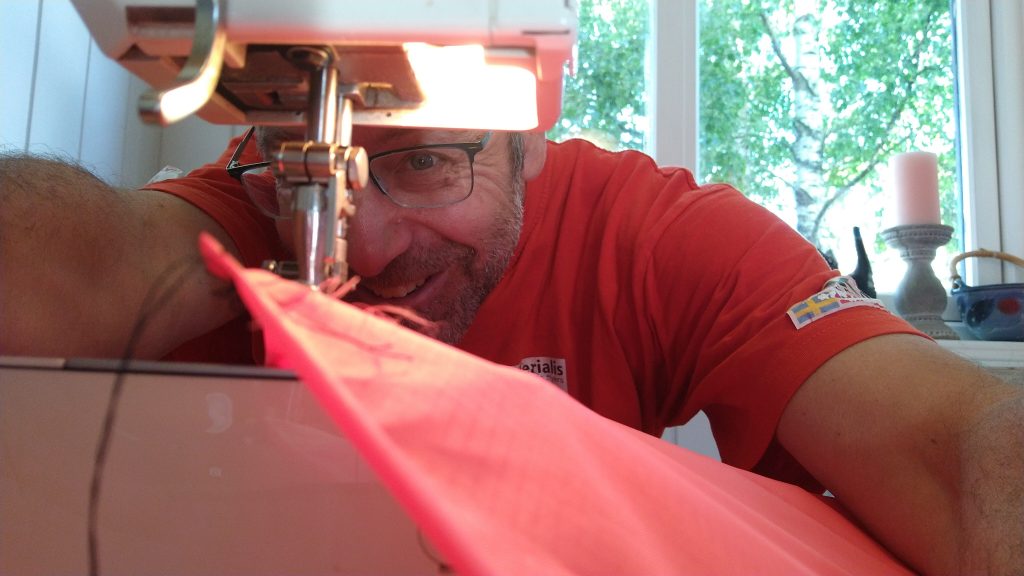
4 Sewing 
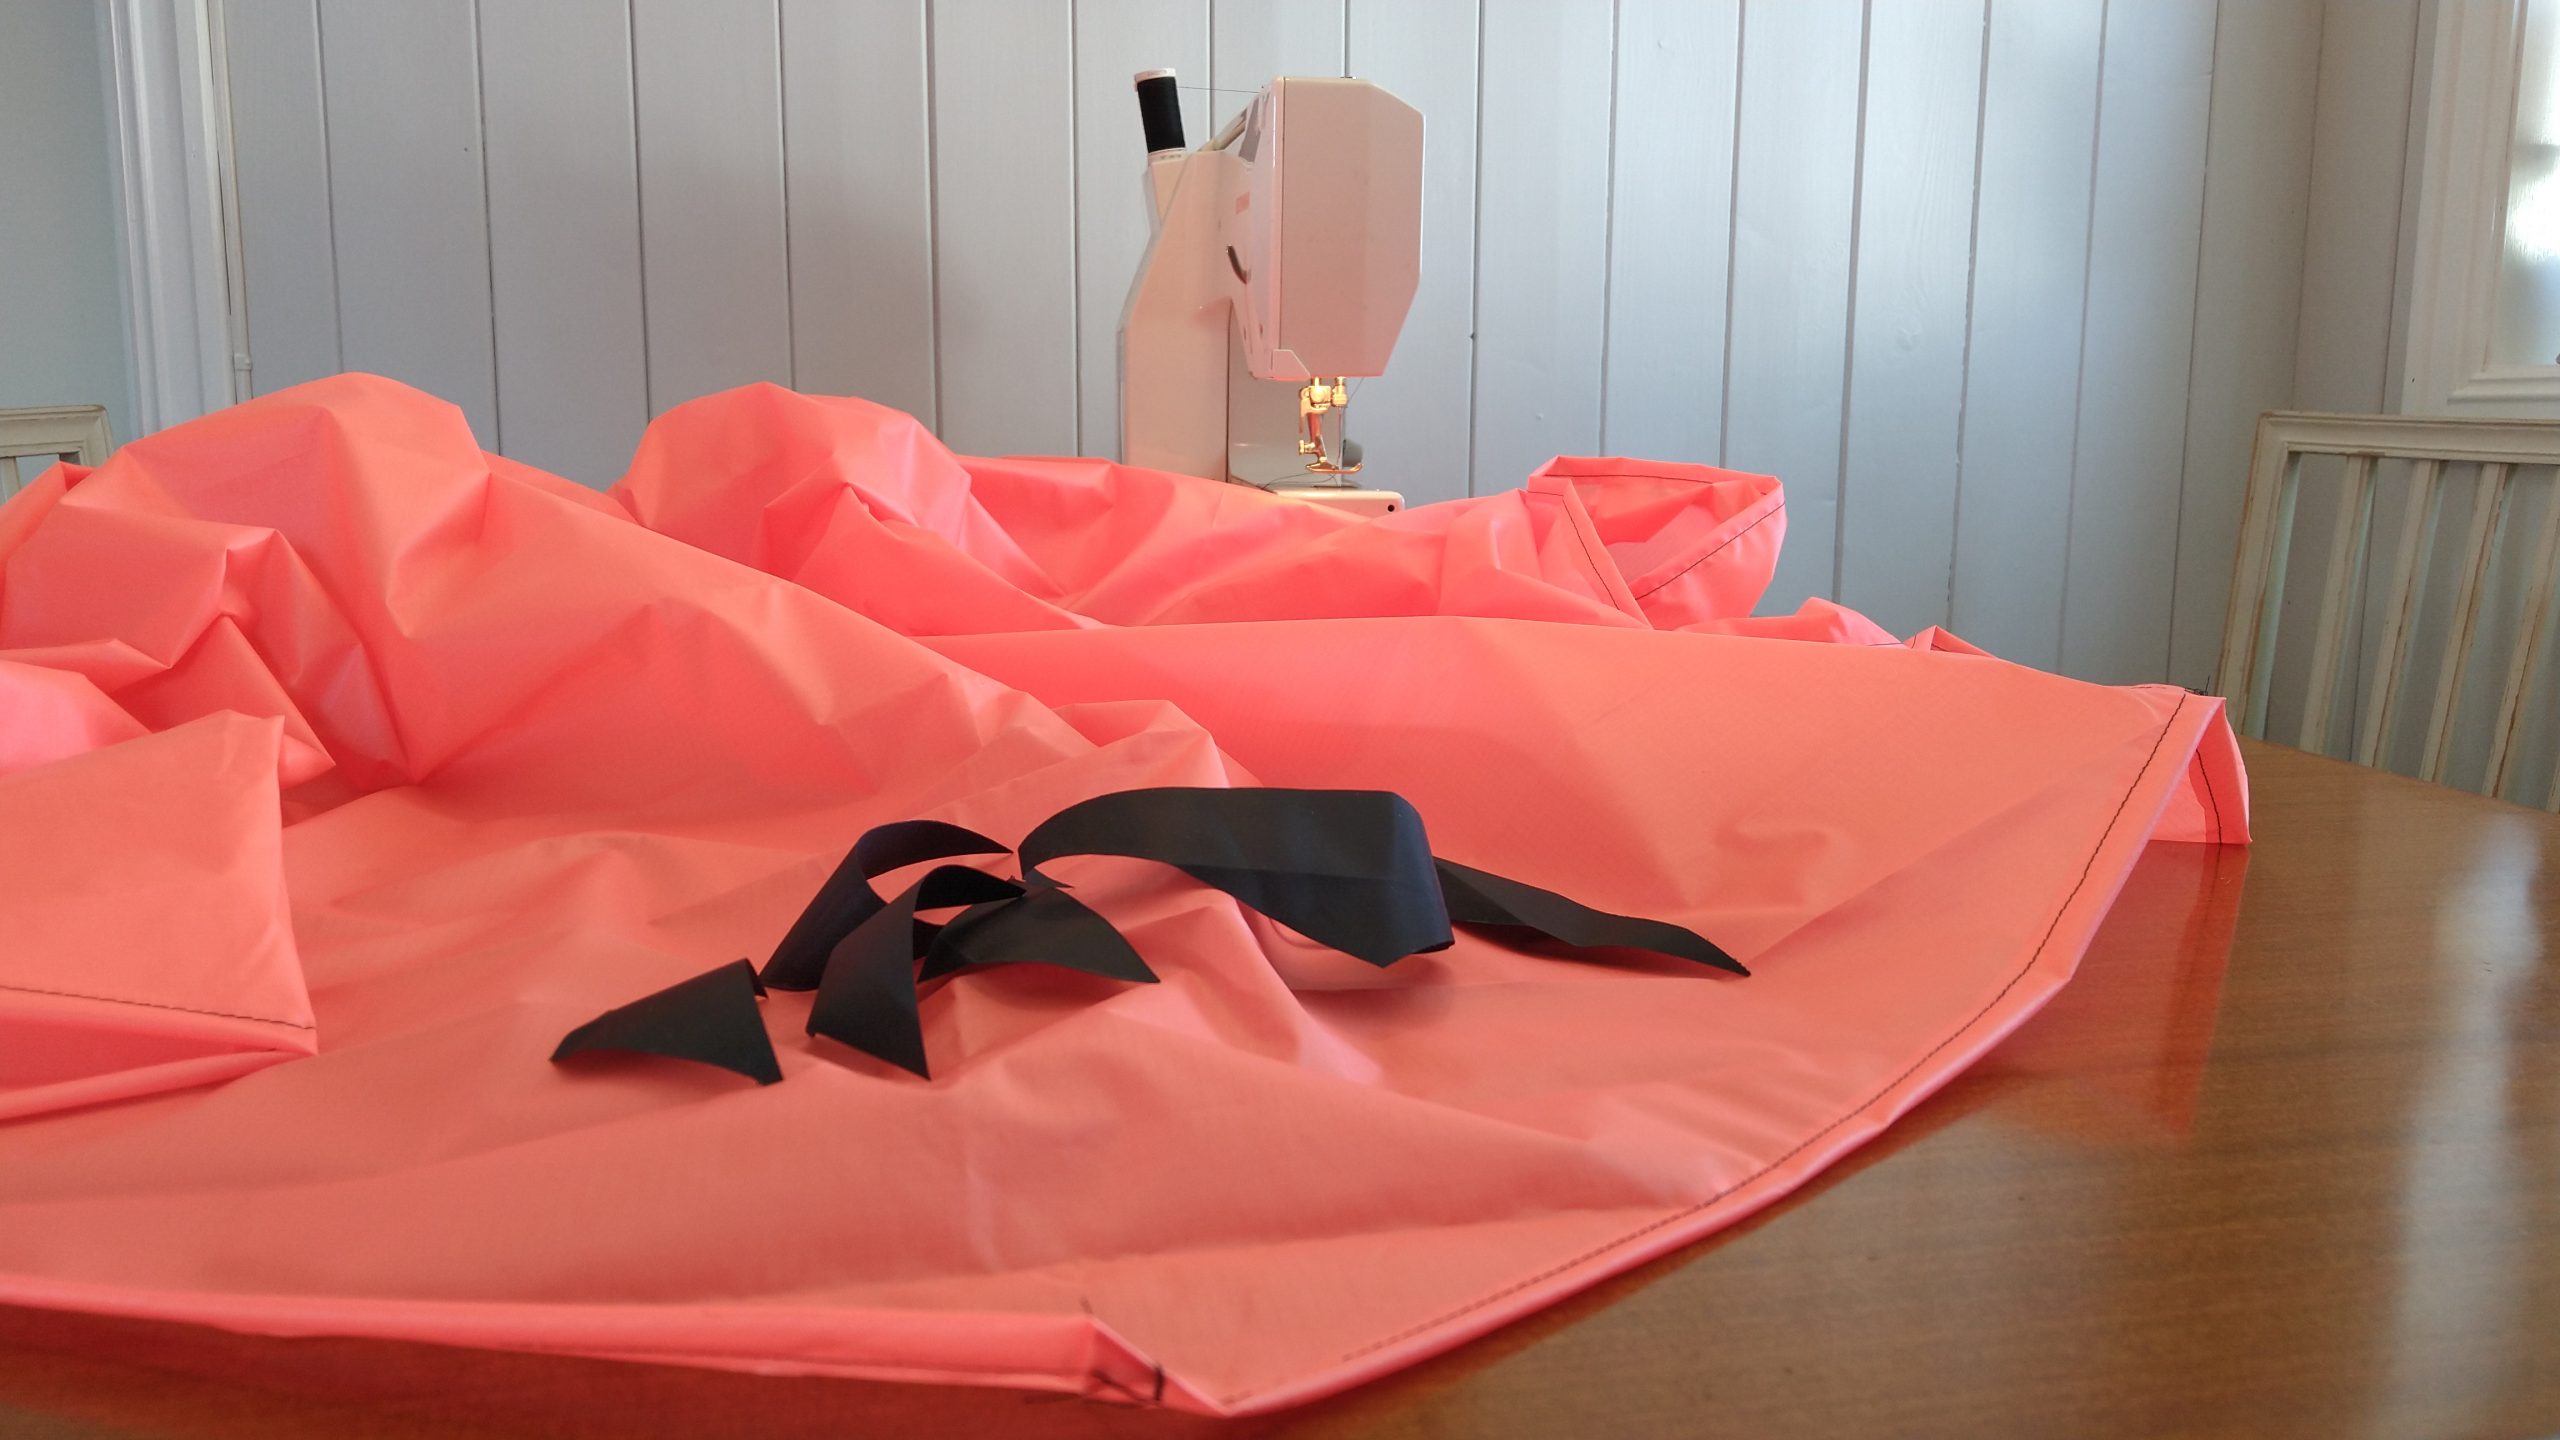
5 Hemming all the sides 
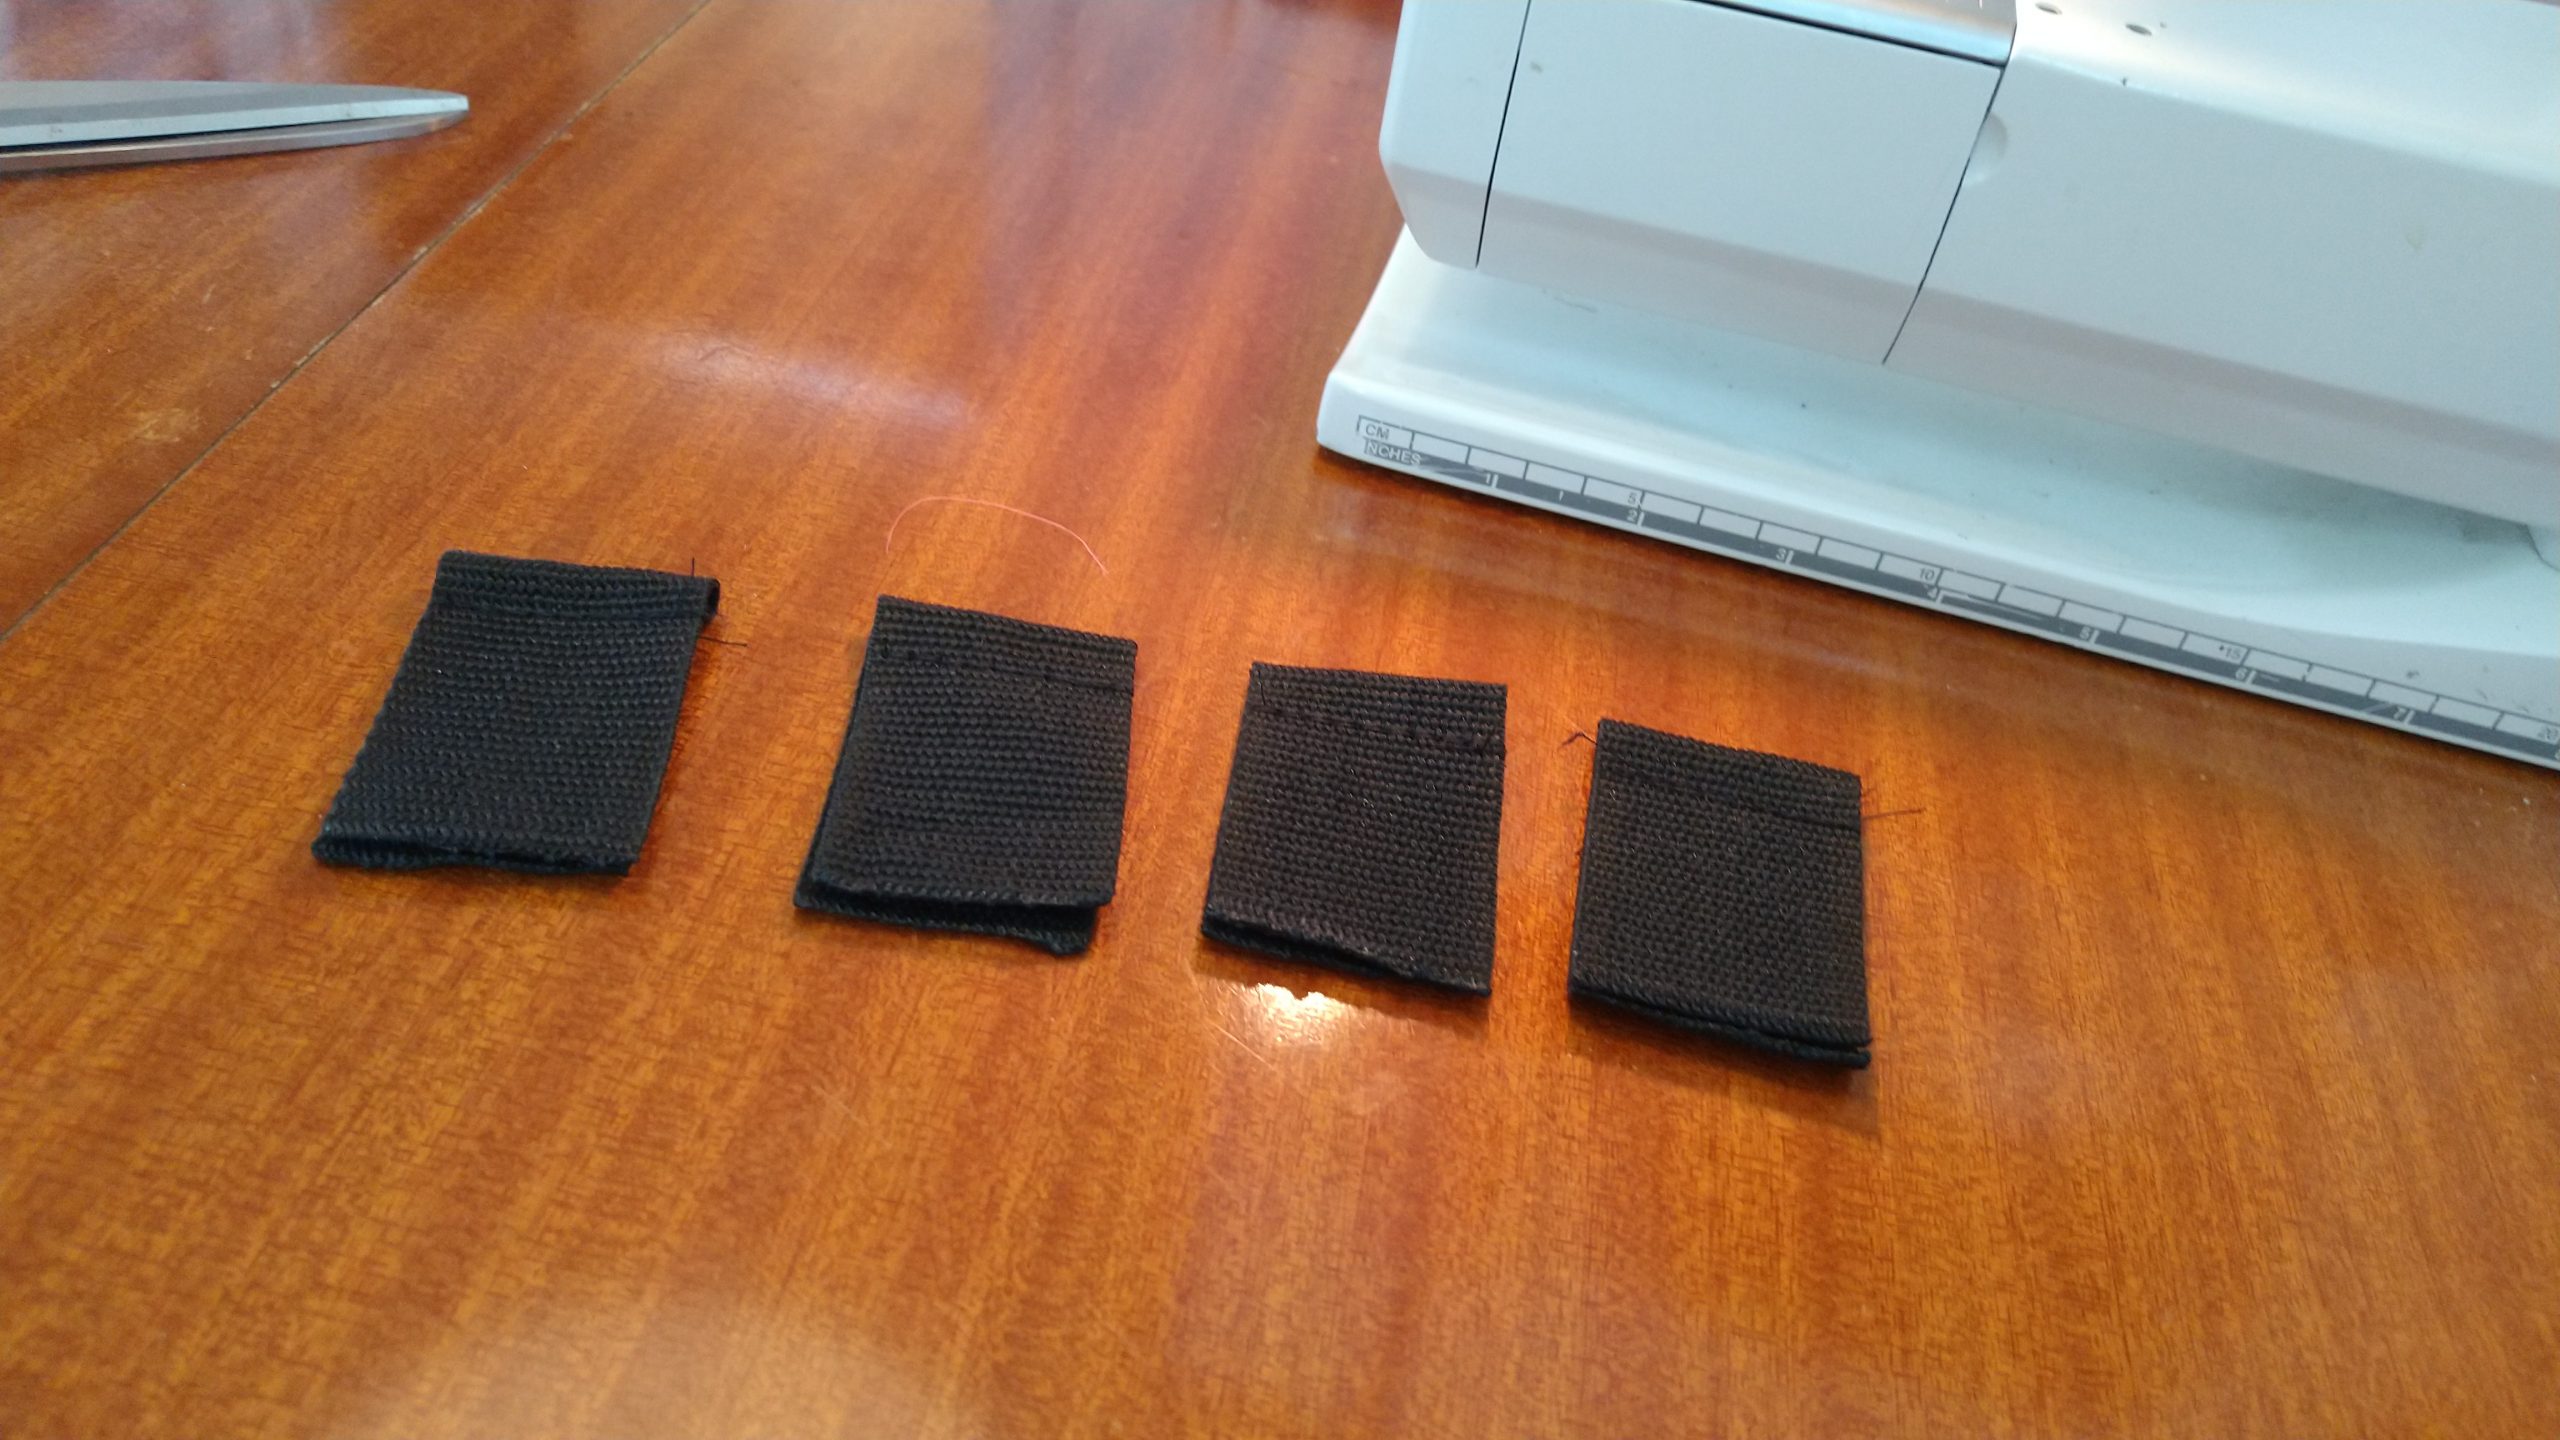
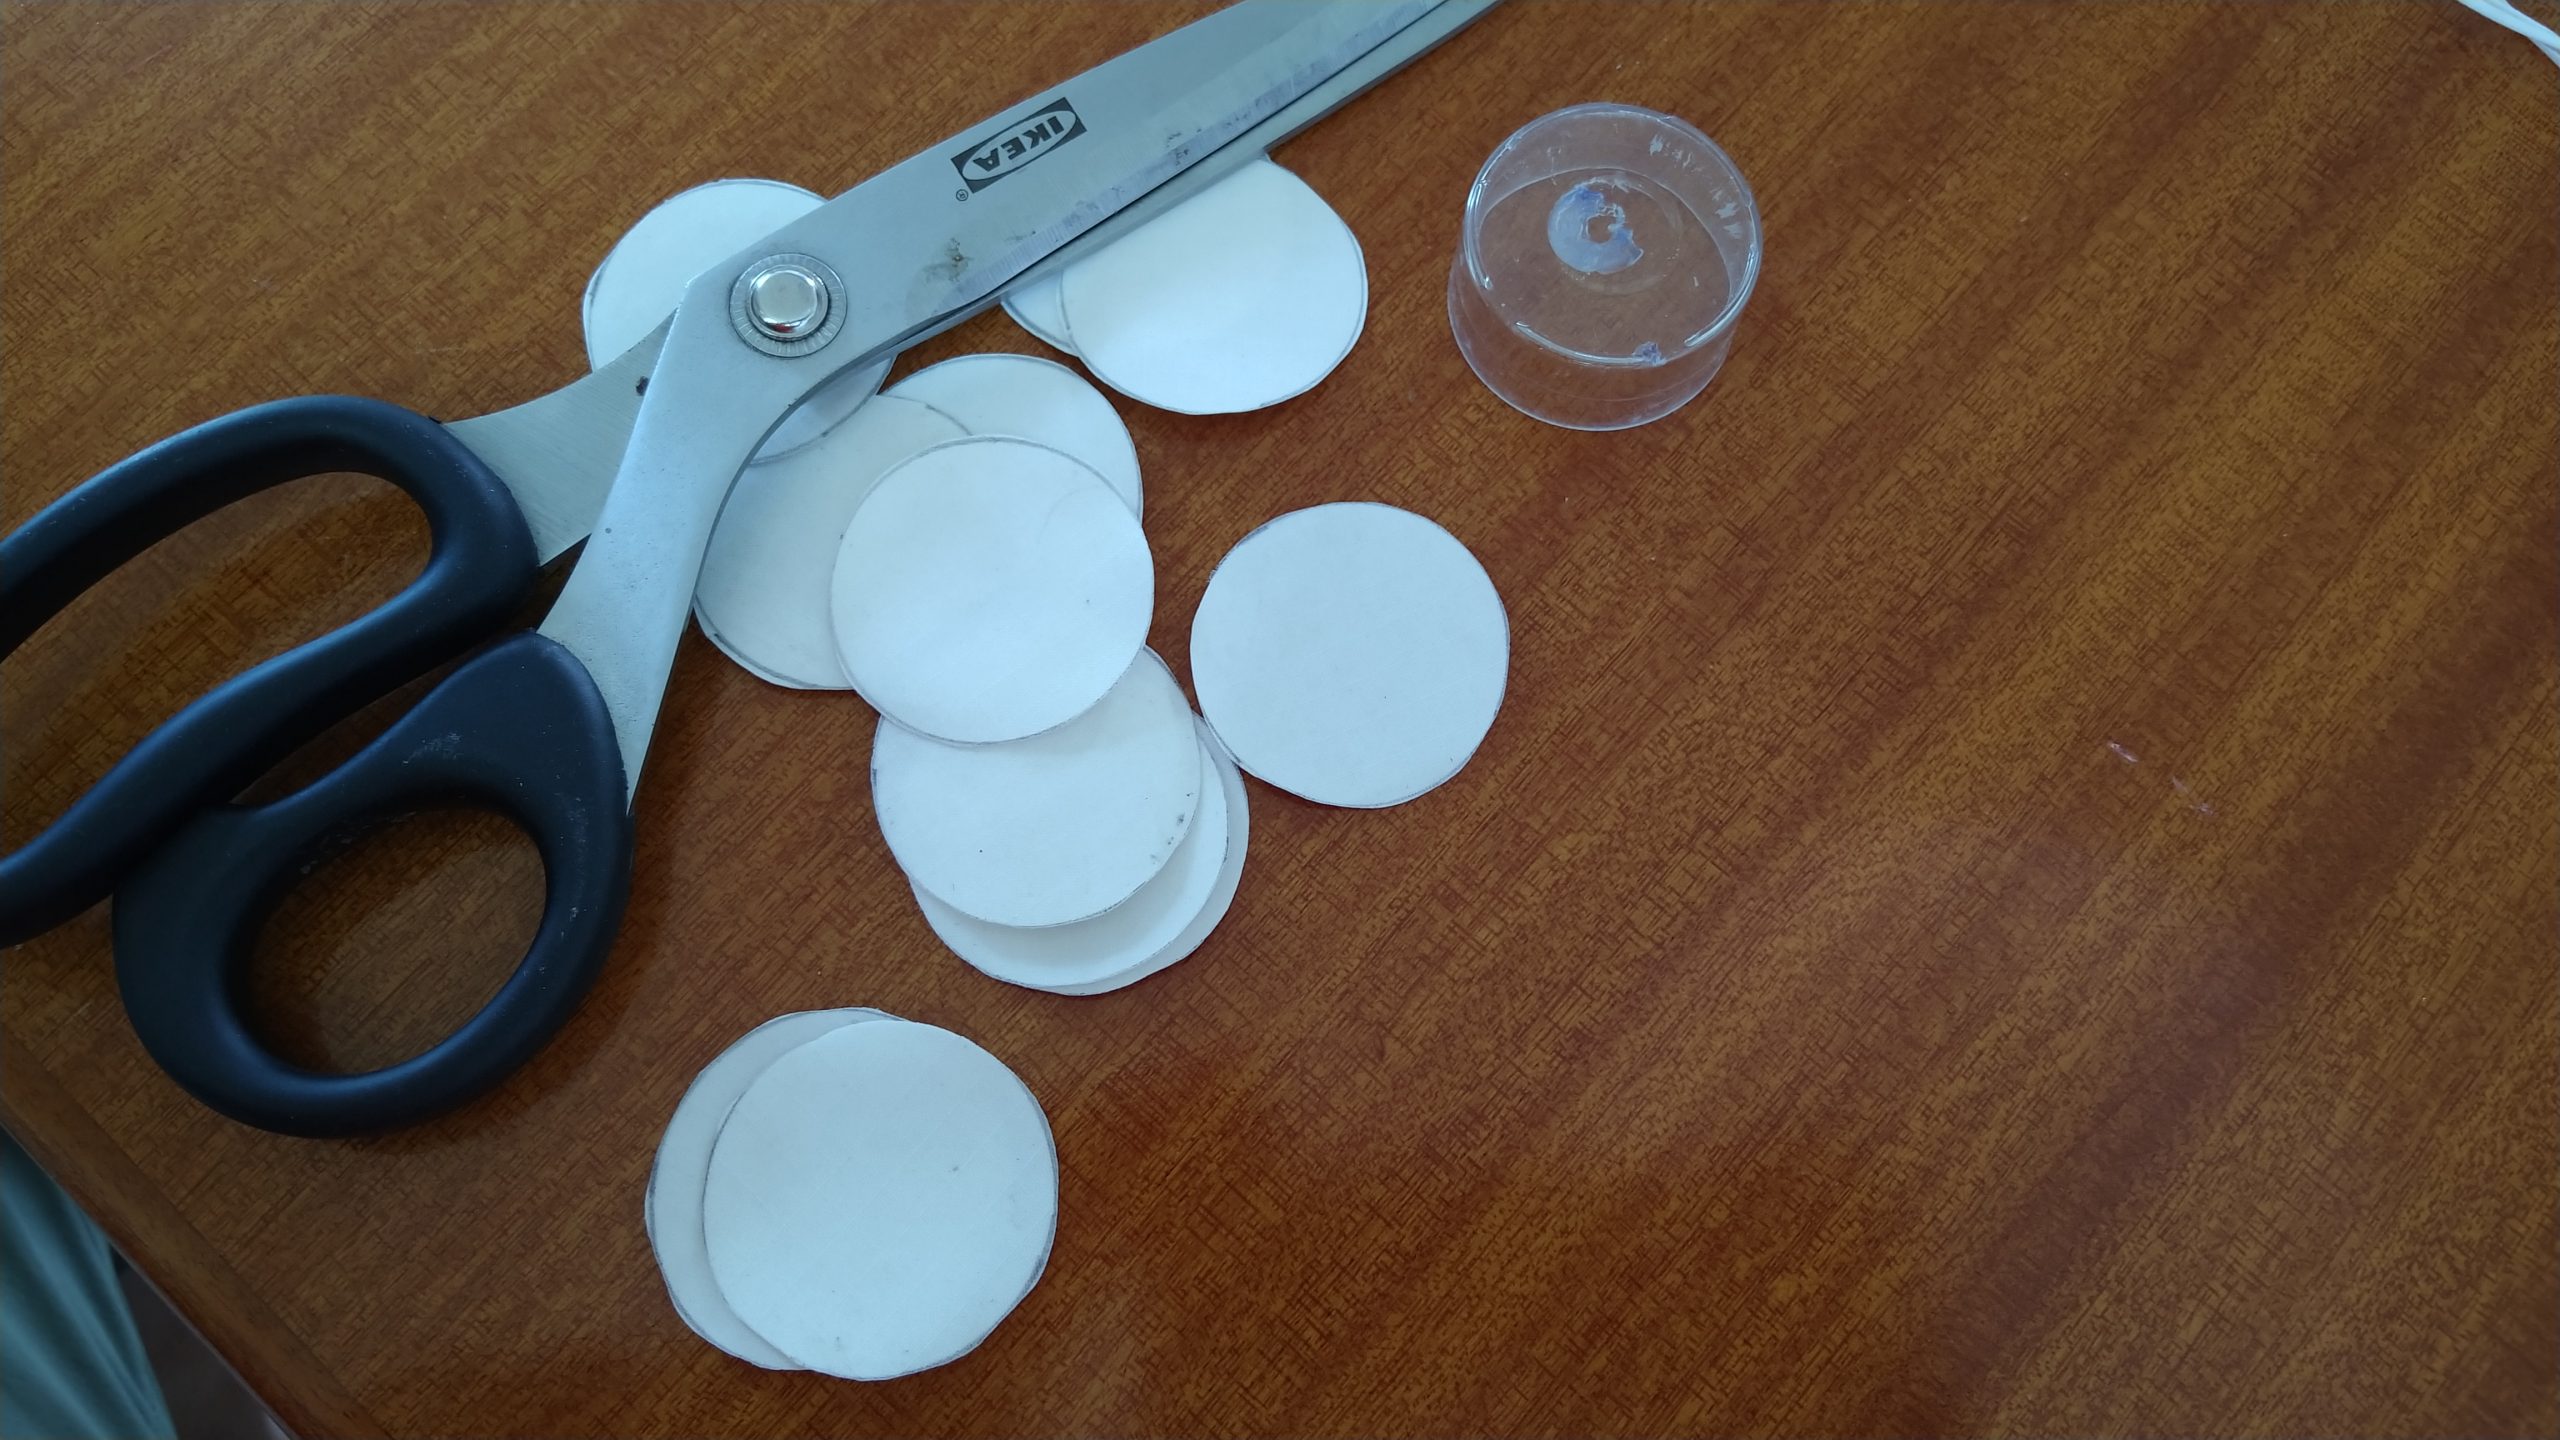
6 Pieces for reinforcement 
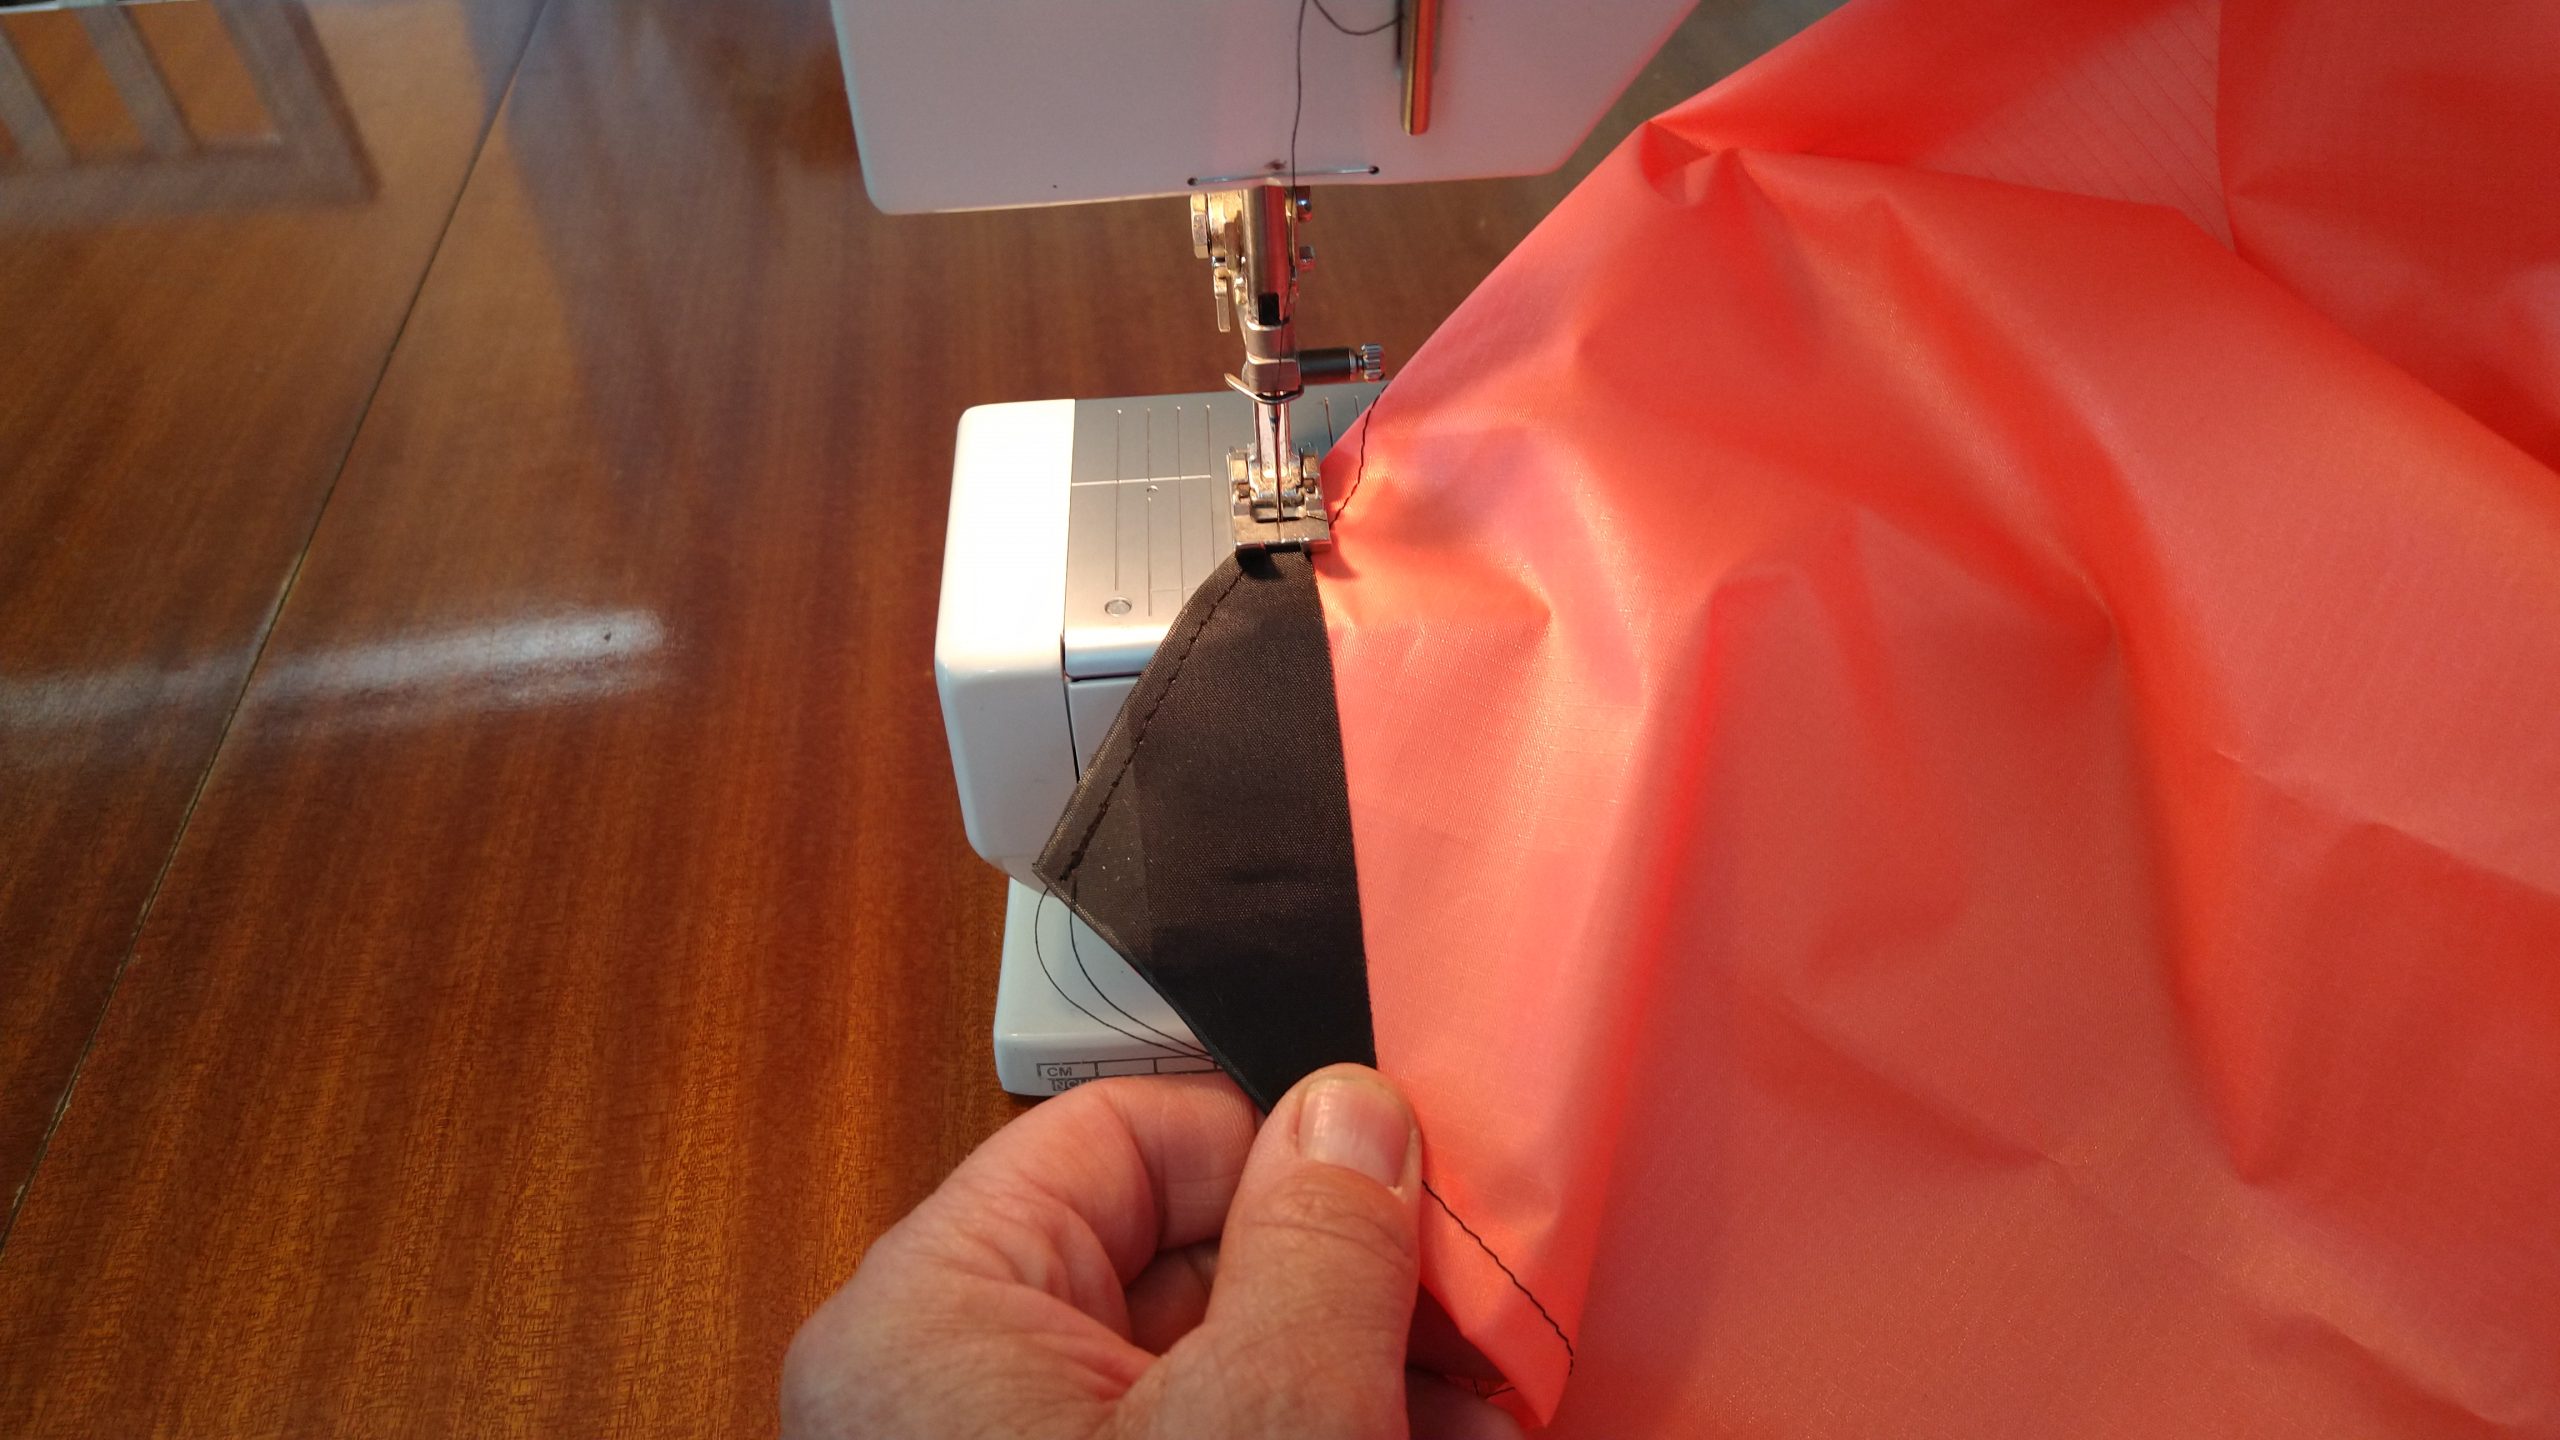
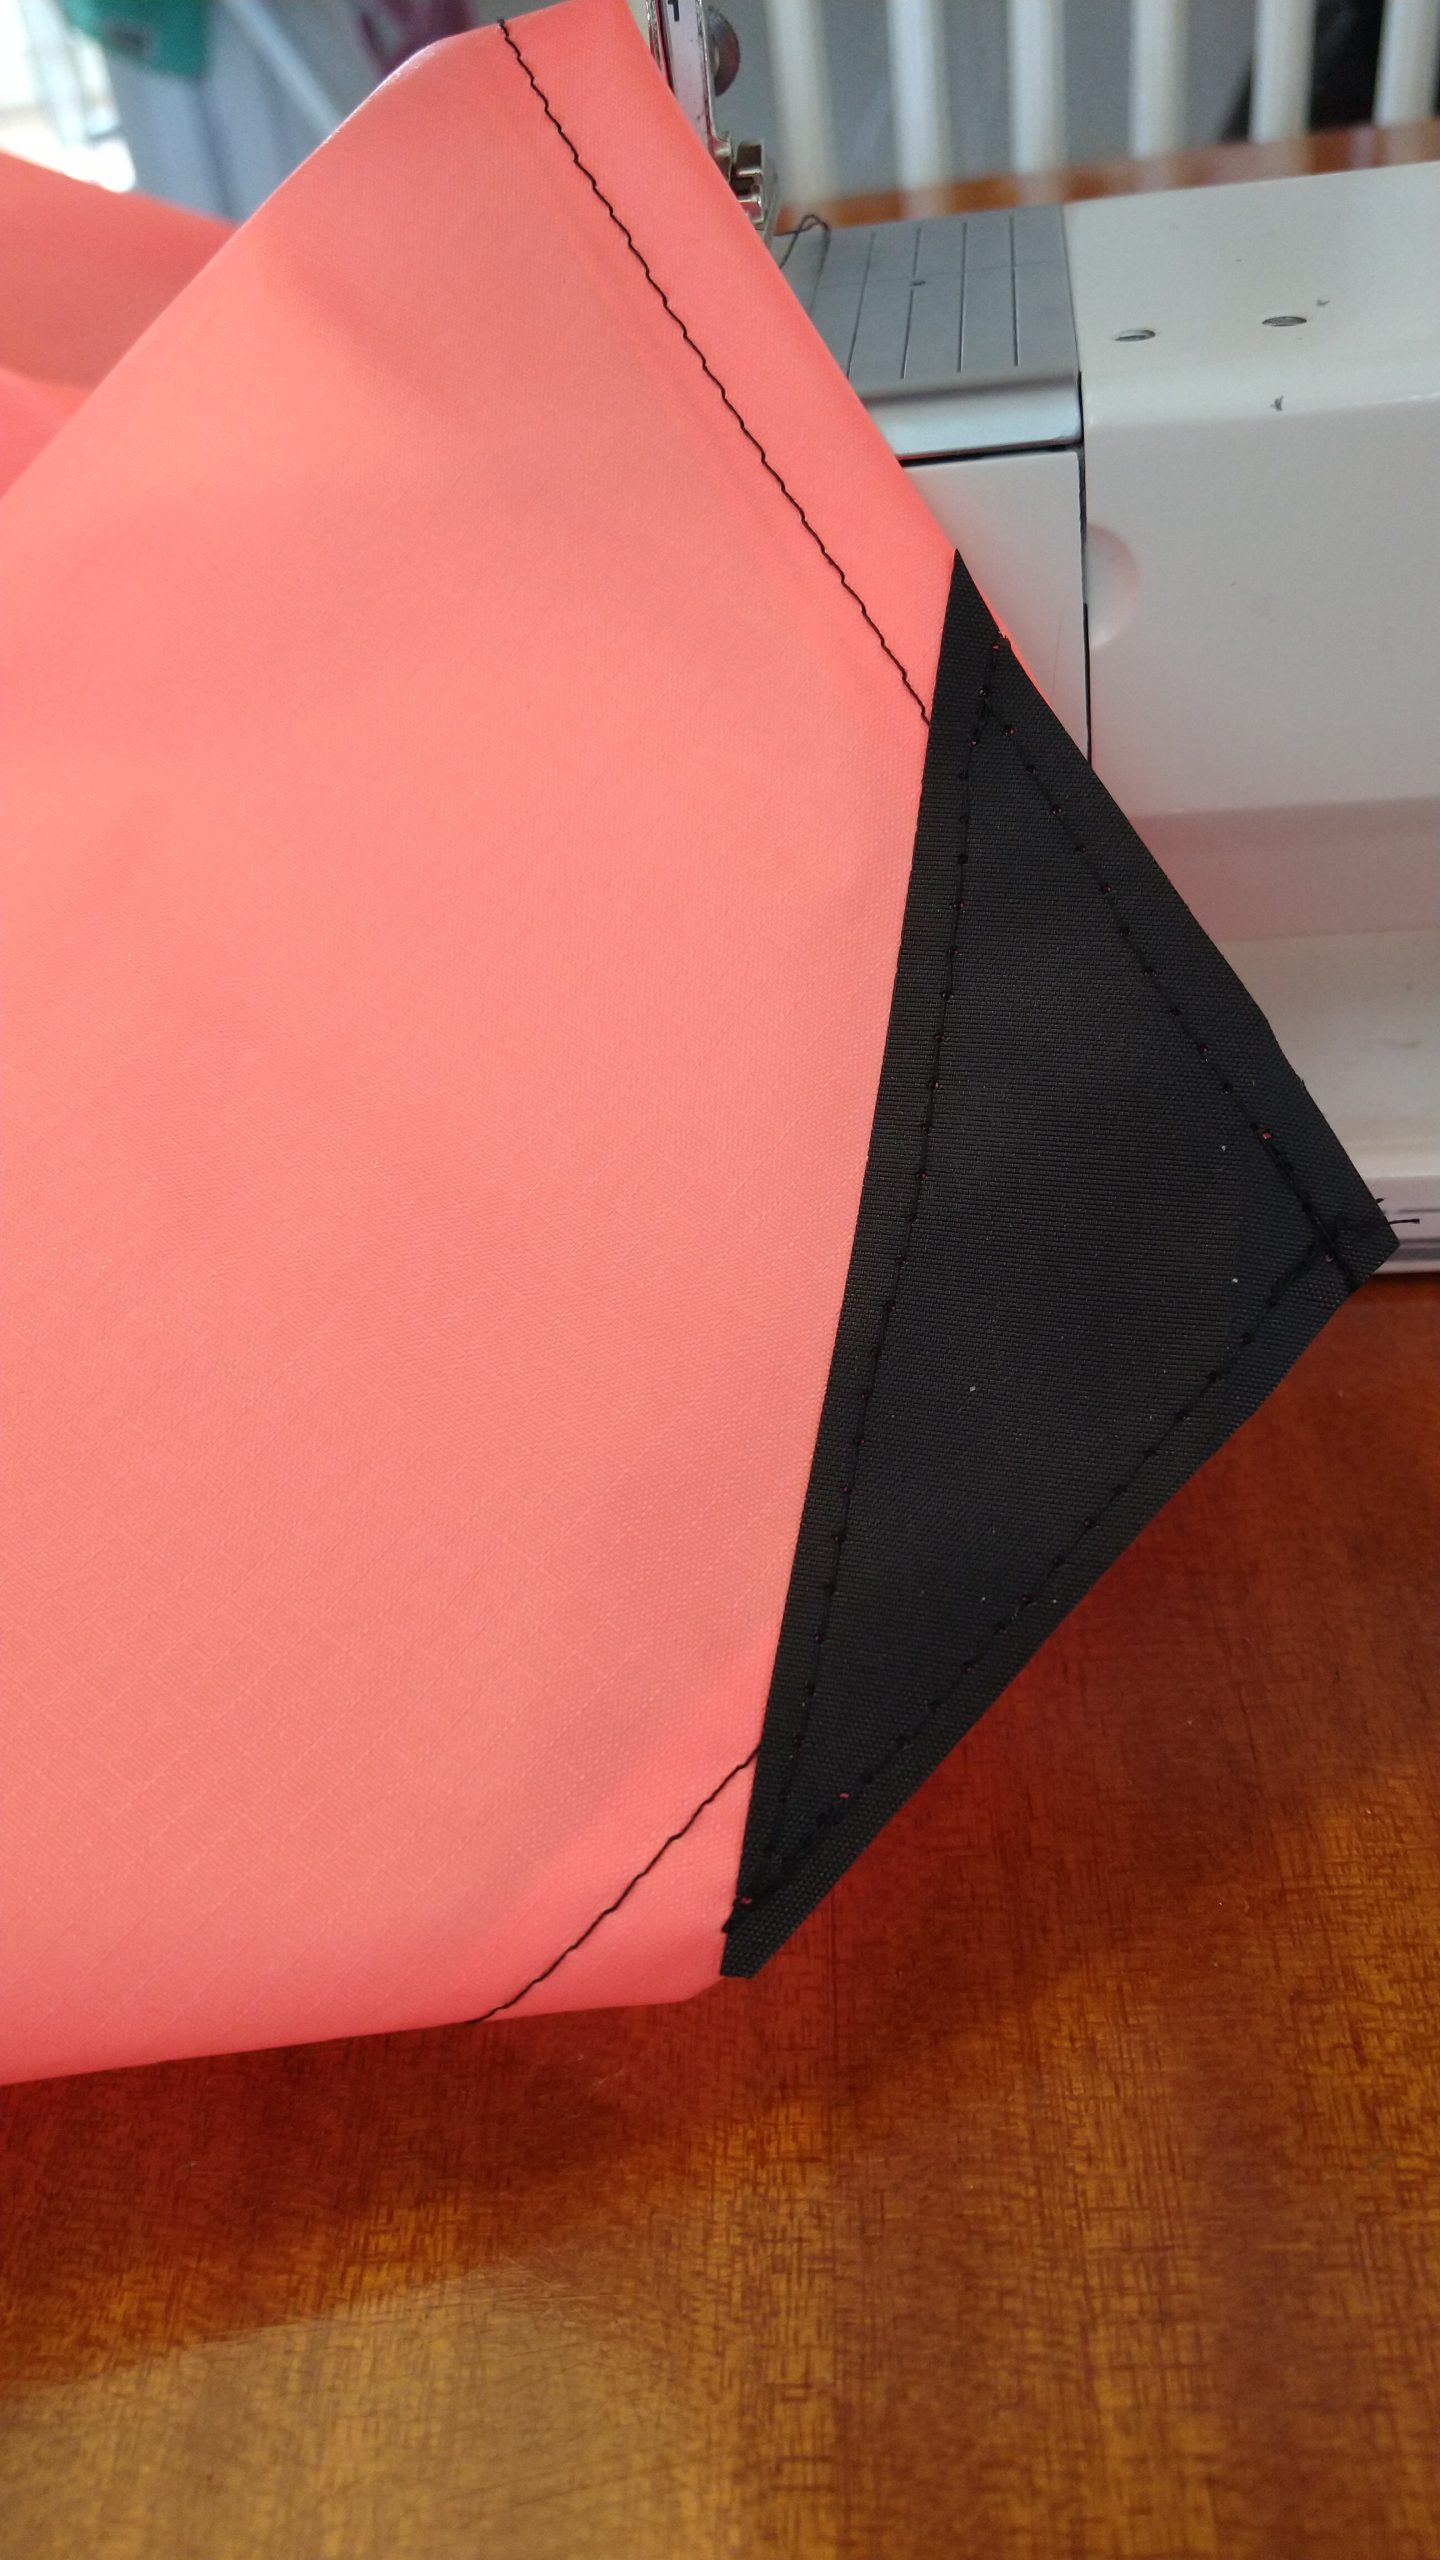
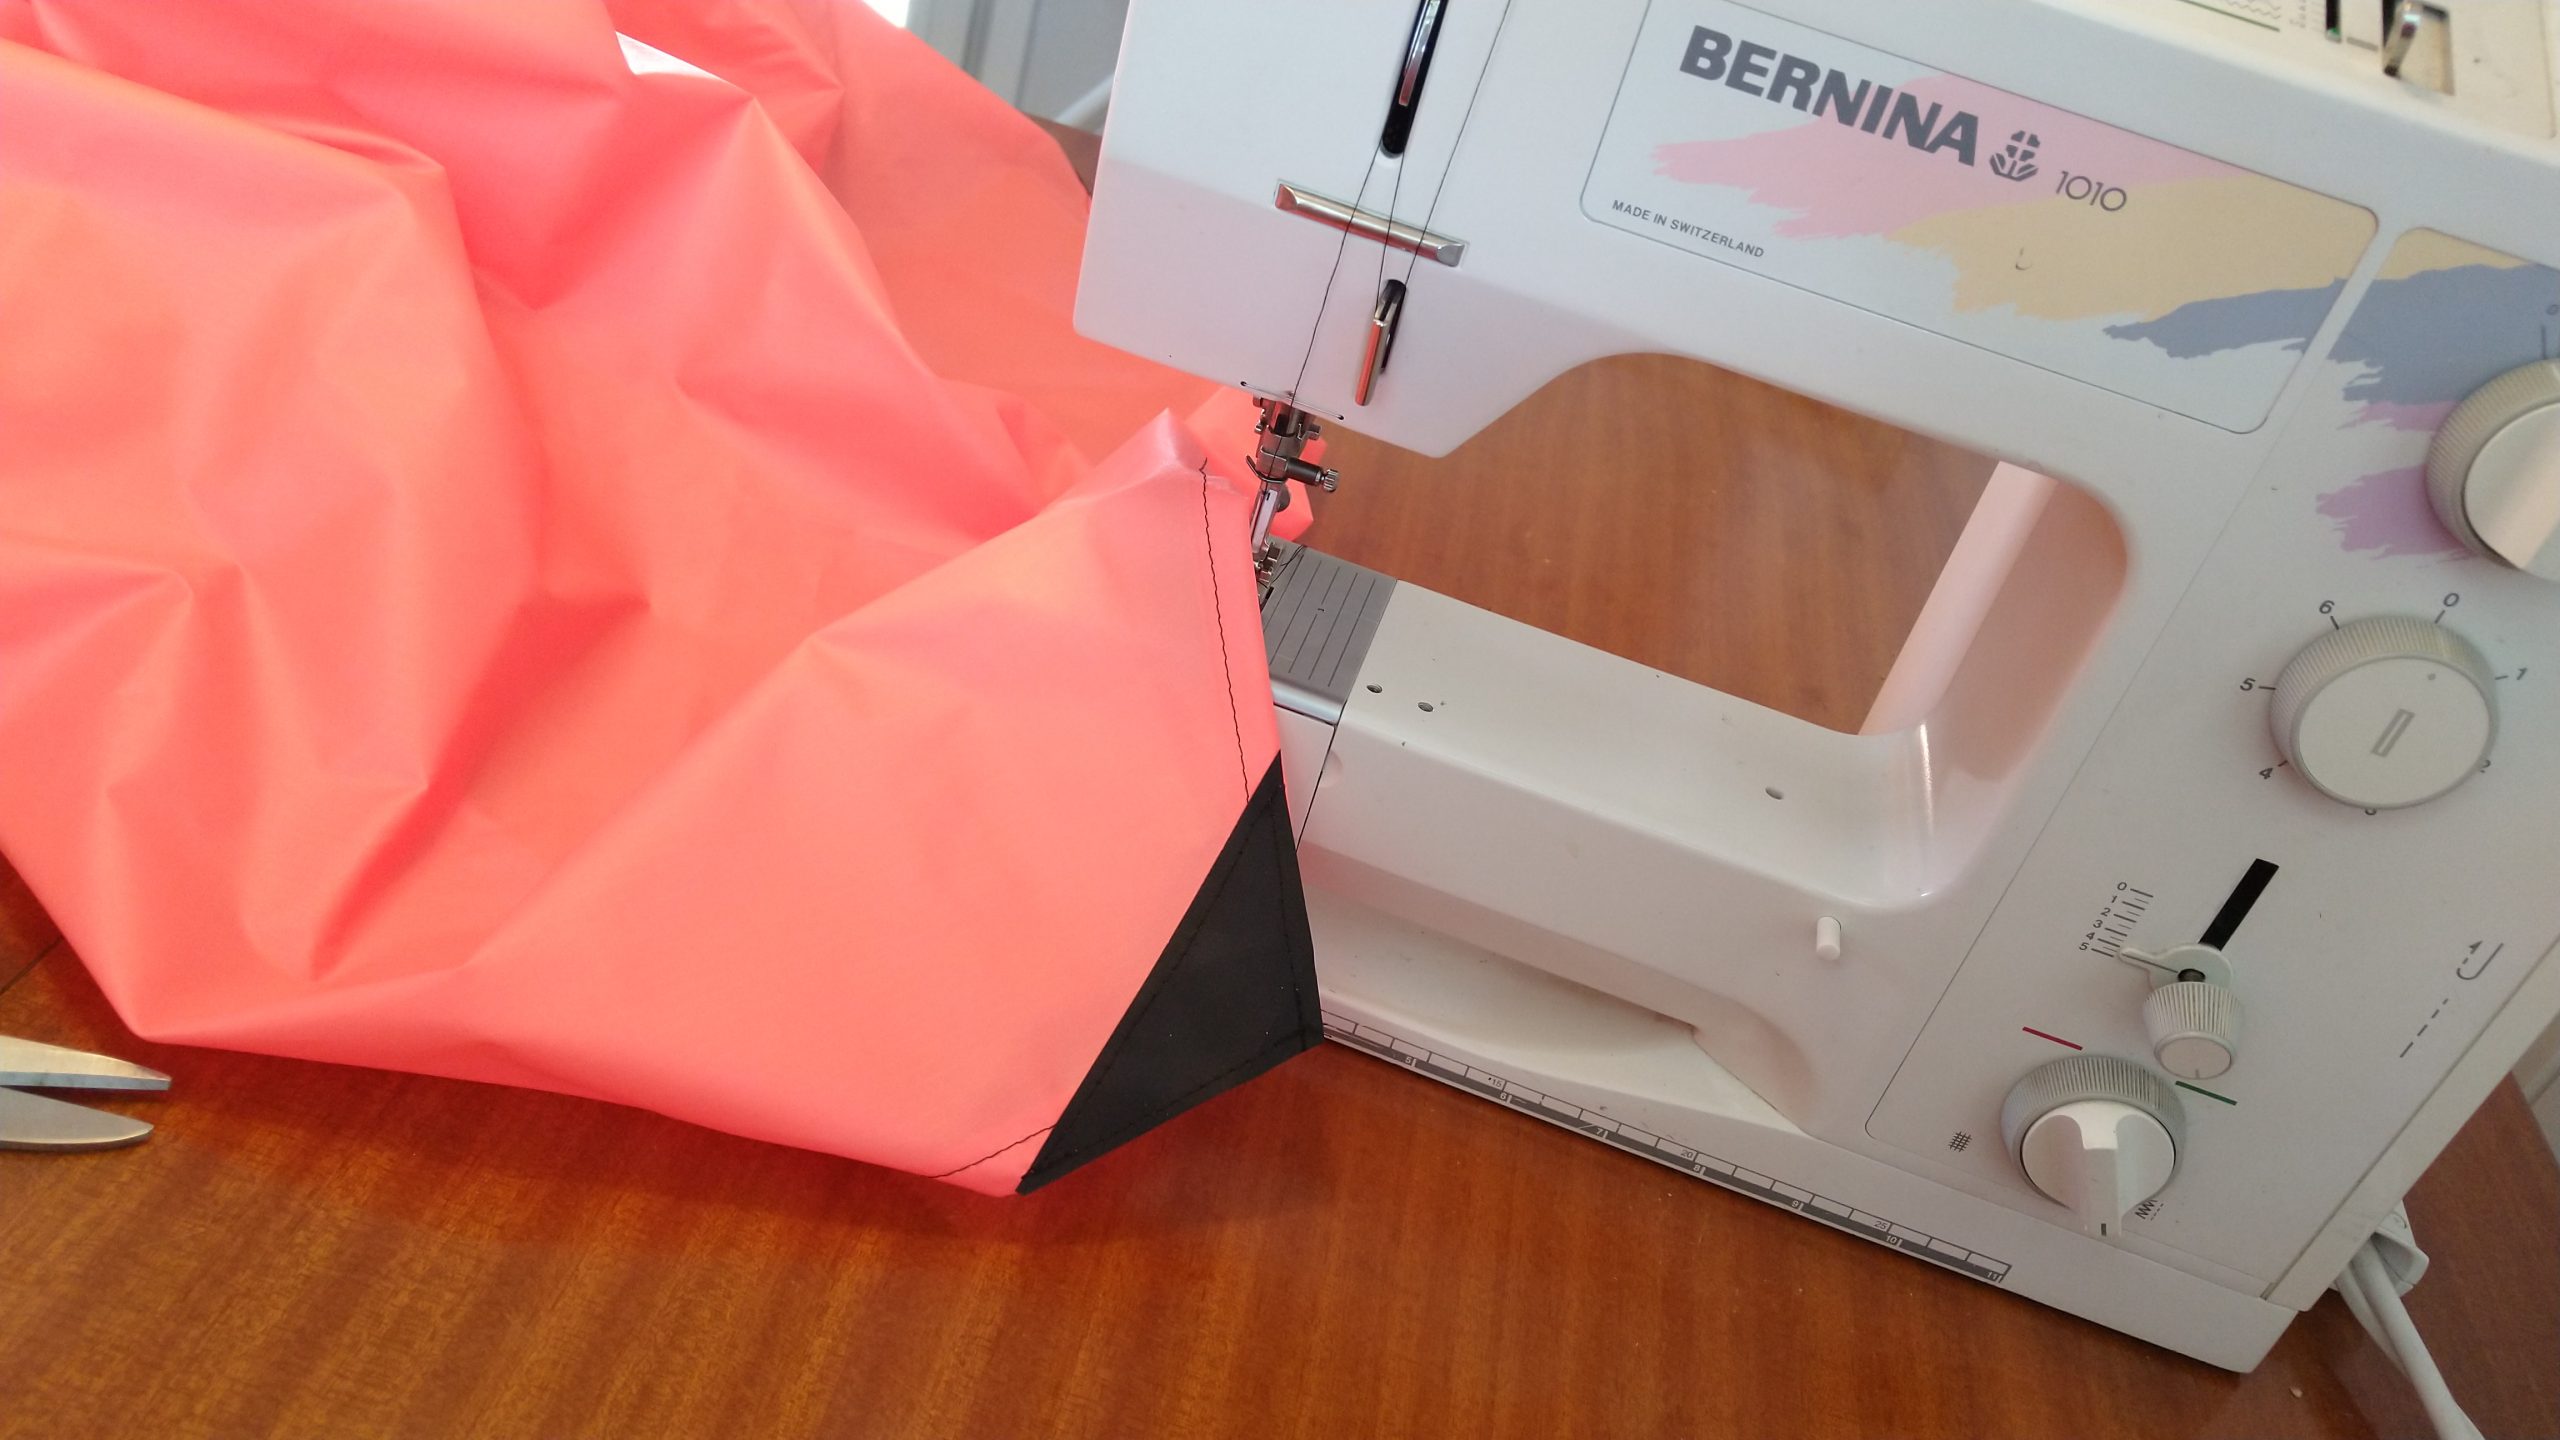
7 Reinforcing the corners 
8 Reinforcement close up 
9 More sewing 
10 Starting to look like a Rokkaku 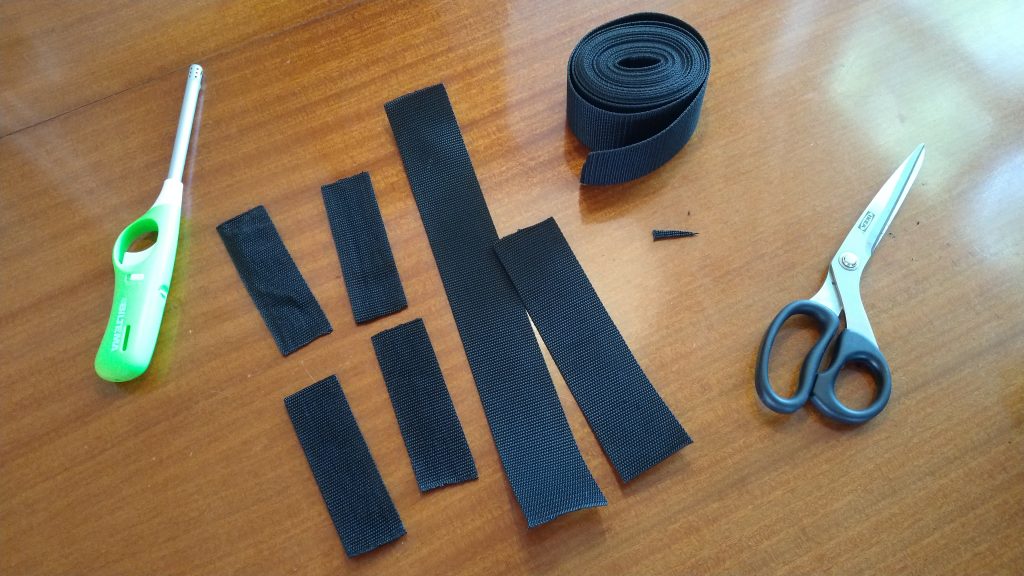
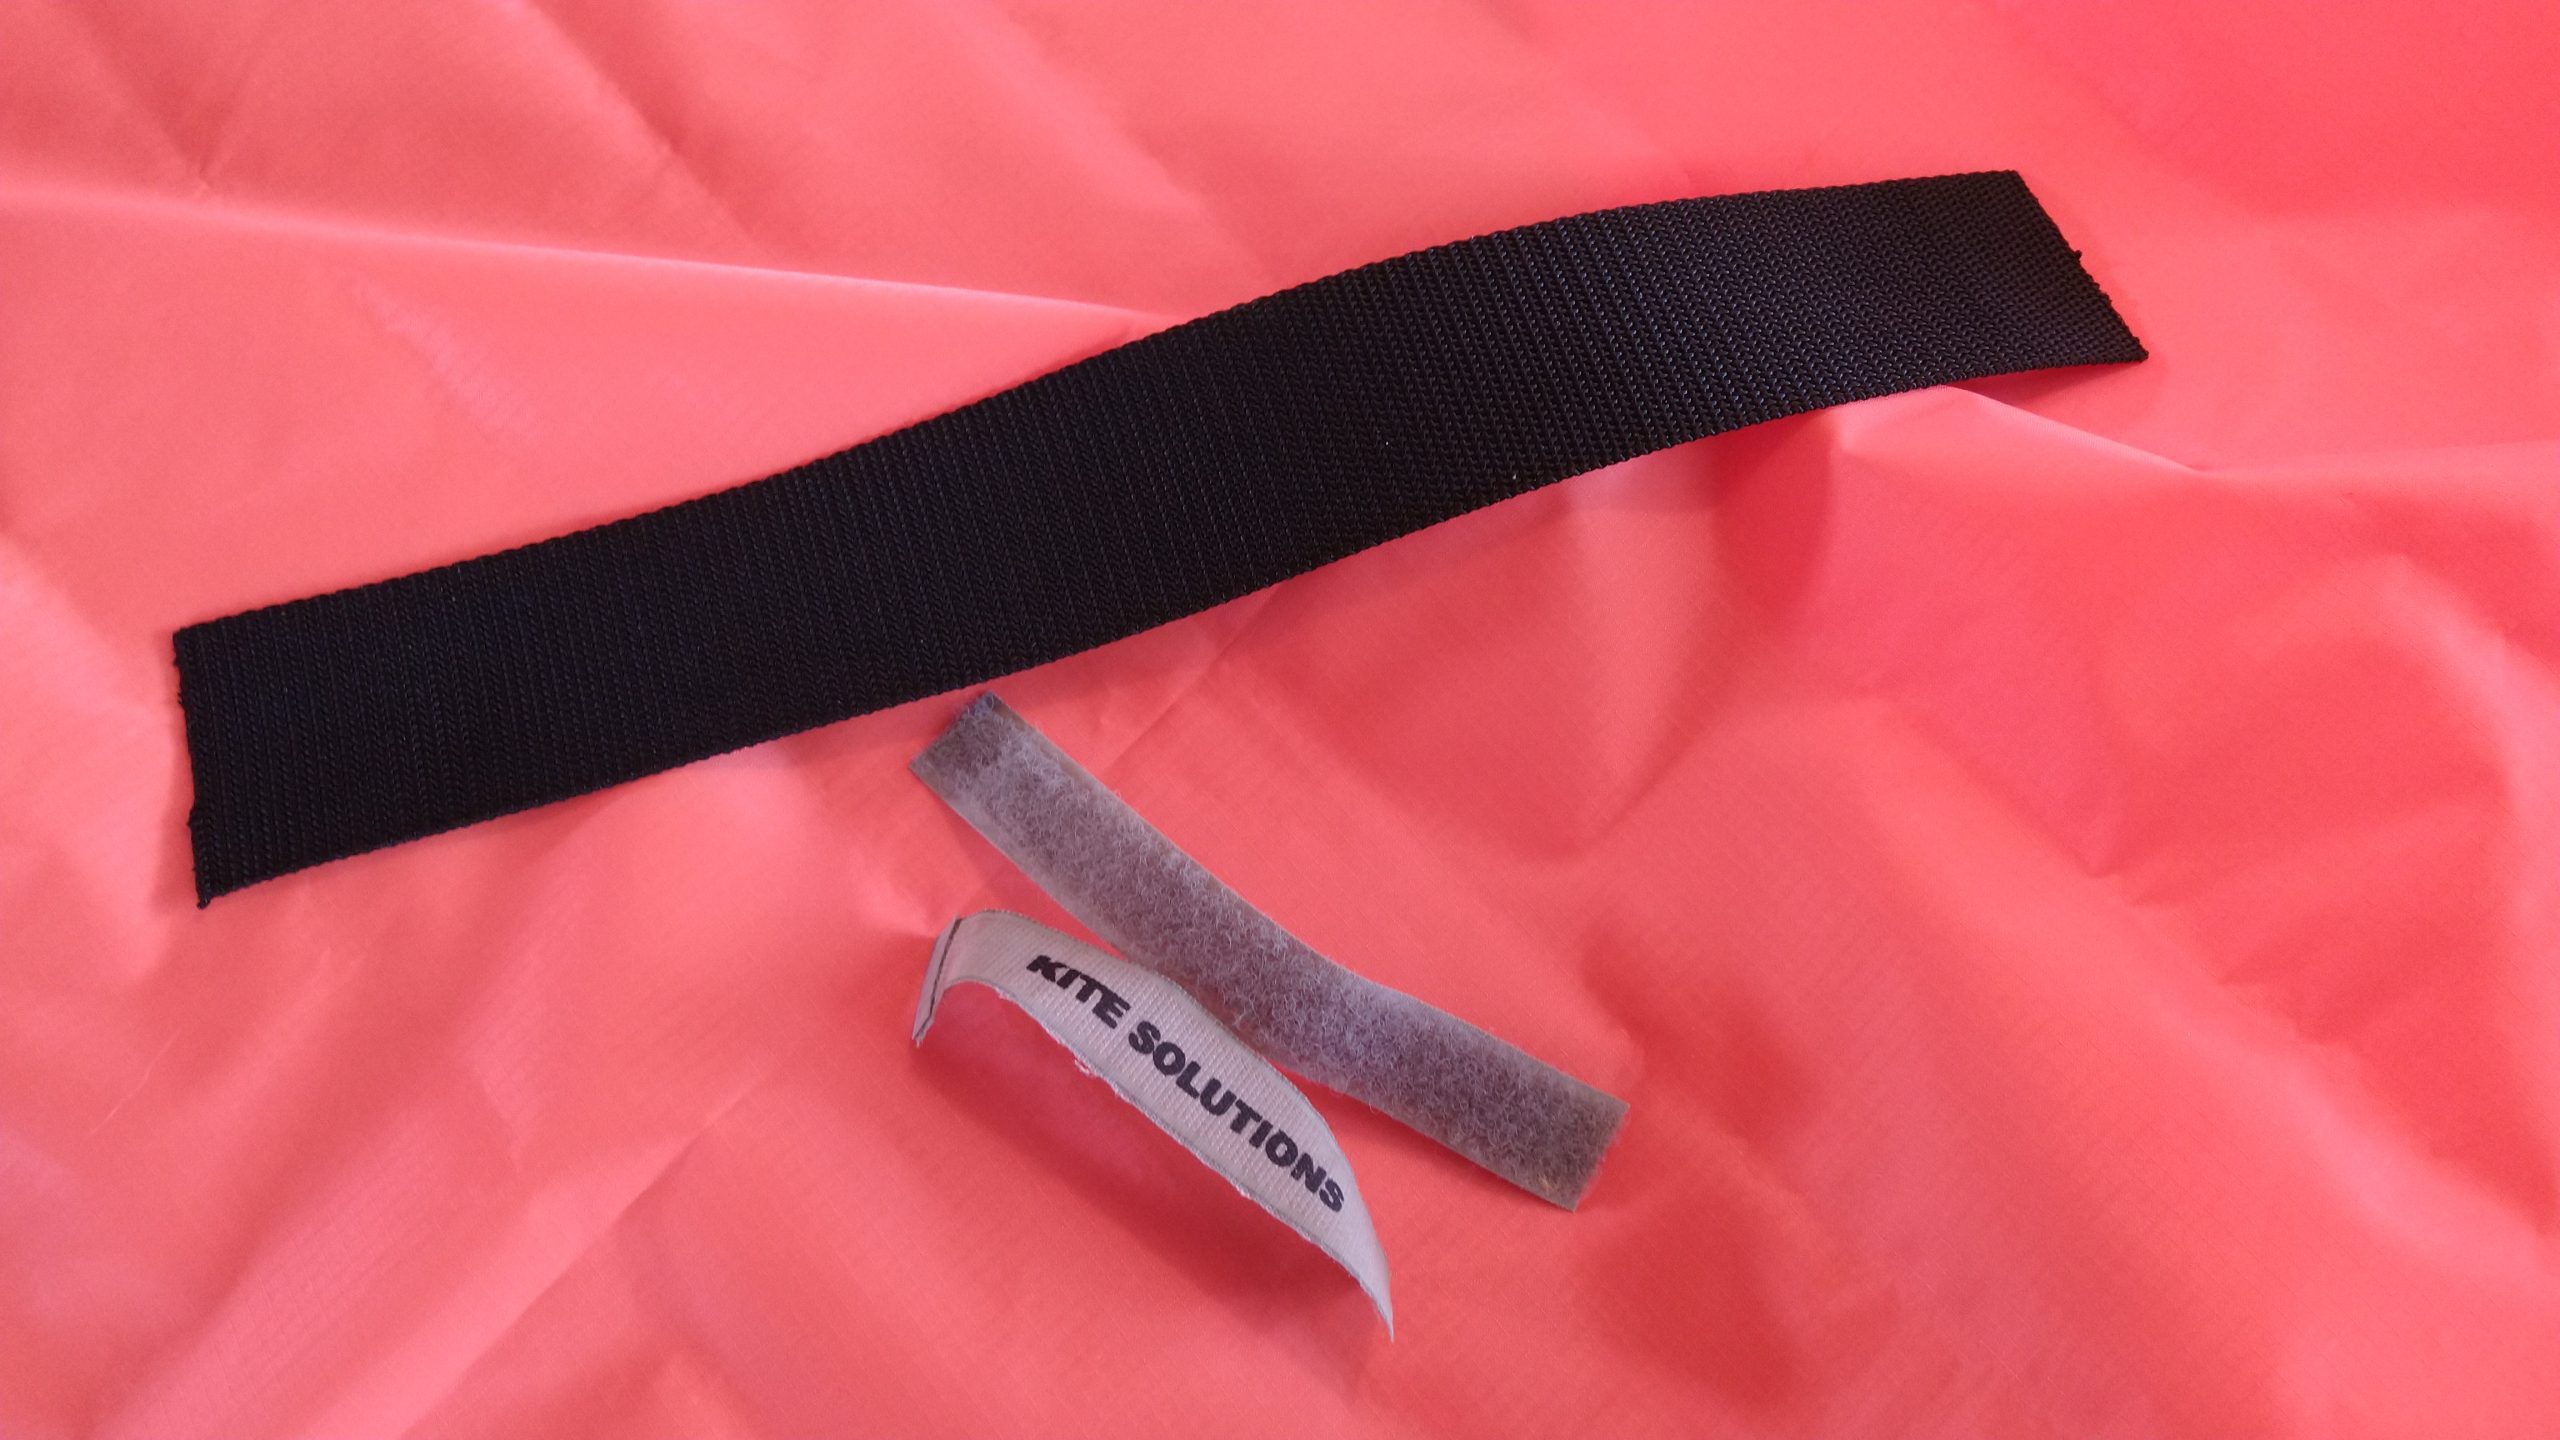
11 Webbing for pockets 
12 Pockets for the horisontal spars 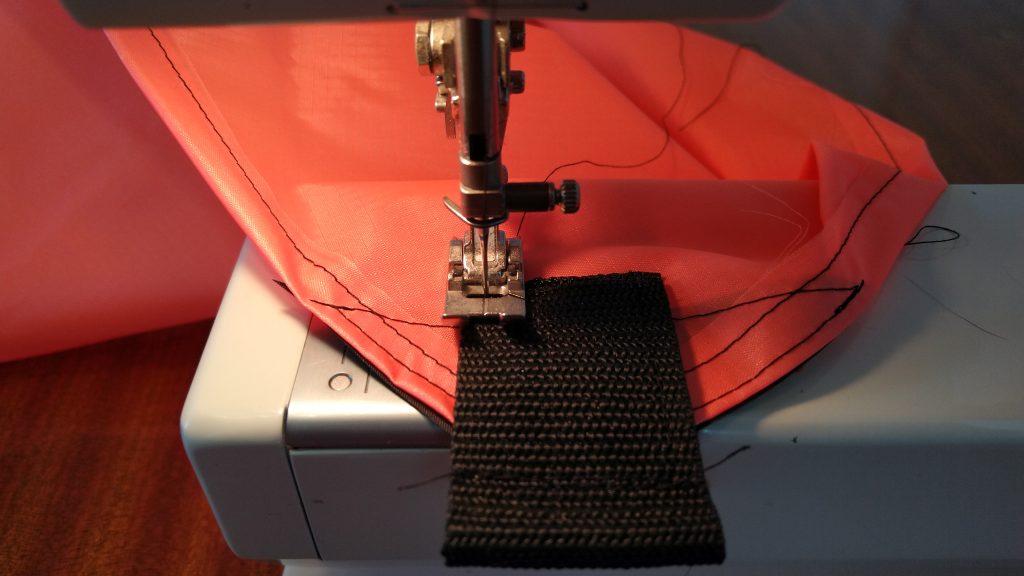
13 Sewing the pockets 
14 Like said, sewing the pockets 
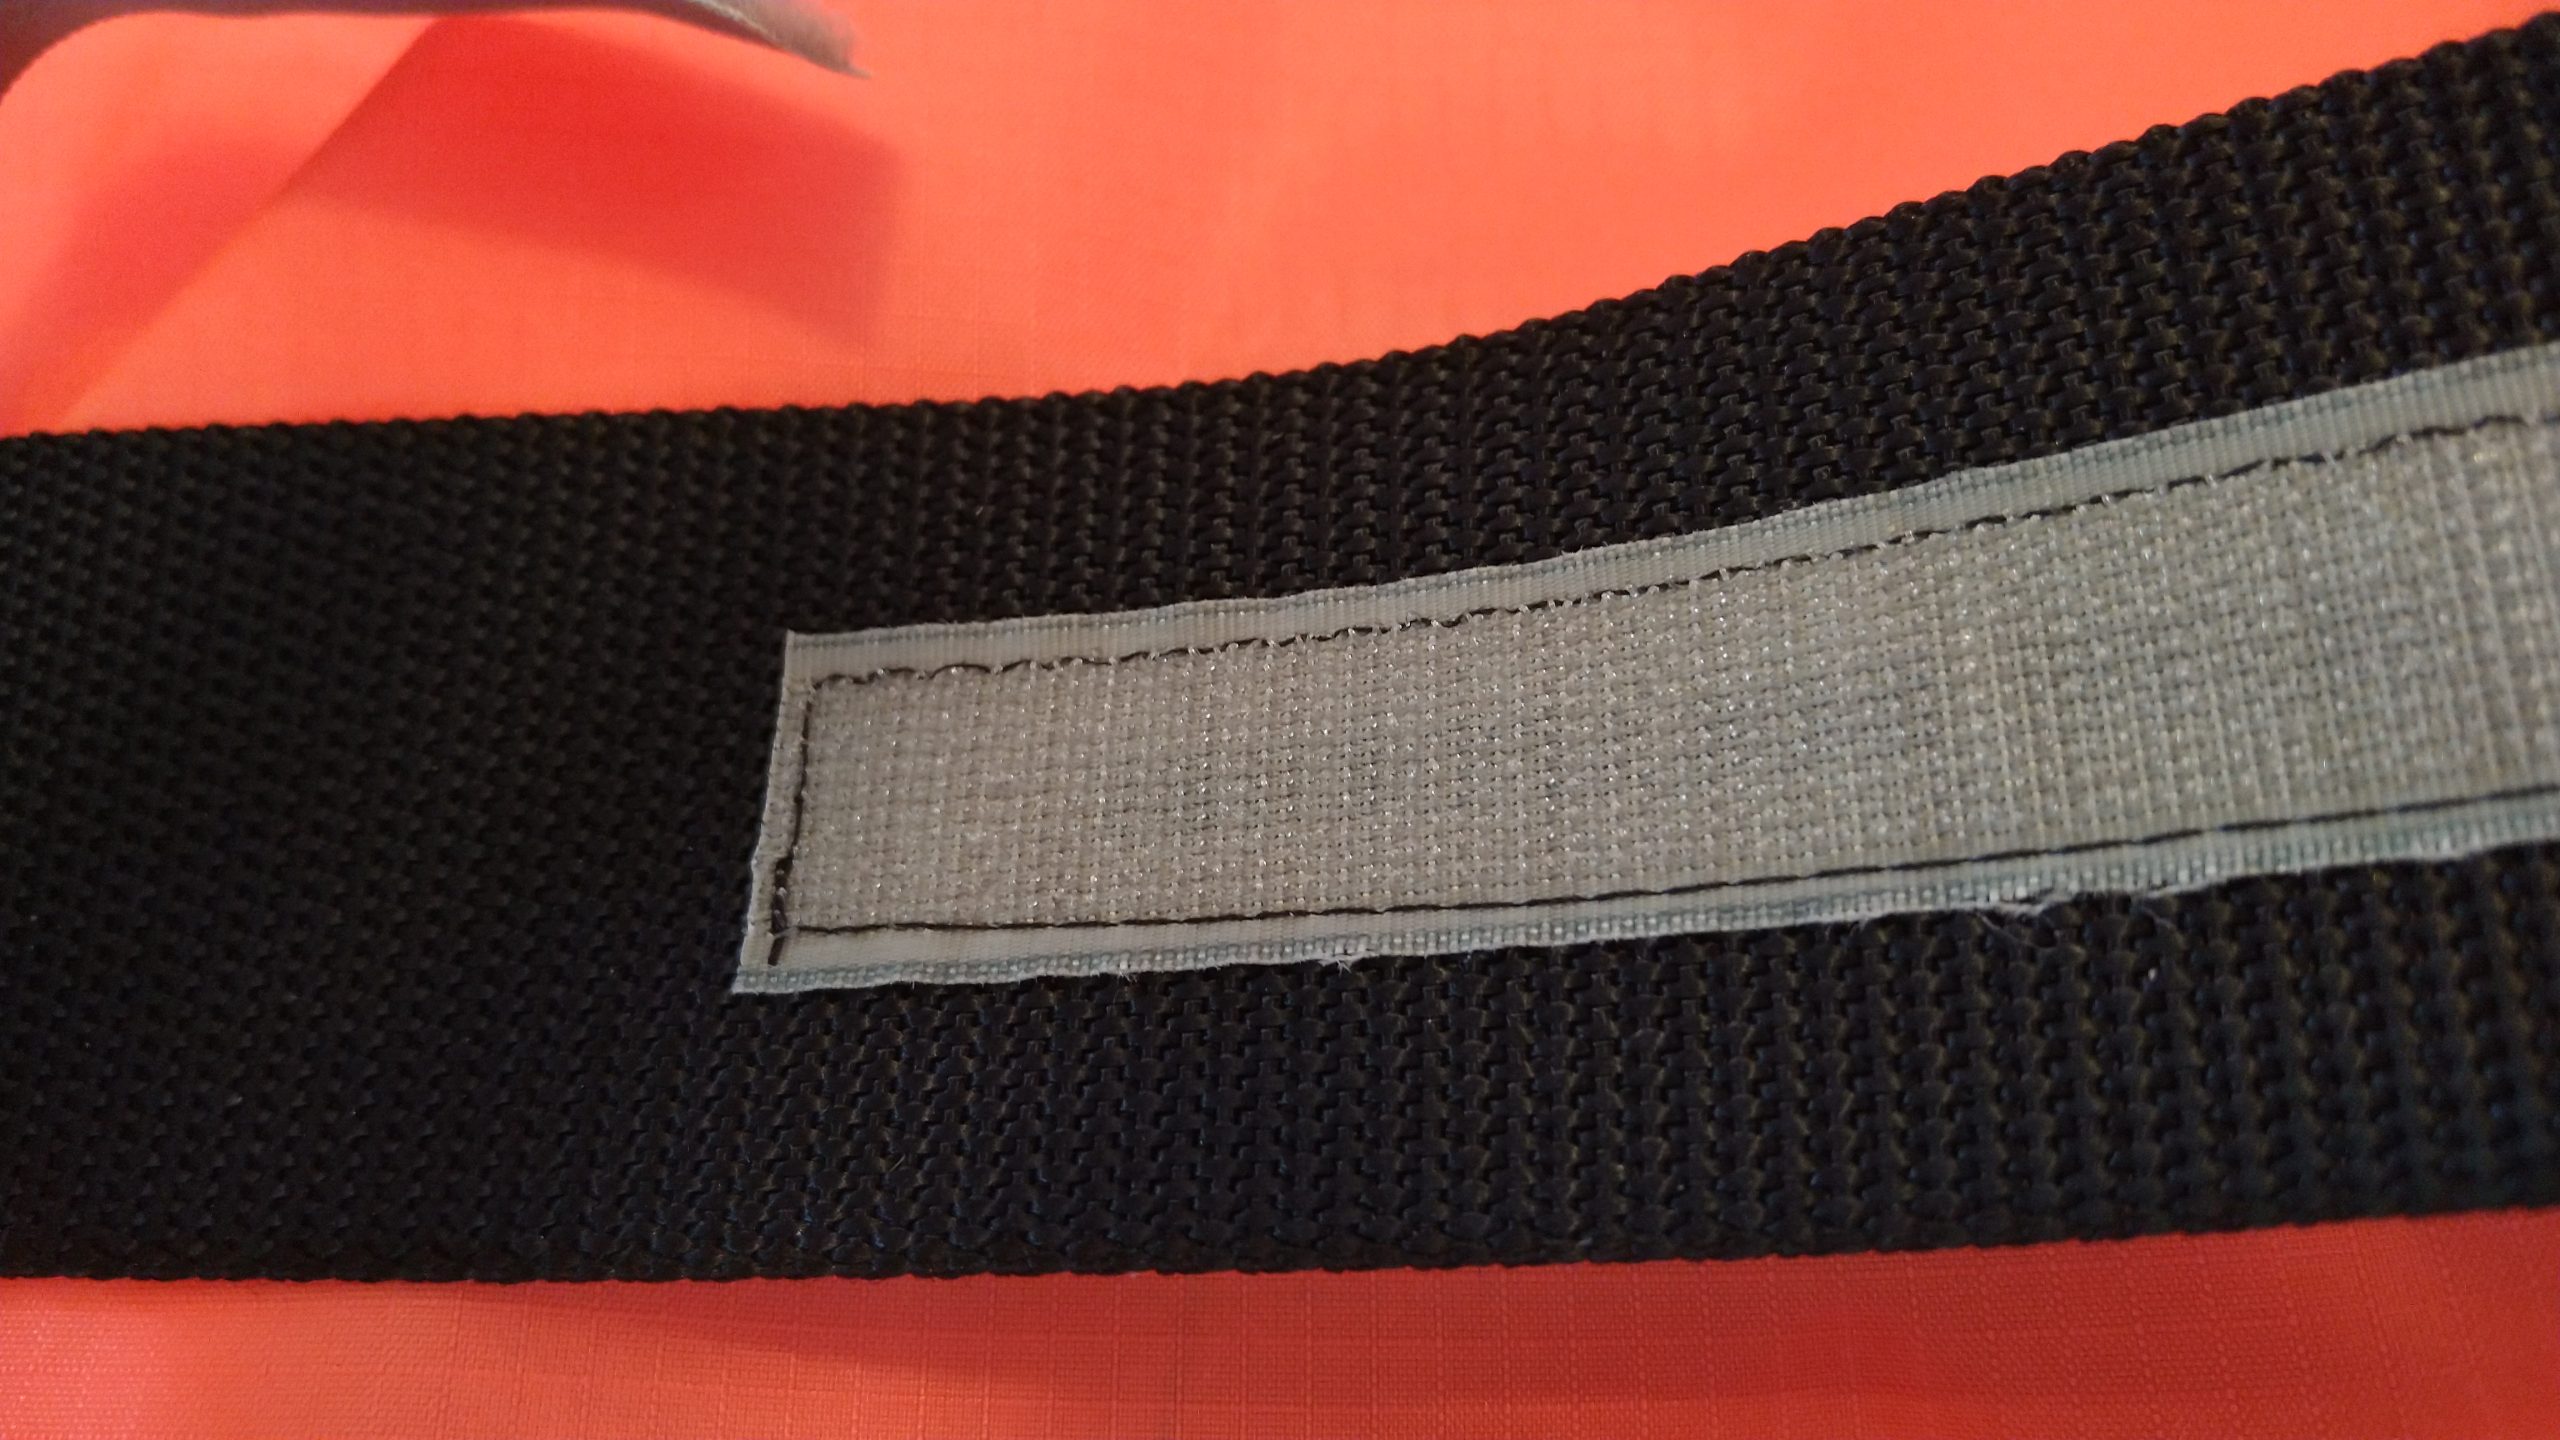
15 Welcro locked pocket for the spine 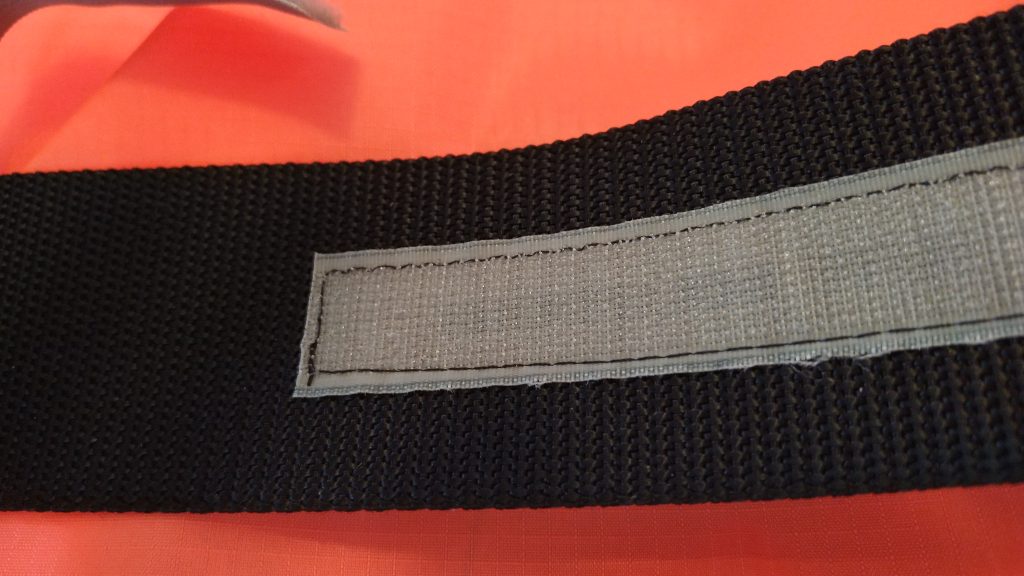
16 Velcro close up 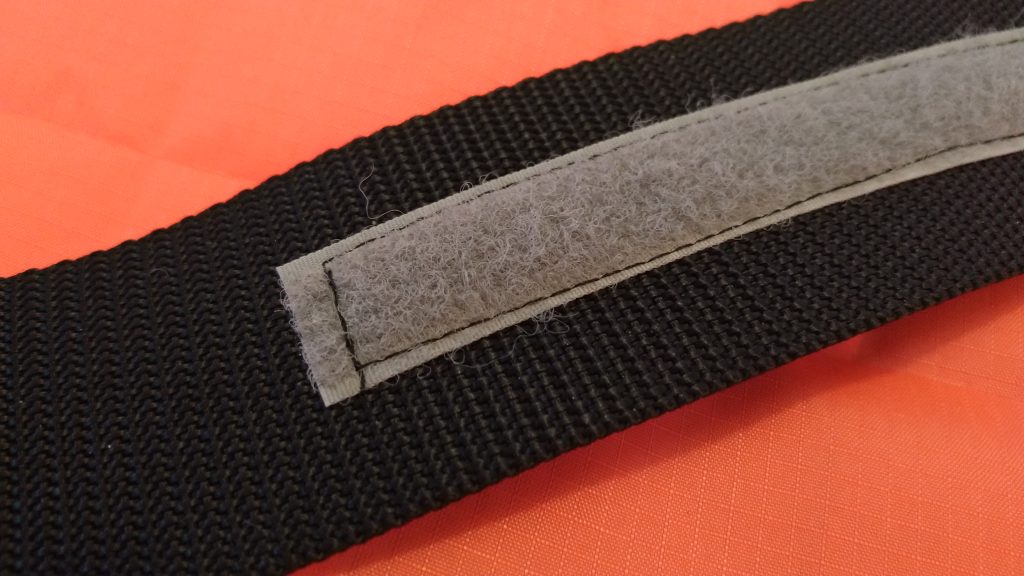
17 Another velcro close up 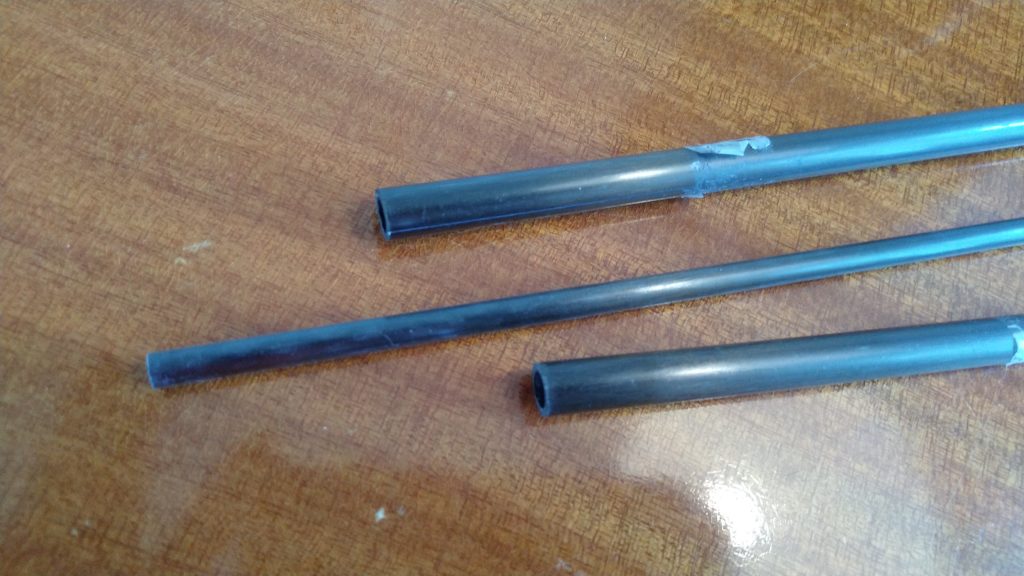
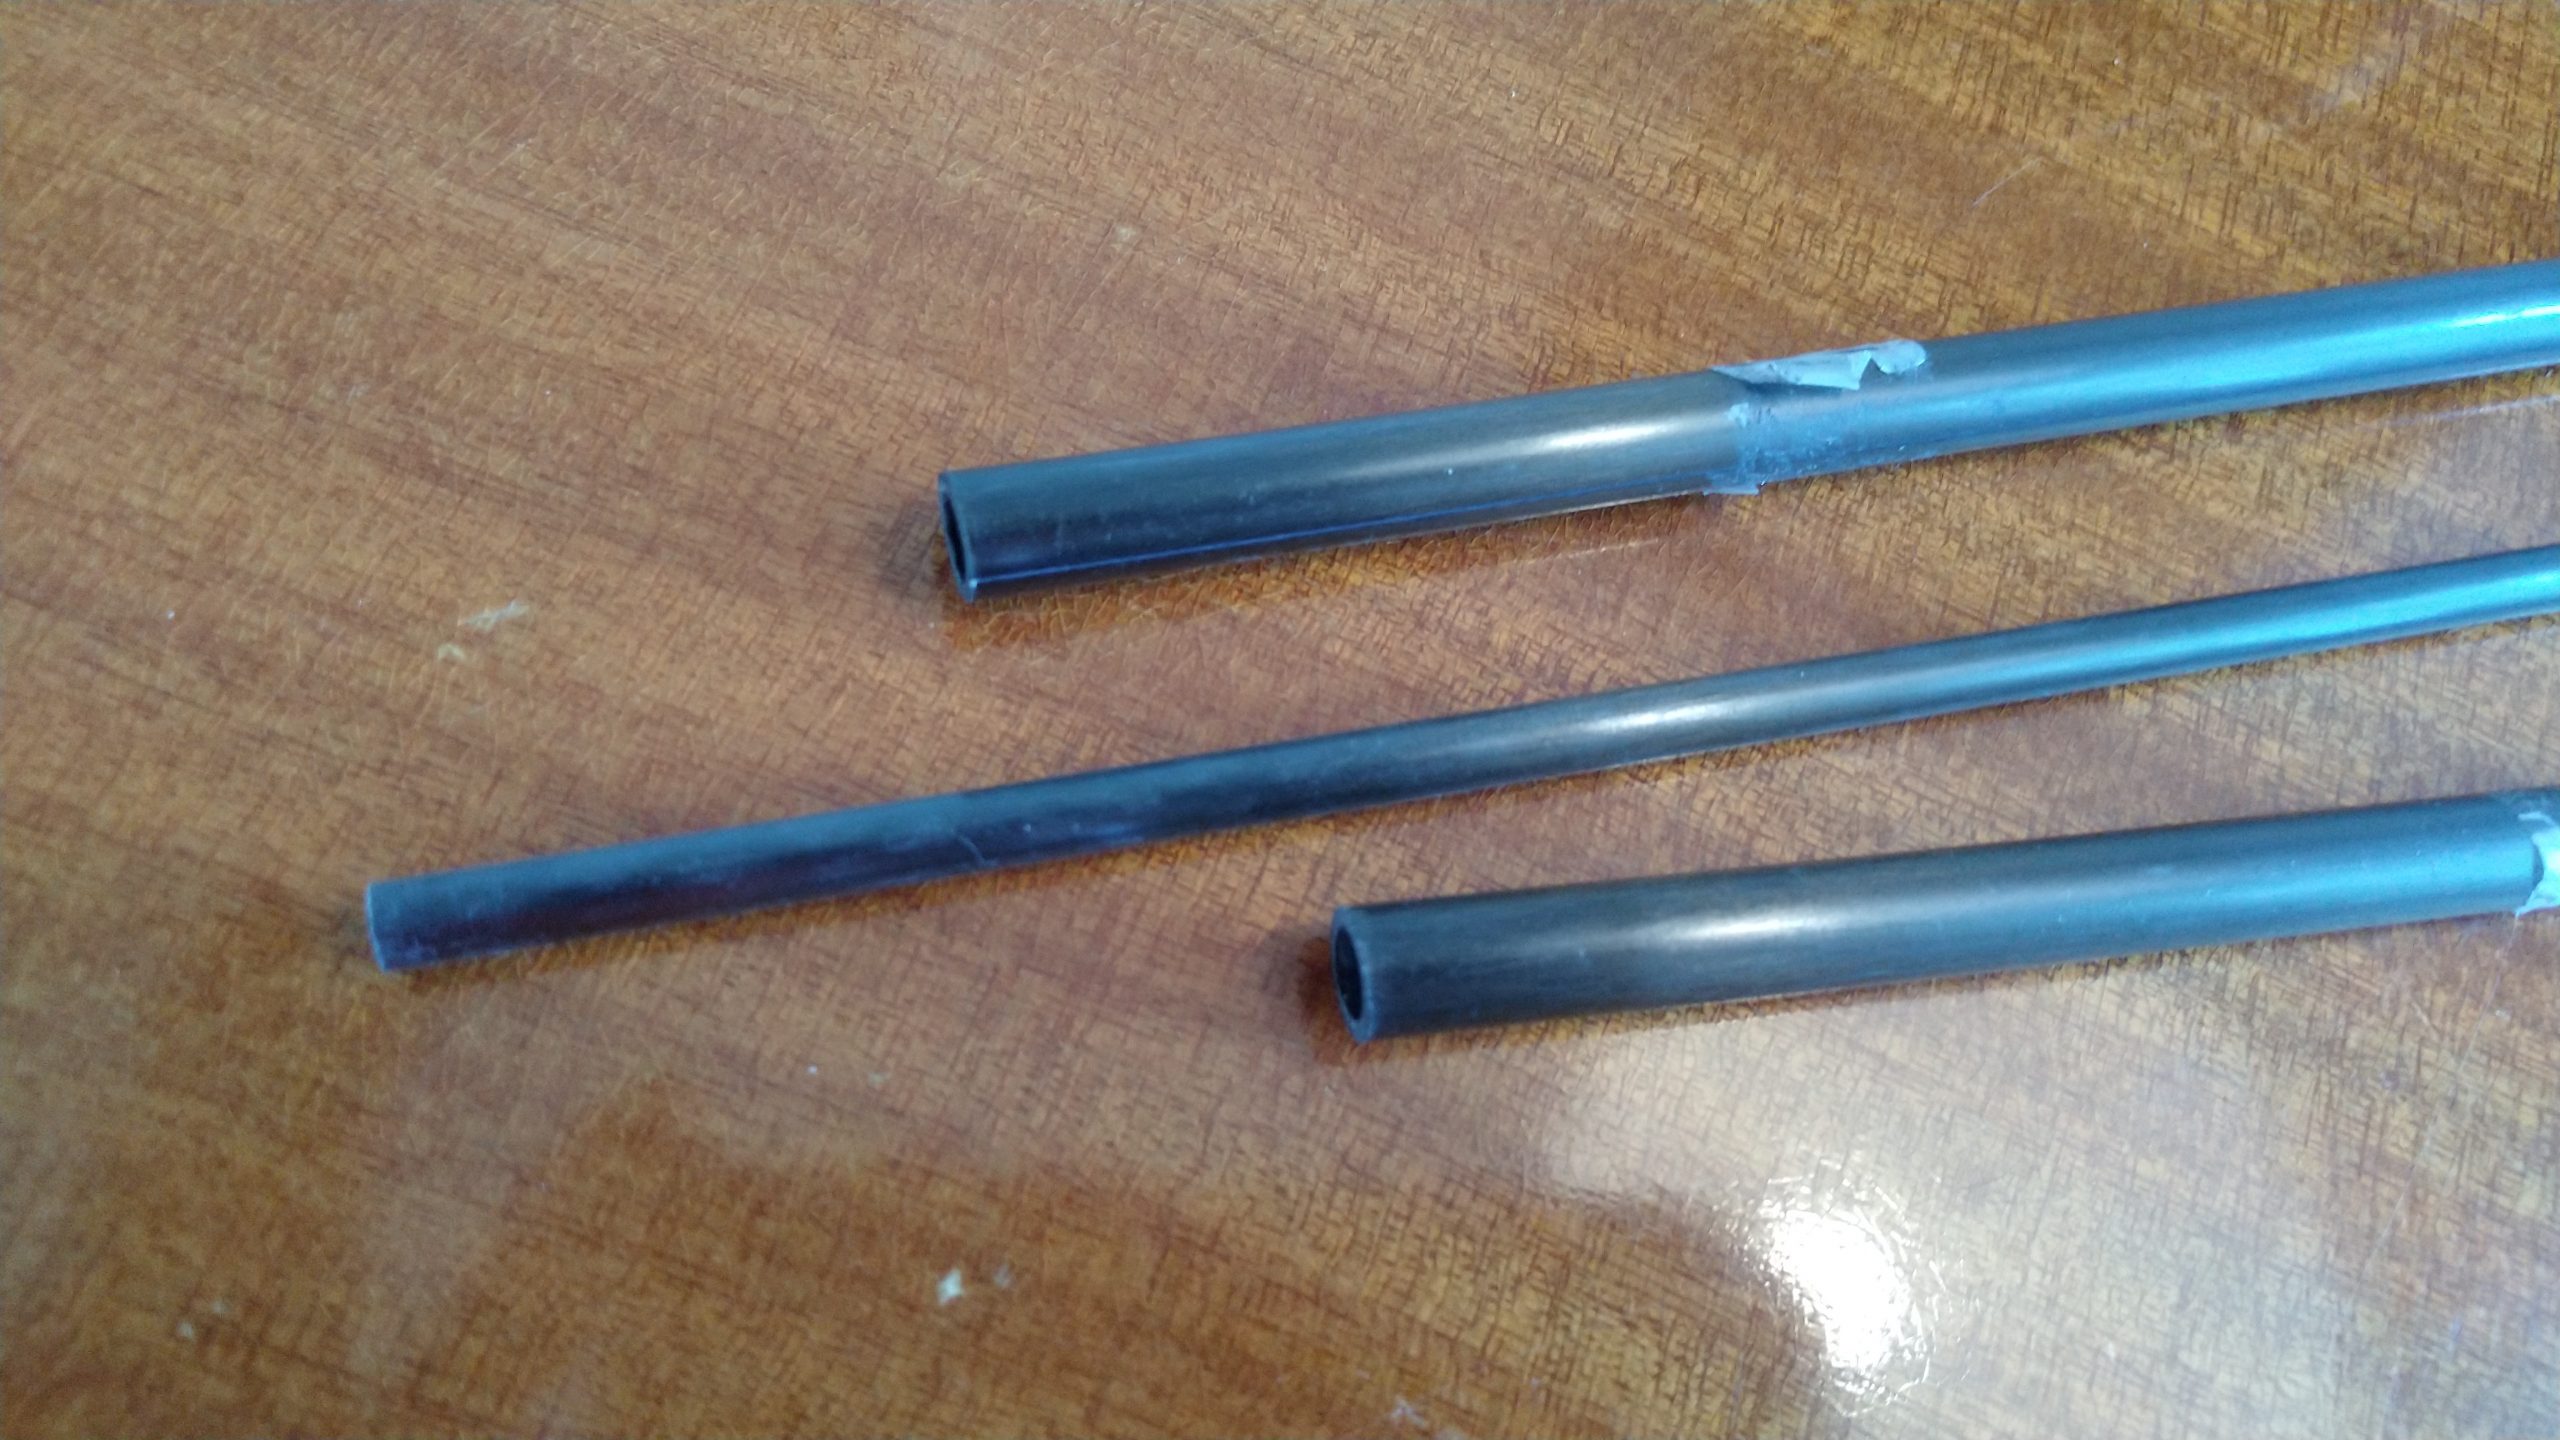
18 Rods for the framing 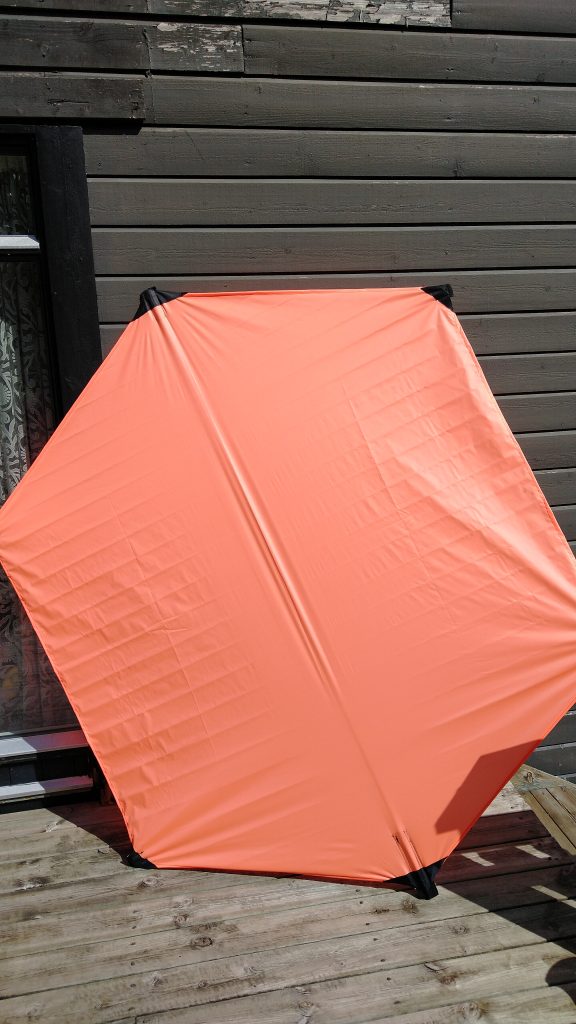
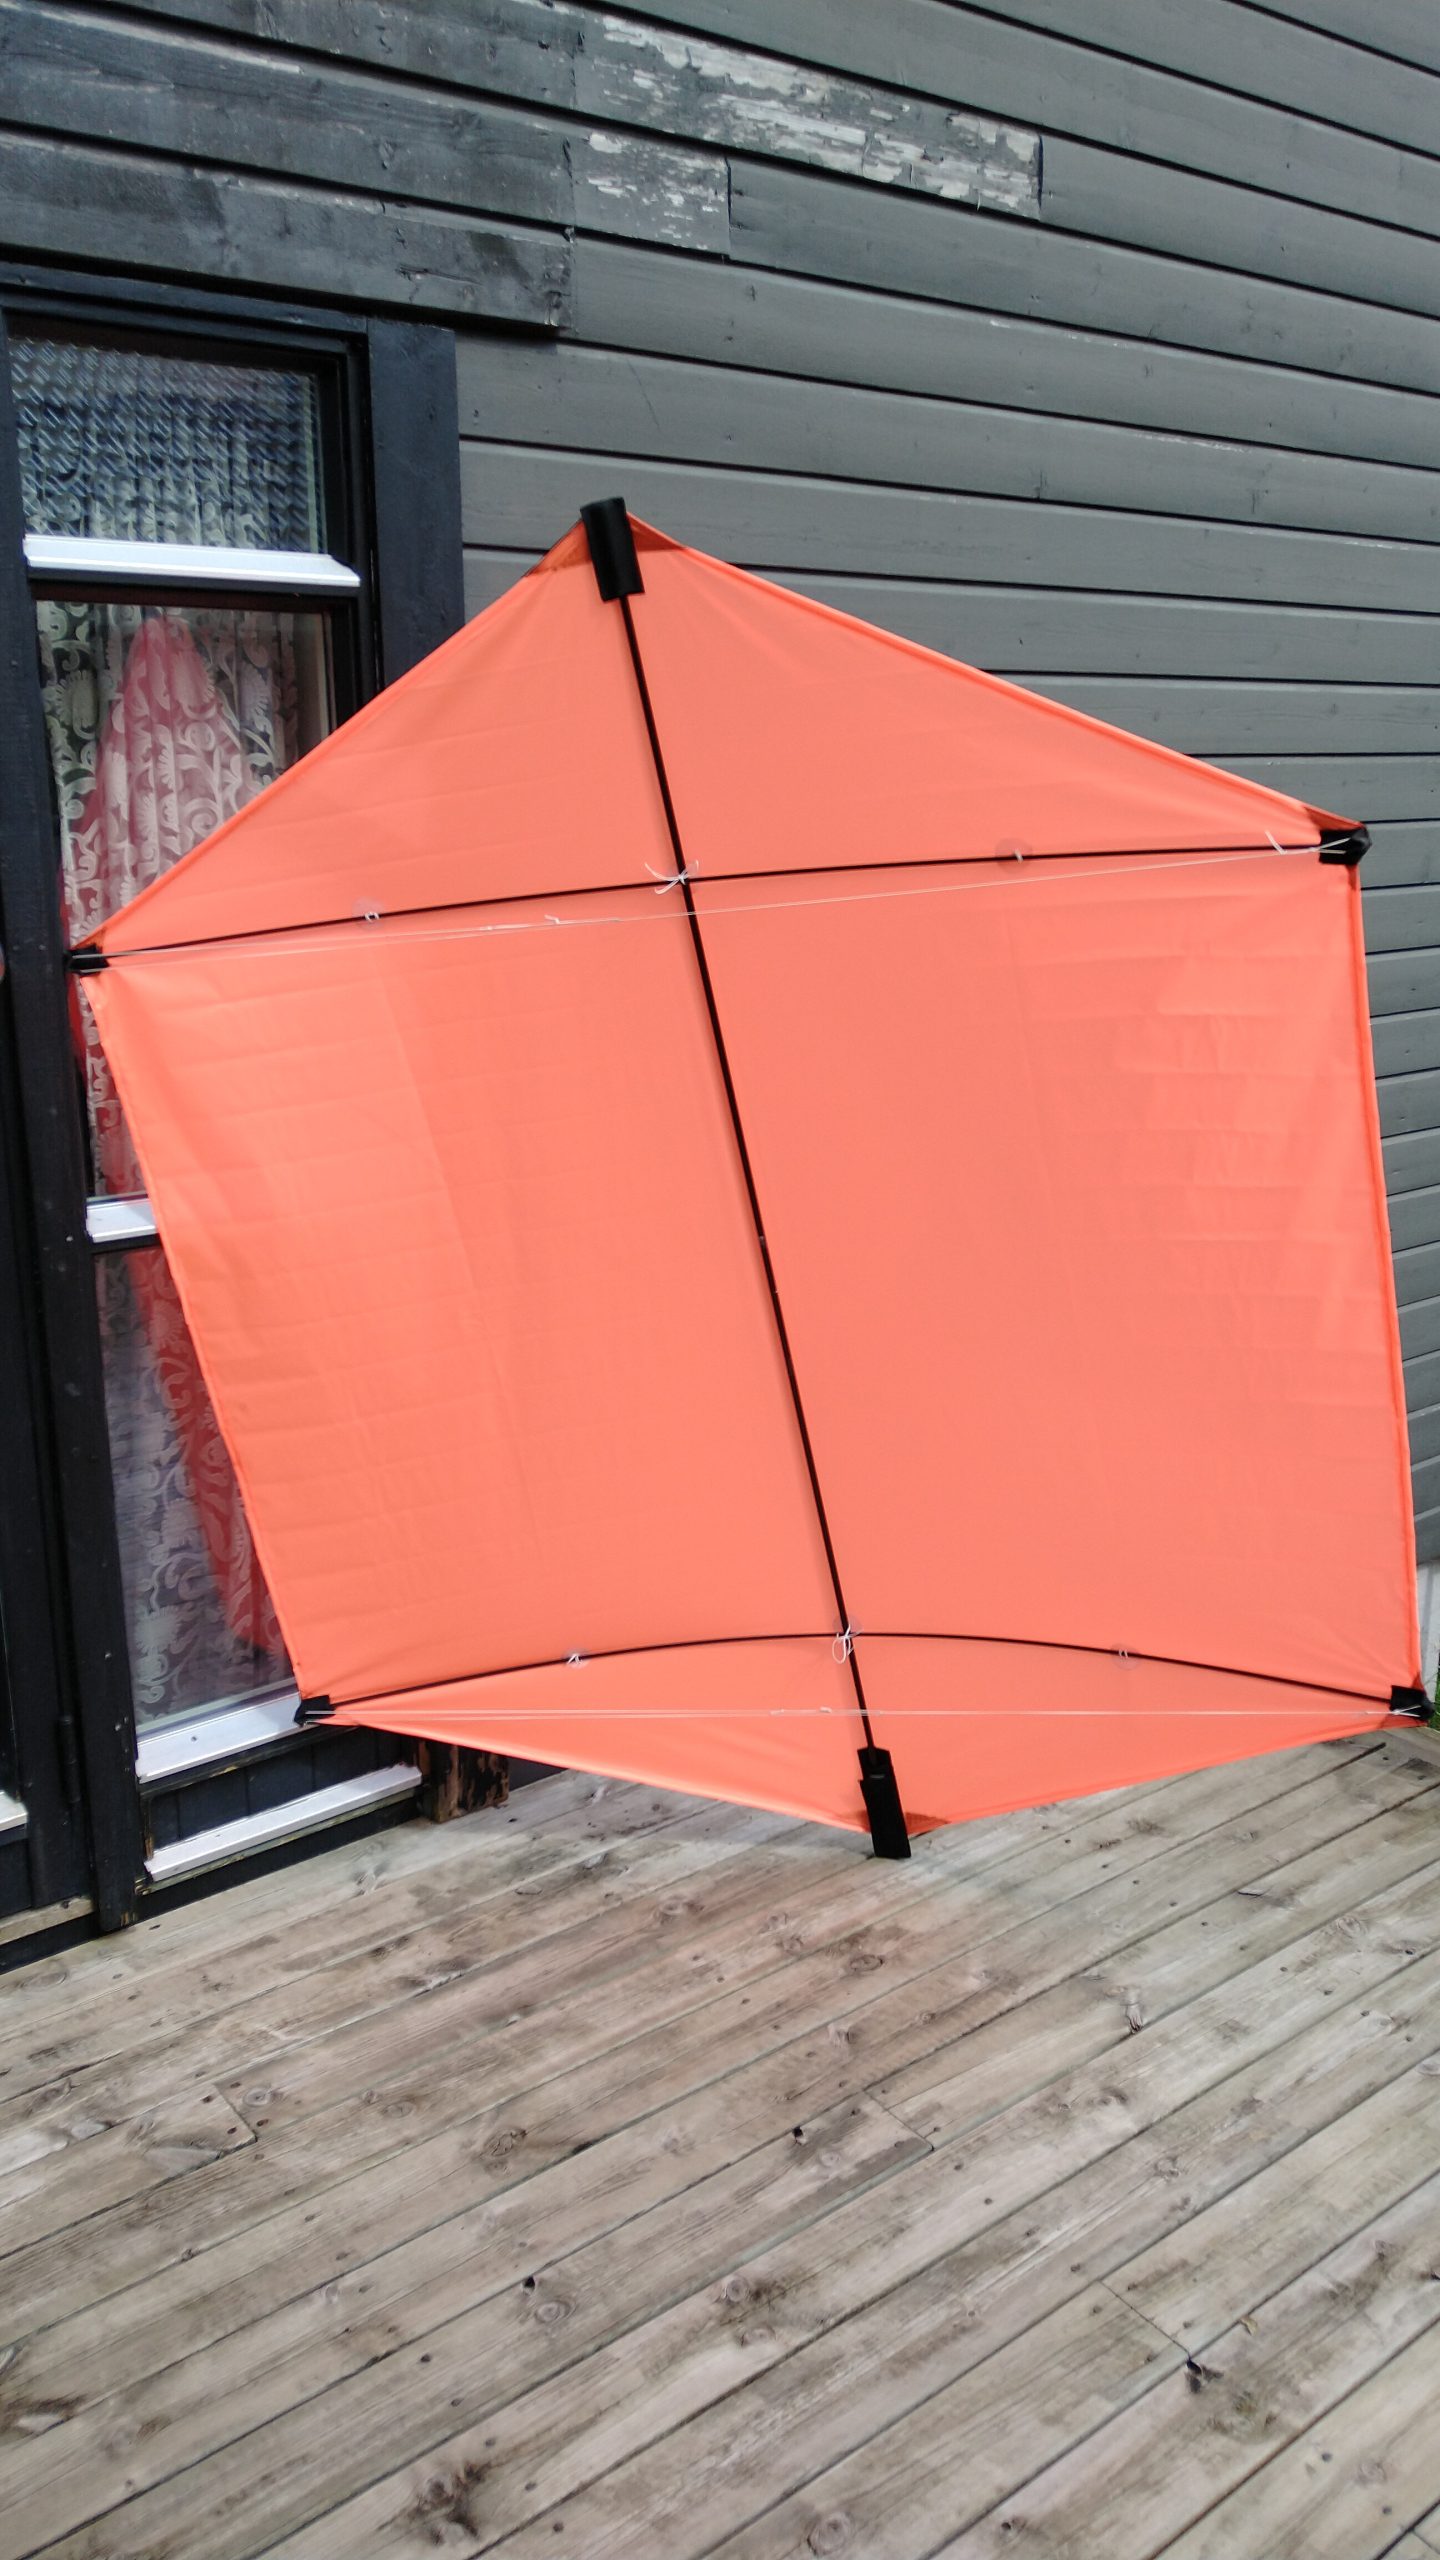
19 Framed! 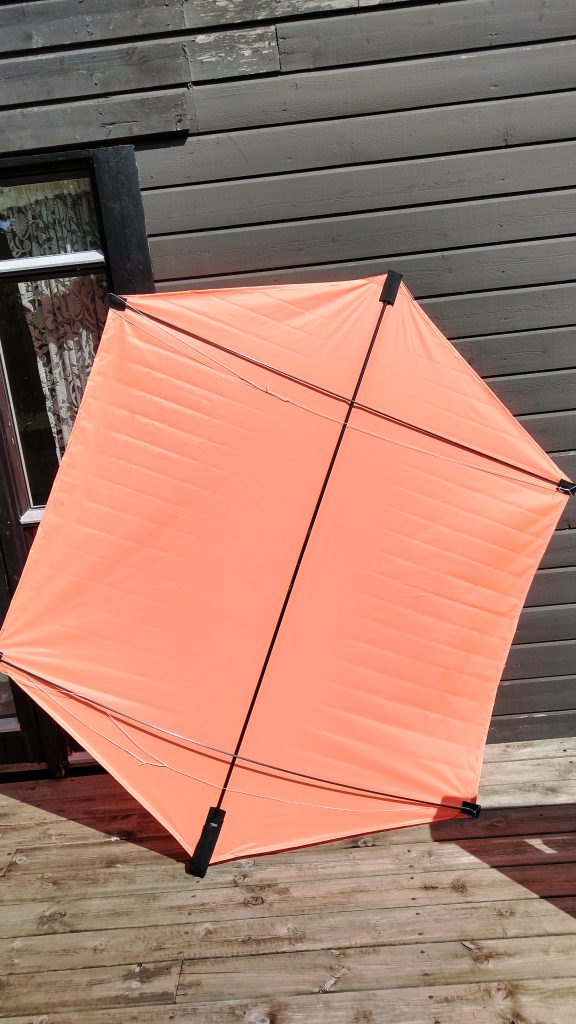
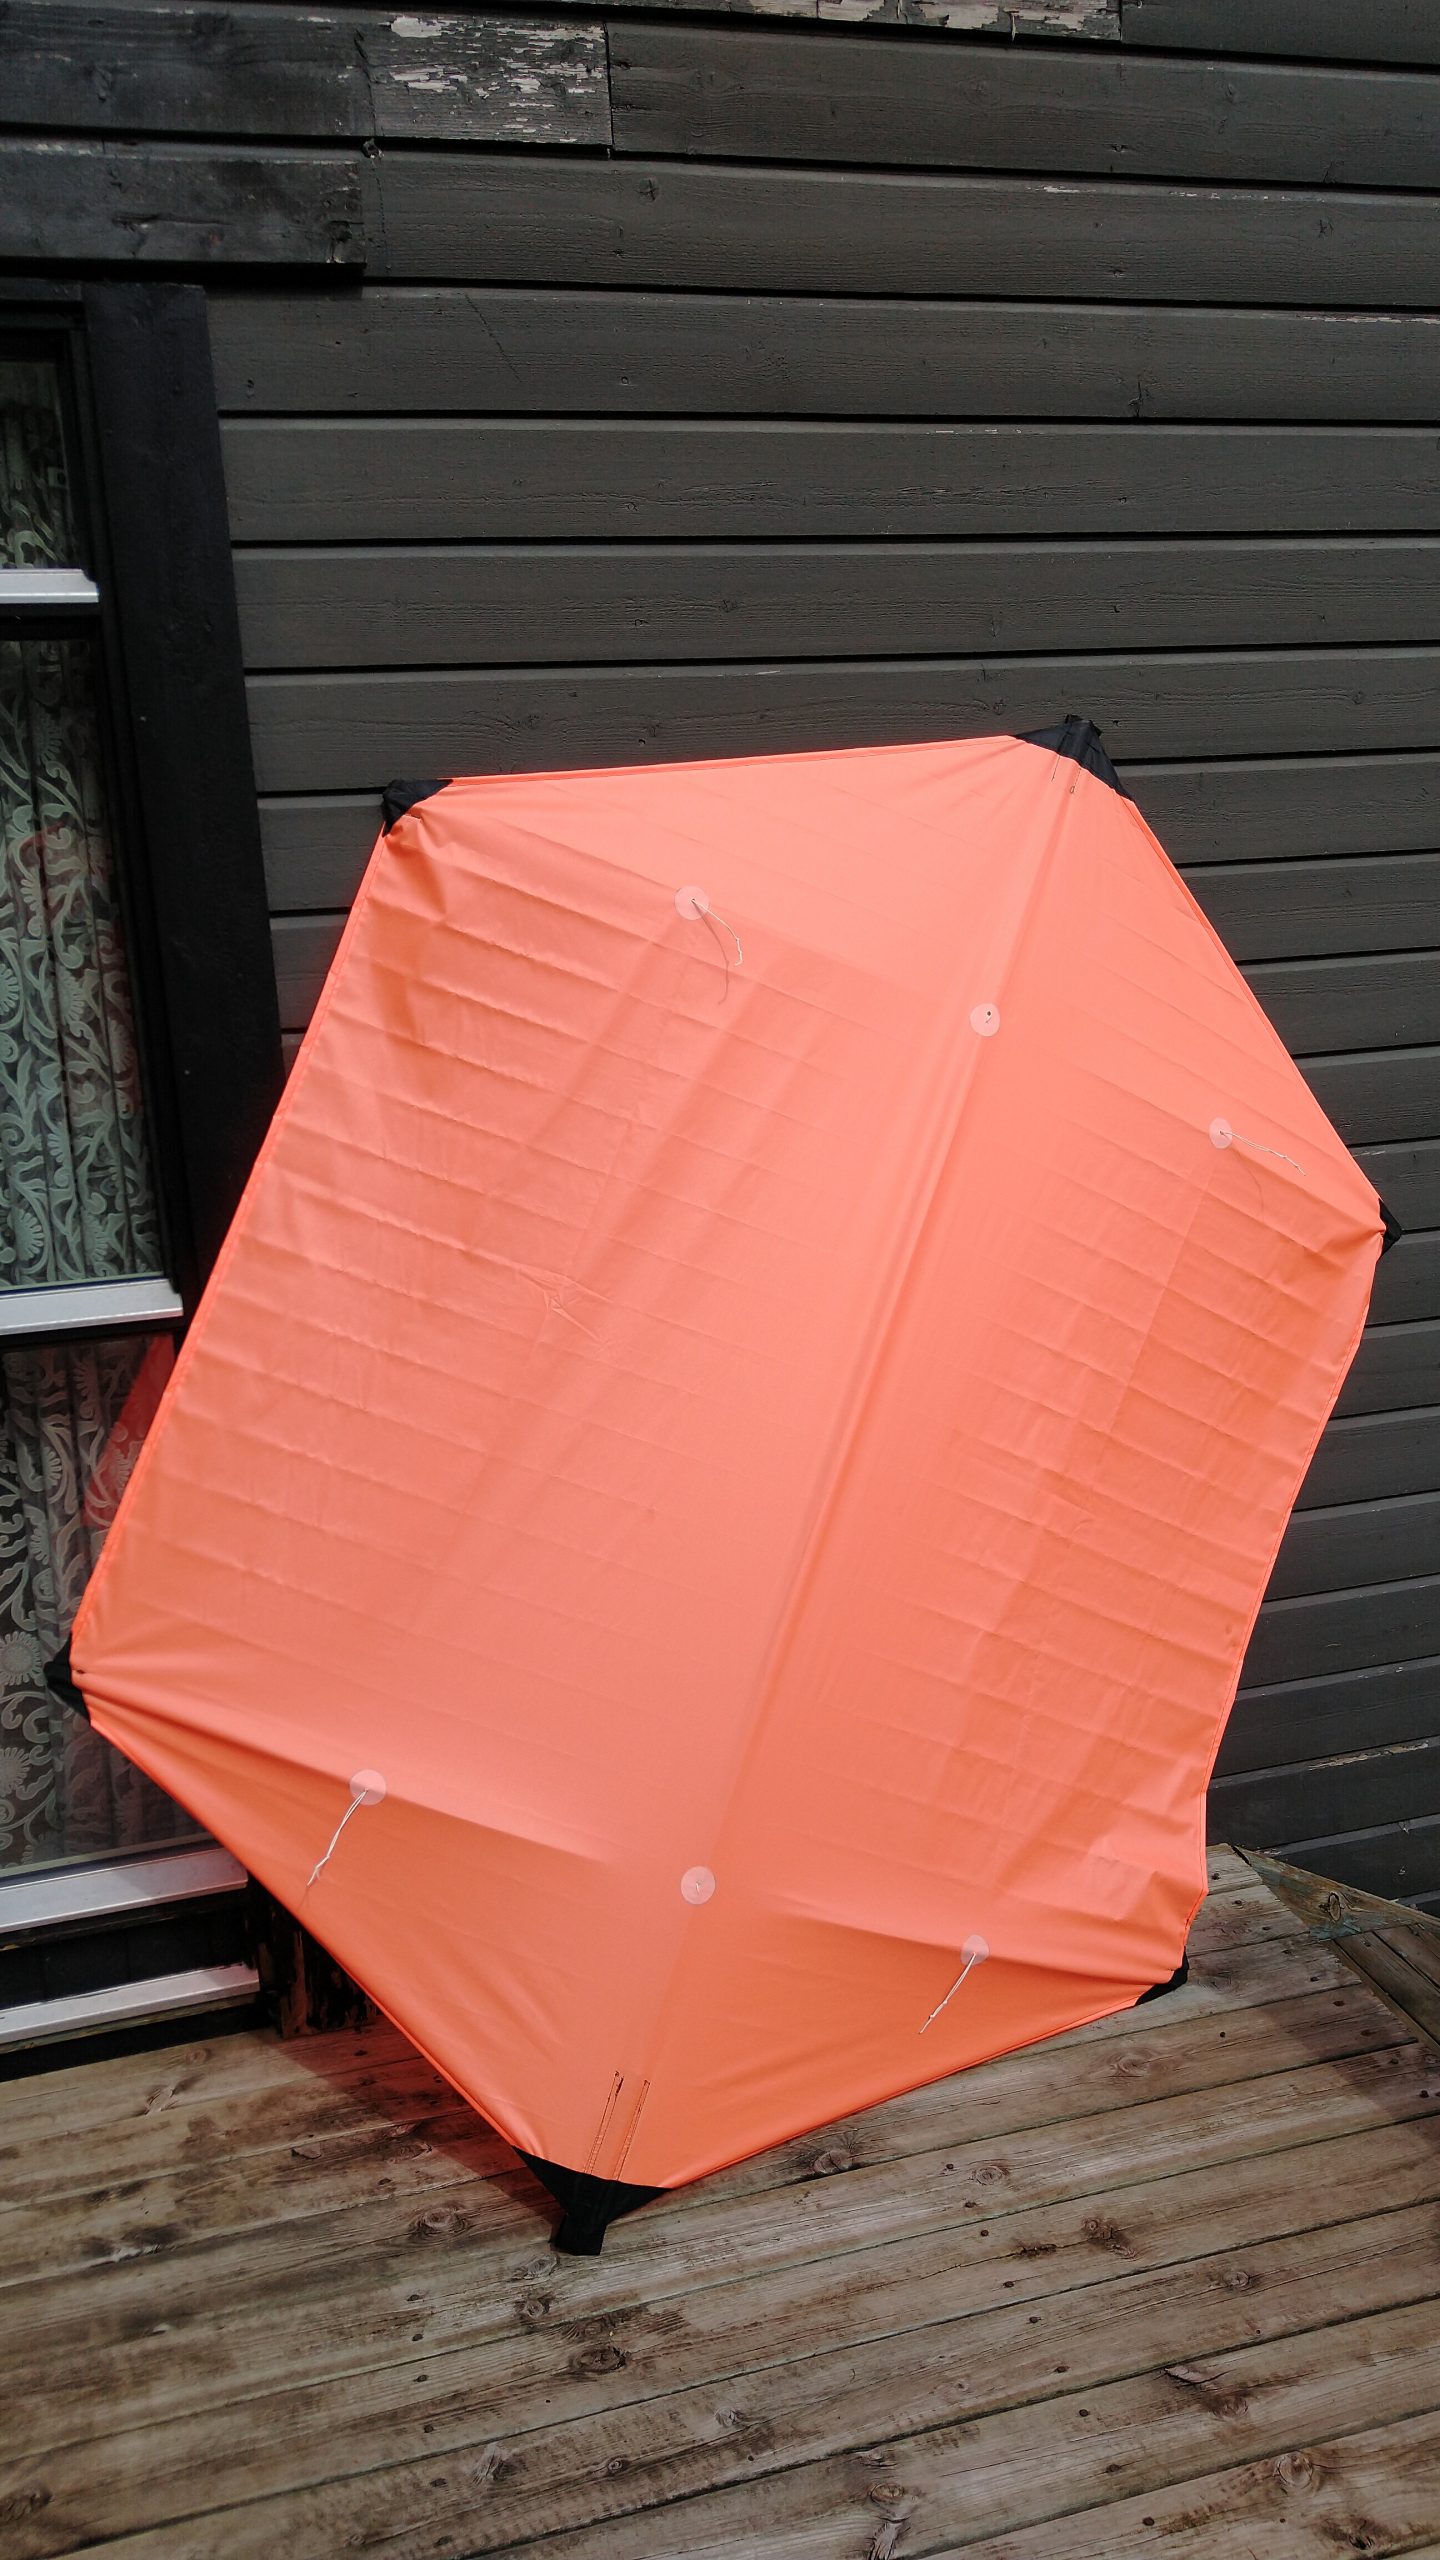
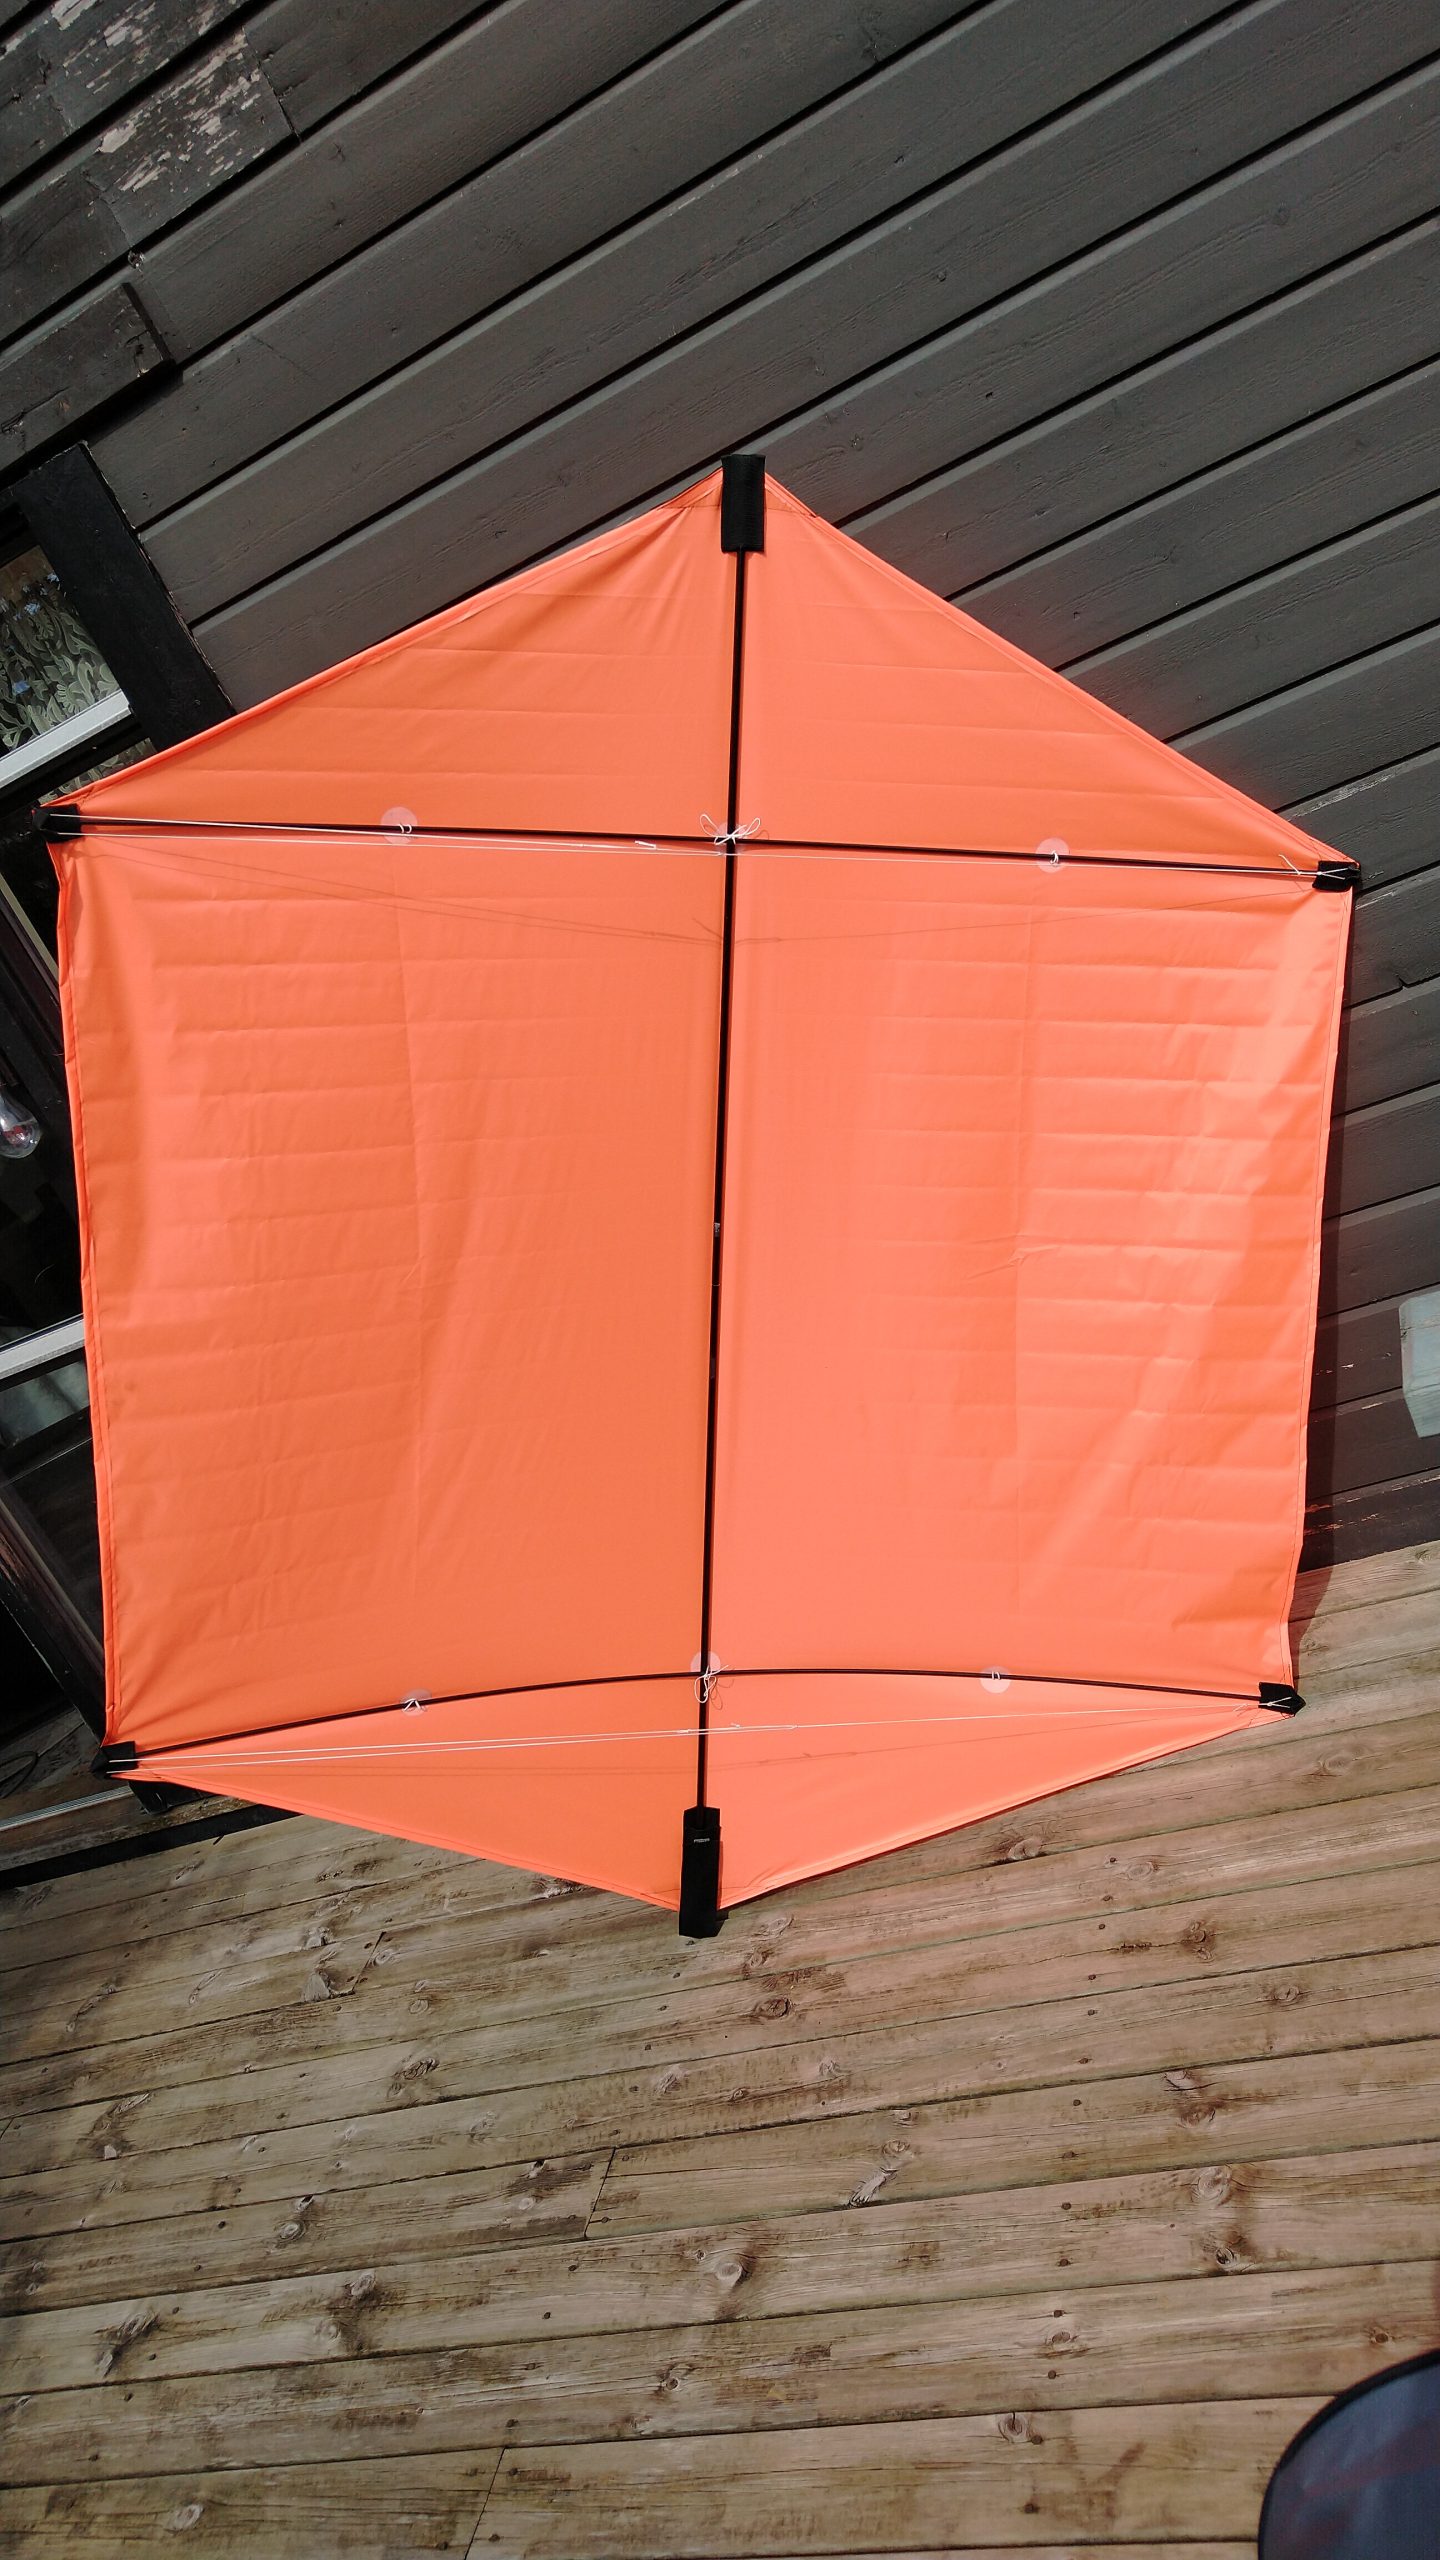
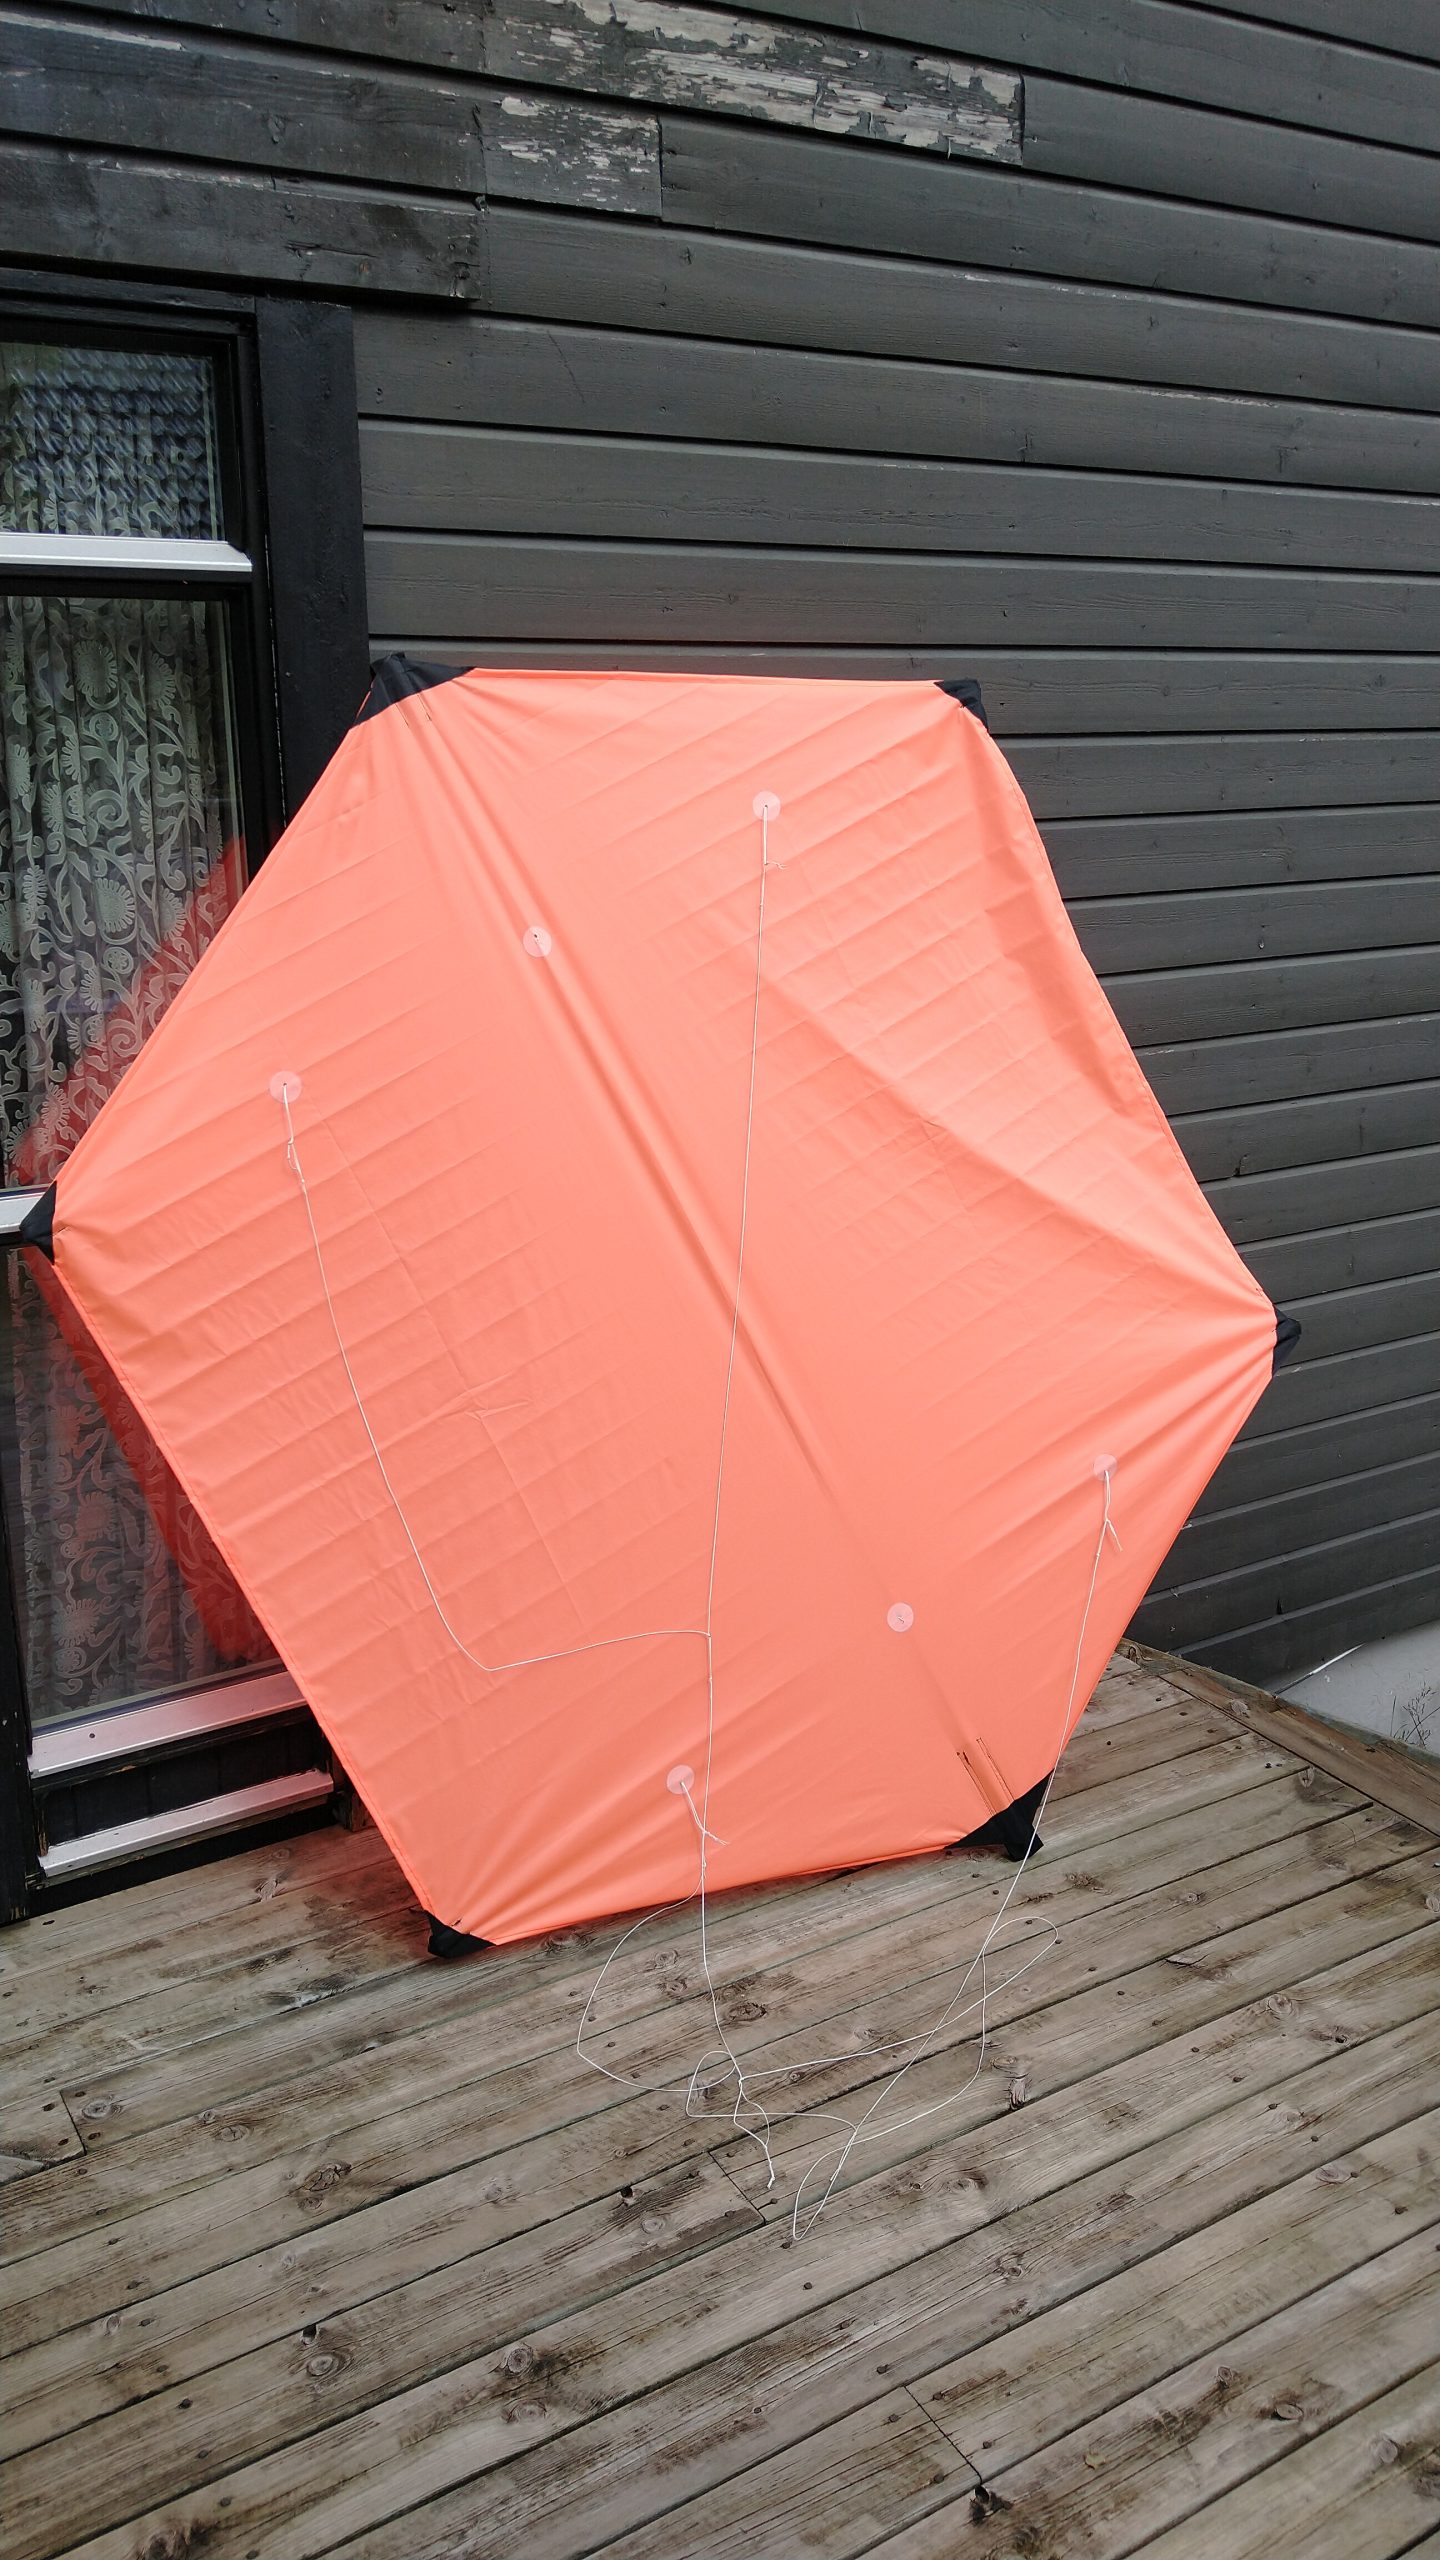
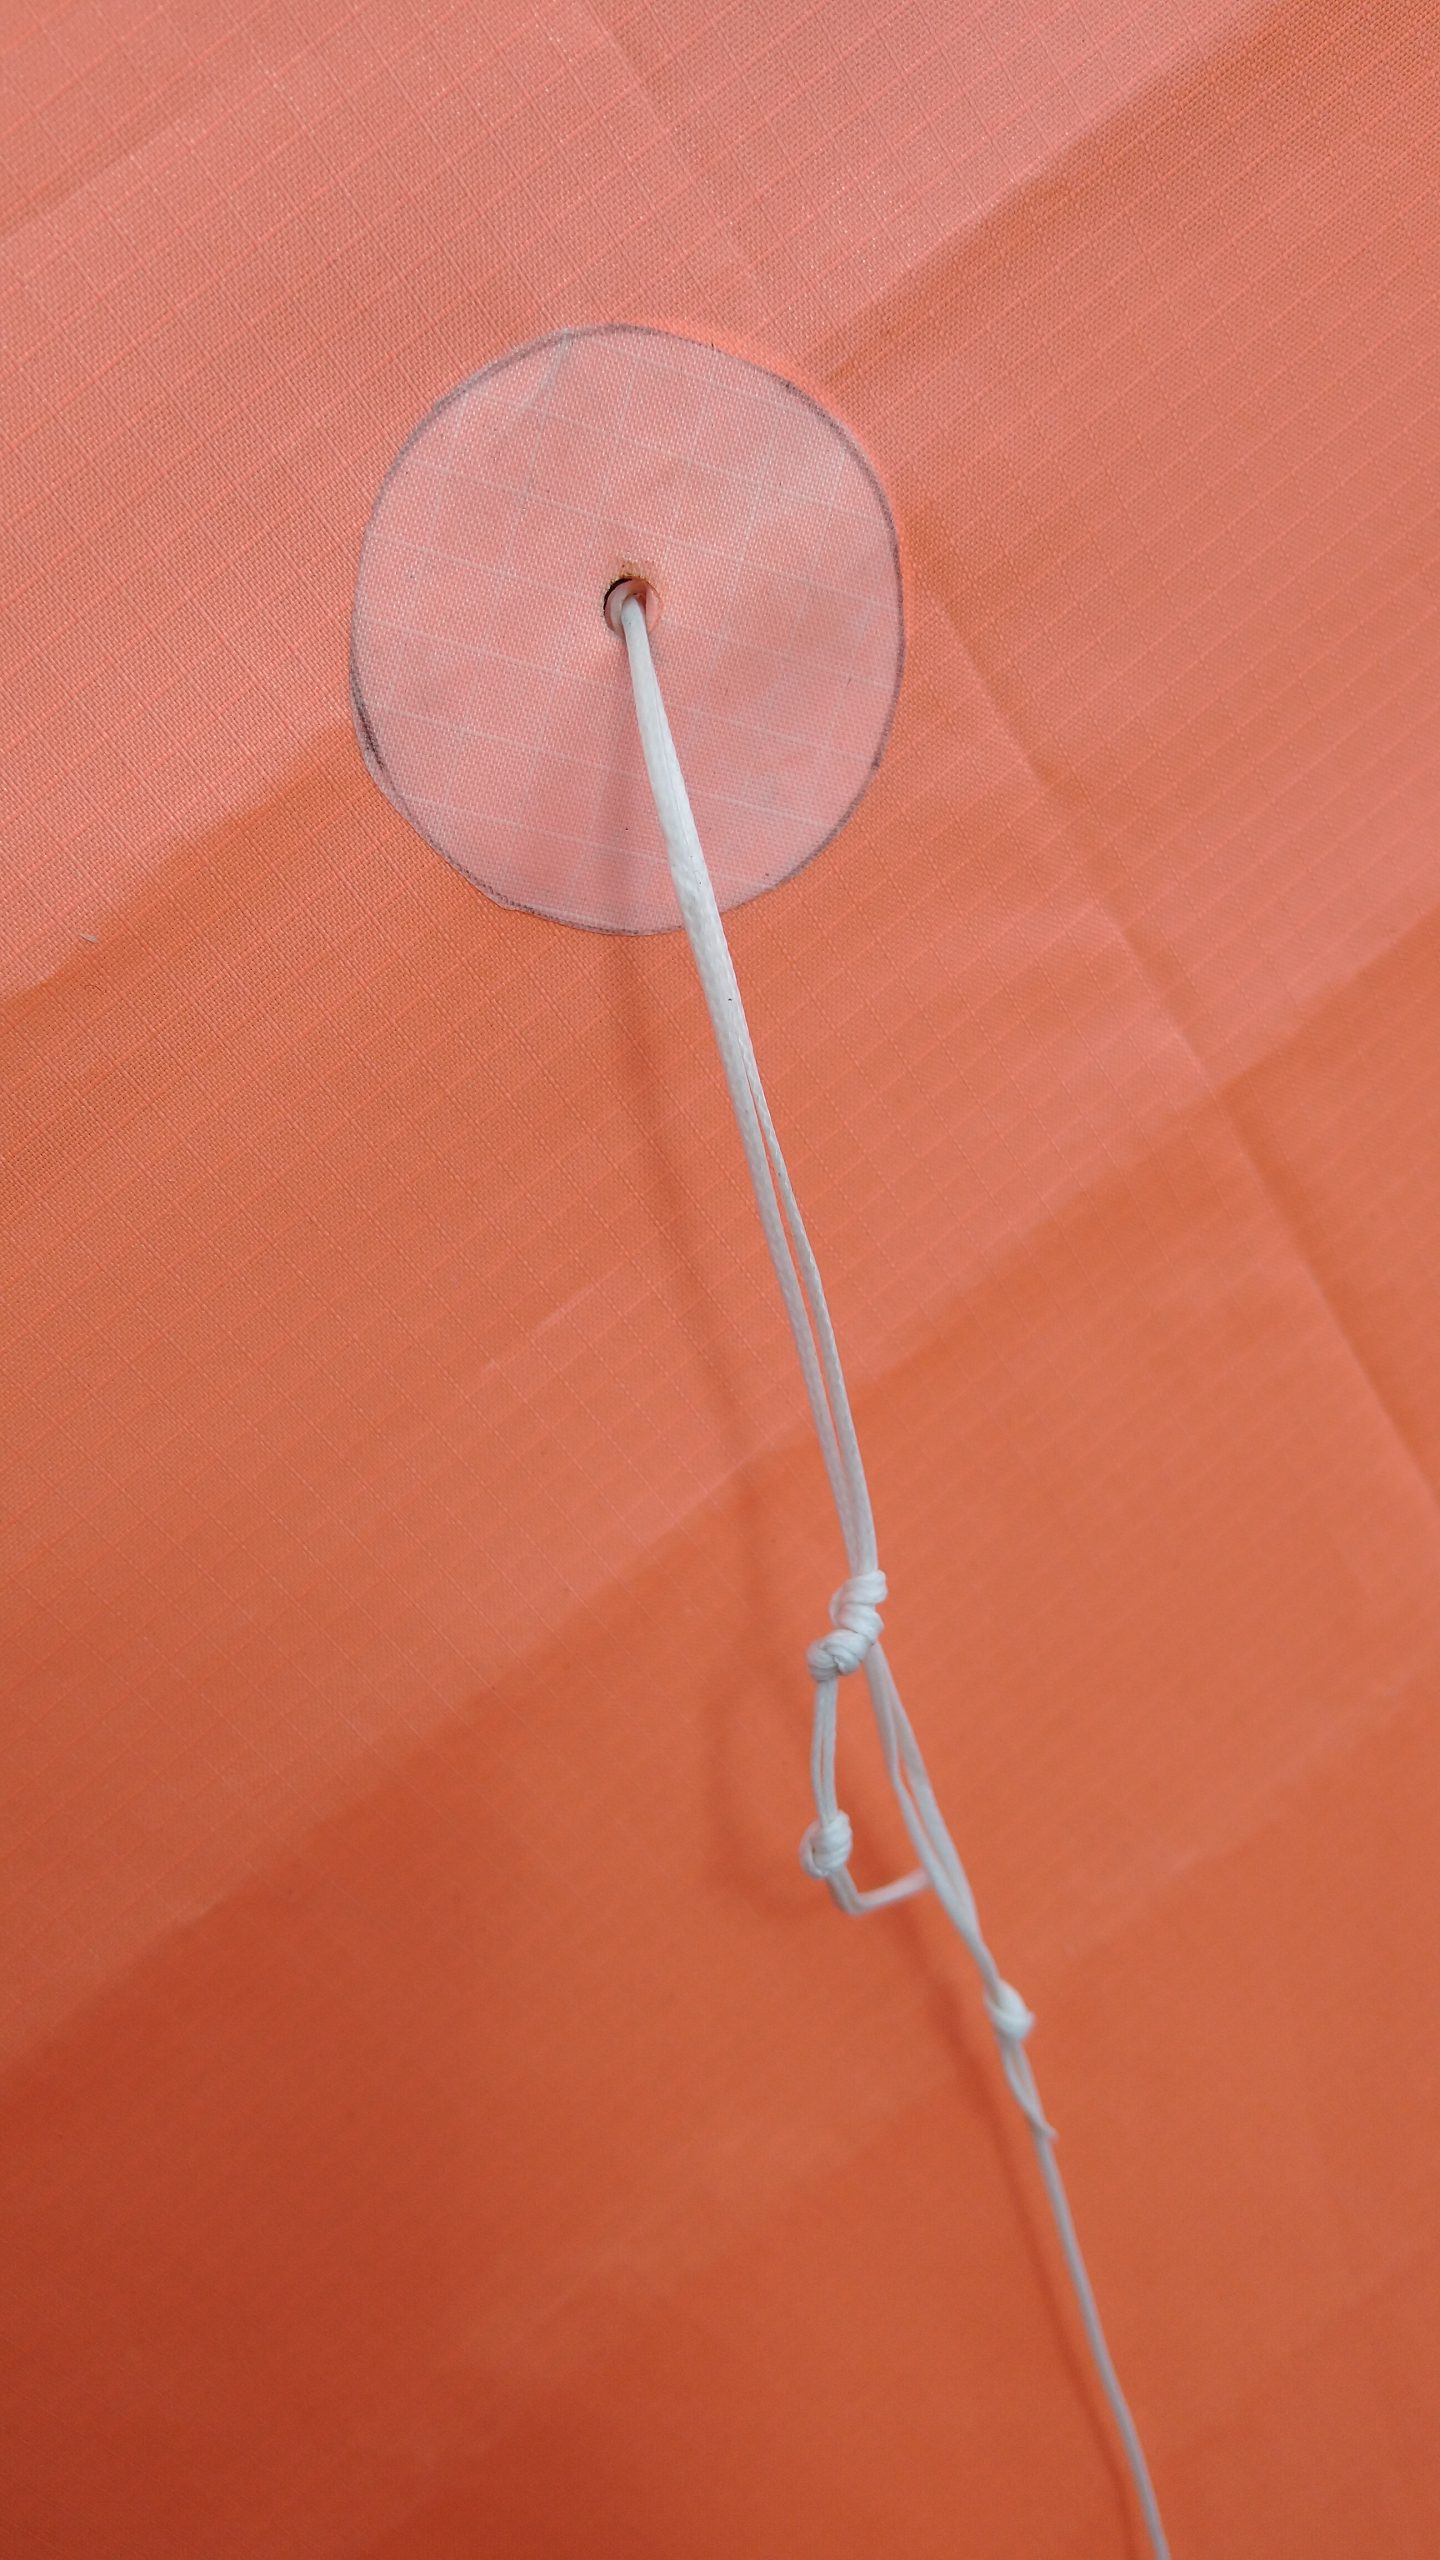
20 Photo of the back 
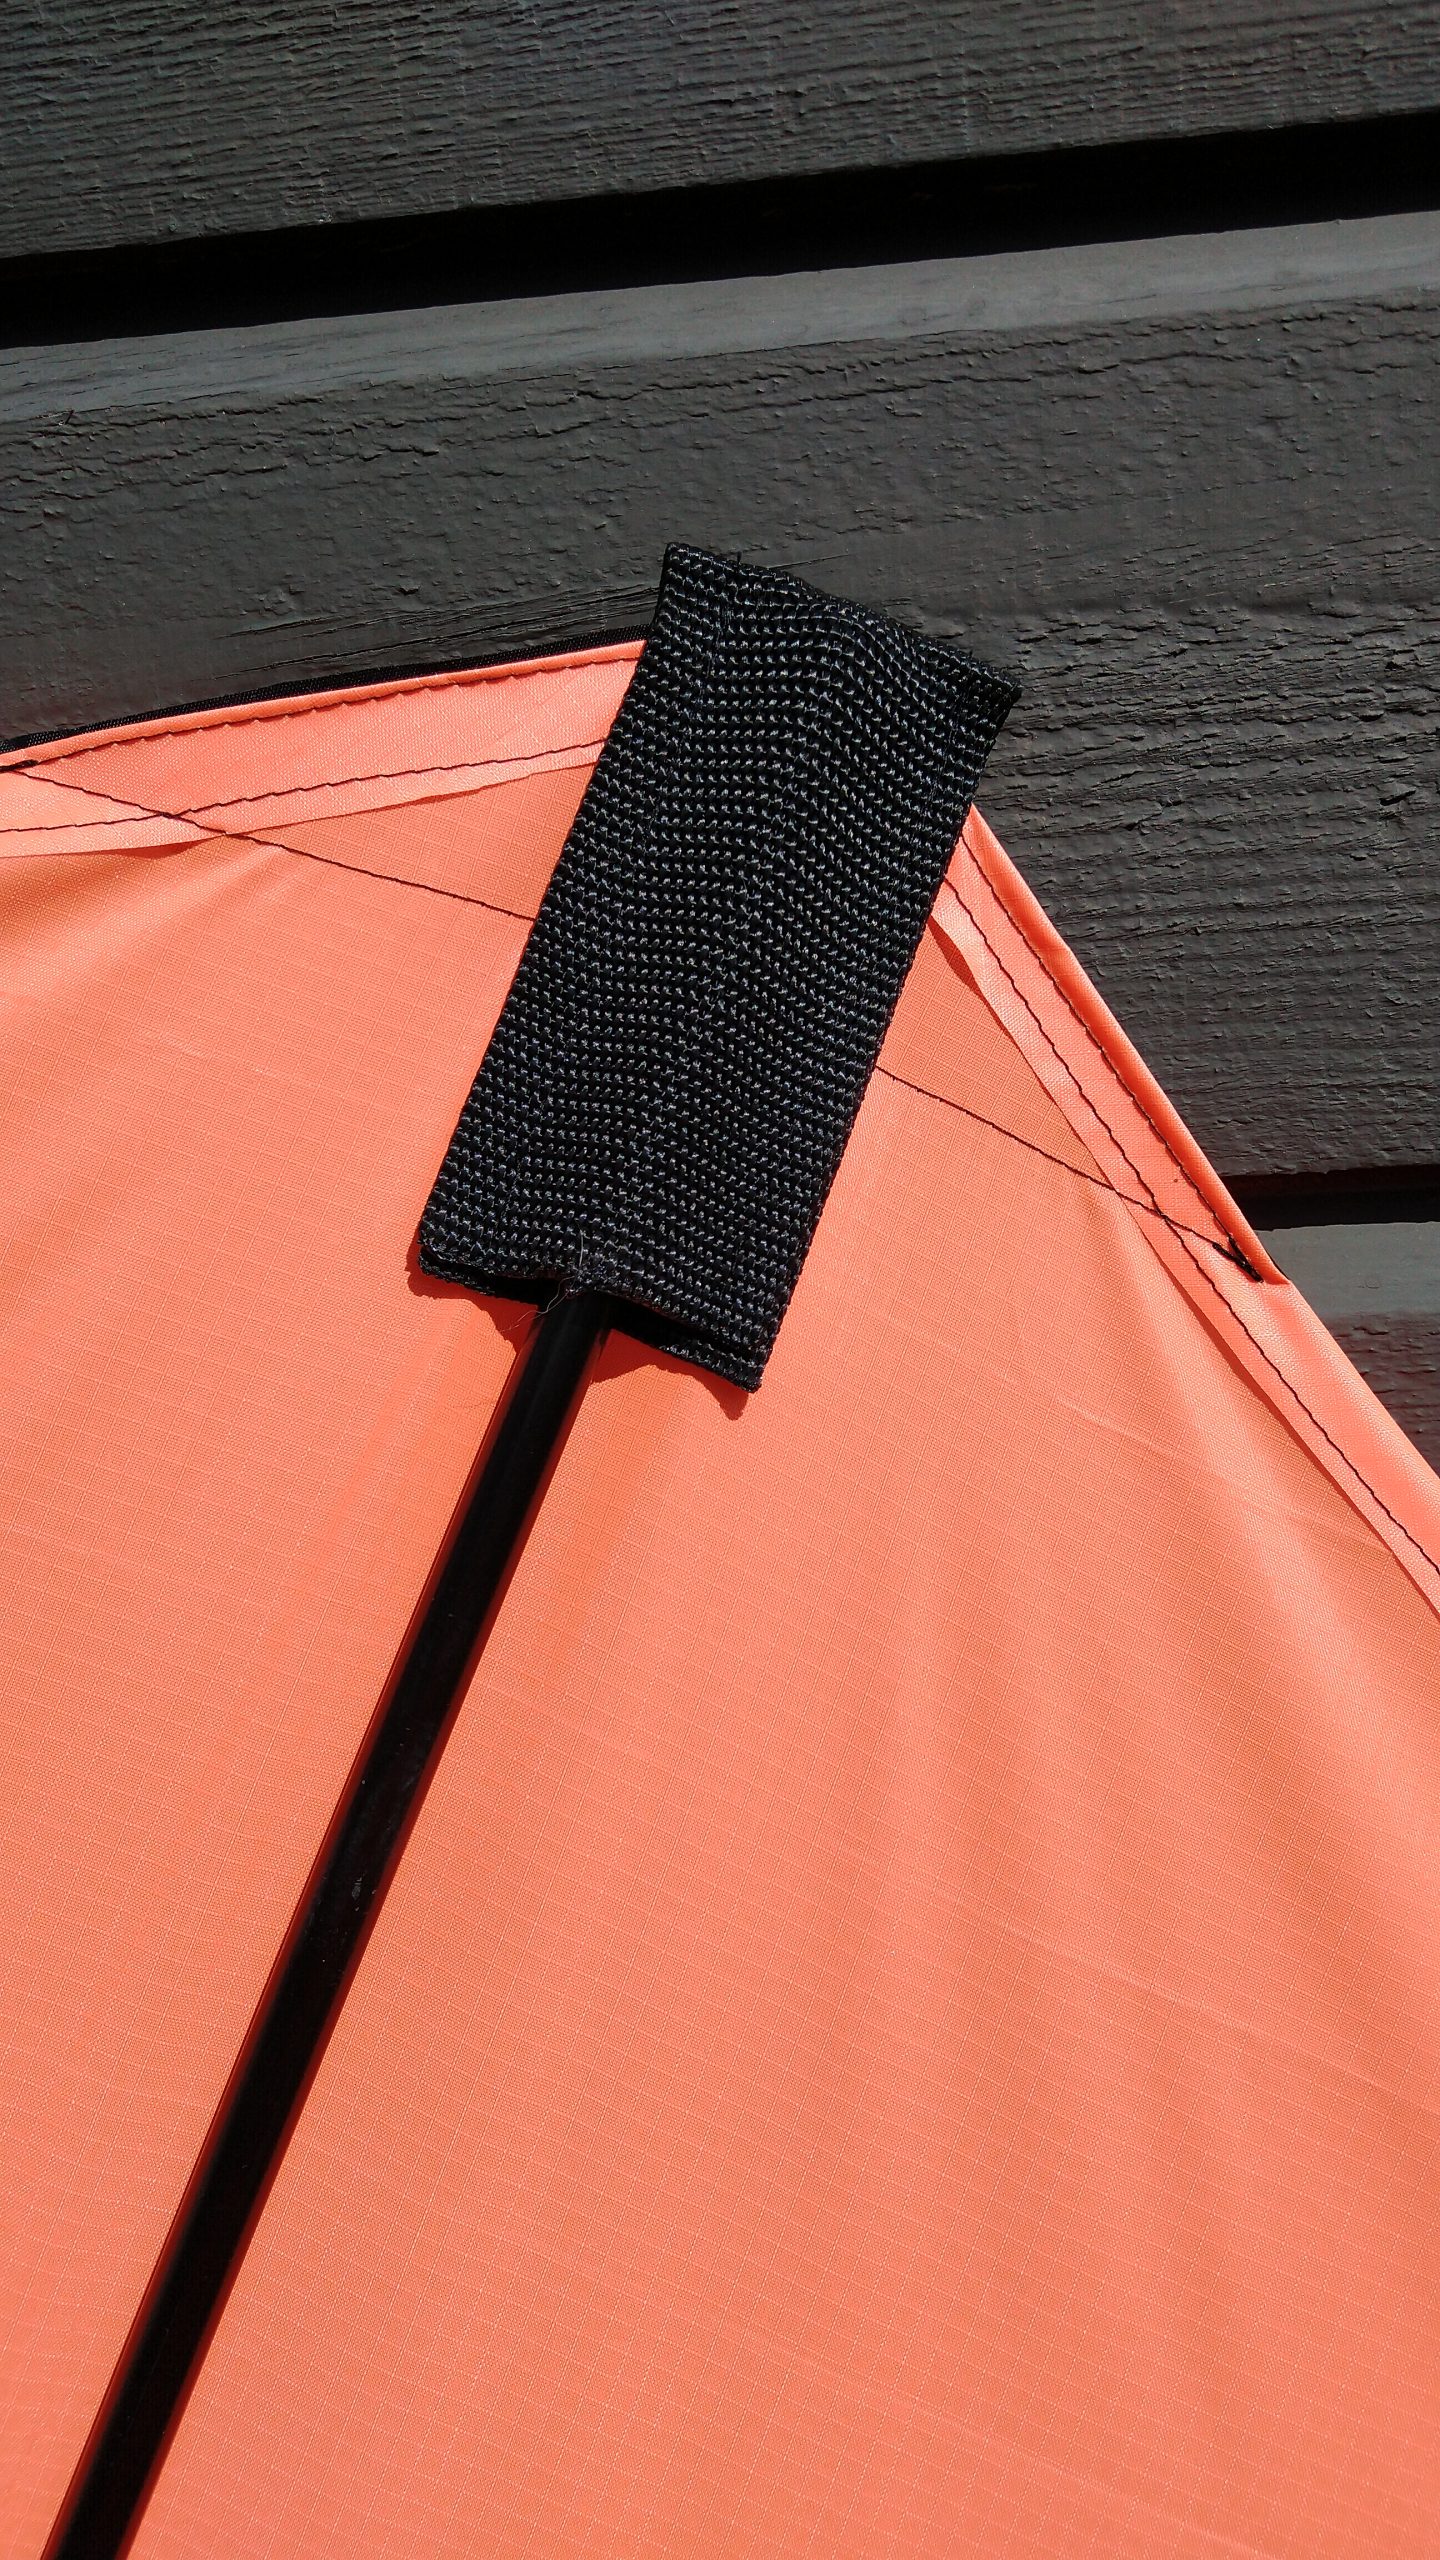
21 Upper spine pocket 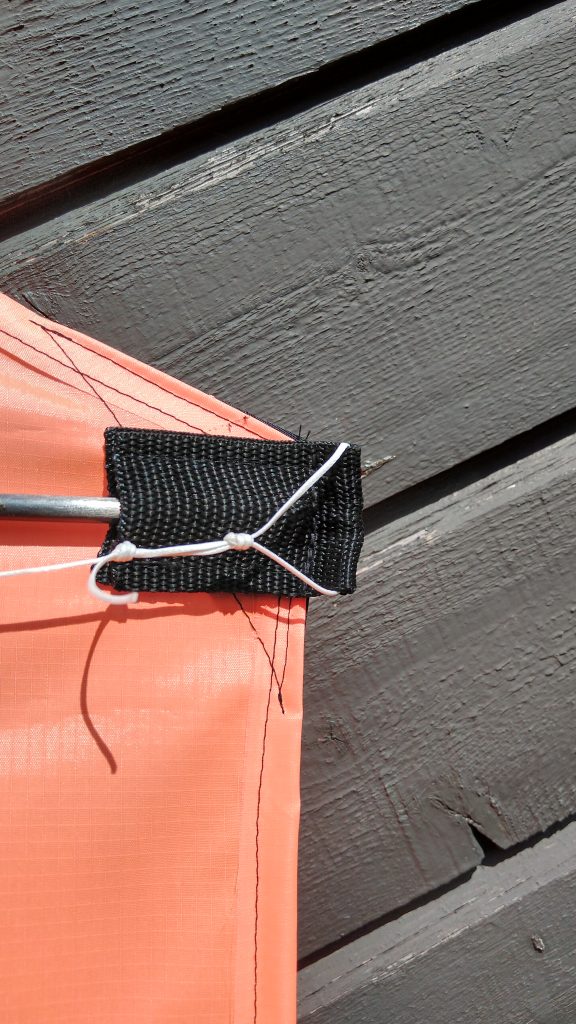
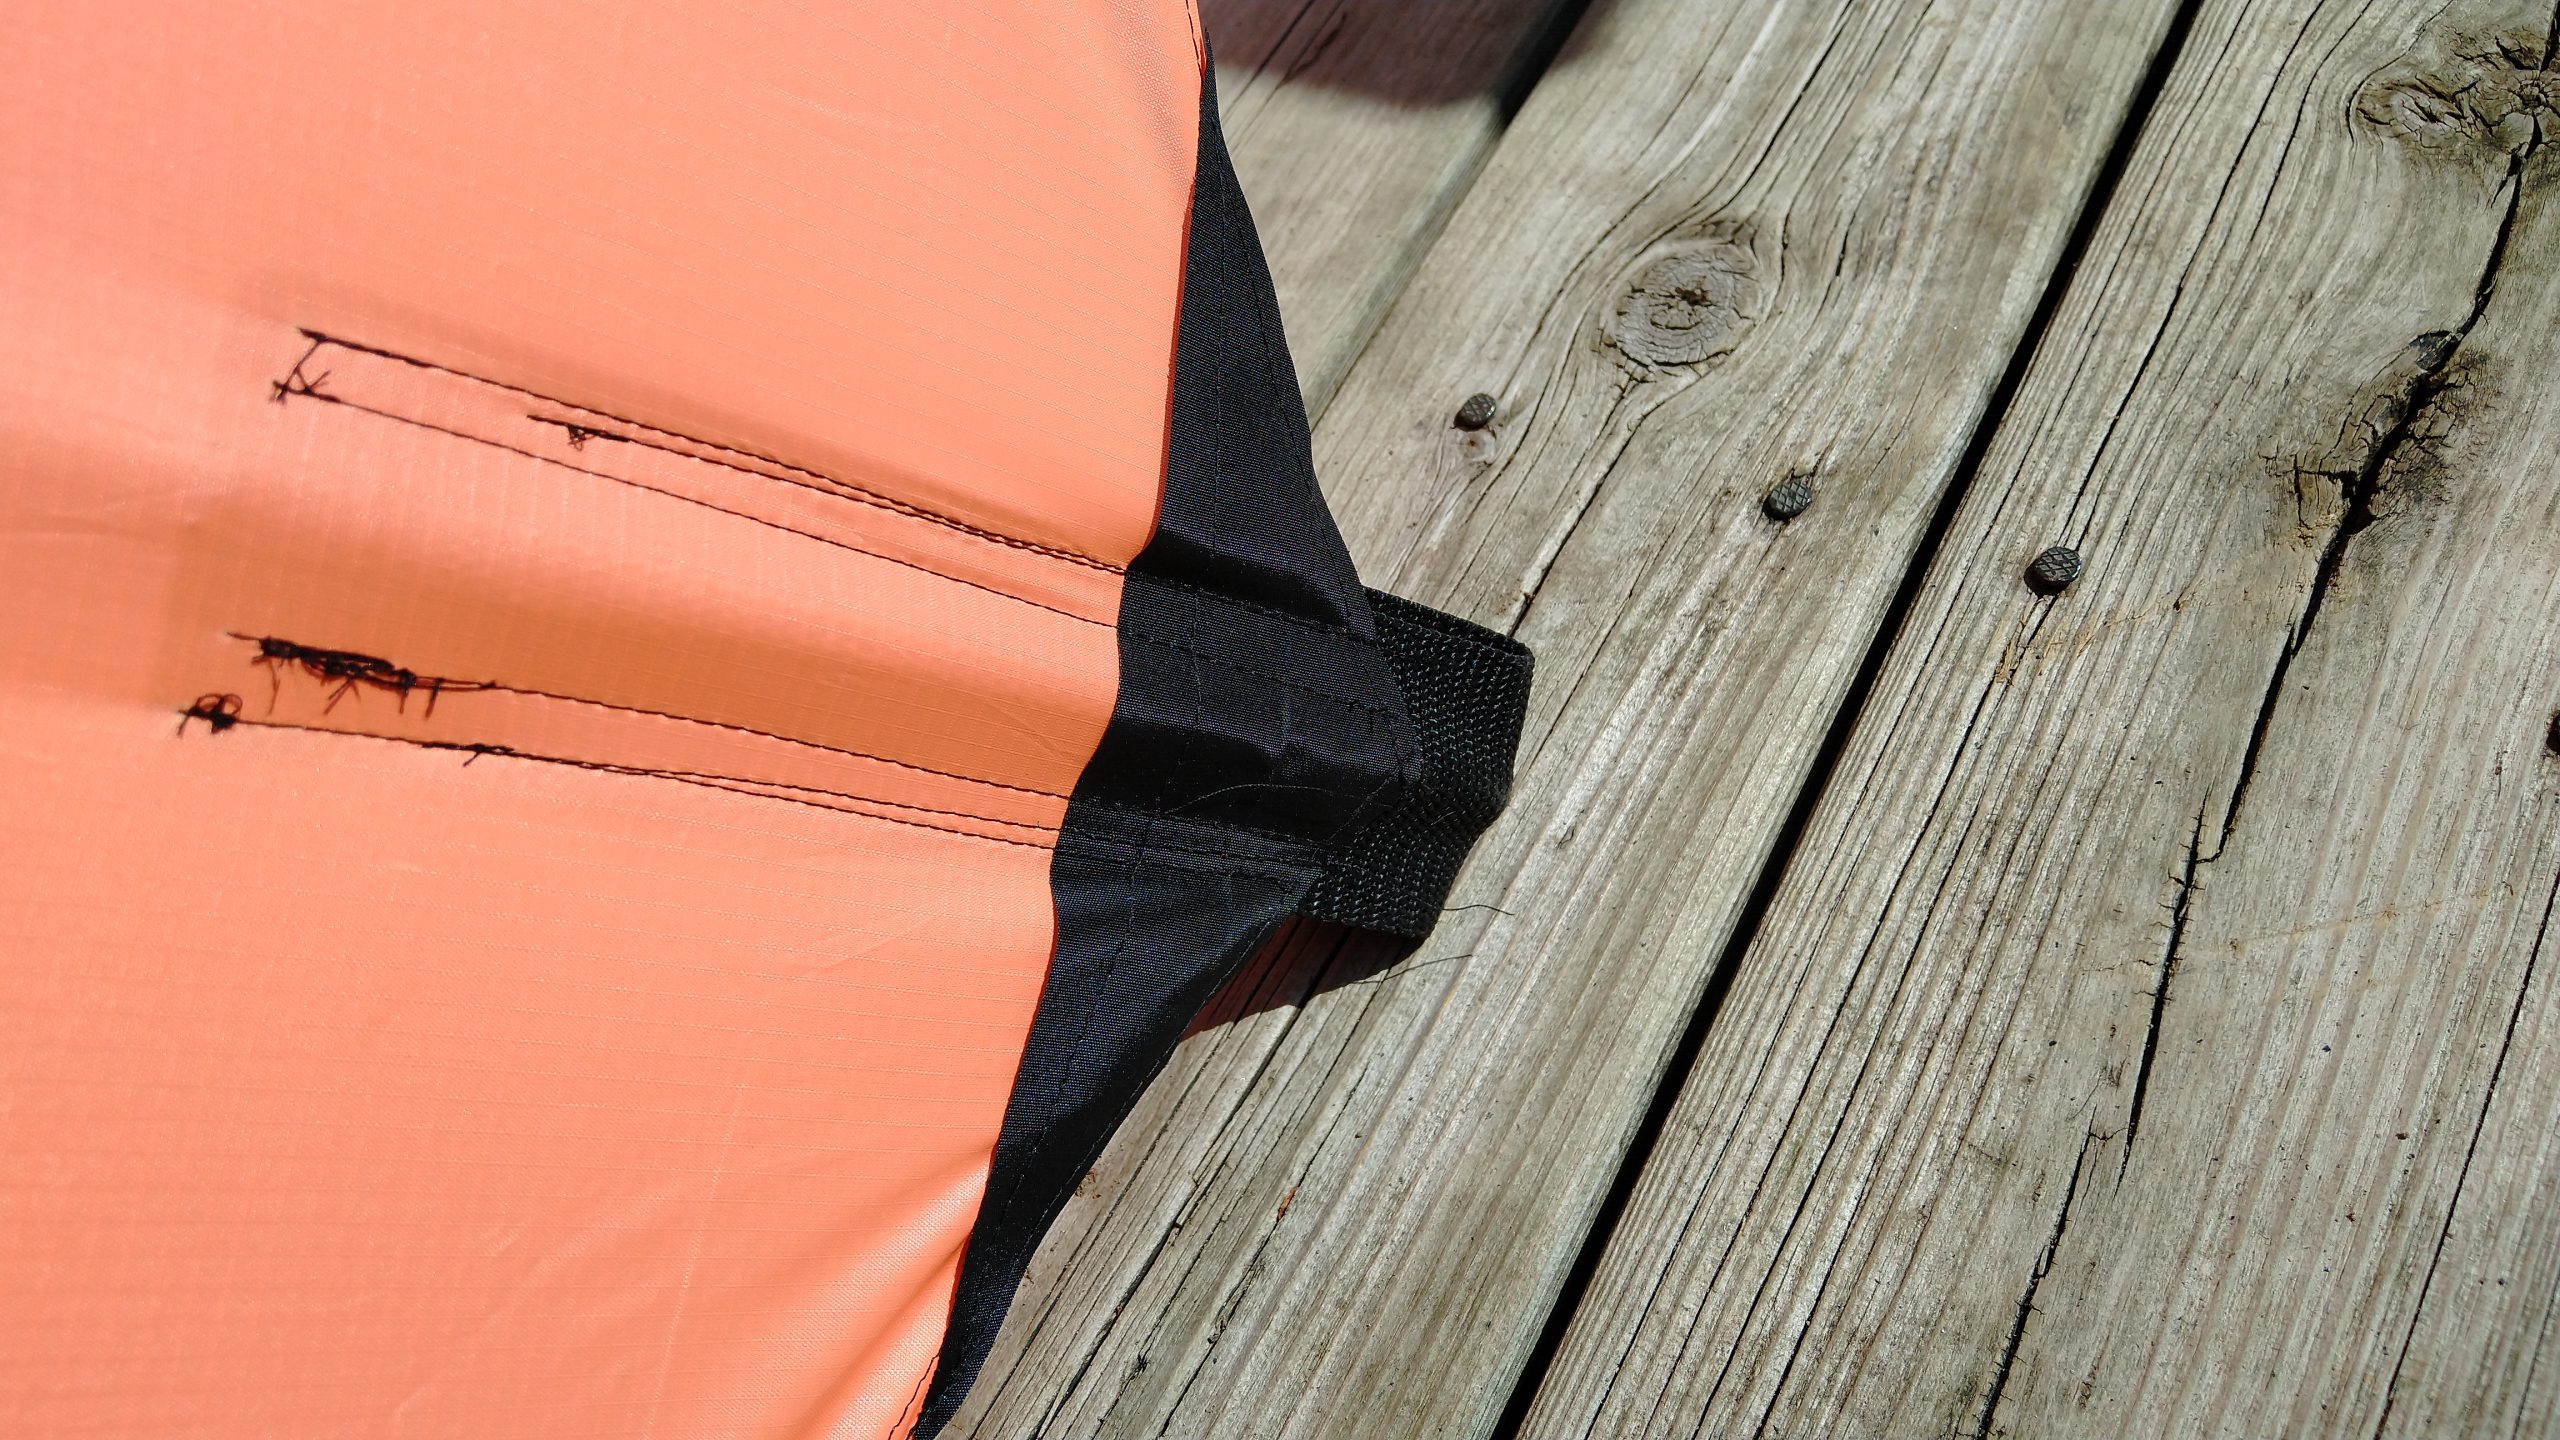
22 Corner pocket with bow line 
23 Top spine pocket 
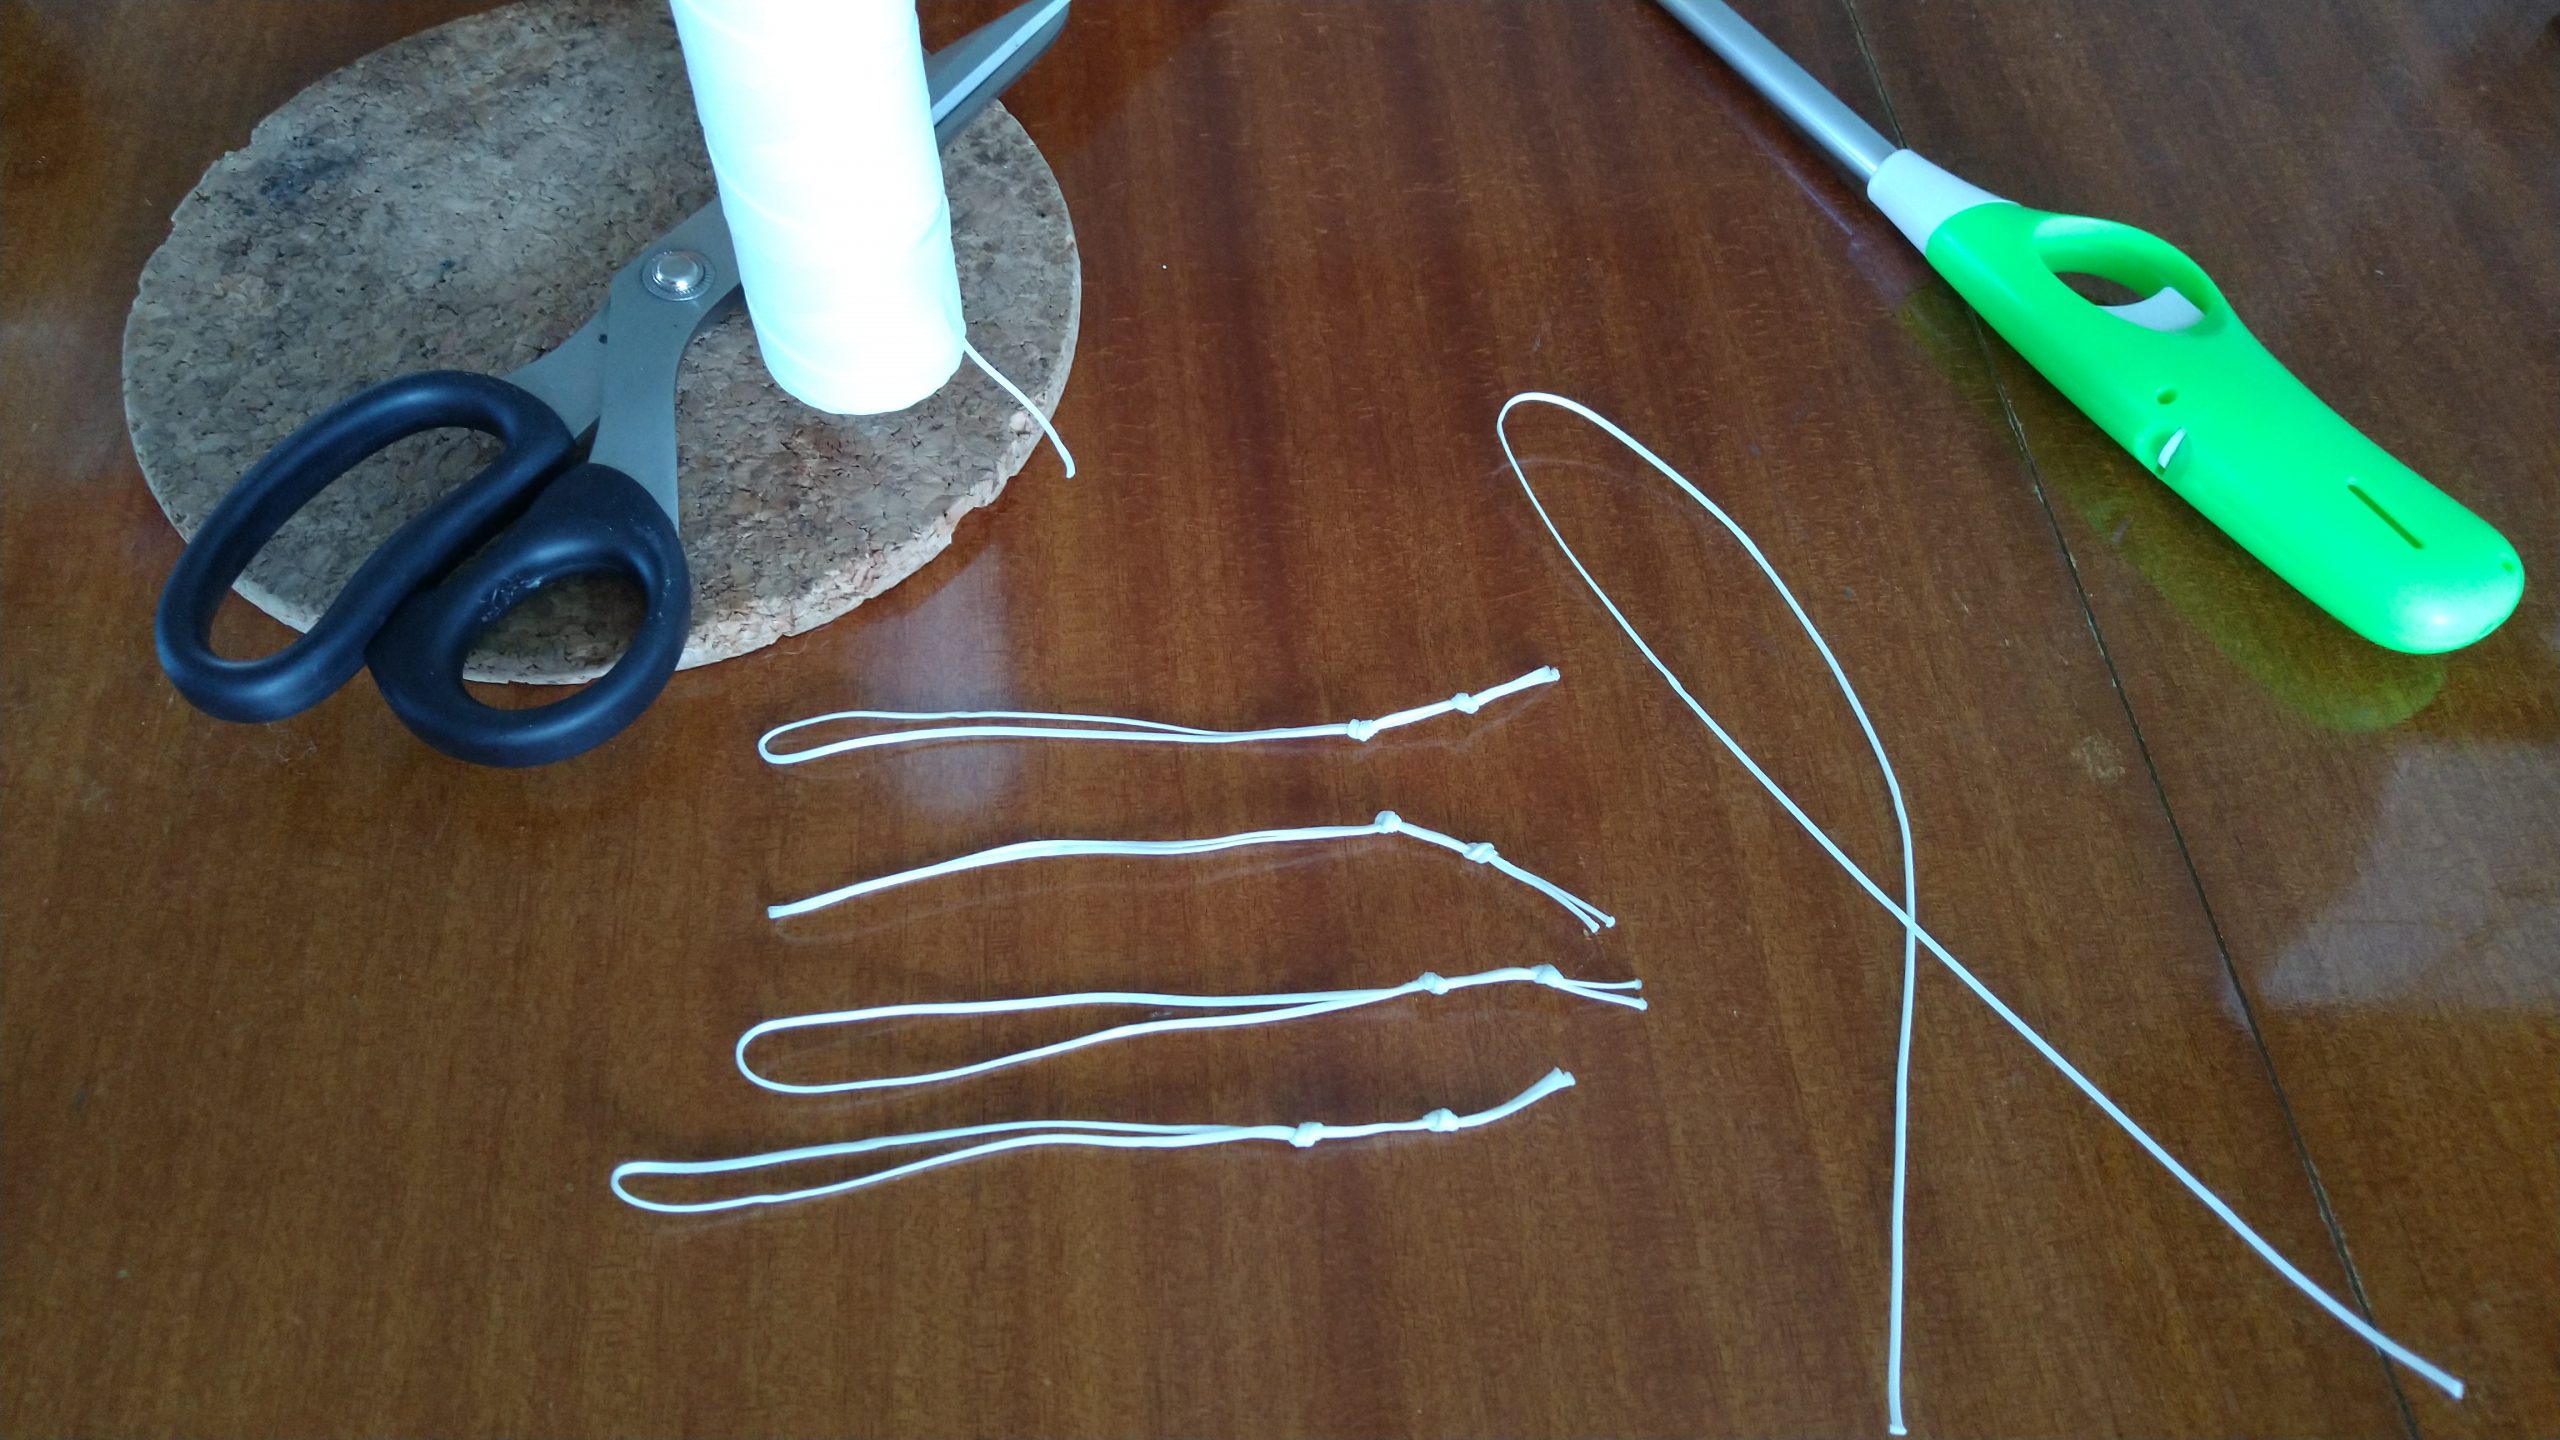
24 Bridle stuff 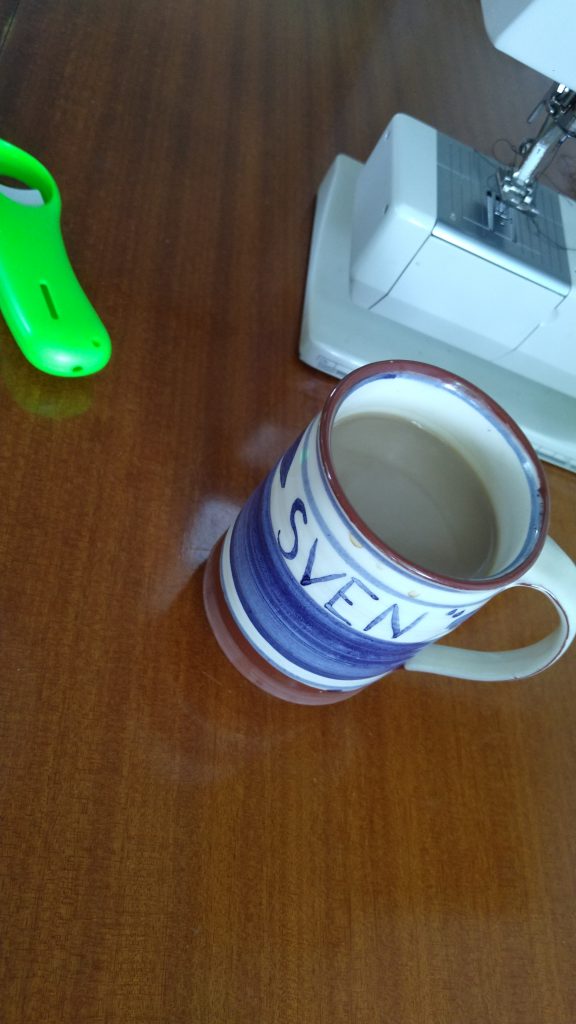
25 …and coffee!!! 
26 Adhesive ripstop tape 
27 Patched for reinforcement 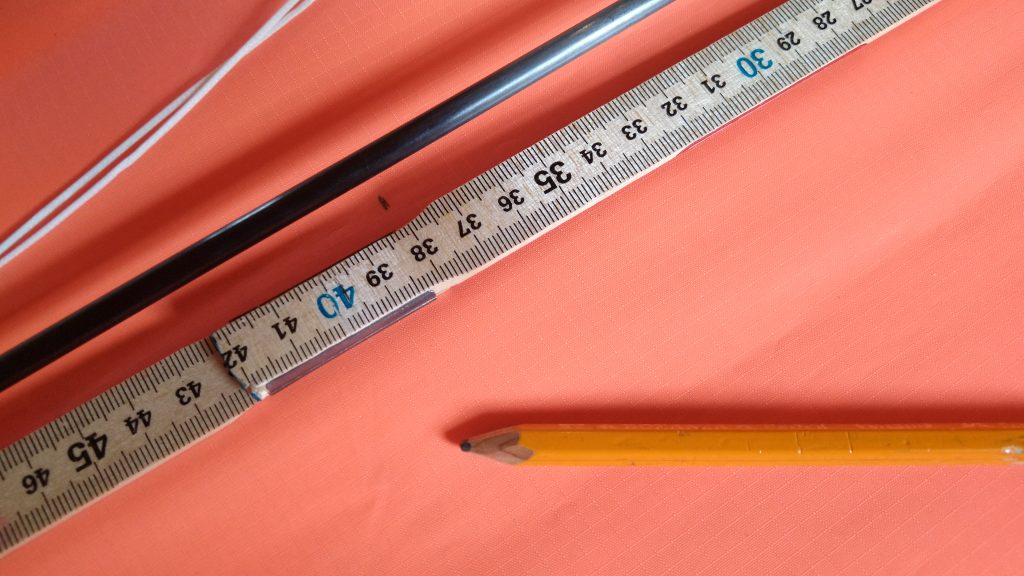
28 Bridle placing 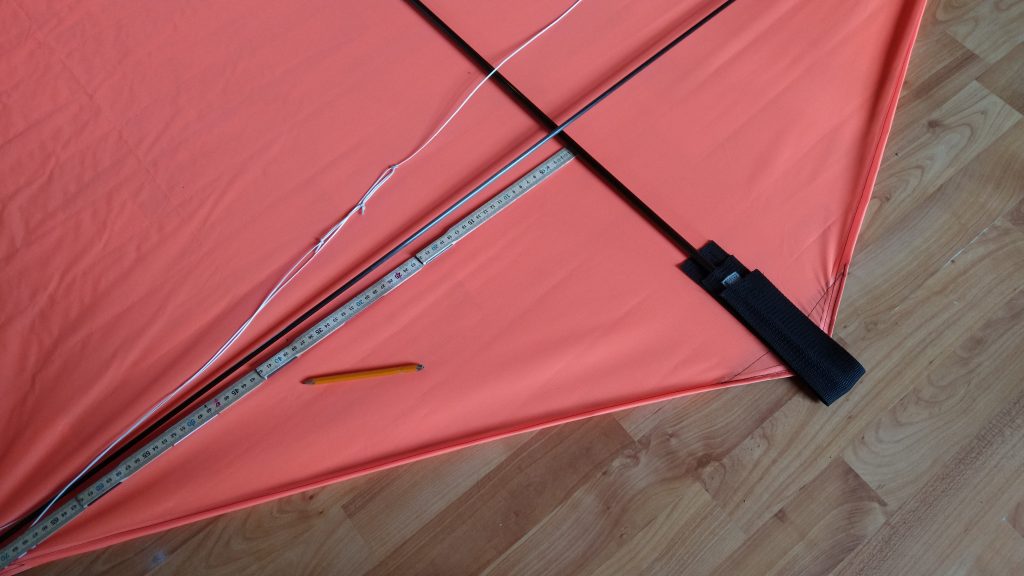
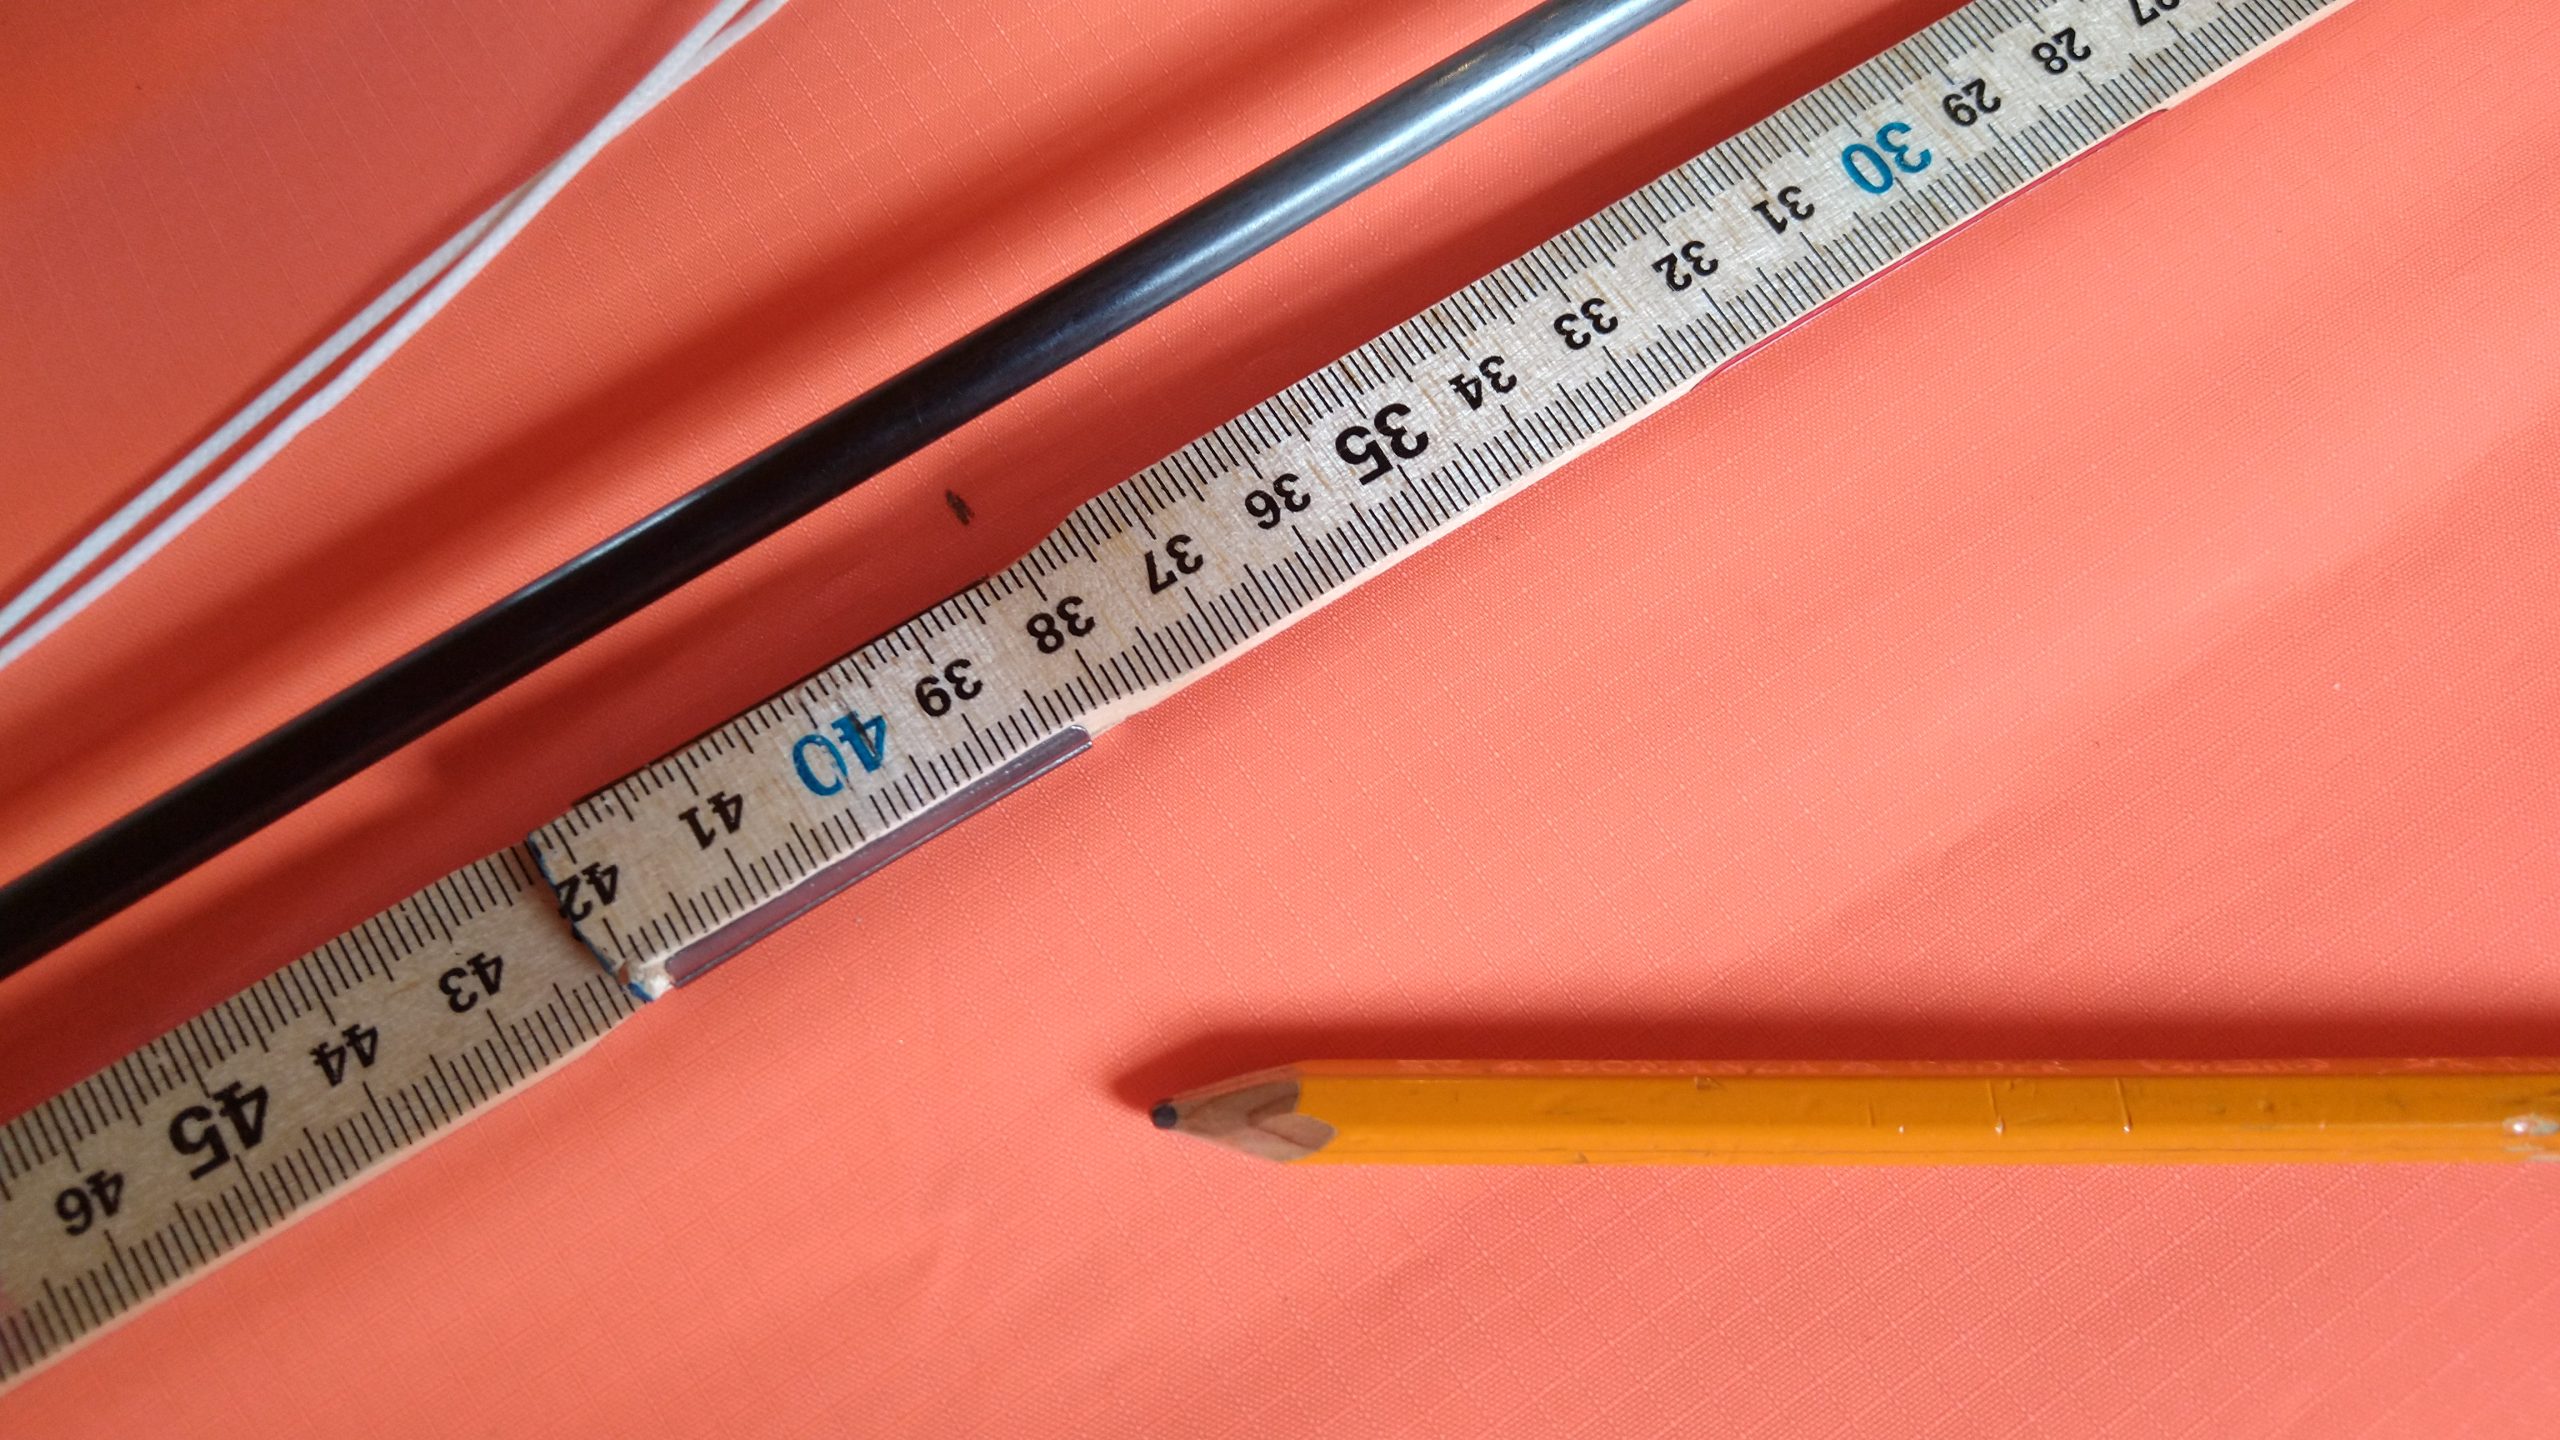
29 38cm from the spine 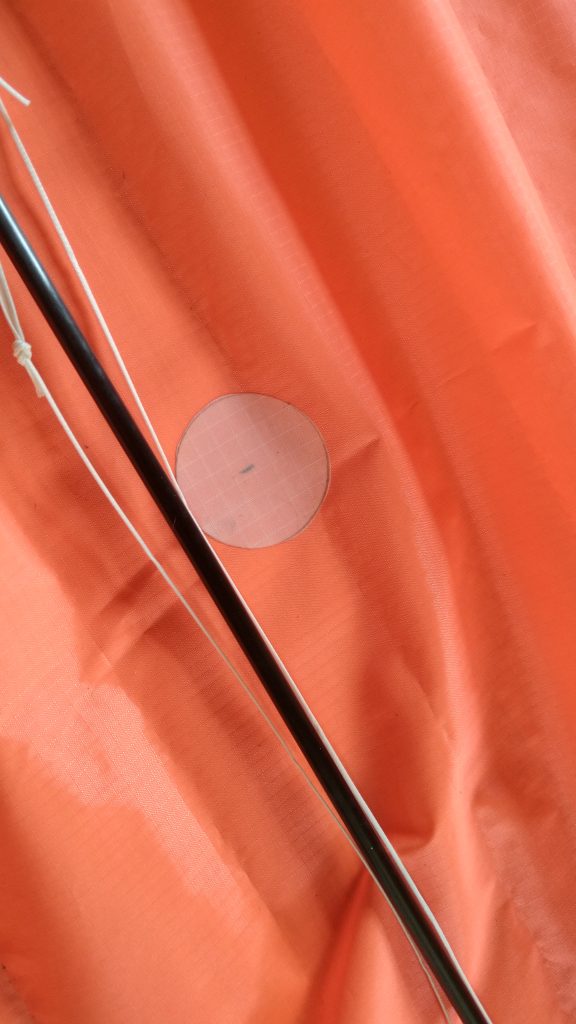
30 Just about here 
31 Now only the bridle is missing 
32 The bow lines… 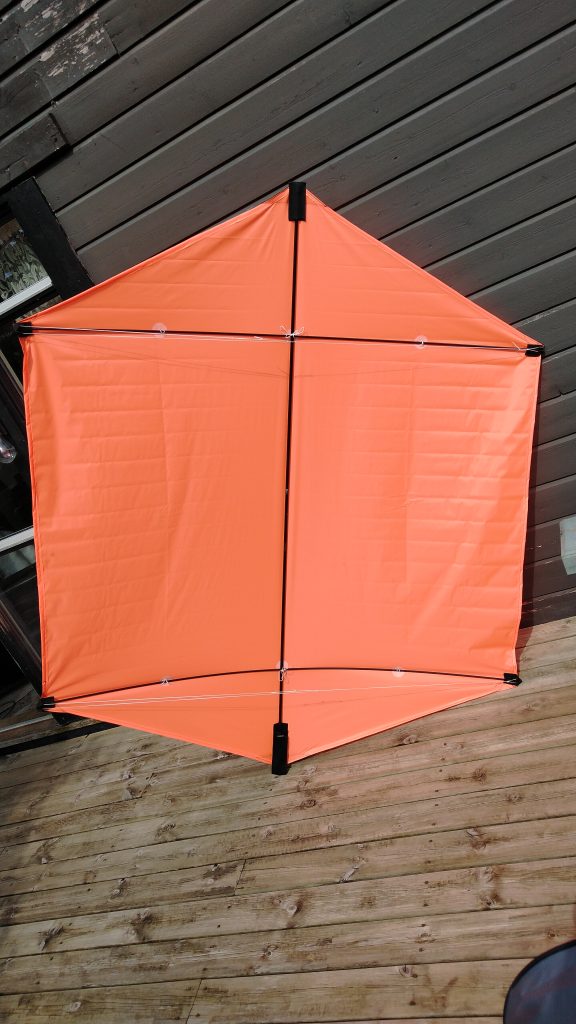
33 …are doing the job 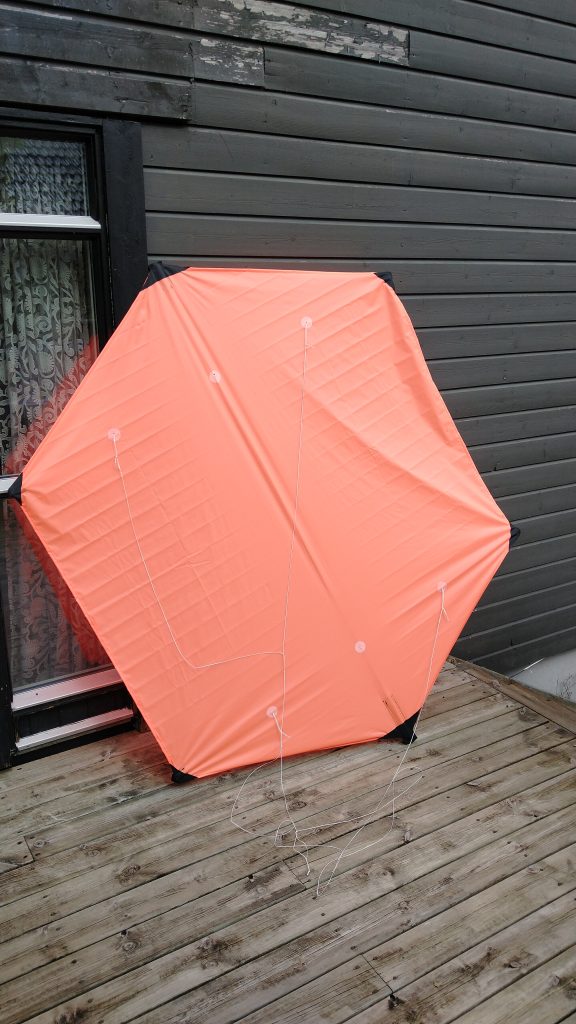
34 Fynally bridled 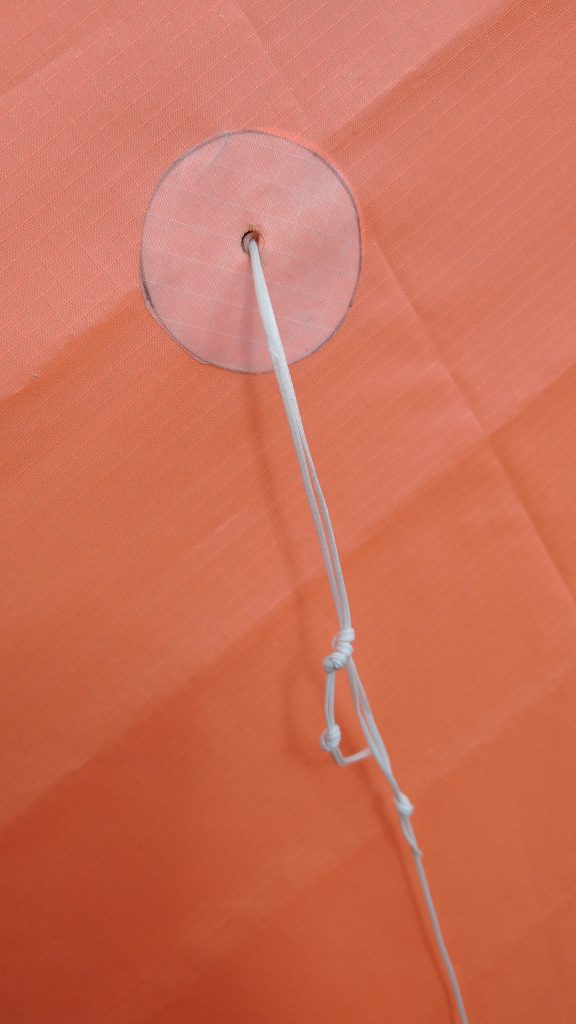
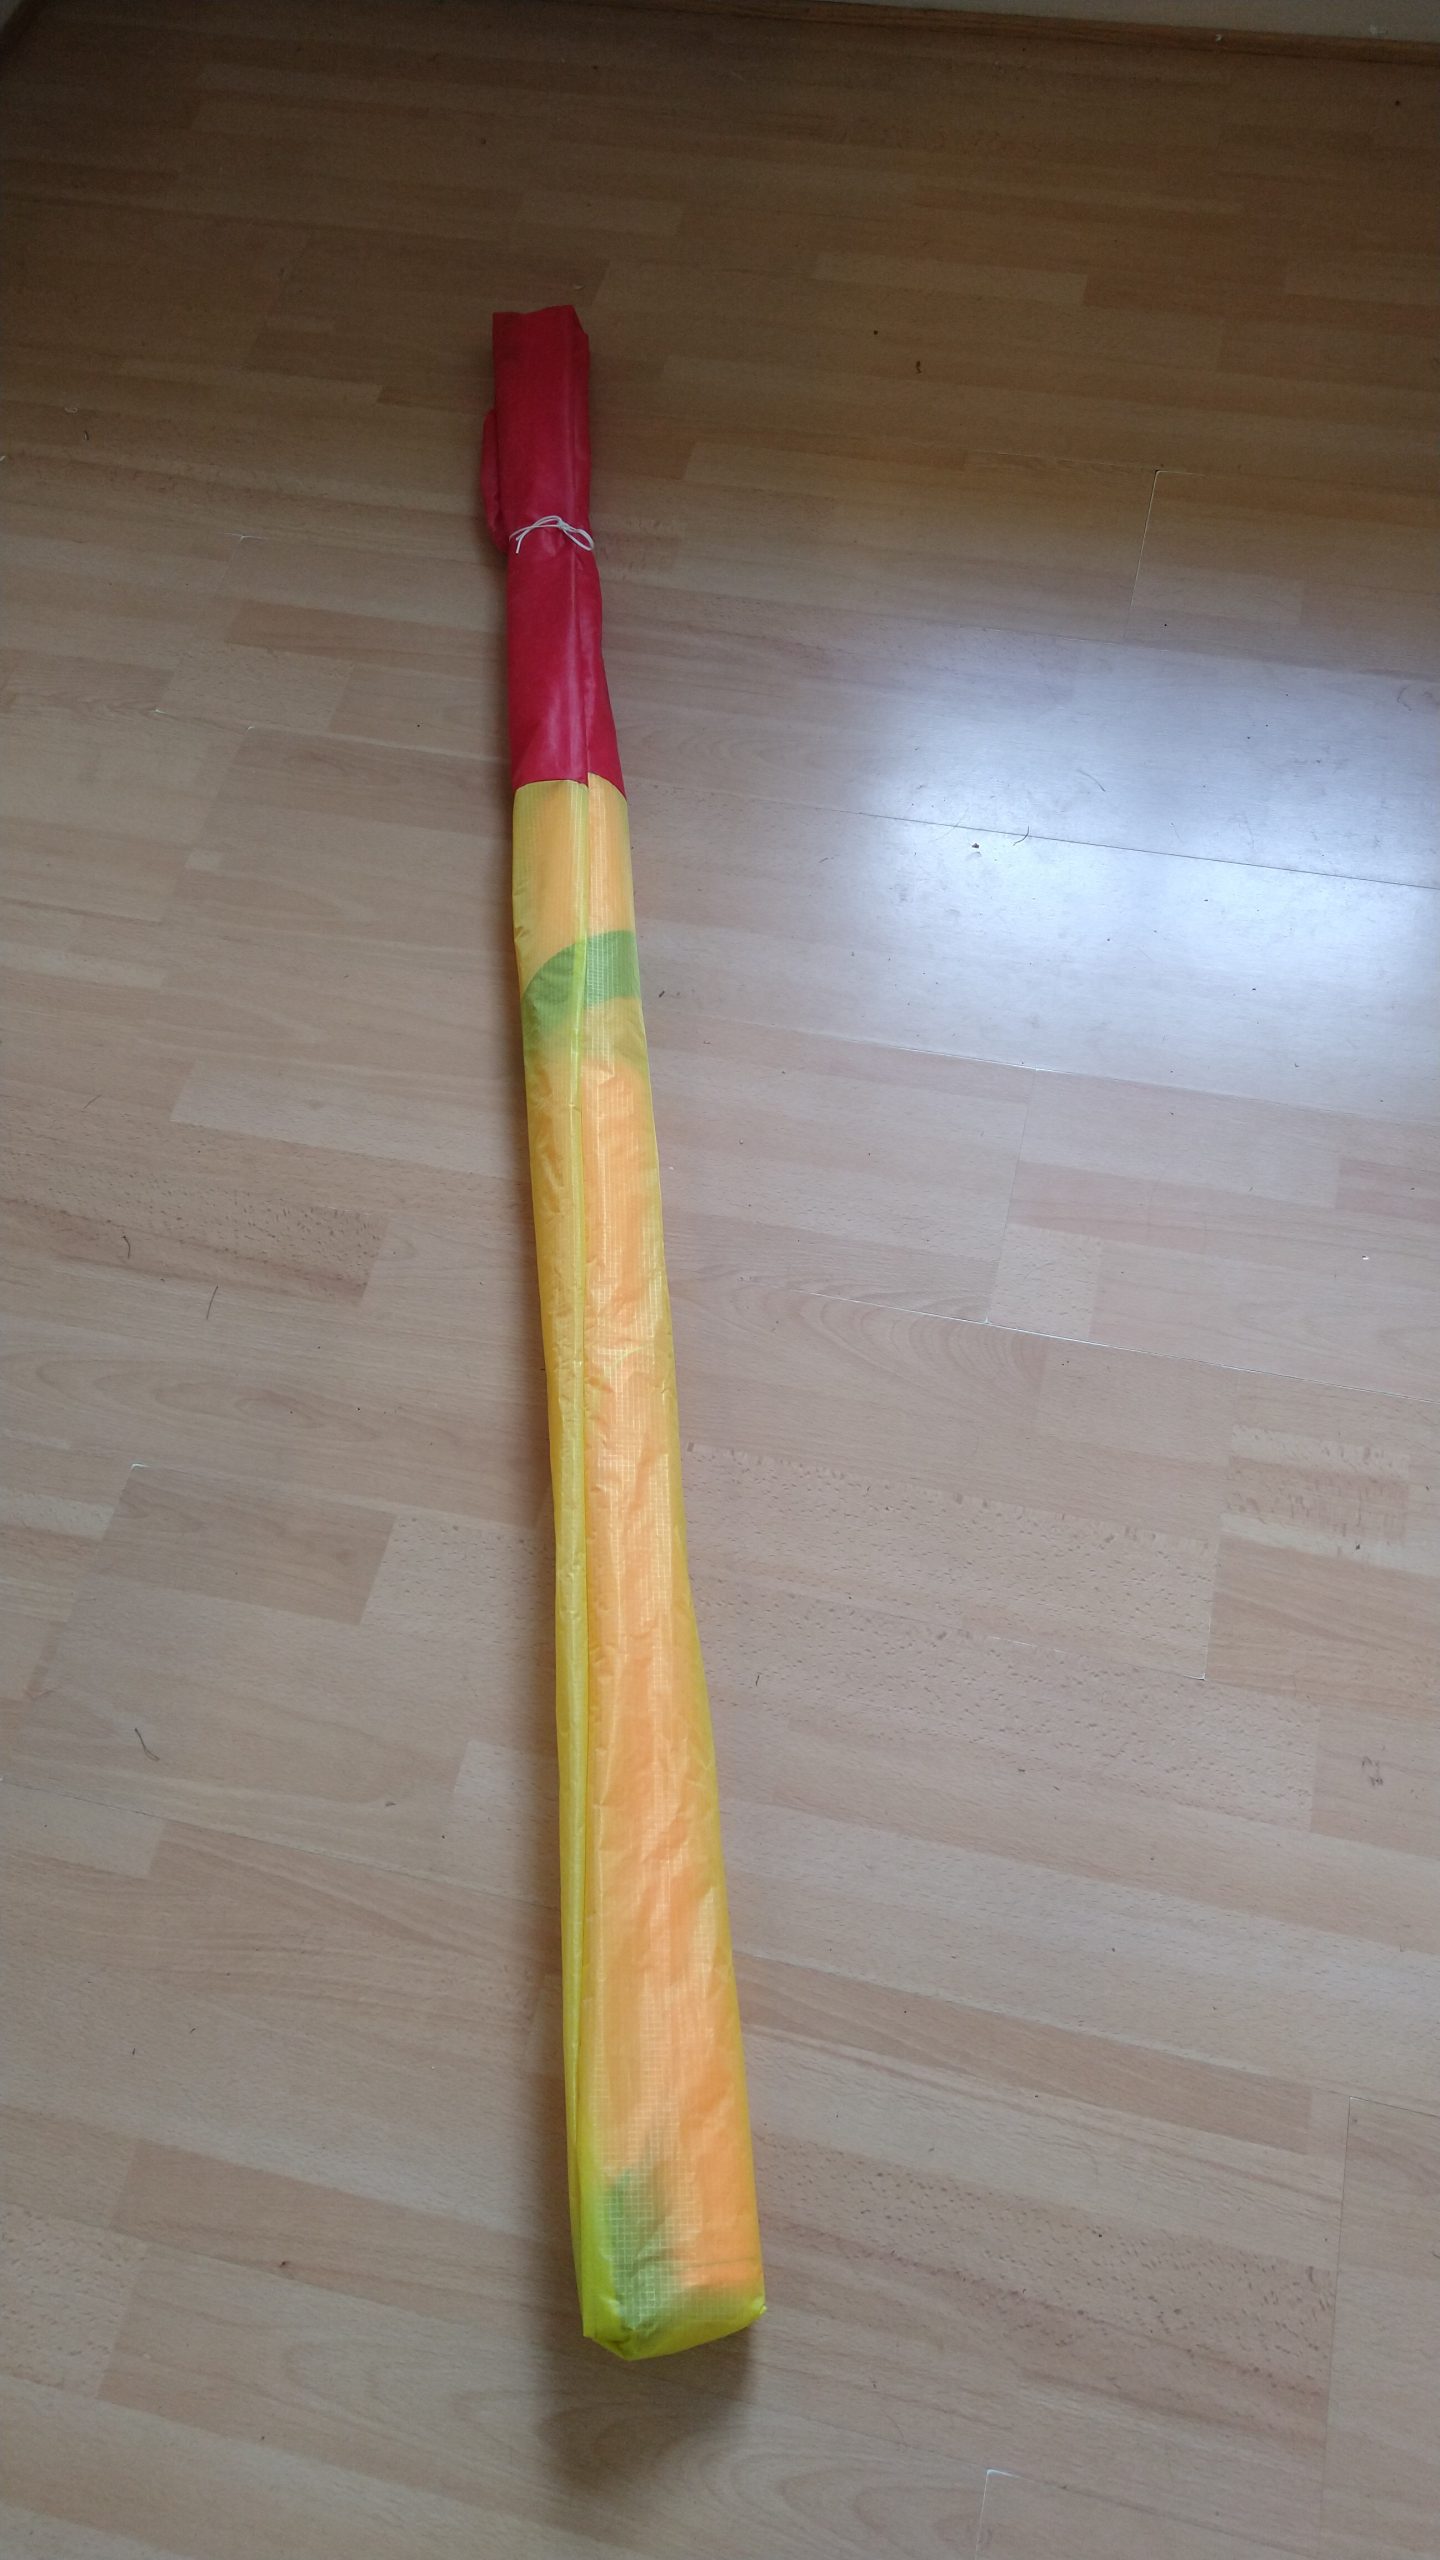
35 Bridle close up 
36 Ready to fly! 
37 …and off course I made a bag