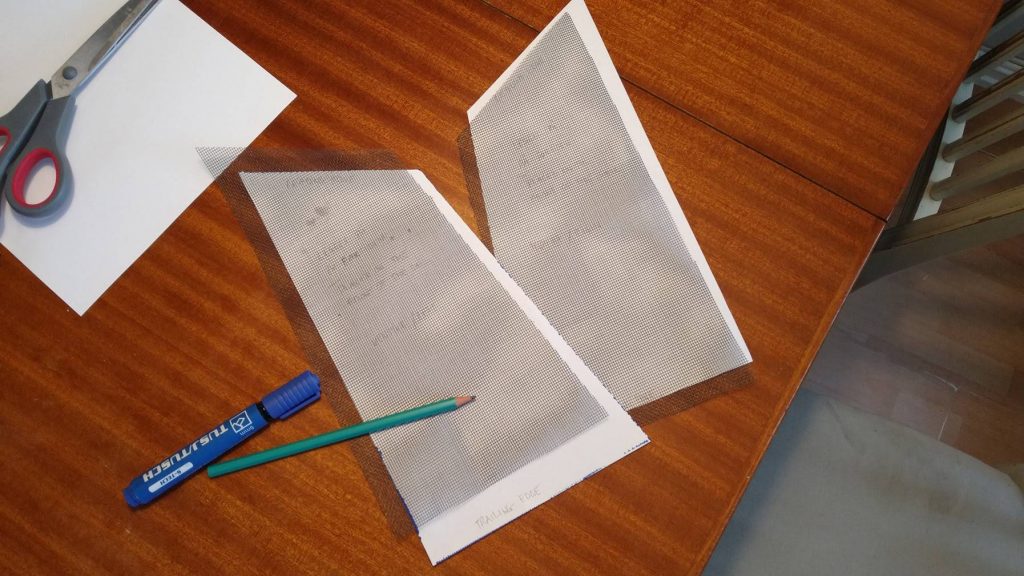
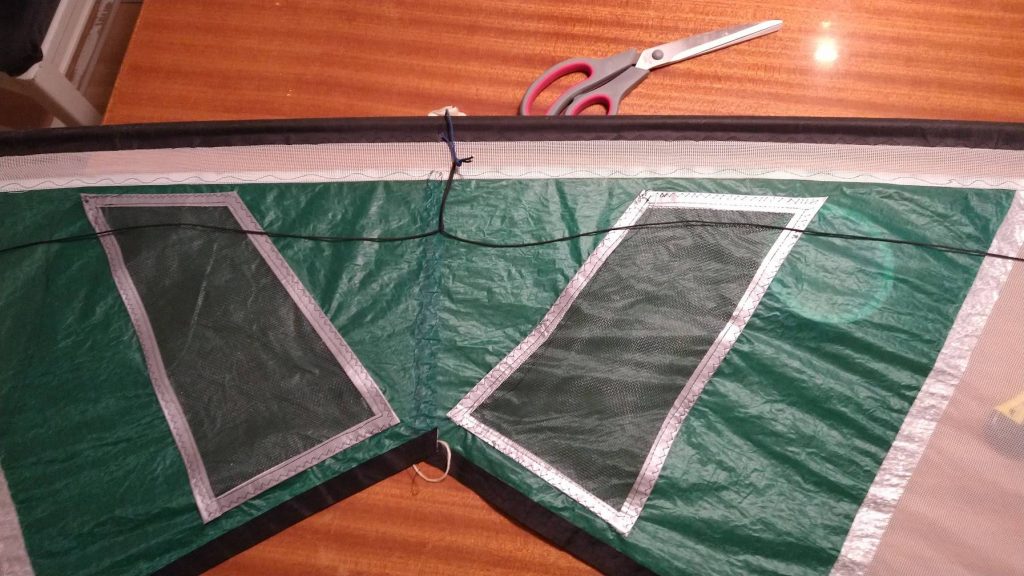
So I decided to add extra vented panels to an already full vented quad kite of mine. So I asked Anders M. where to put the panels and what they should look like. Based on his feedback I got started and the first item on my to-do list was to create the templates for the panels.
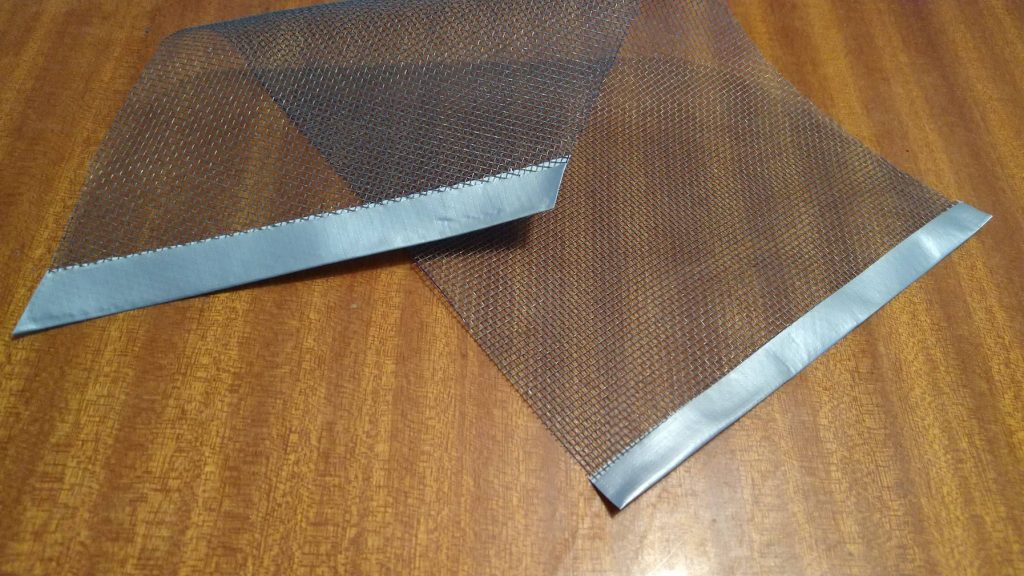
The next step was to cut out the pieces of mesh based on the templates and finally hemming the mesh panels.
Just like in the photos below. (Click for larger images.)
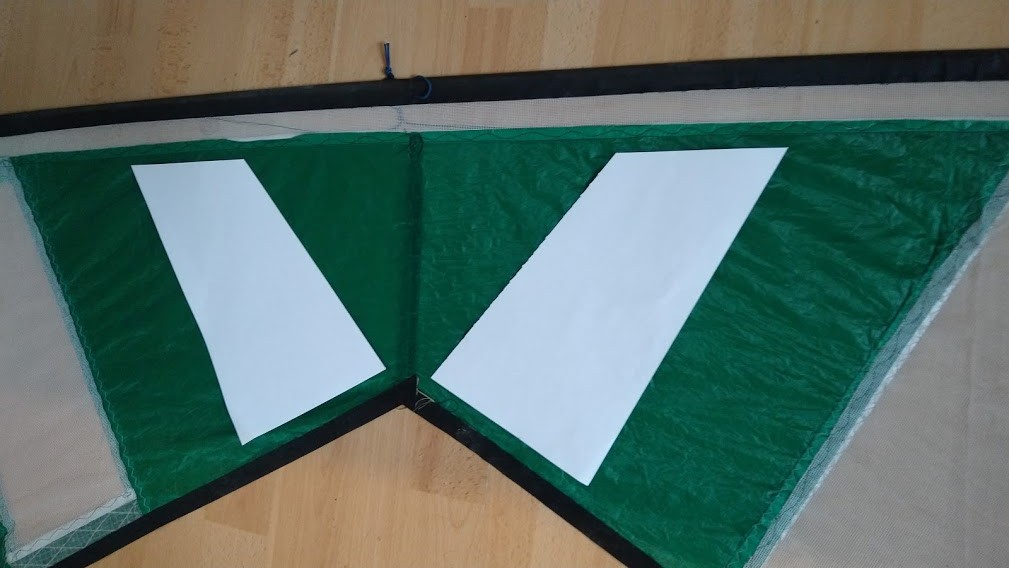
After some more work, I had completed the hemming of both mesh panels and I was ready to place them on the front side of the kite. Just like in the middle photo below.
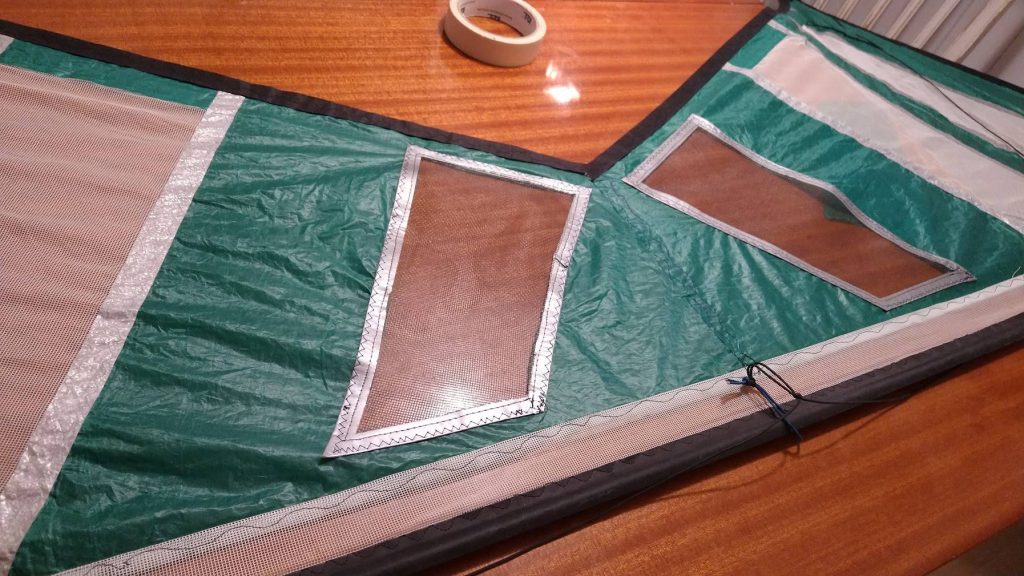
In the third photo, you can see one of the panels attached to the kite by using painters tape. Hopefully enough to secure the panel in its correct position while sewing.
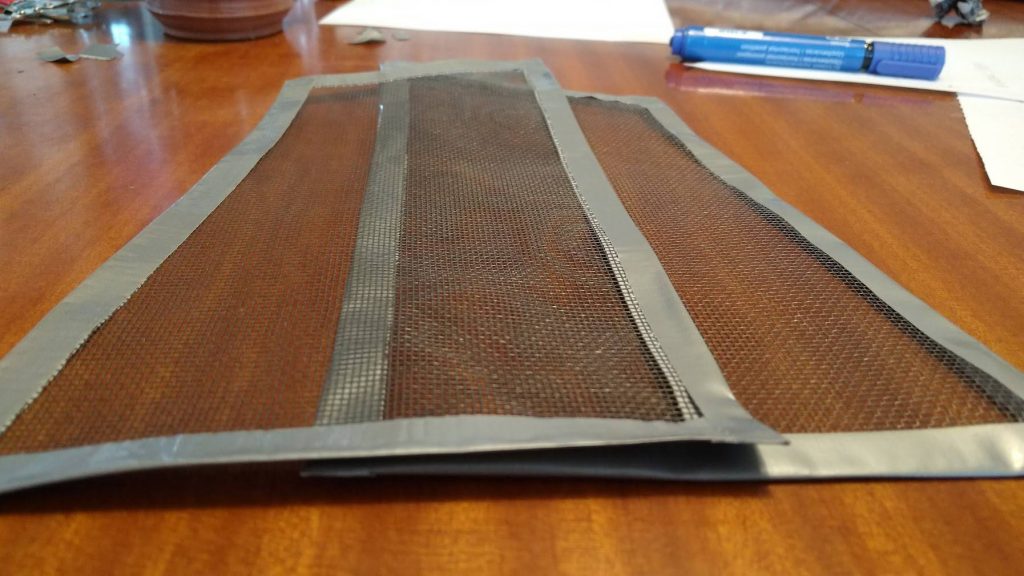
Both mesh panels are hemmed 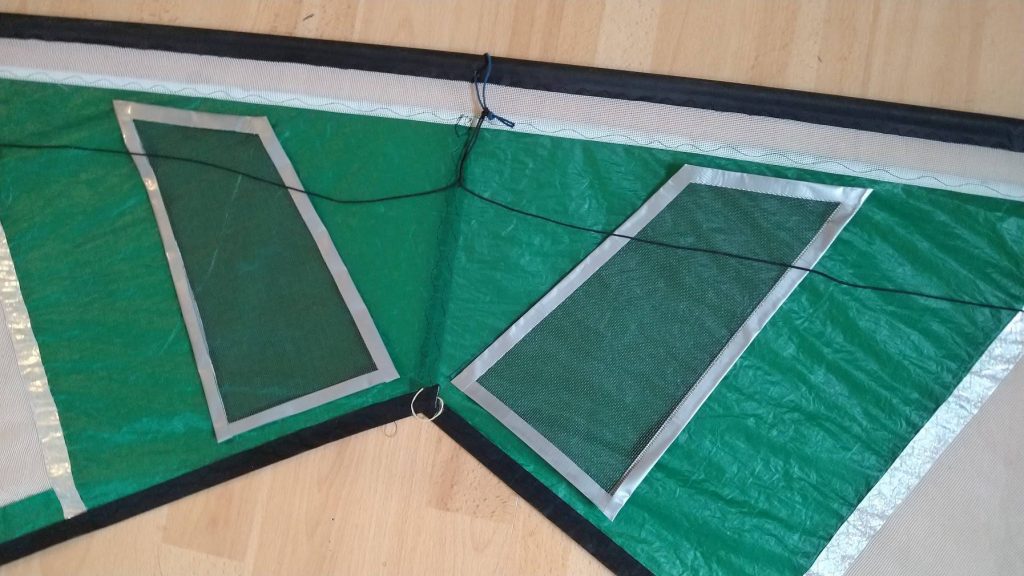
This is where they’re supposed to sit 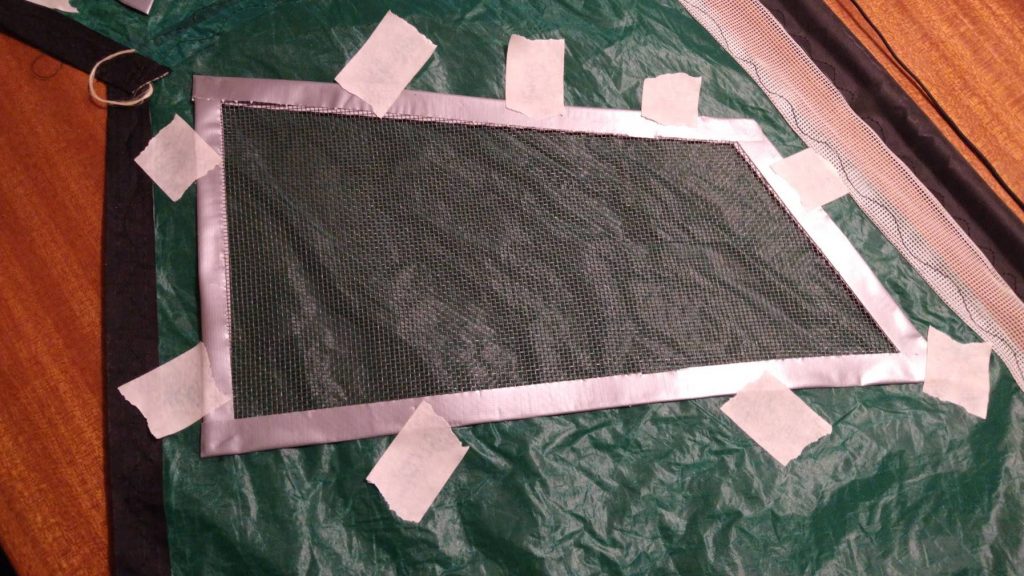
Taping before sewing
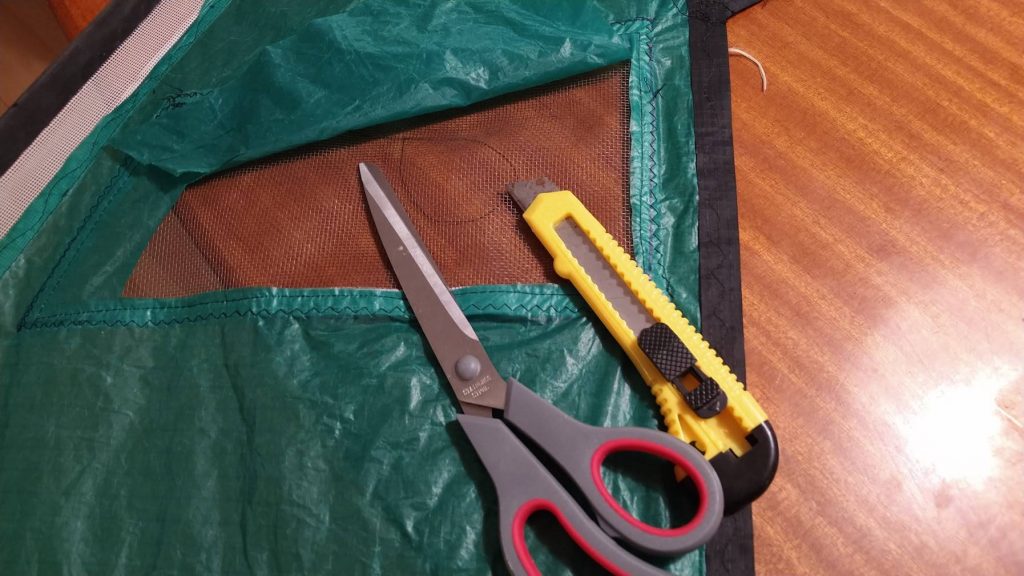
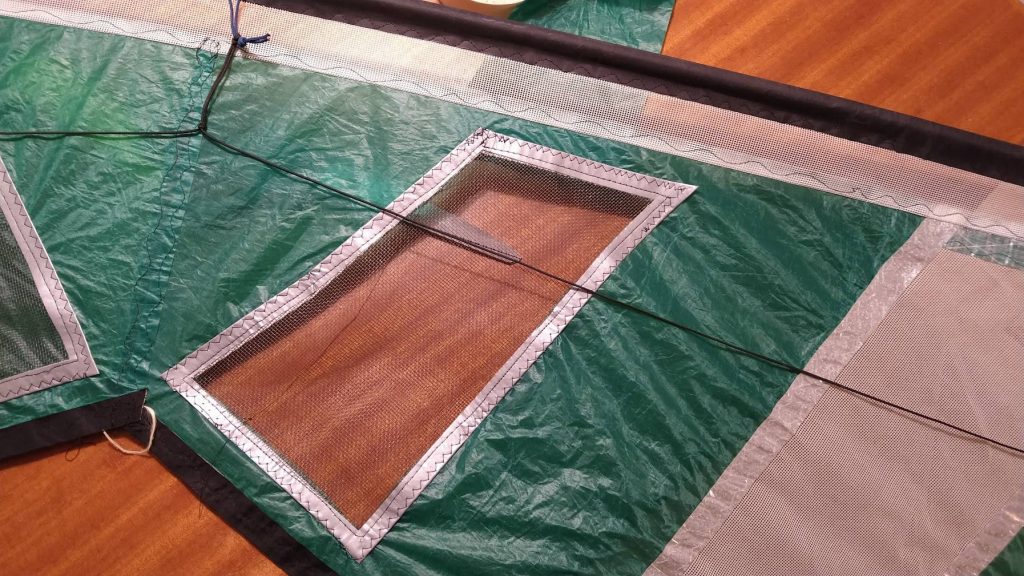
Over to the sewing machine to sew the mesh panels onto the front side of the sail. When completed it was time to cut out the original green icarex fabric on the back of the mesh panel to allow the air to pass through the venting. A pair of scissors and a Stanley knife. When all the green icky is cut away, it should look something like the third photo.
And finally the kite was ready! Now I’m looking forward to a windy Saturday!
