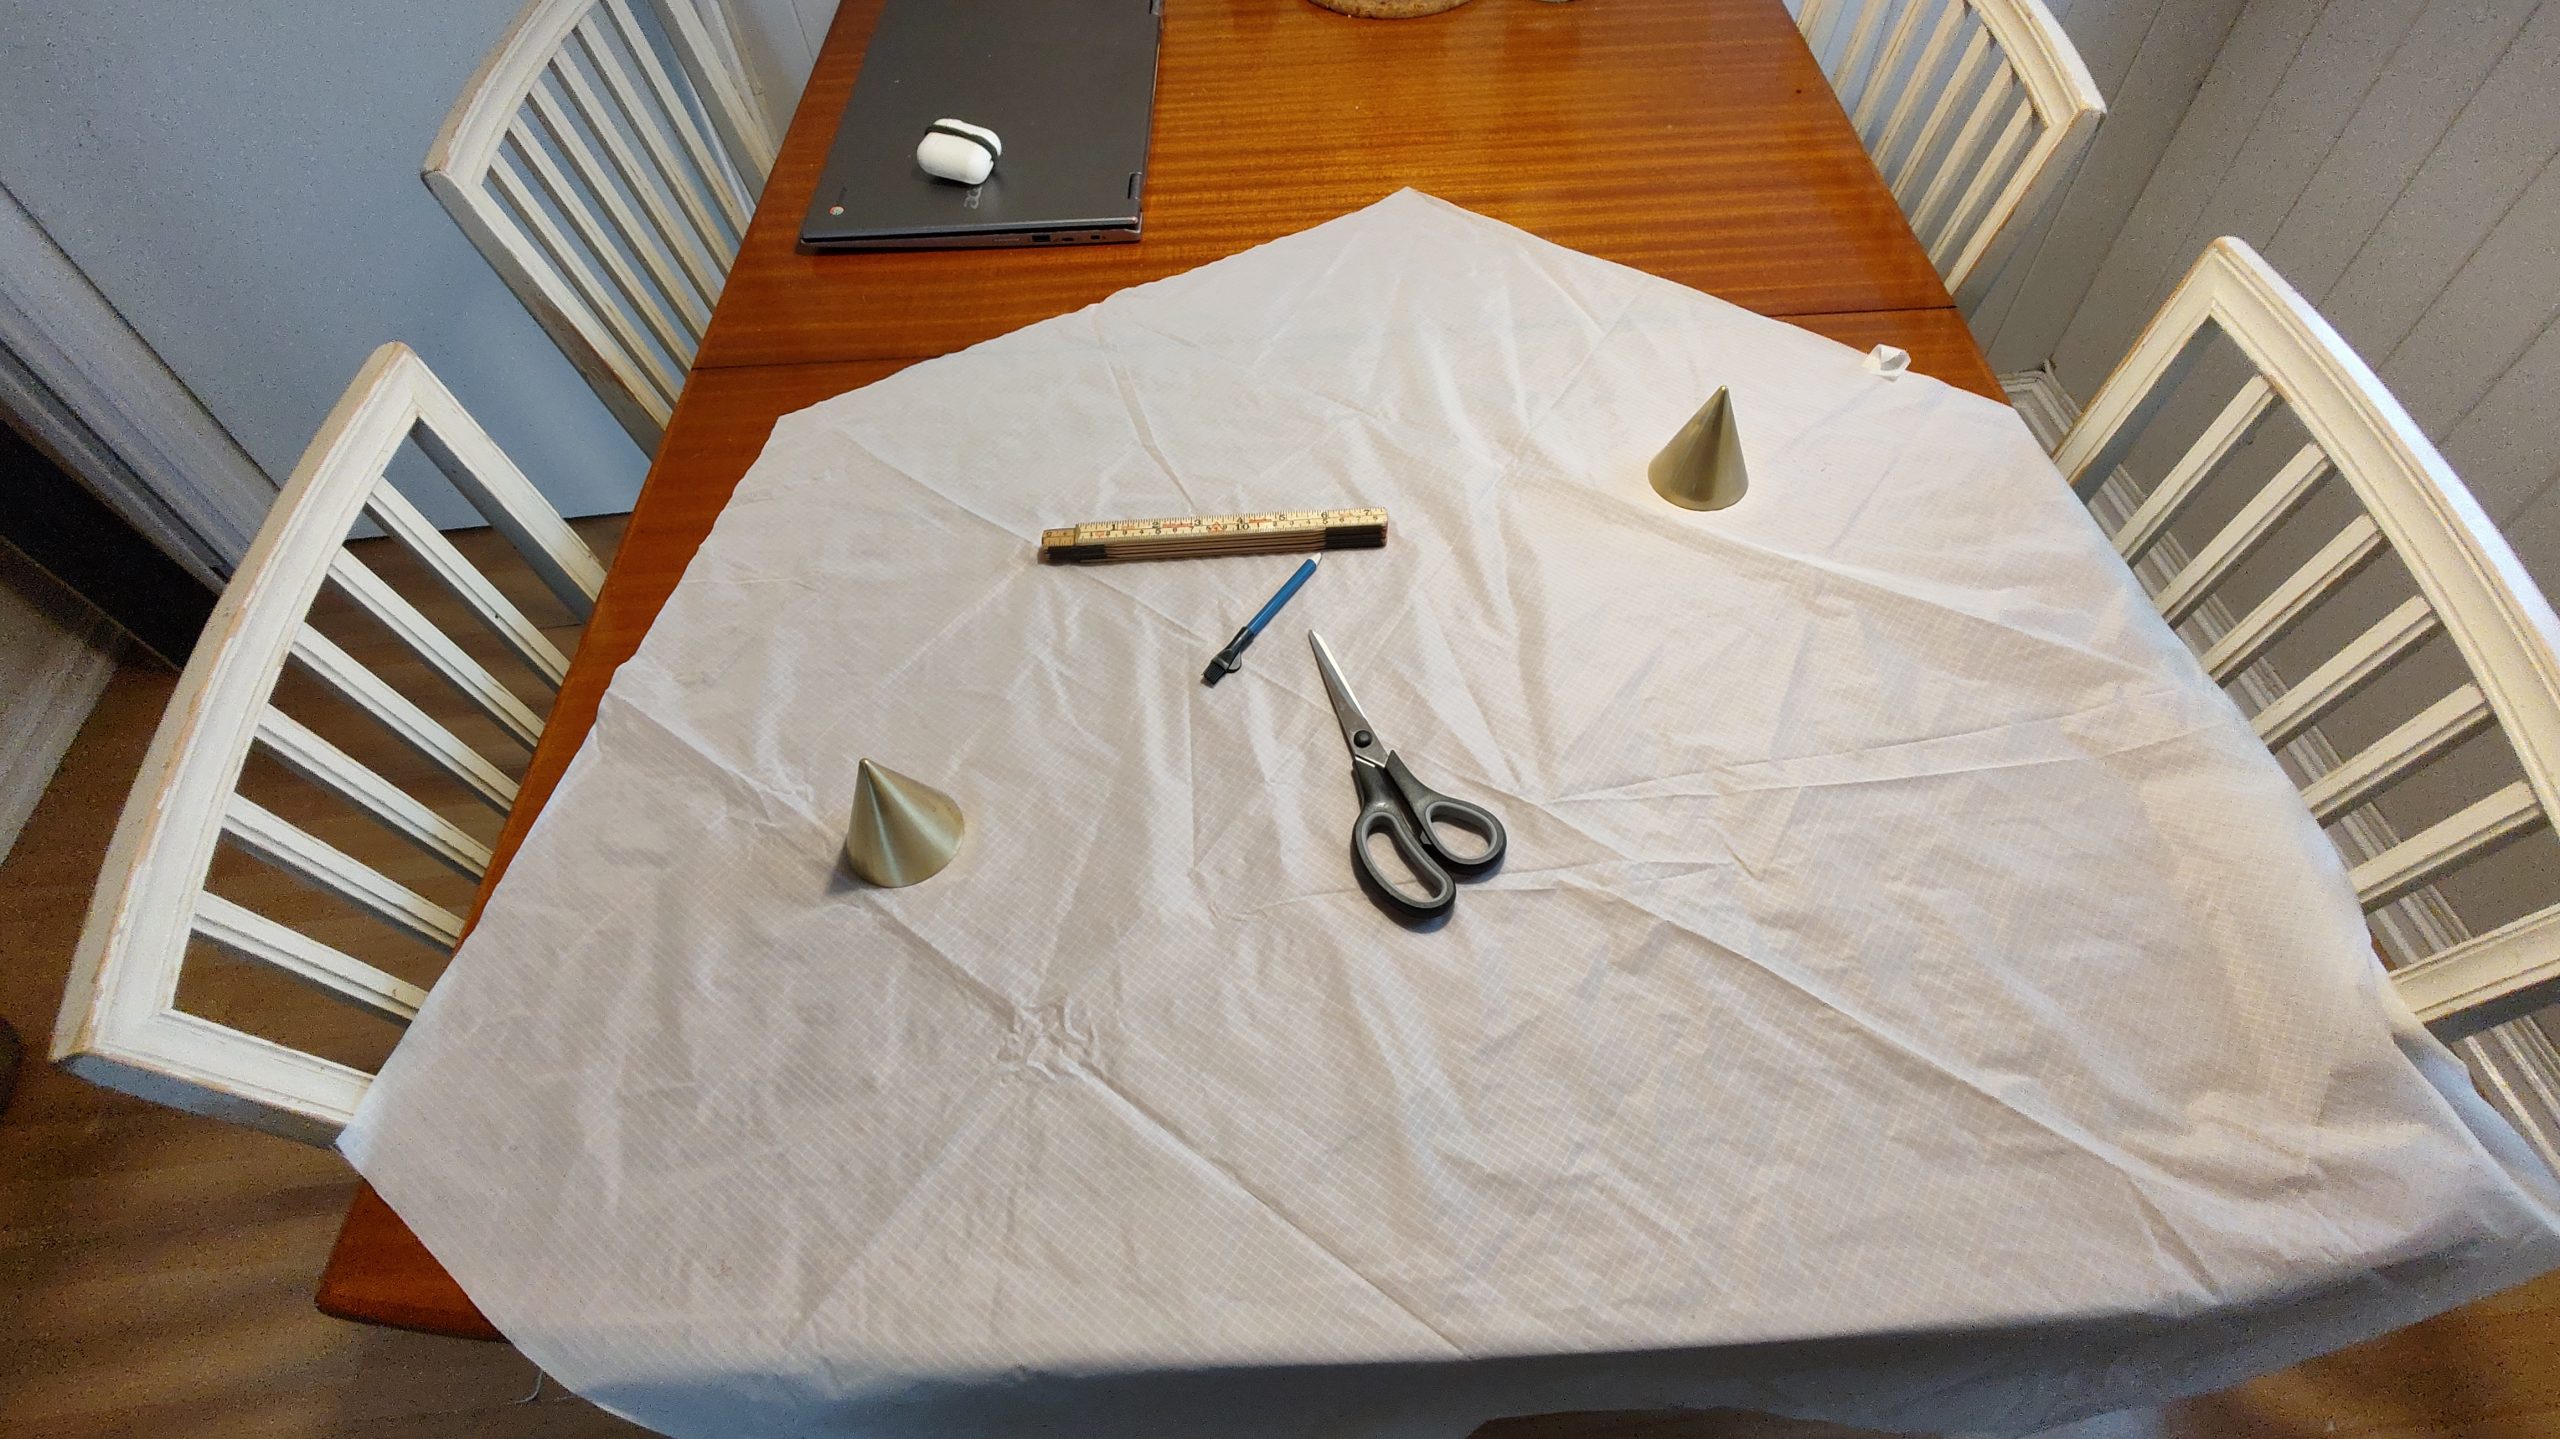
I dived down into my basement and came up with everything I needed for the build. Both the materials and the tools.
First I taped the white piece of ripstop onto my kitchen floor and drew the shape on the sail on it before carefully cutting along the drawn lines. Soon I had a one-piece-sail shaped like a Rokkaku ready for hemming of the edges.
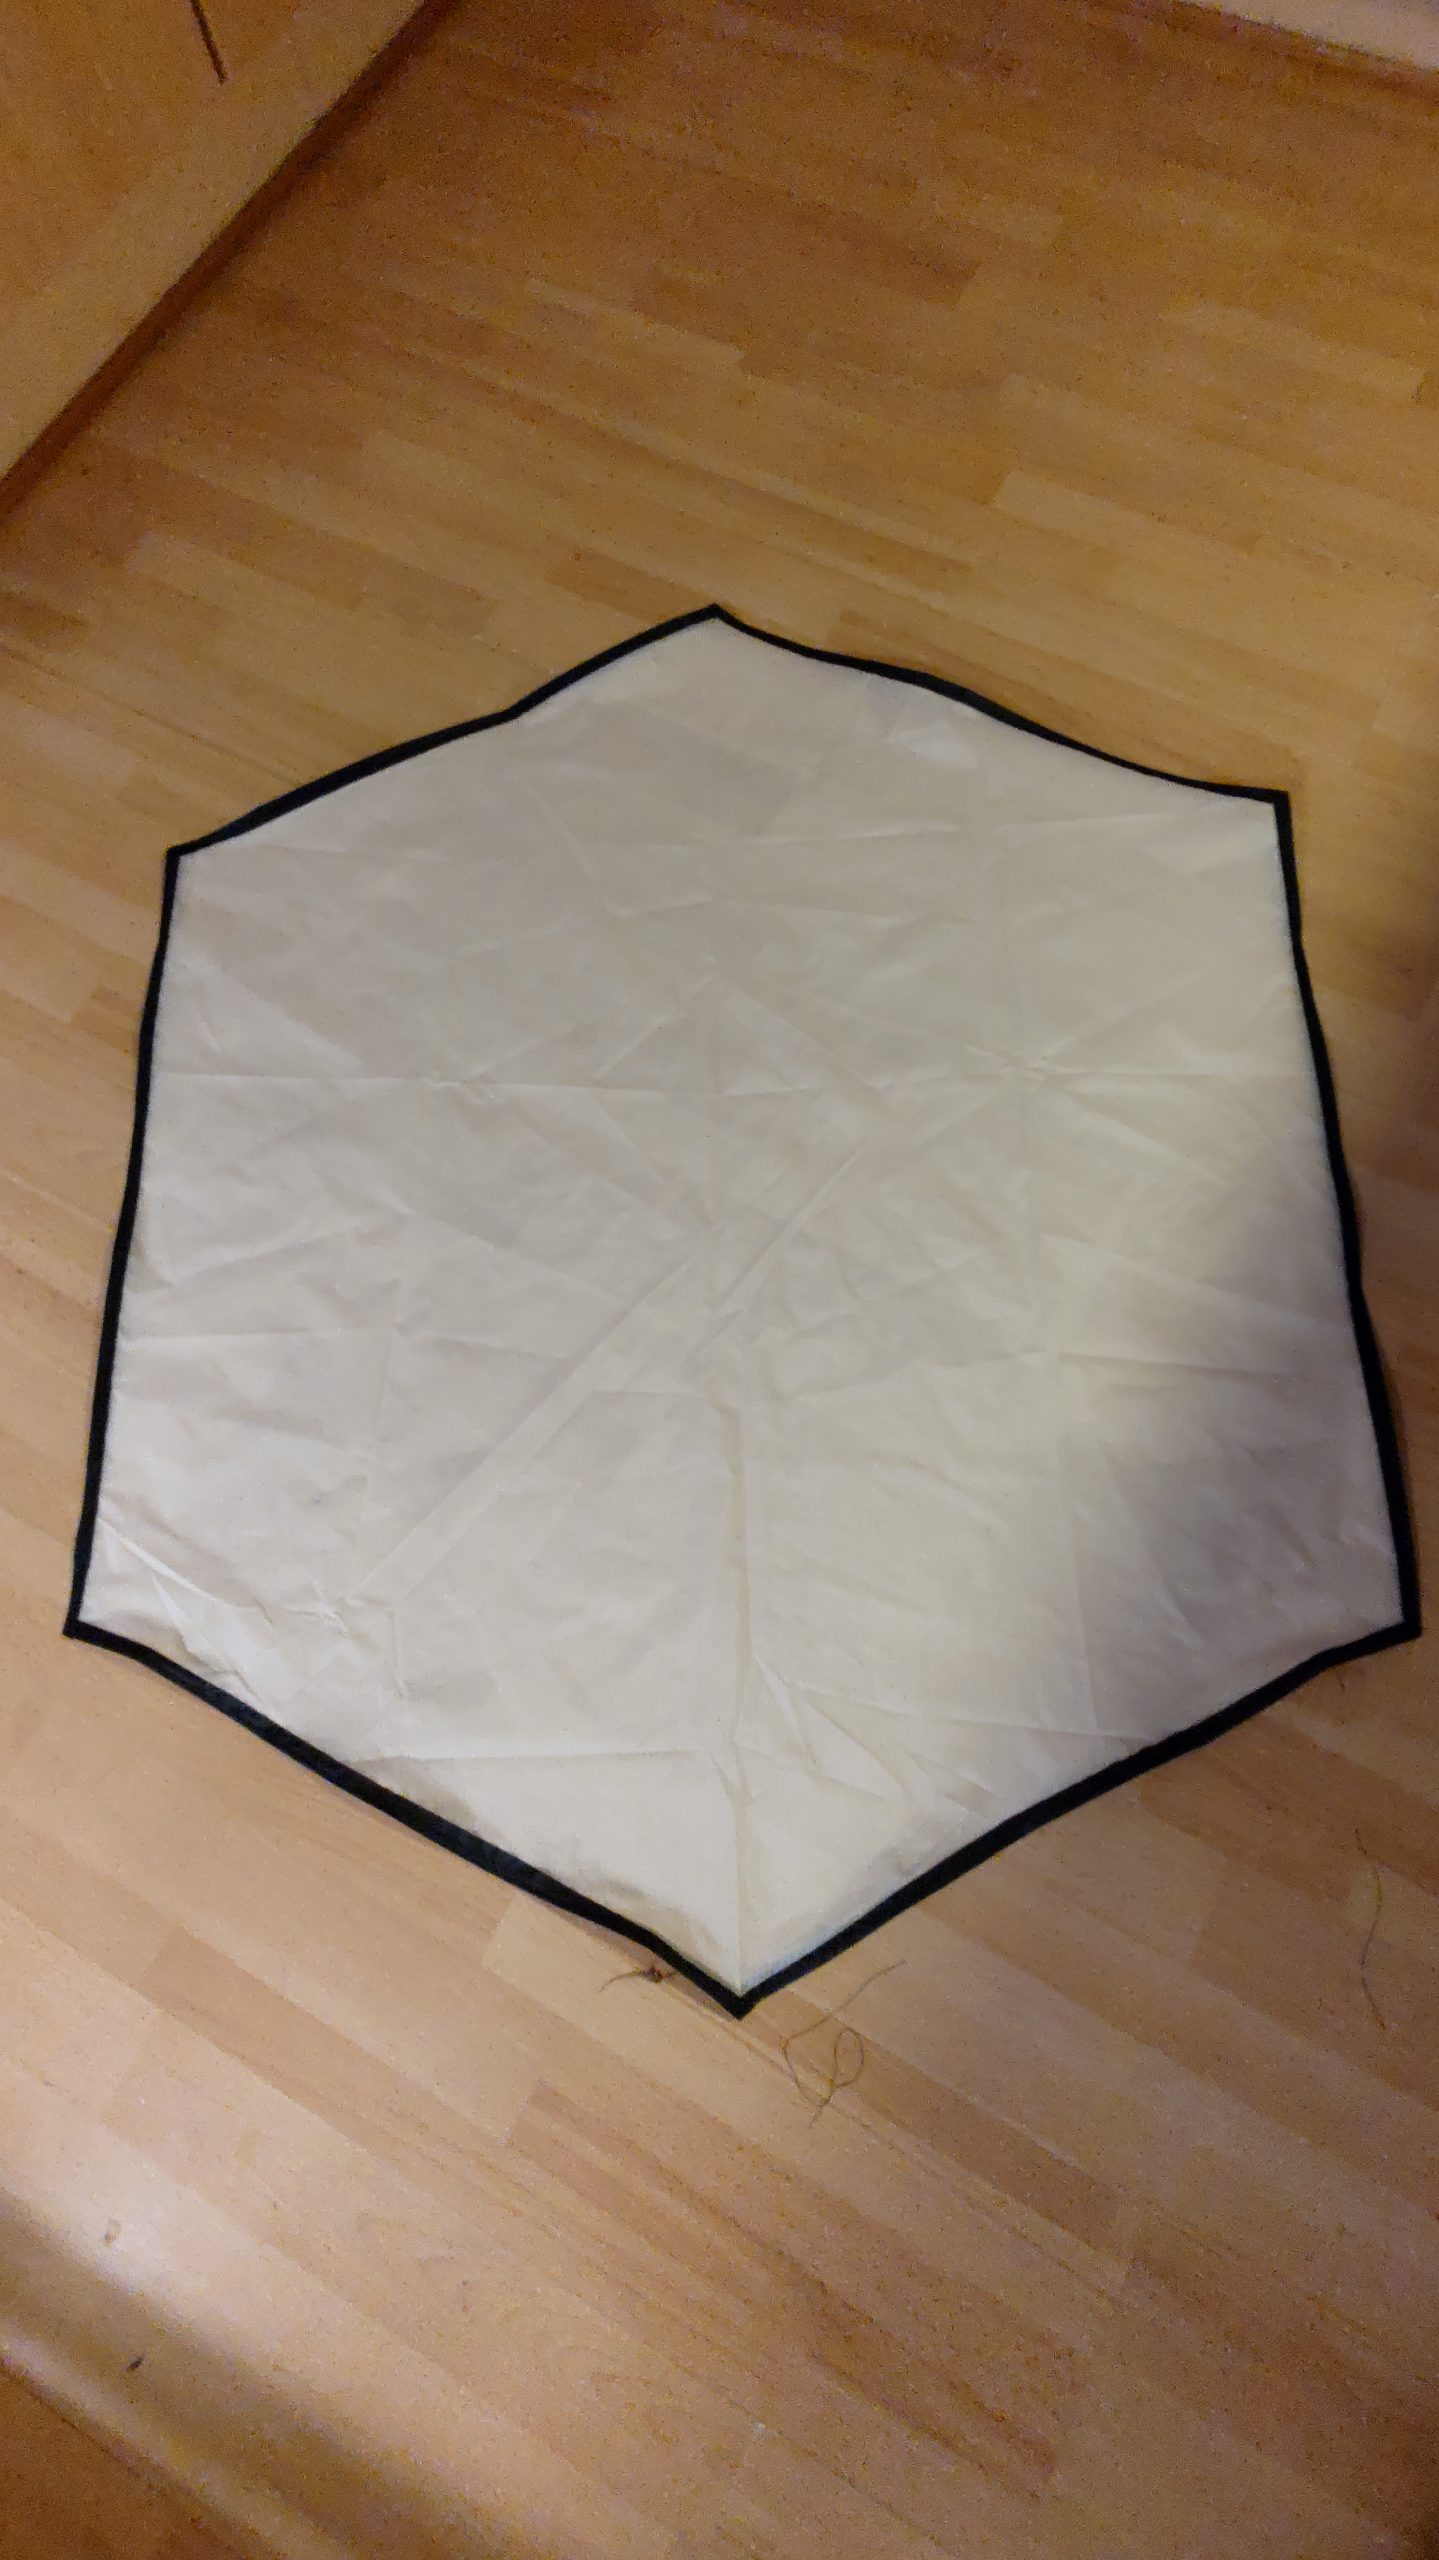
I like to hem the edges using a black band of ripstop to sharpen the look of a one-piece-sail like this, kind of “frame” for the kite.
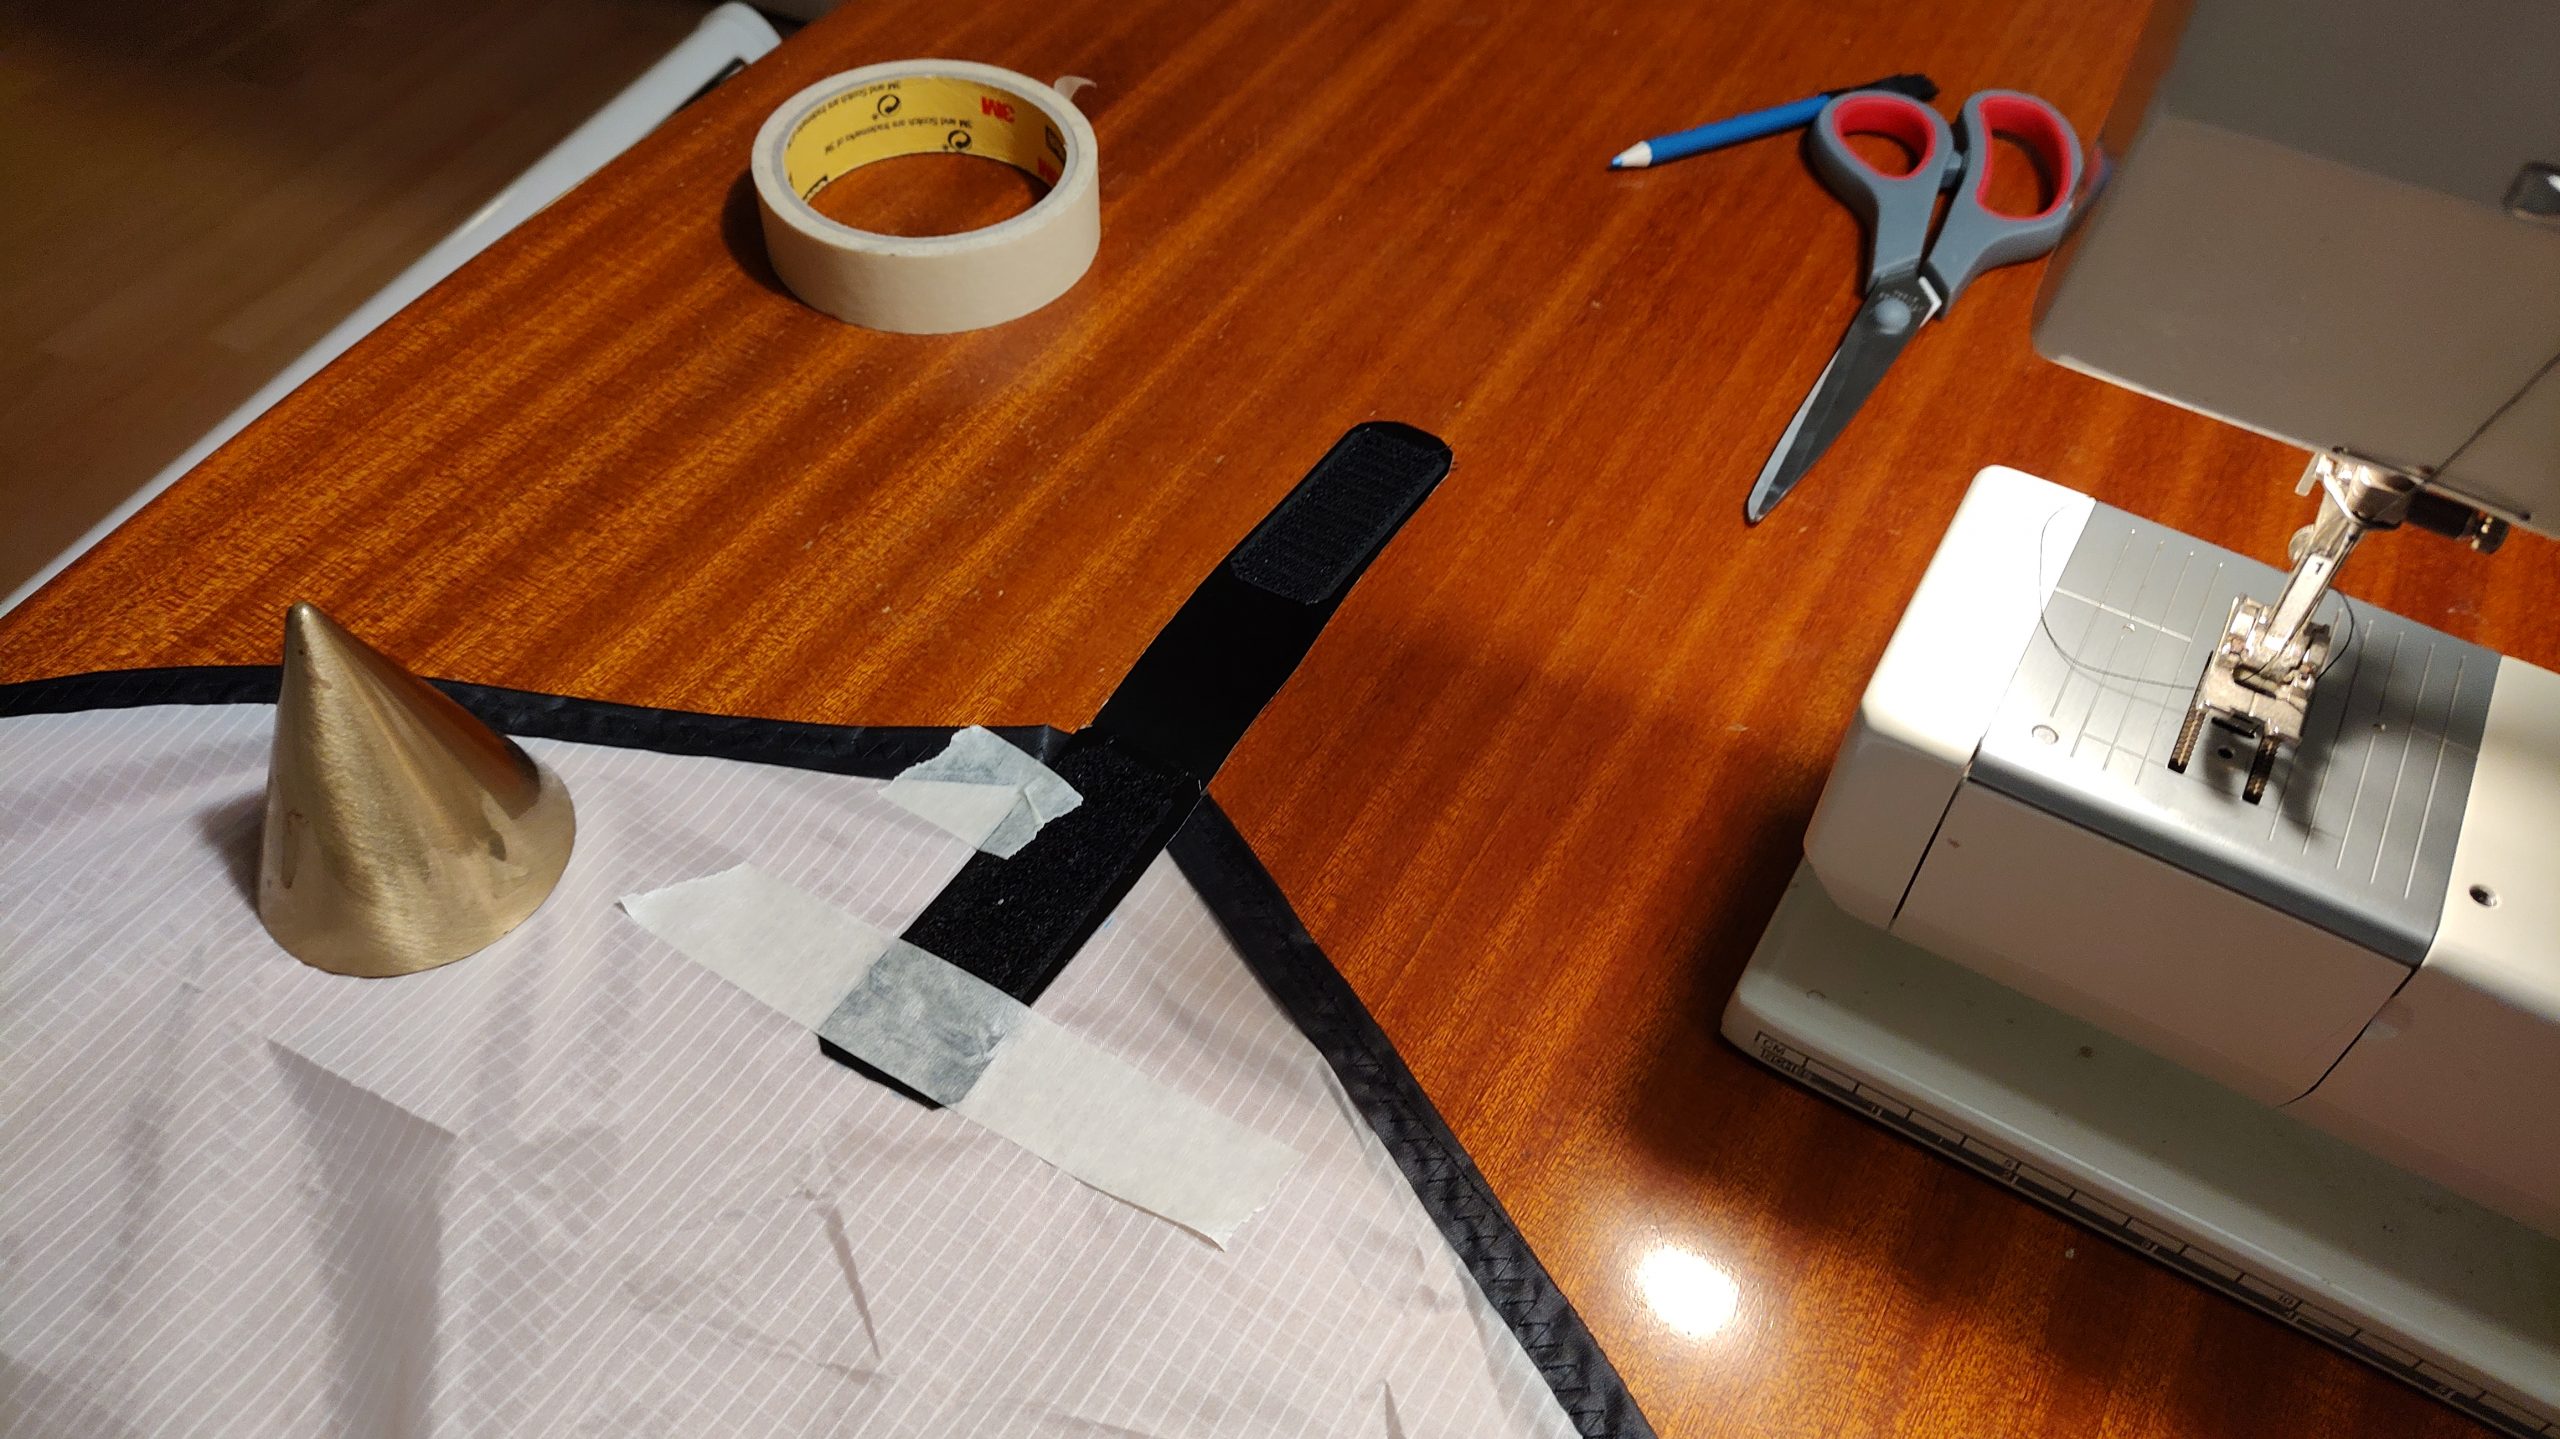
Next step is to make the pockets for the spine and the cross spars and sew them onto the back of the sail. Now this is starting to look like a Rokkaku!
Let’s get that kite framed. A 6mm carbon fibre rod for the spine and 5mm rod for the two cross spars. All capped at the ends off course!
The spine is recycled from two pieces of scrap carbon rods and connected using an aluminium ferrule. By using a two-piece spine the kite will take up less length when disassembled and fit into a shorter bag. ?
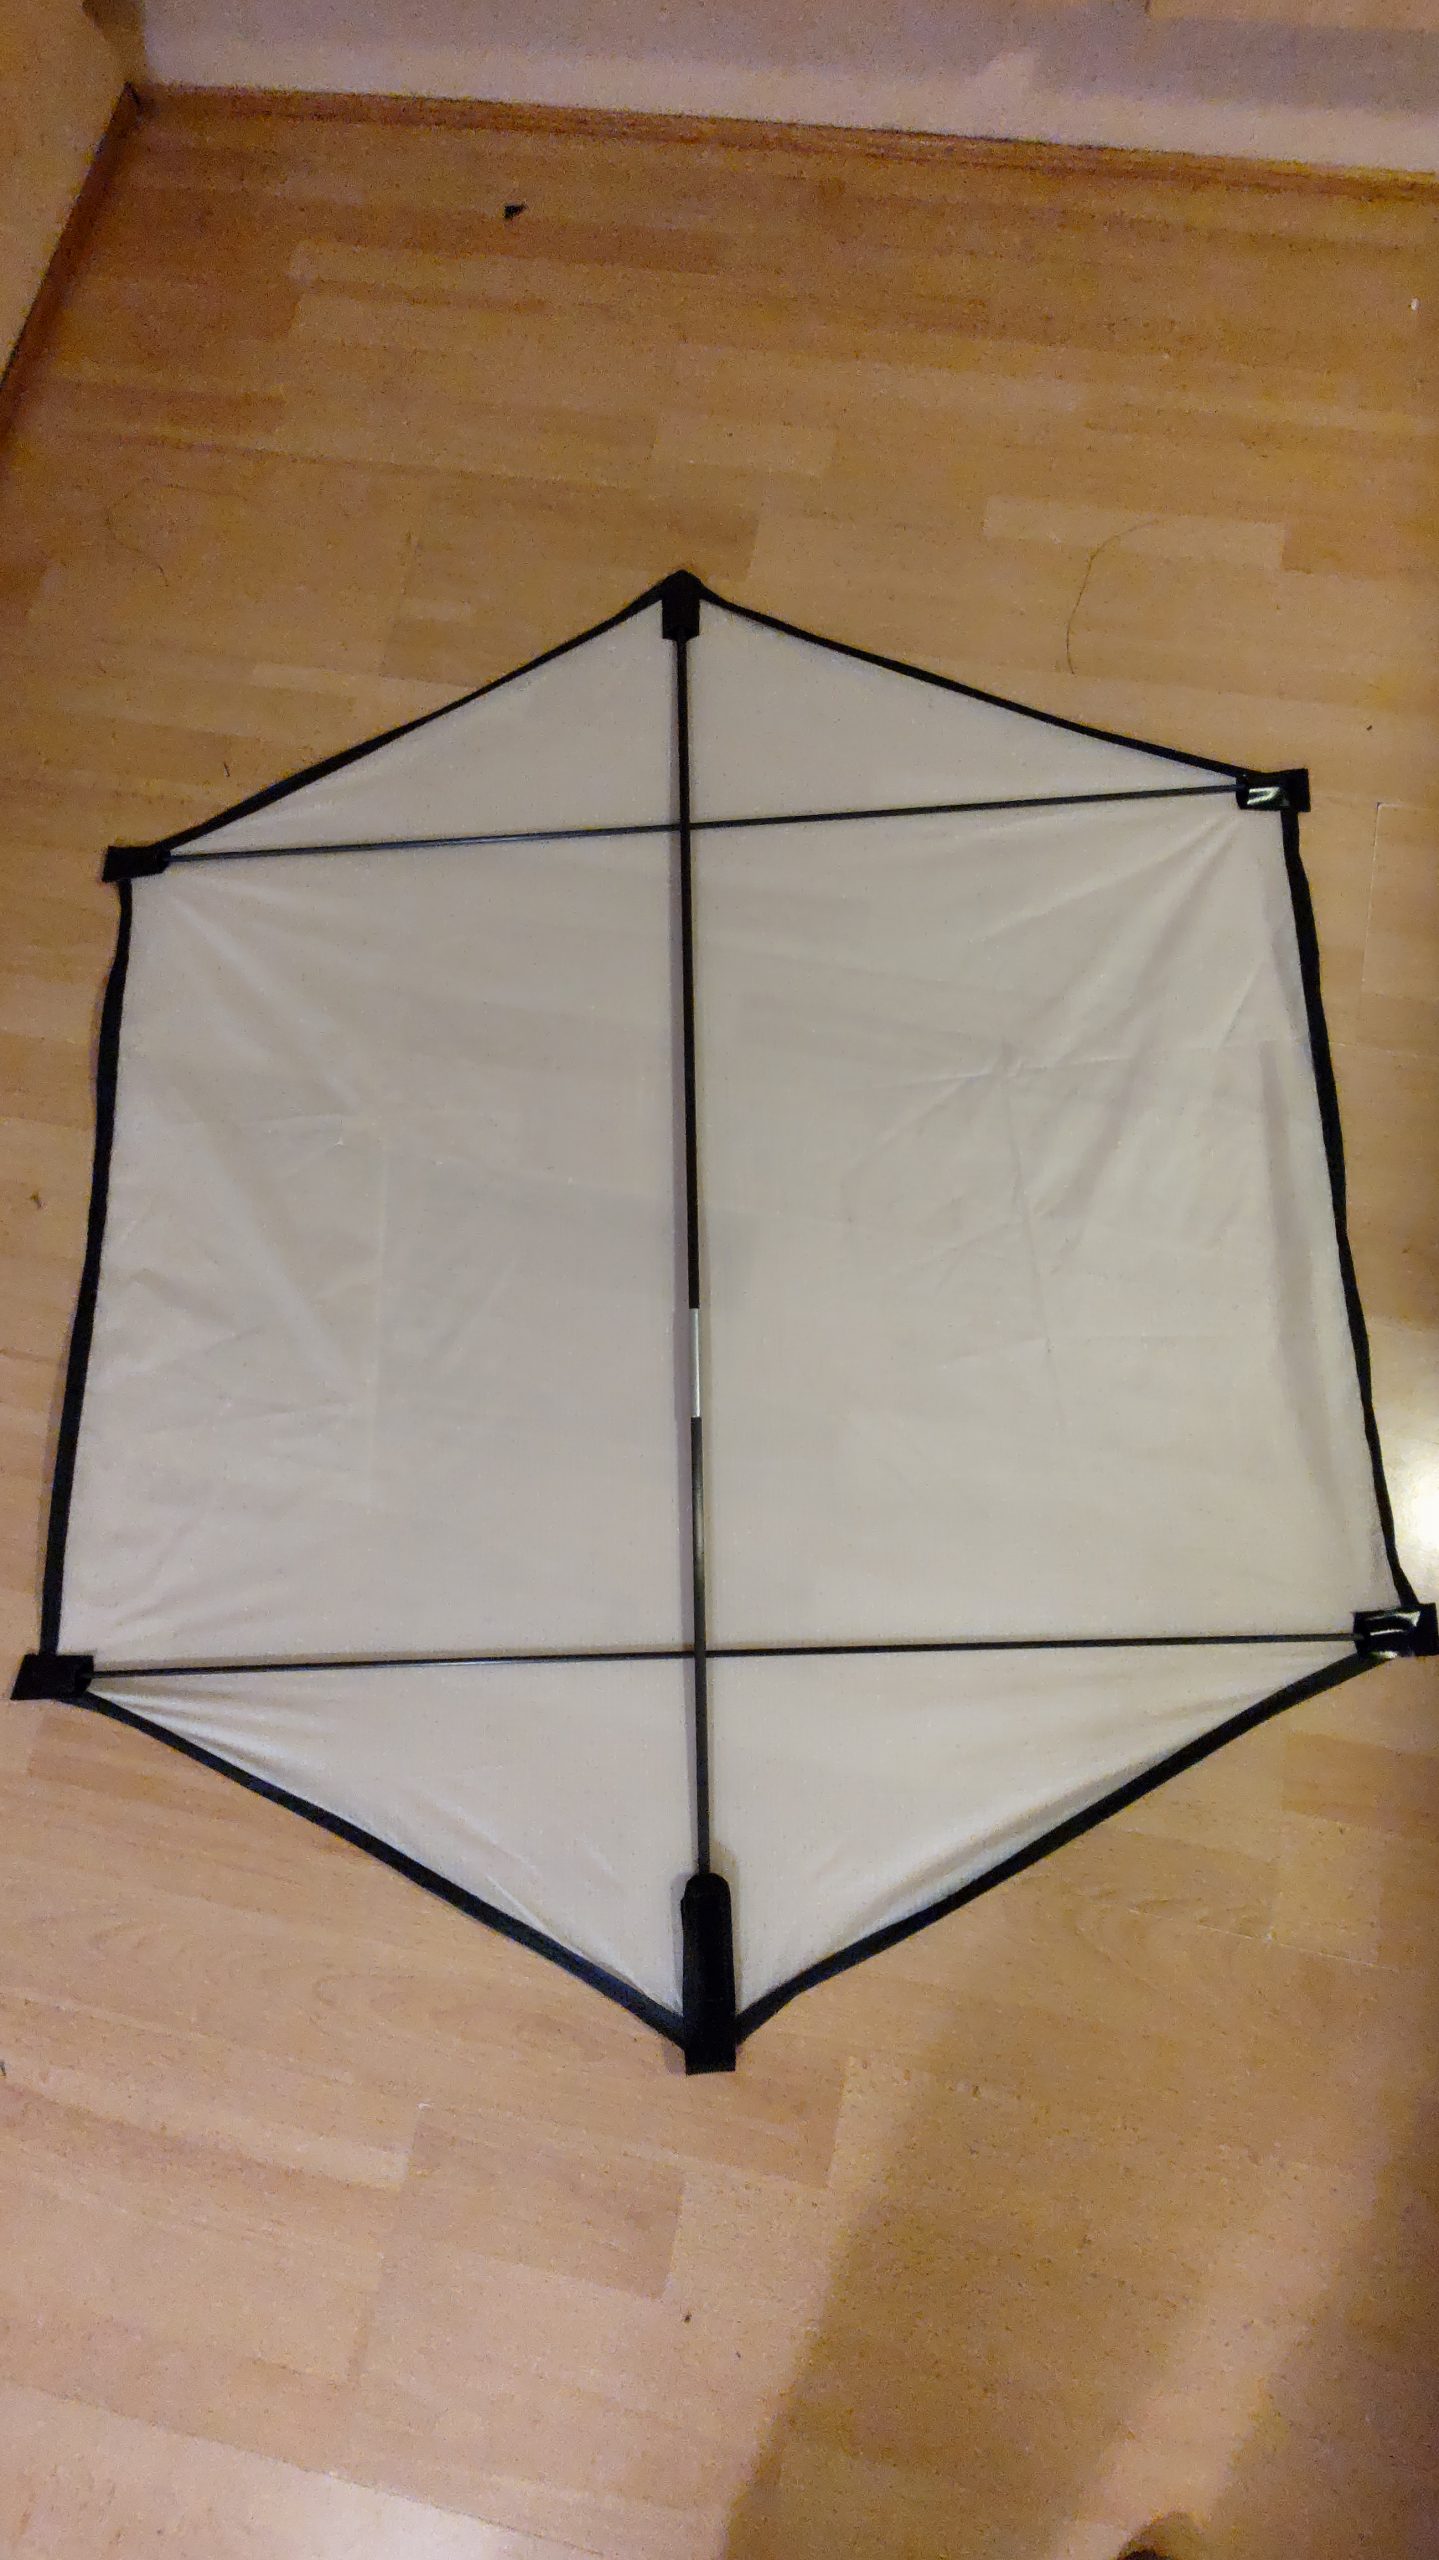
When all the spars are in place it’s time to install the bowlines. These are a pair of lines attached to the kite at each end of the two crossbars. When tightening these bowlines, the cross spars will bend into a bow thus creating the kite’s aerodynamical shape required for stable flight.
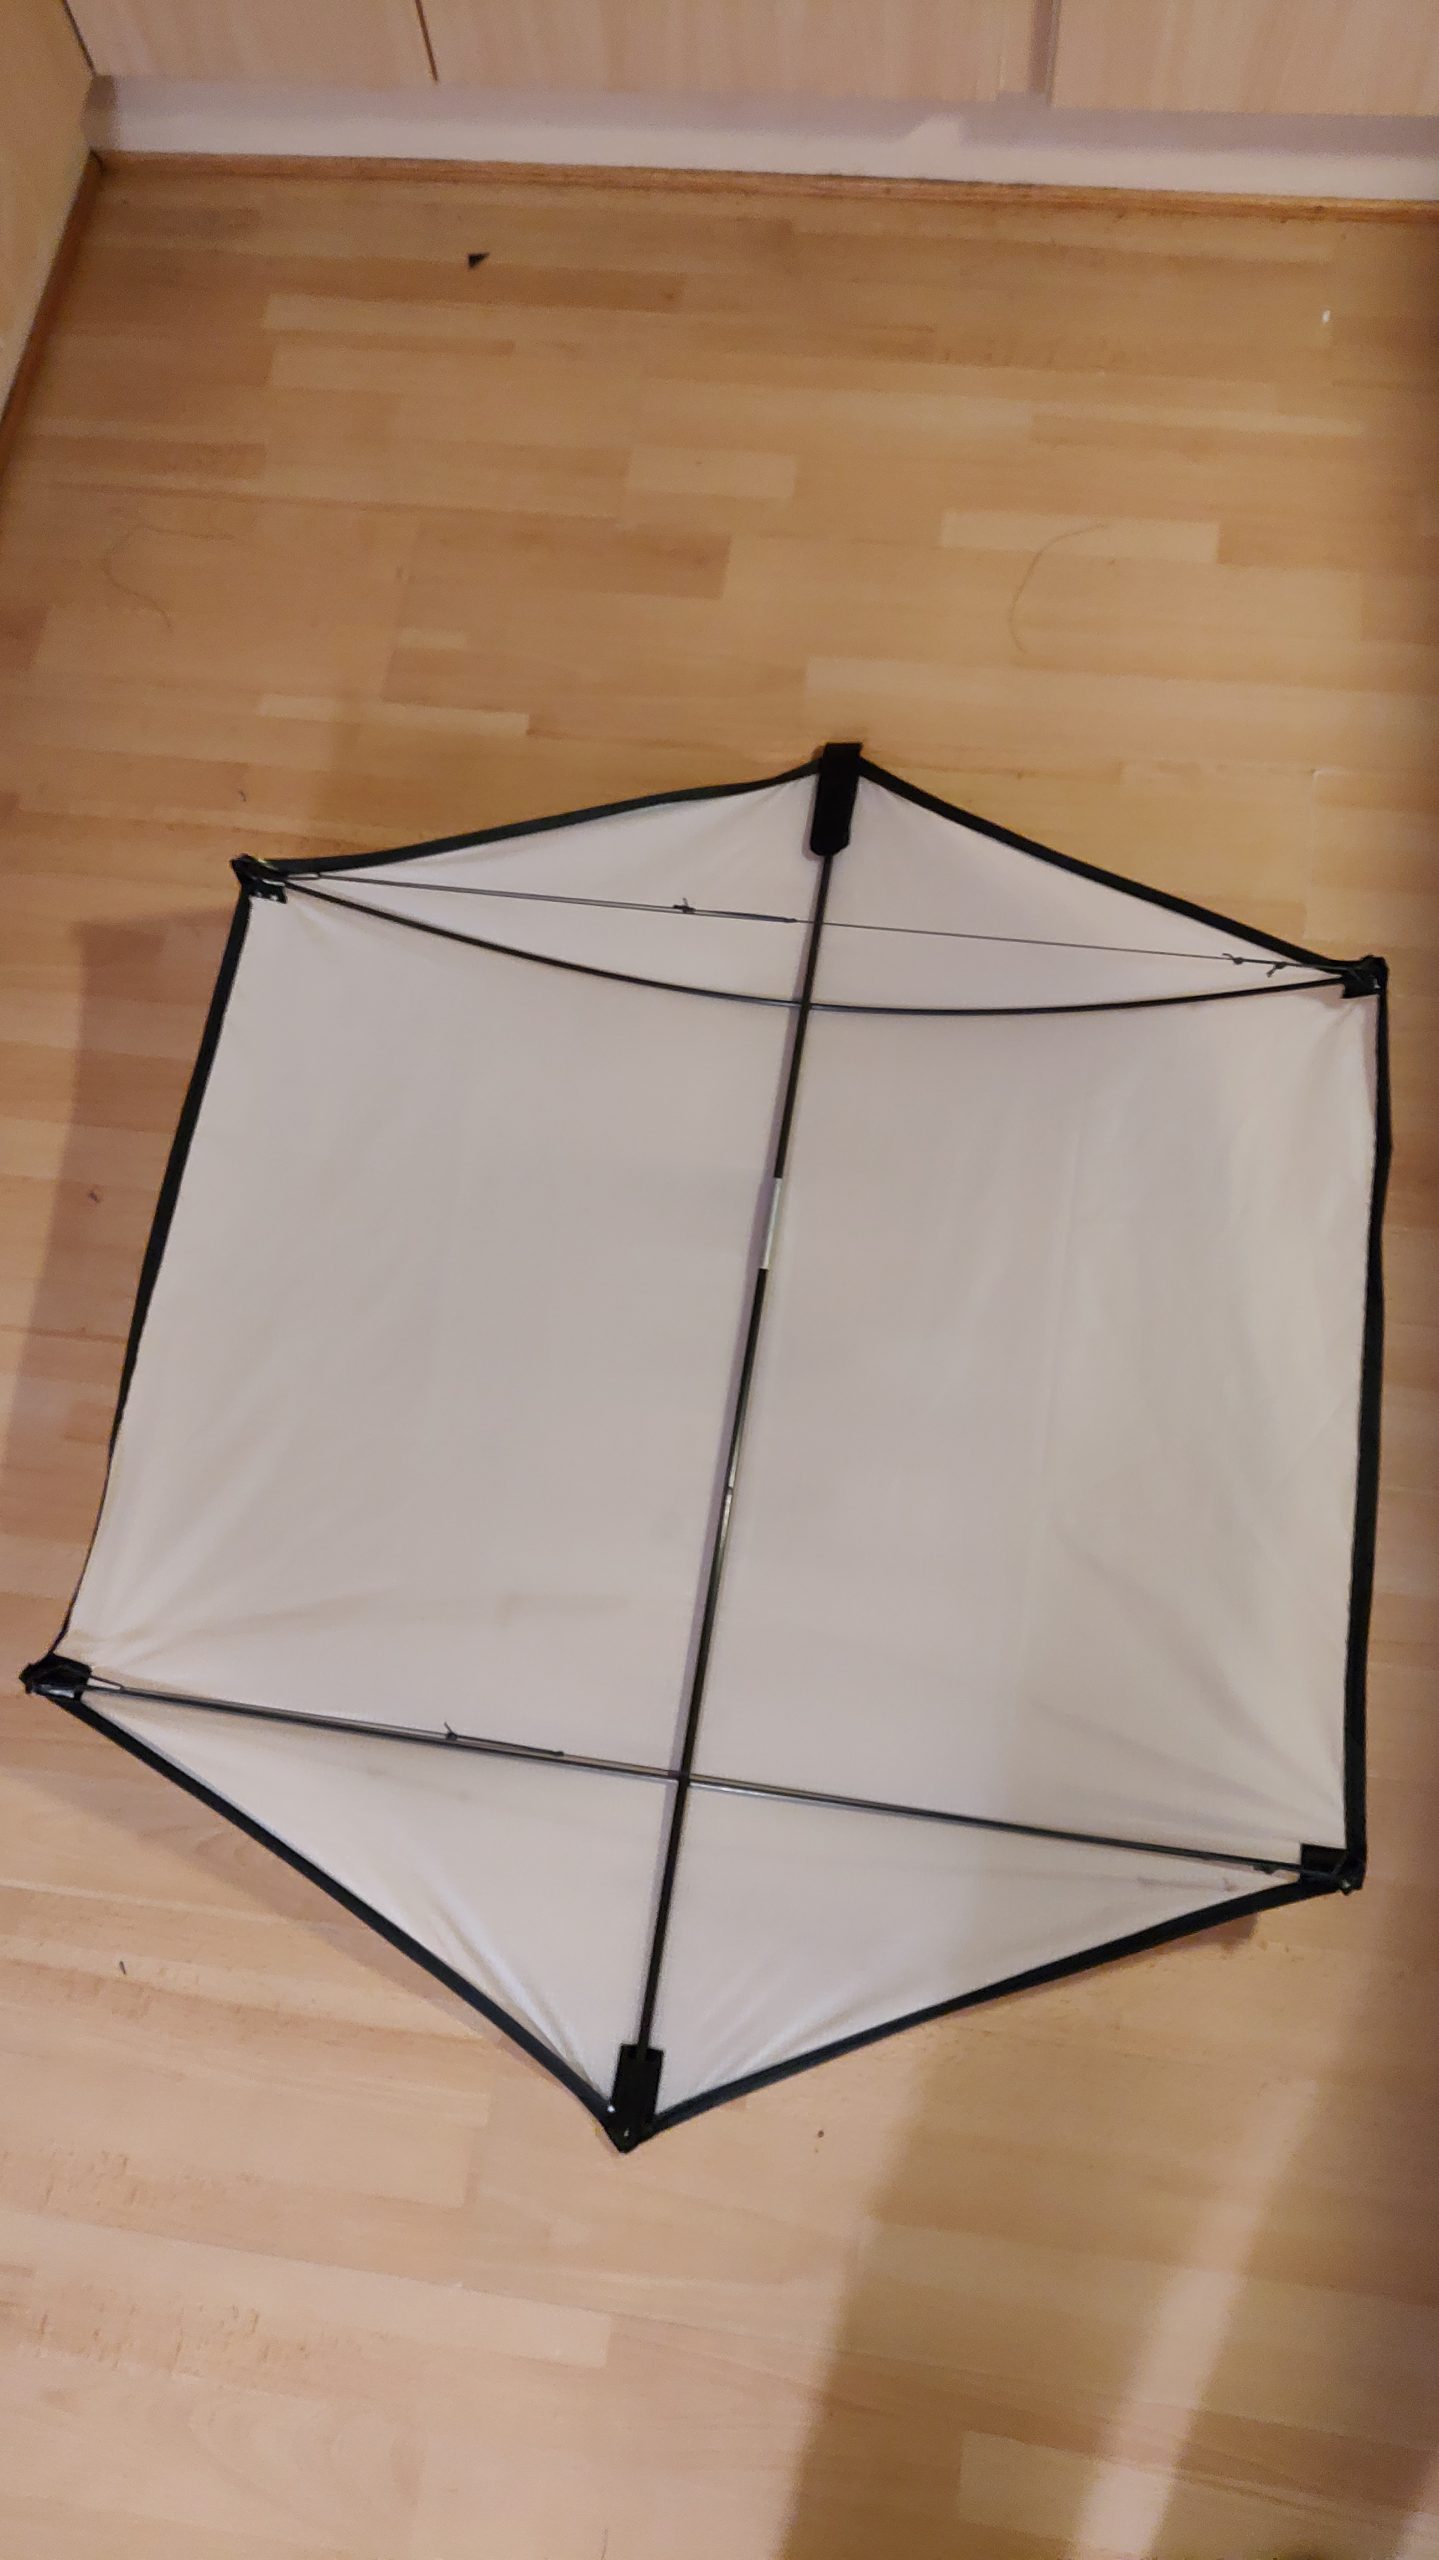
The bowlines are bending the cross spars thus shaping the kite
I cut a piece of plastic tubing, punch a hole at each end of this tubing and use it as a center cross for the spine and the cross spars. This cross piece well prevent the cross spar from sliding up or down the spine. An easy and efficient DIY hack that works really well! ?
Finally, it’s time to install the bride using three pieces of strings. One string for the upper cross spar, one for the lower cross spar and the final one to connect the two first ones.
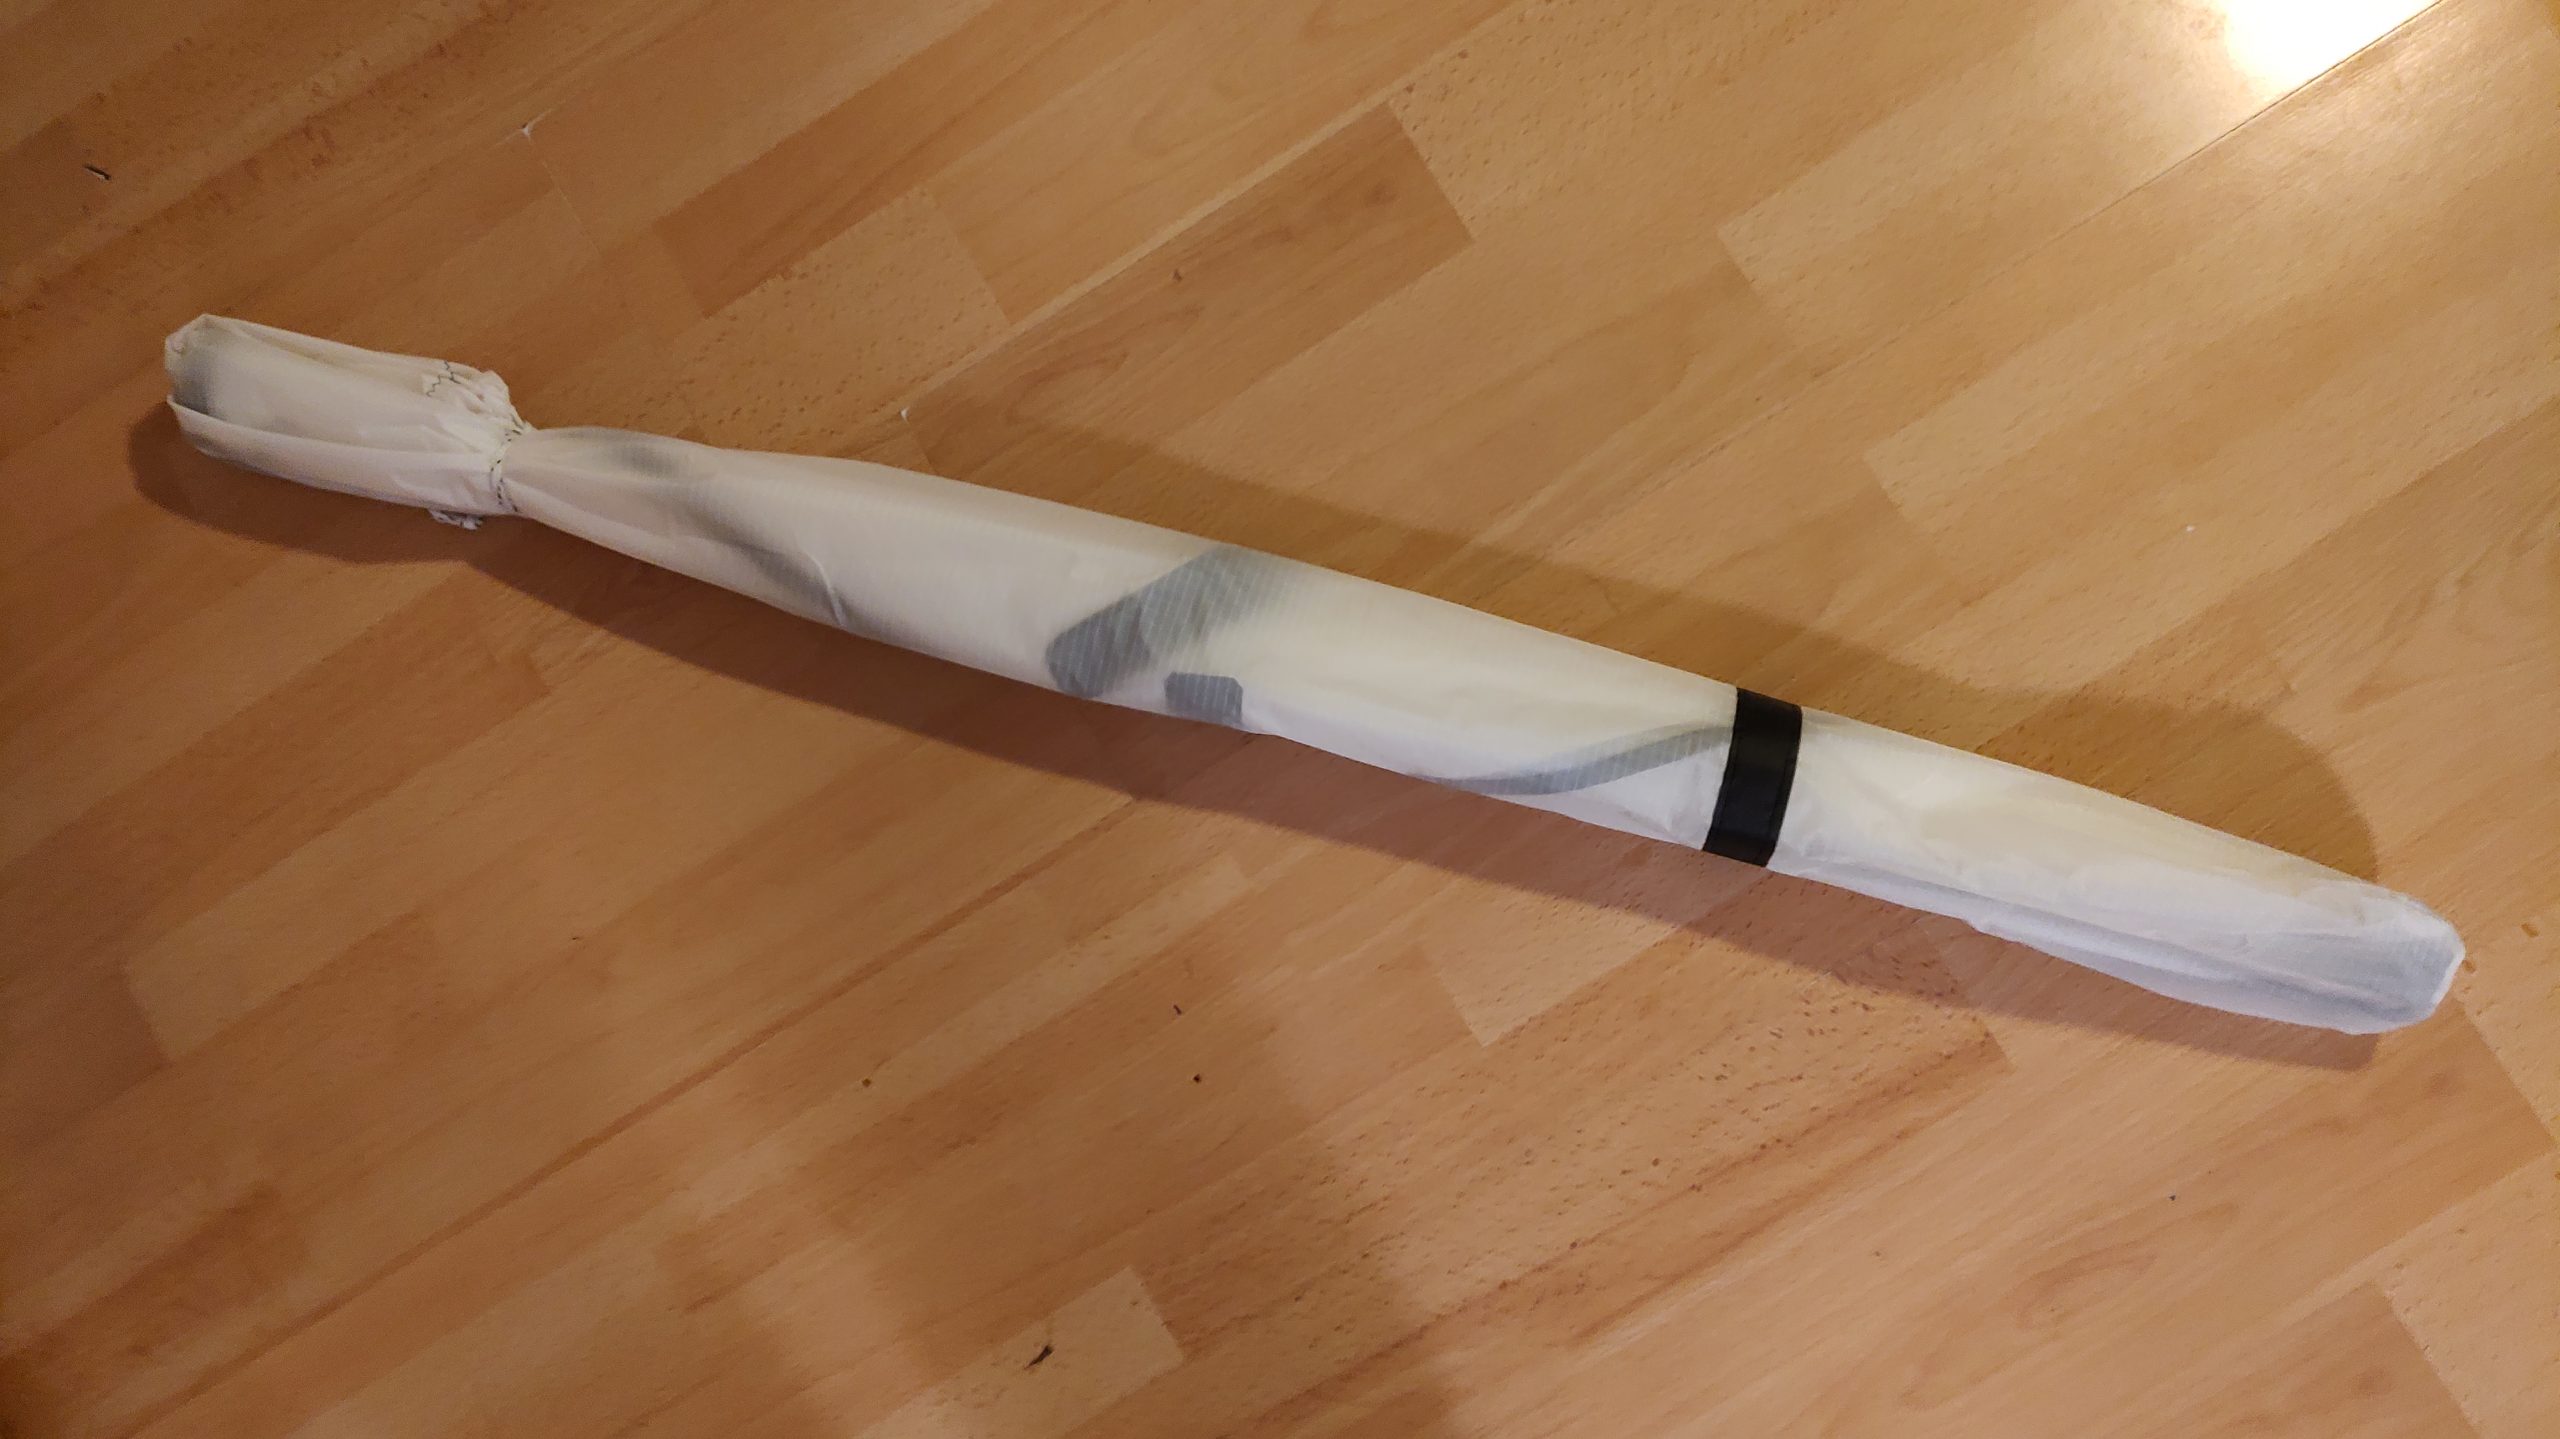
And off course, no kite building project is completed until the bag is ready!
And guess what?! I had a chance to fly my brand new Rokkaku today! The sun broke through the clouds and this gentle breeze coming in from the sea. So what better to do than go for a quick initial flight?! ?