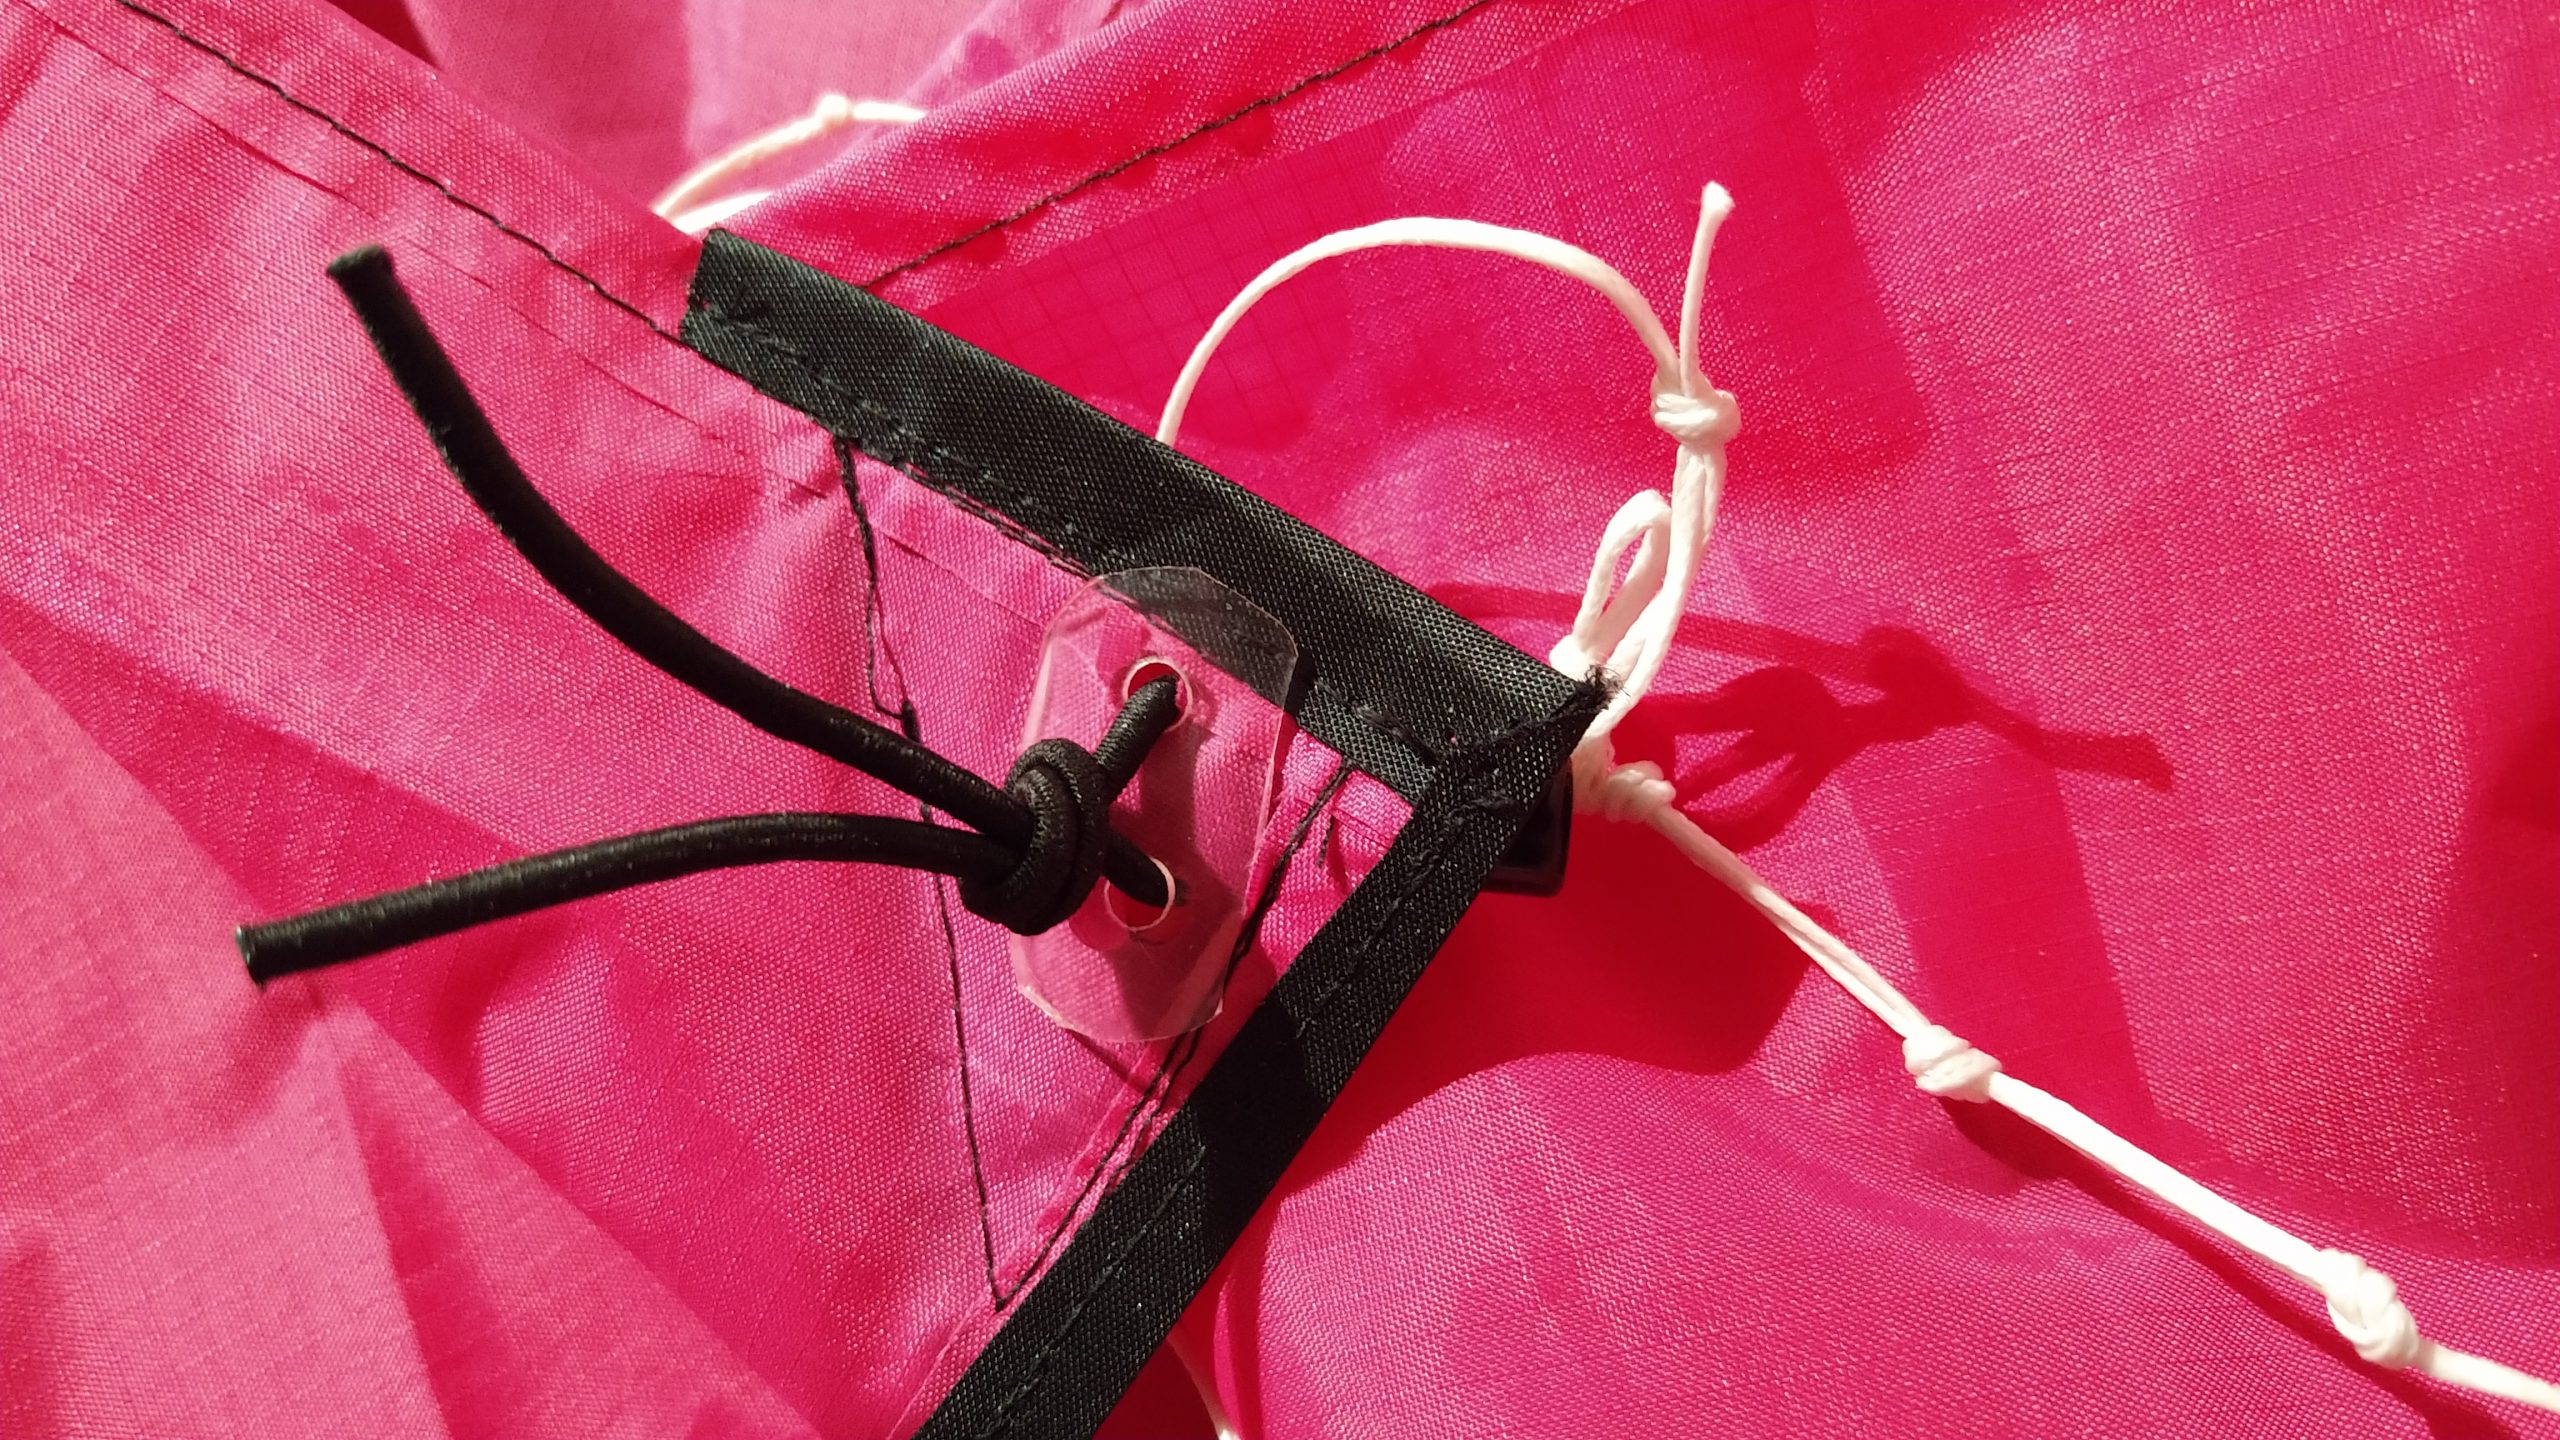
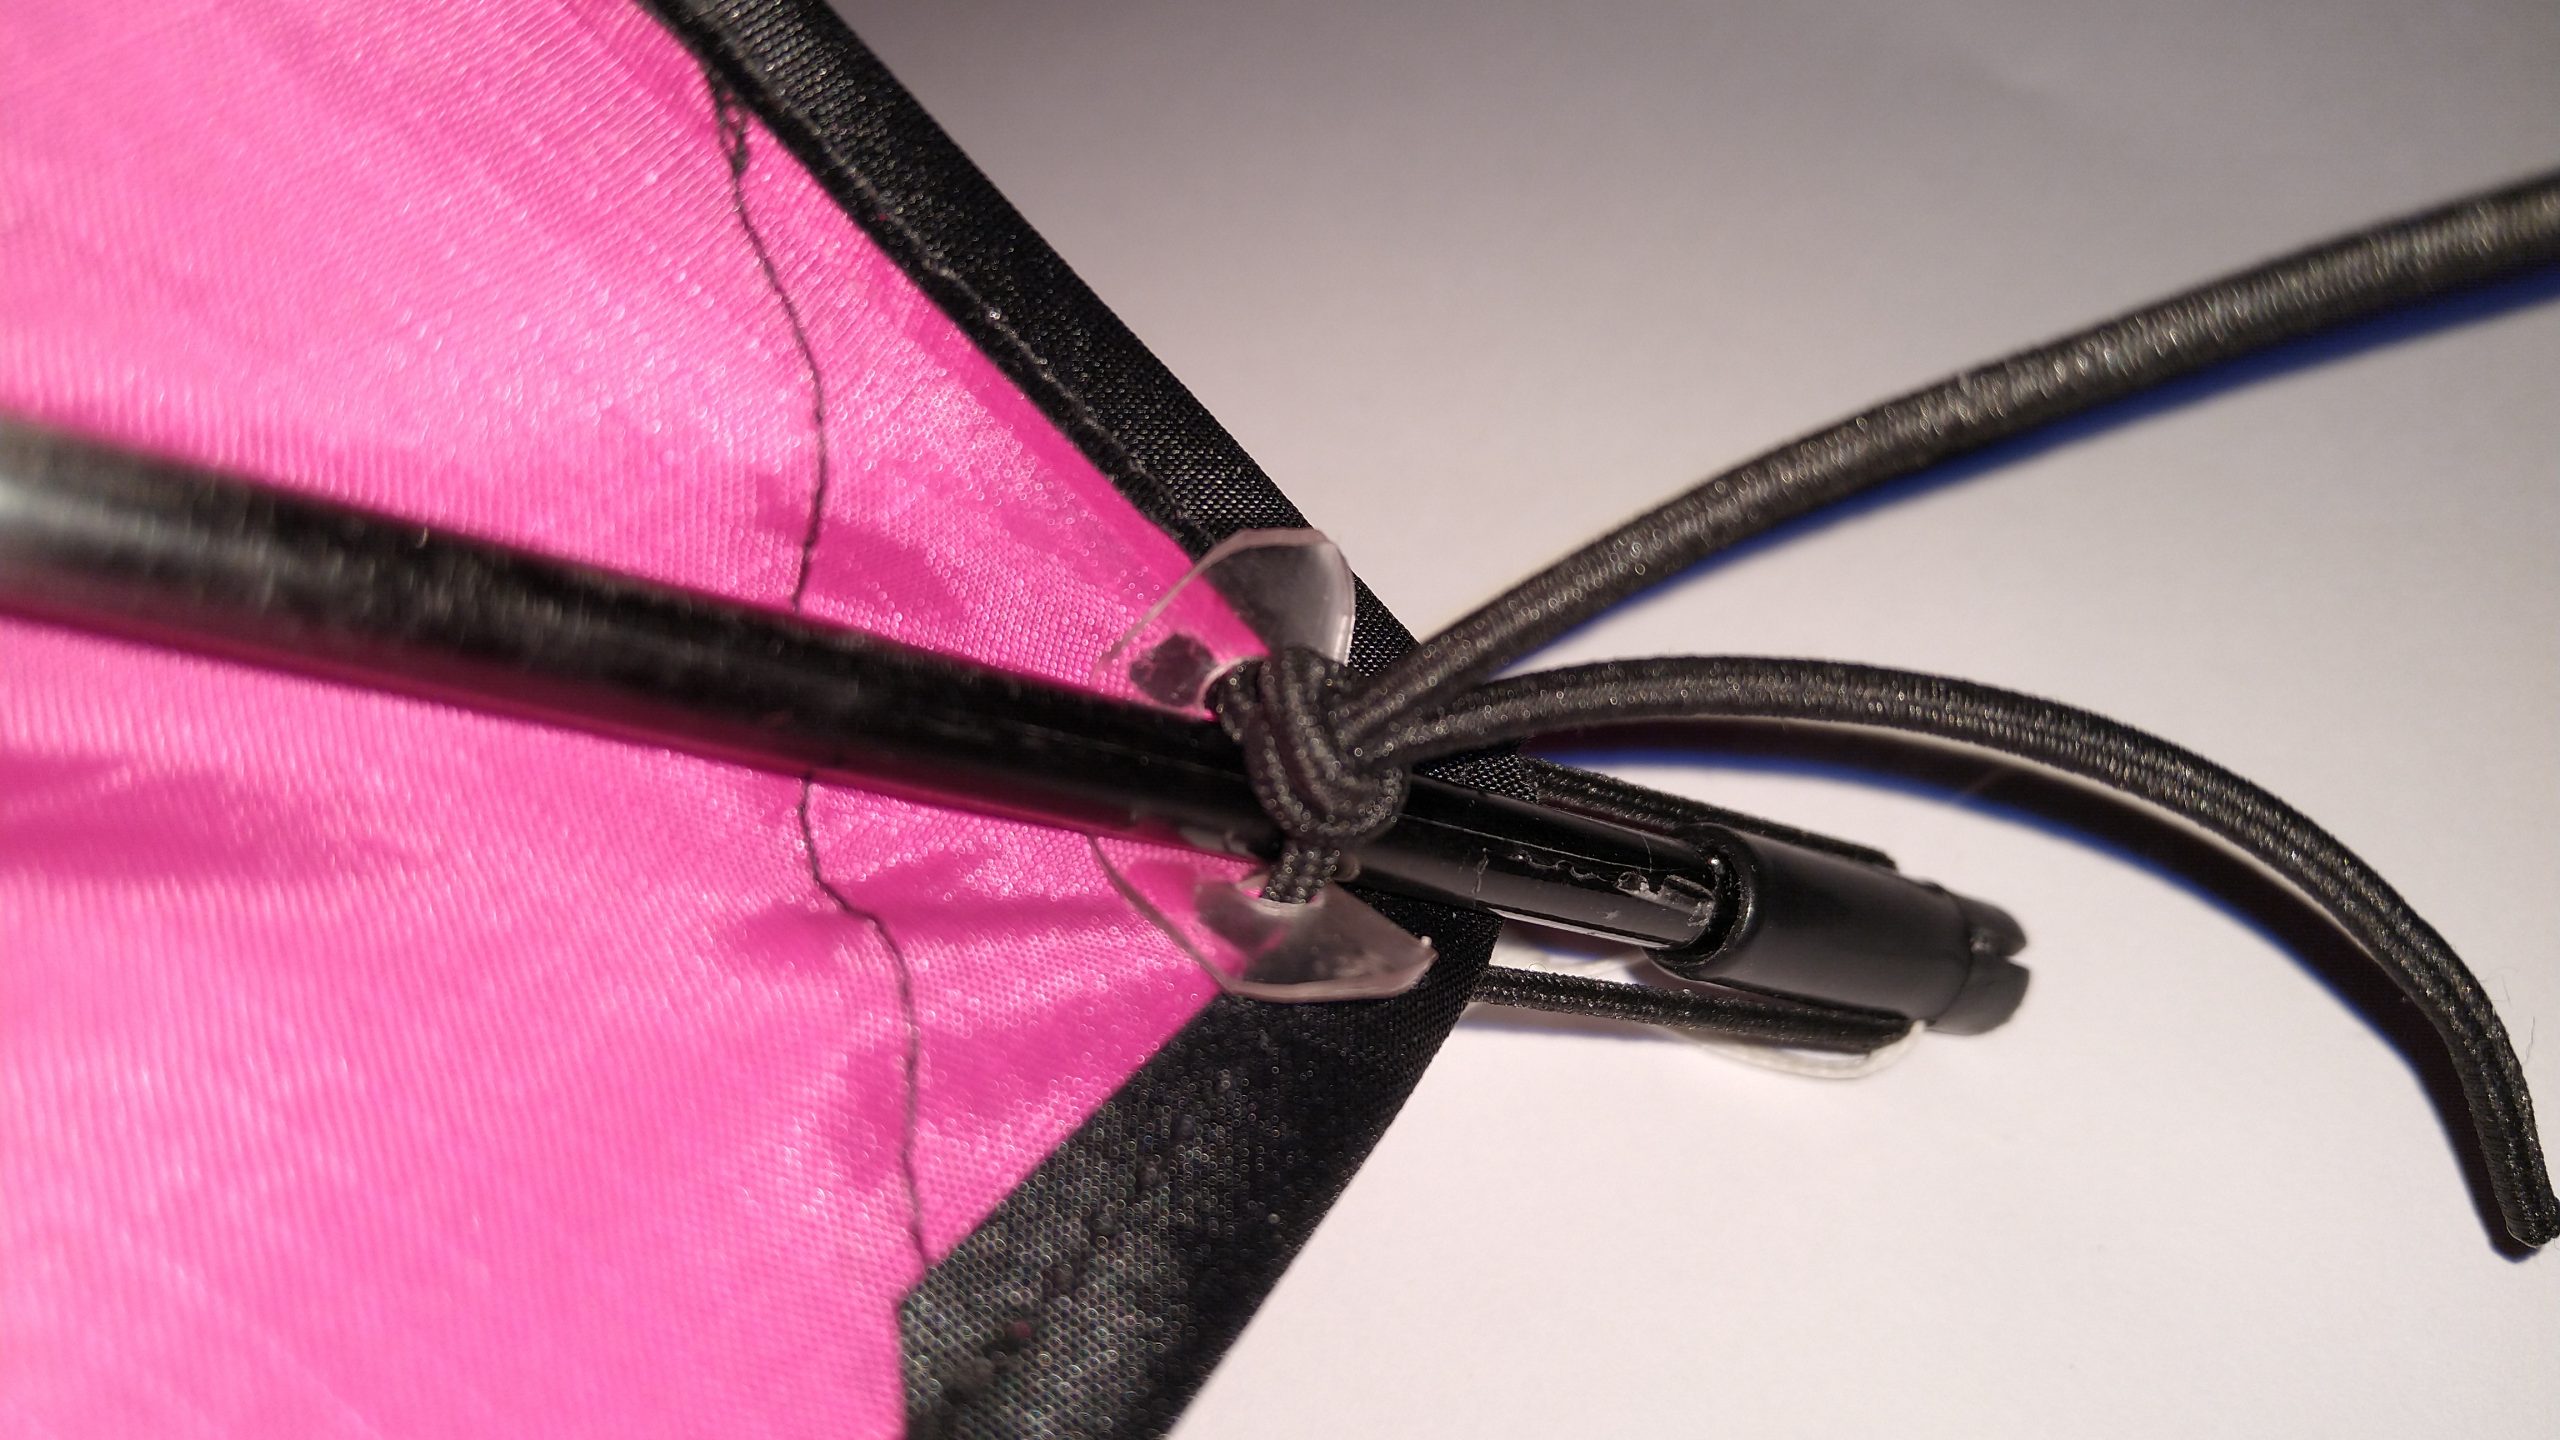
You know the bottom end of each down spar of a quad kite. The spars can be connected to the kite by an end cap fastened to the kite with a bungee. In order to reduce wear on the fabric, the lower ‘corners’ are reinforced with a piece of dacron.
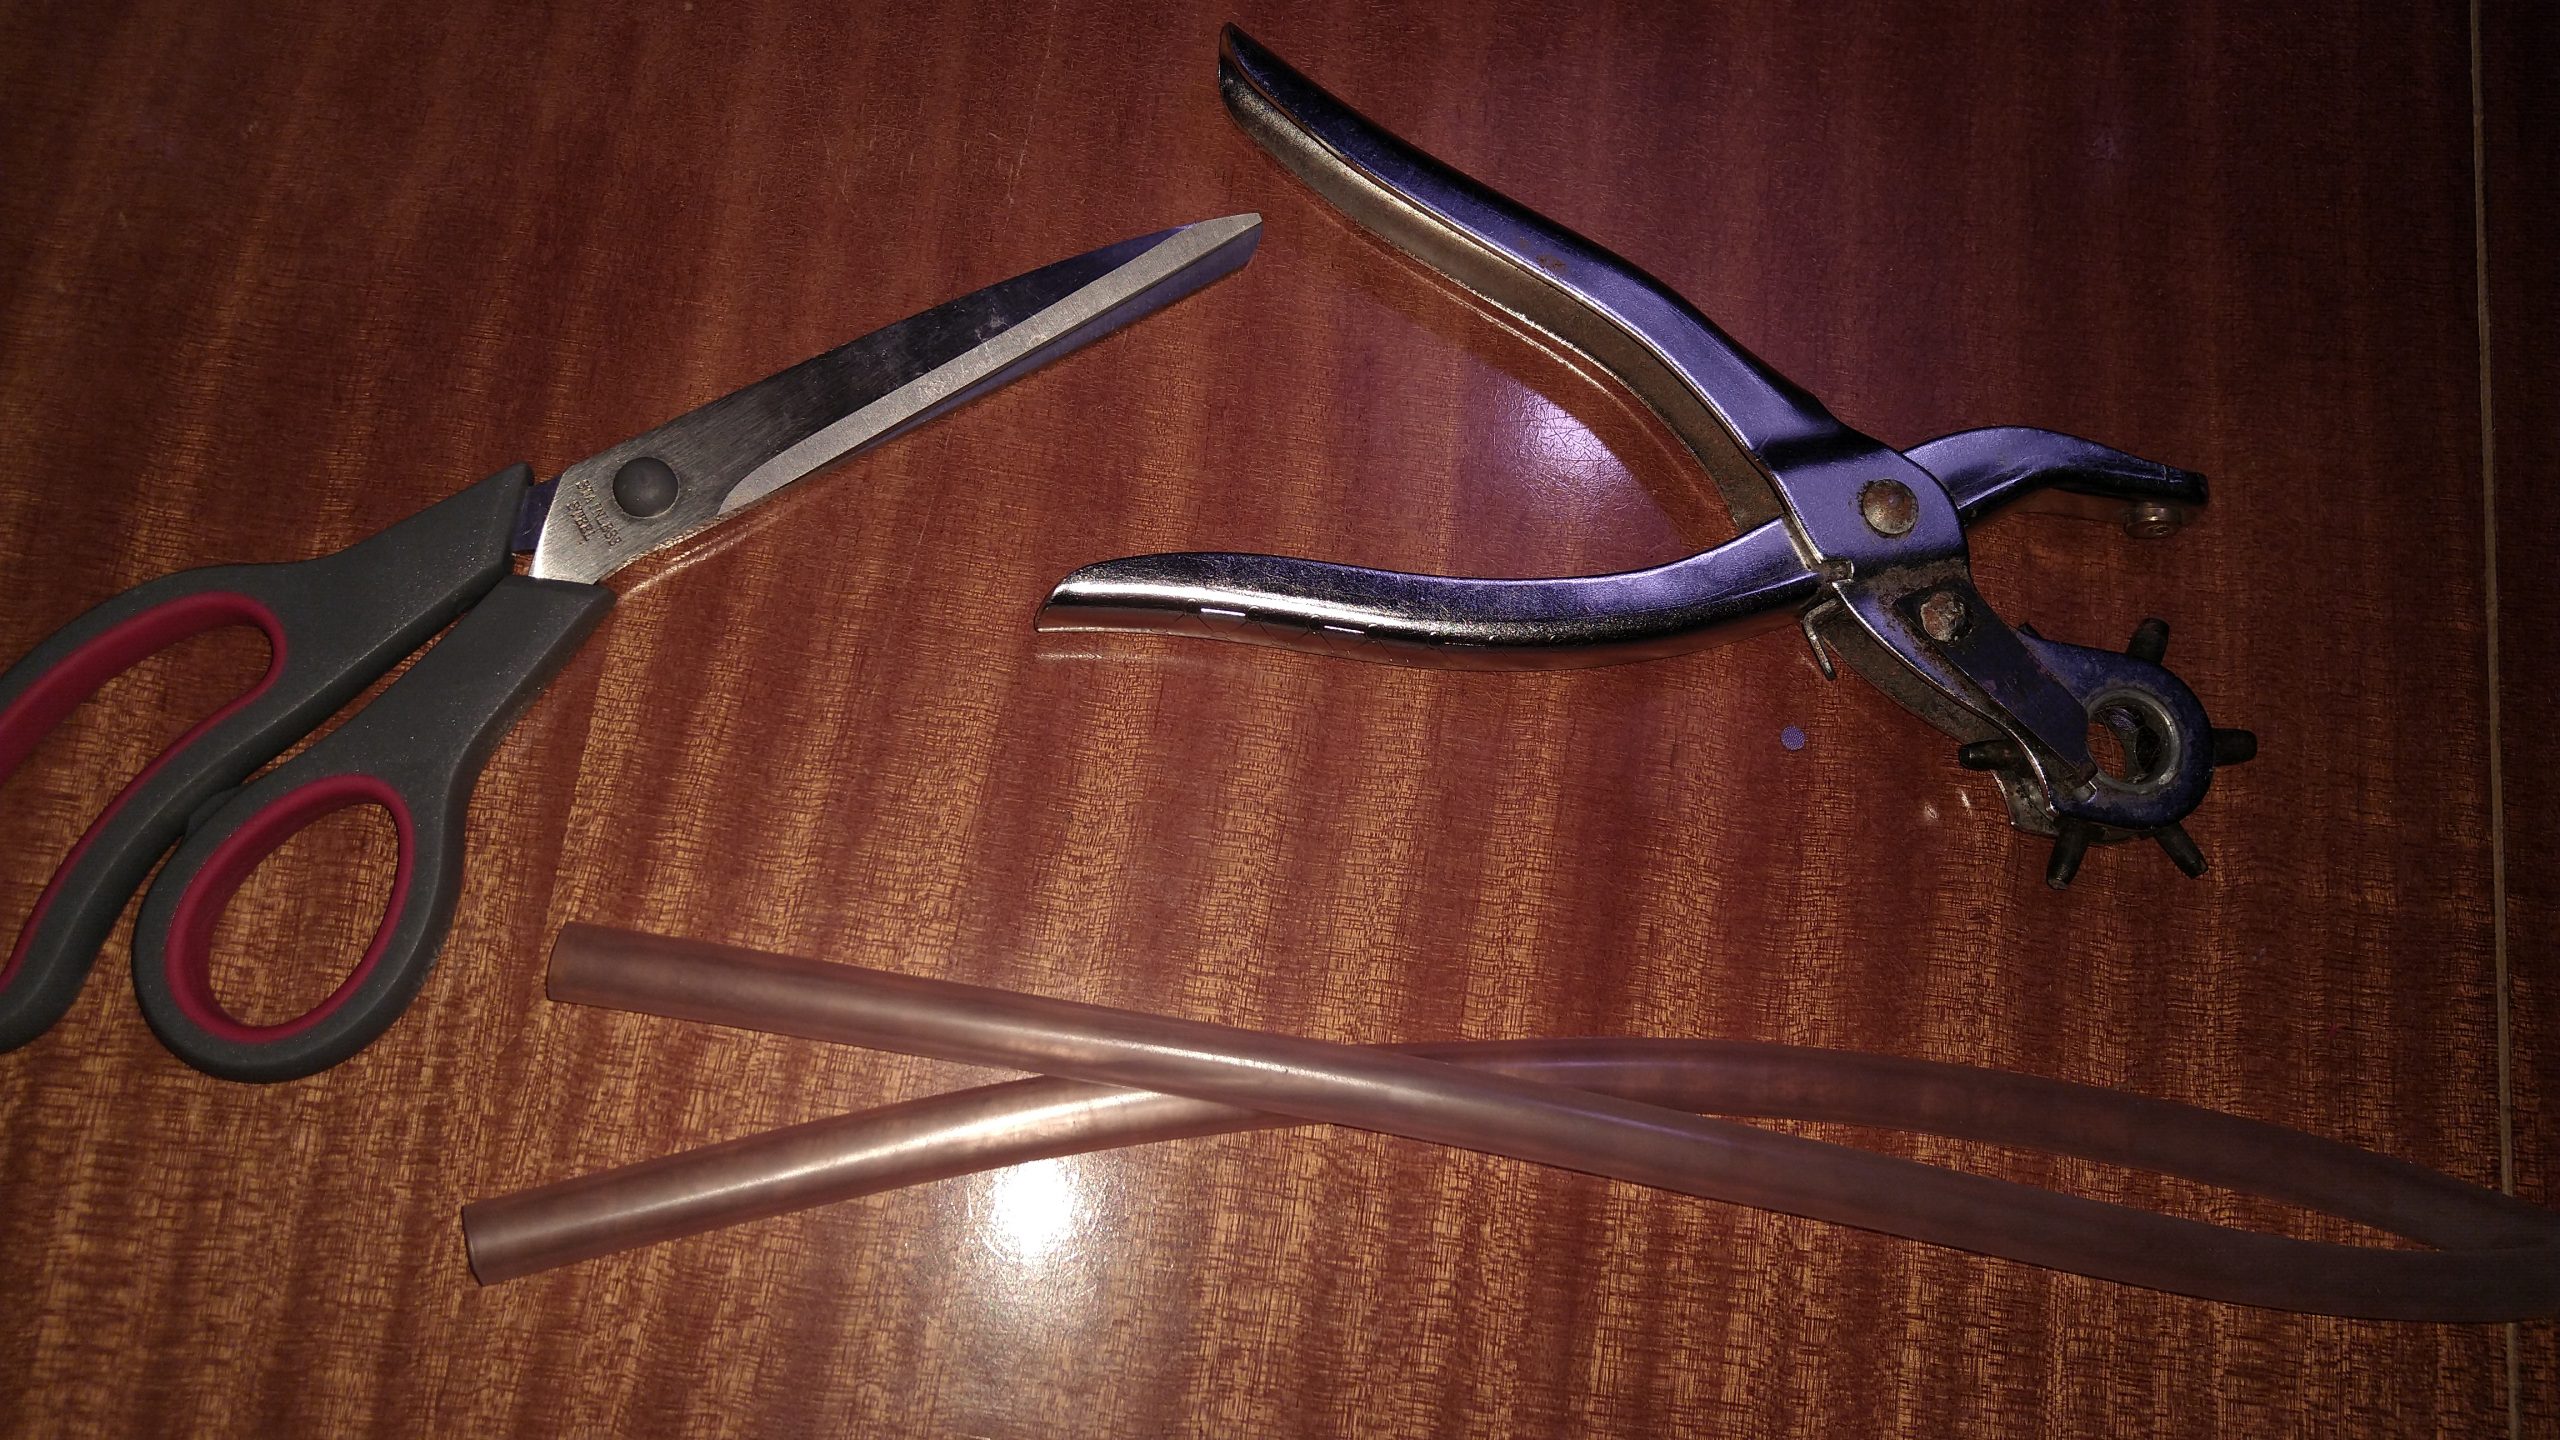
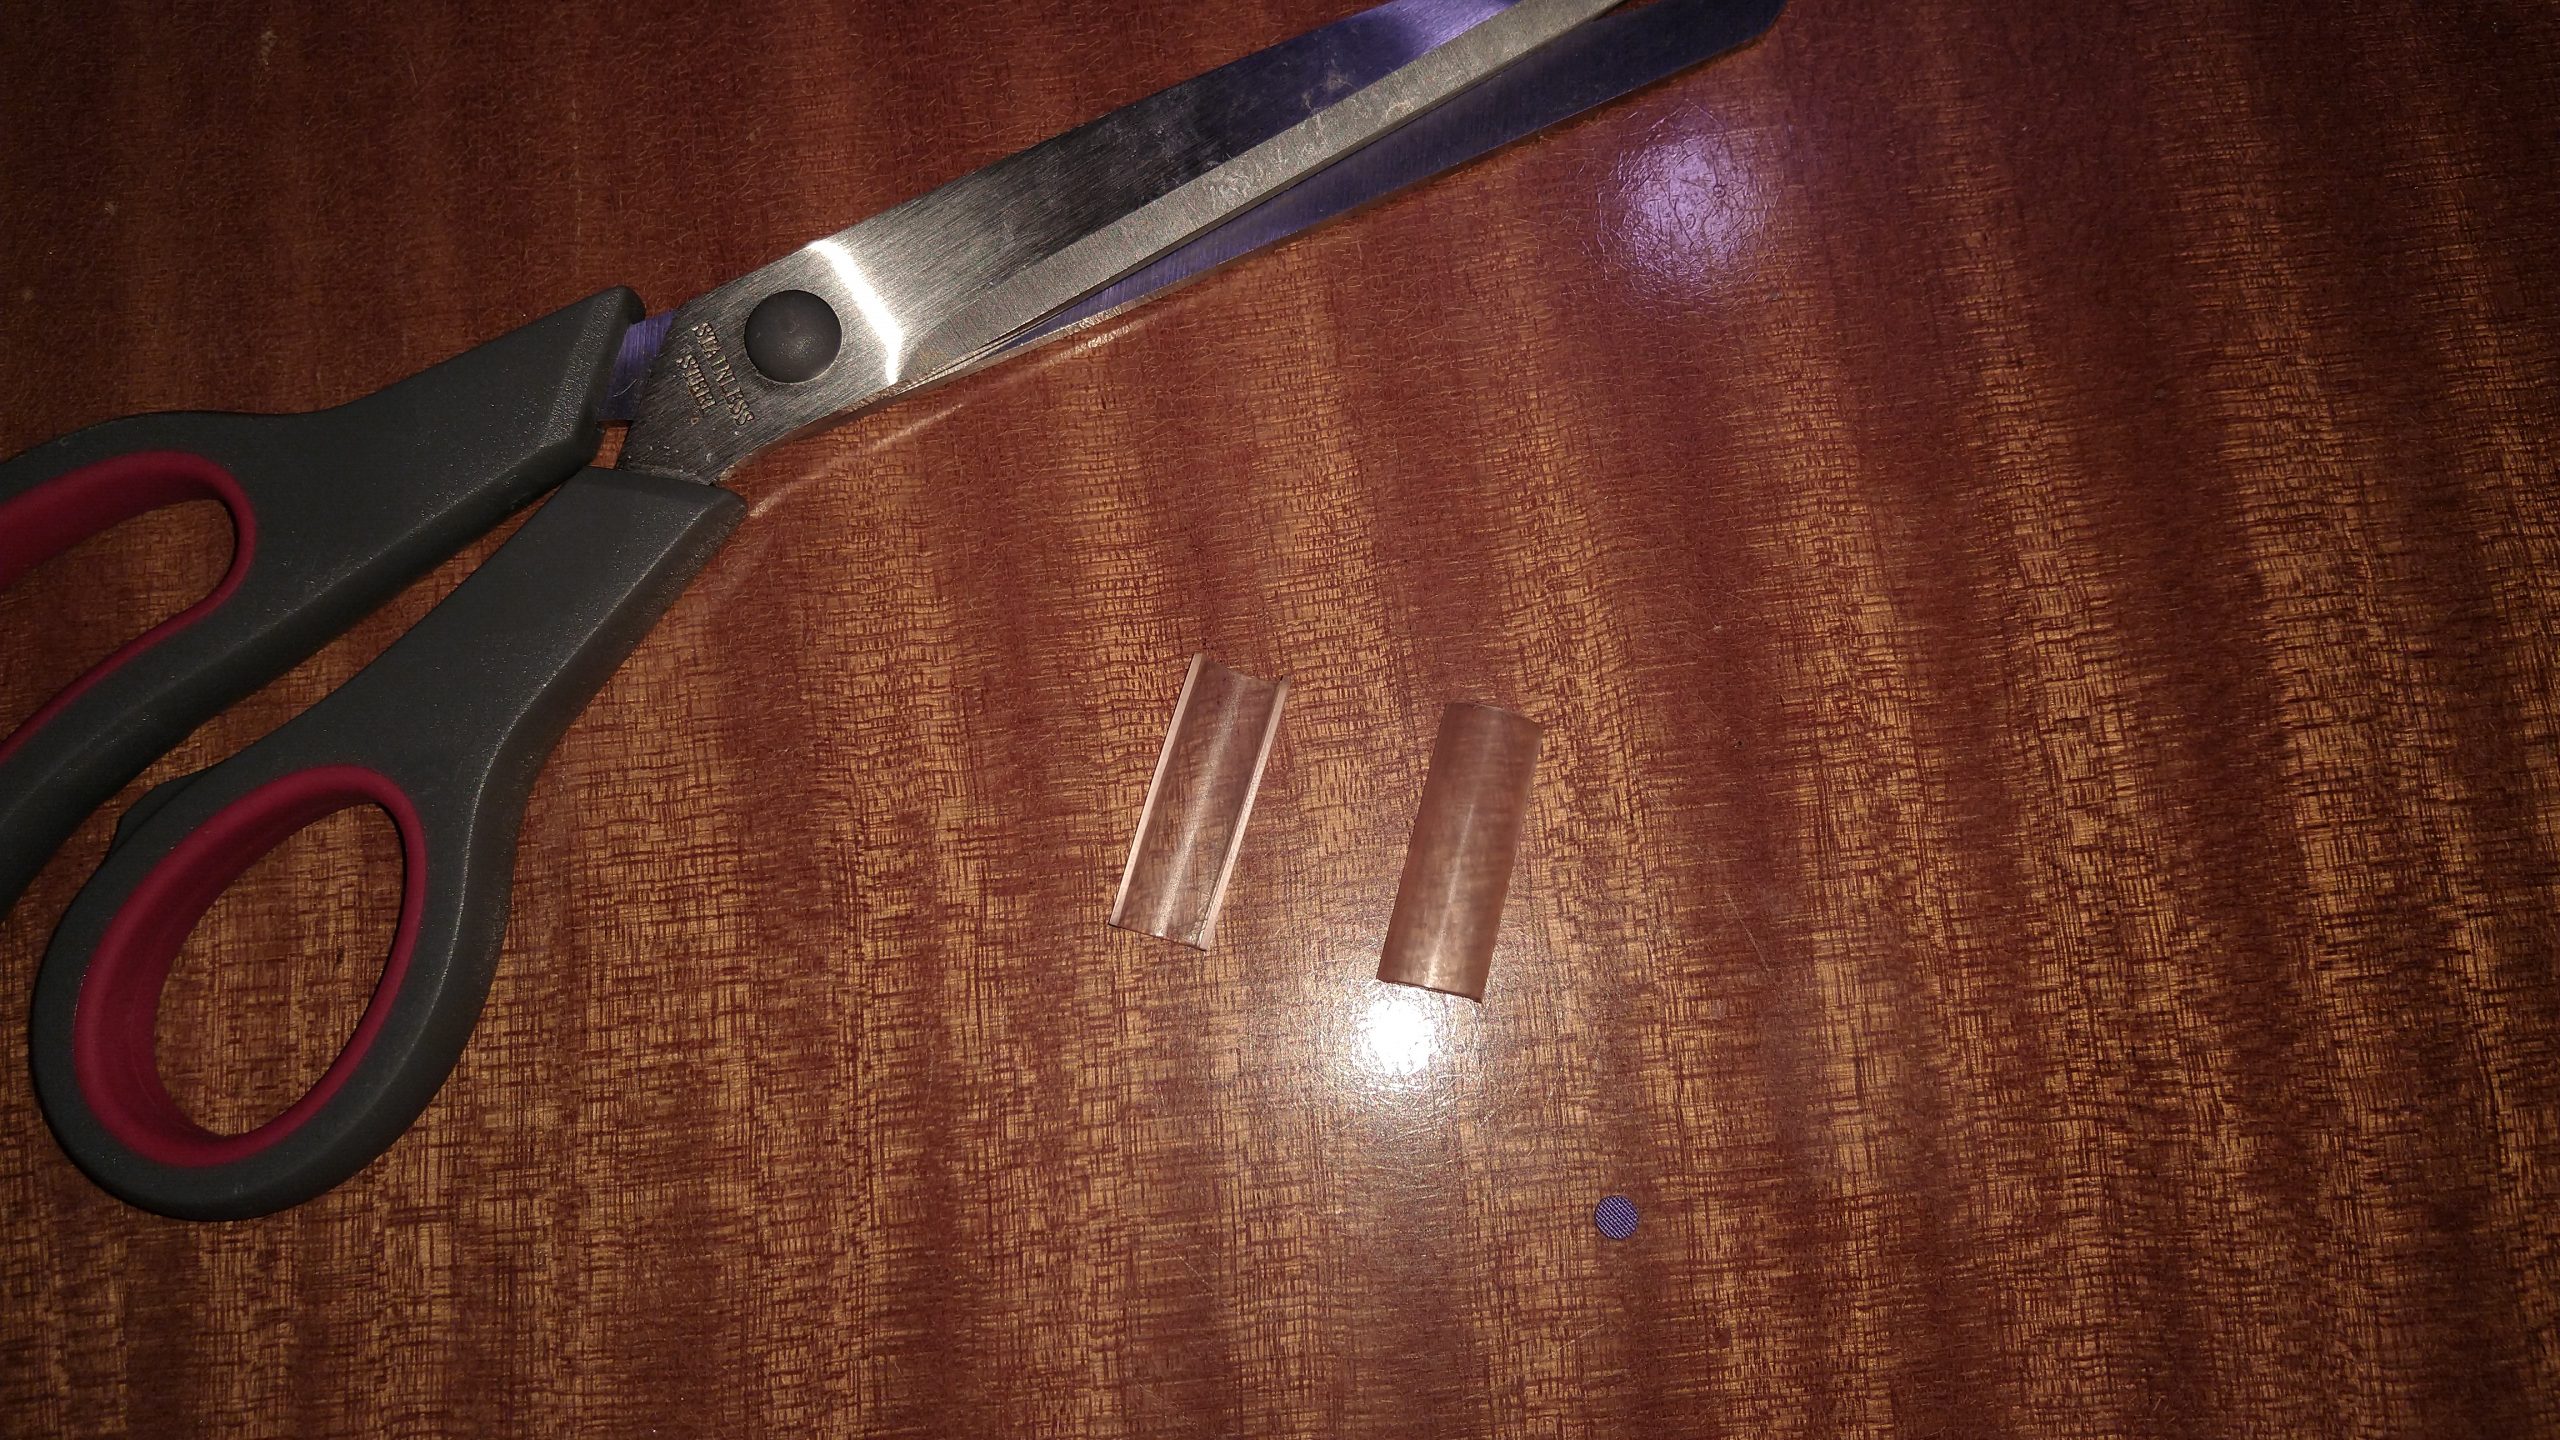
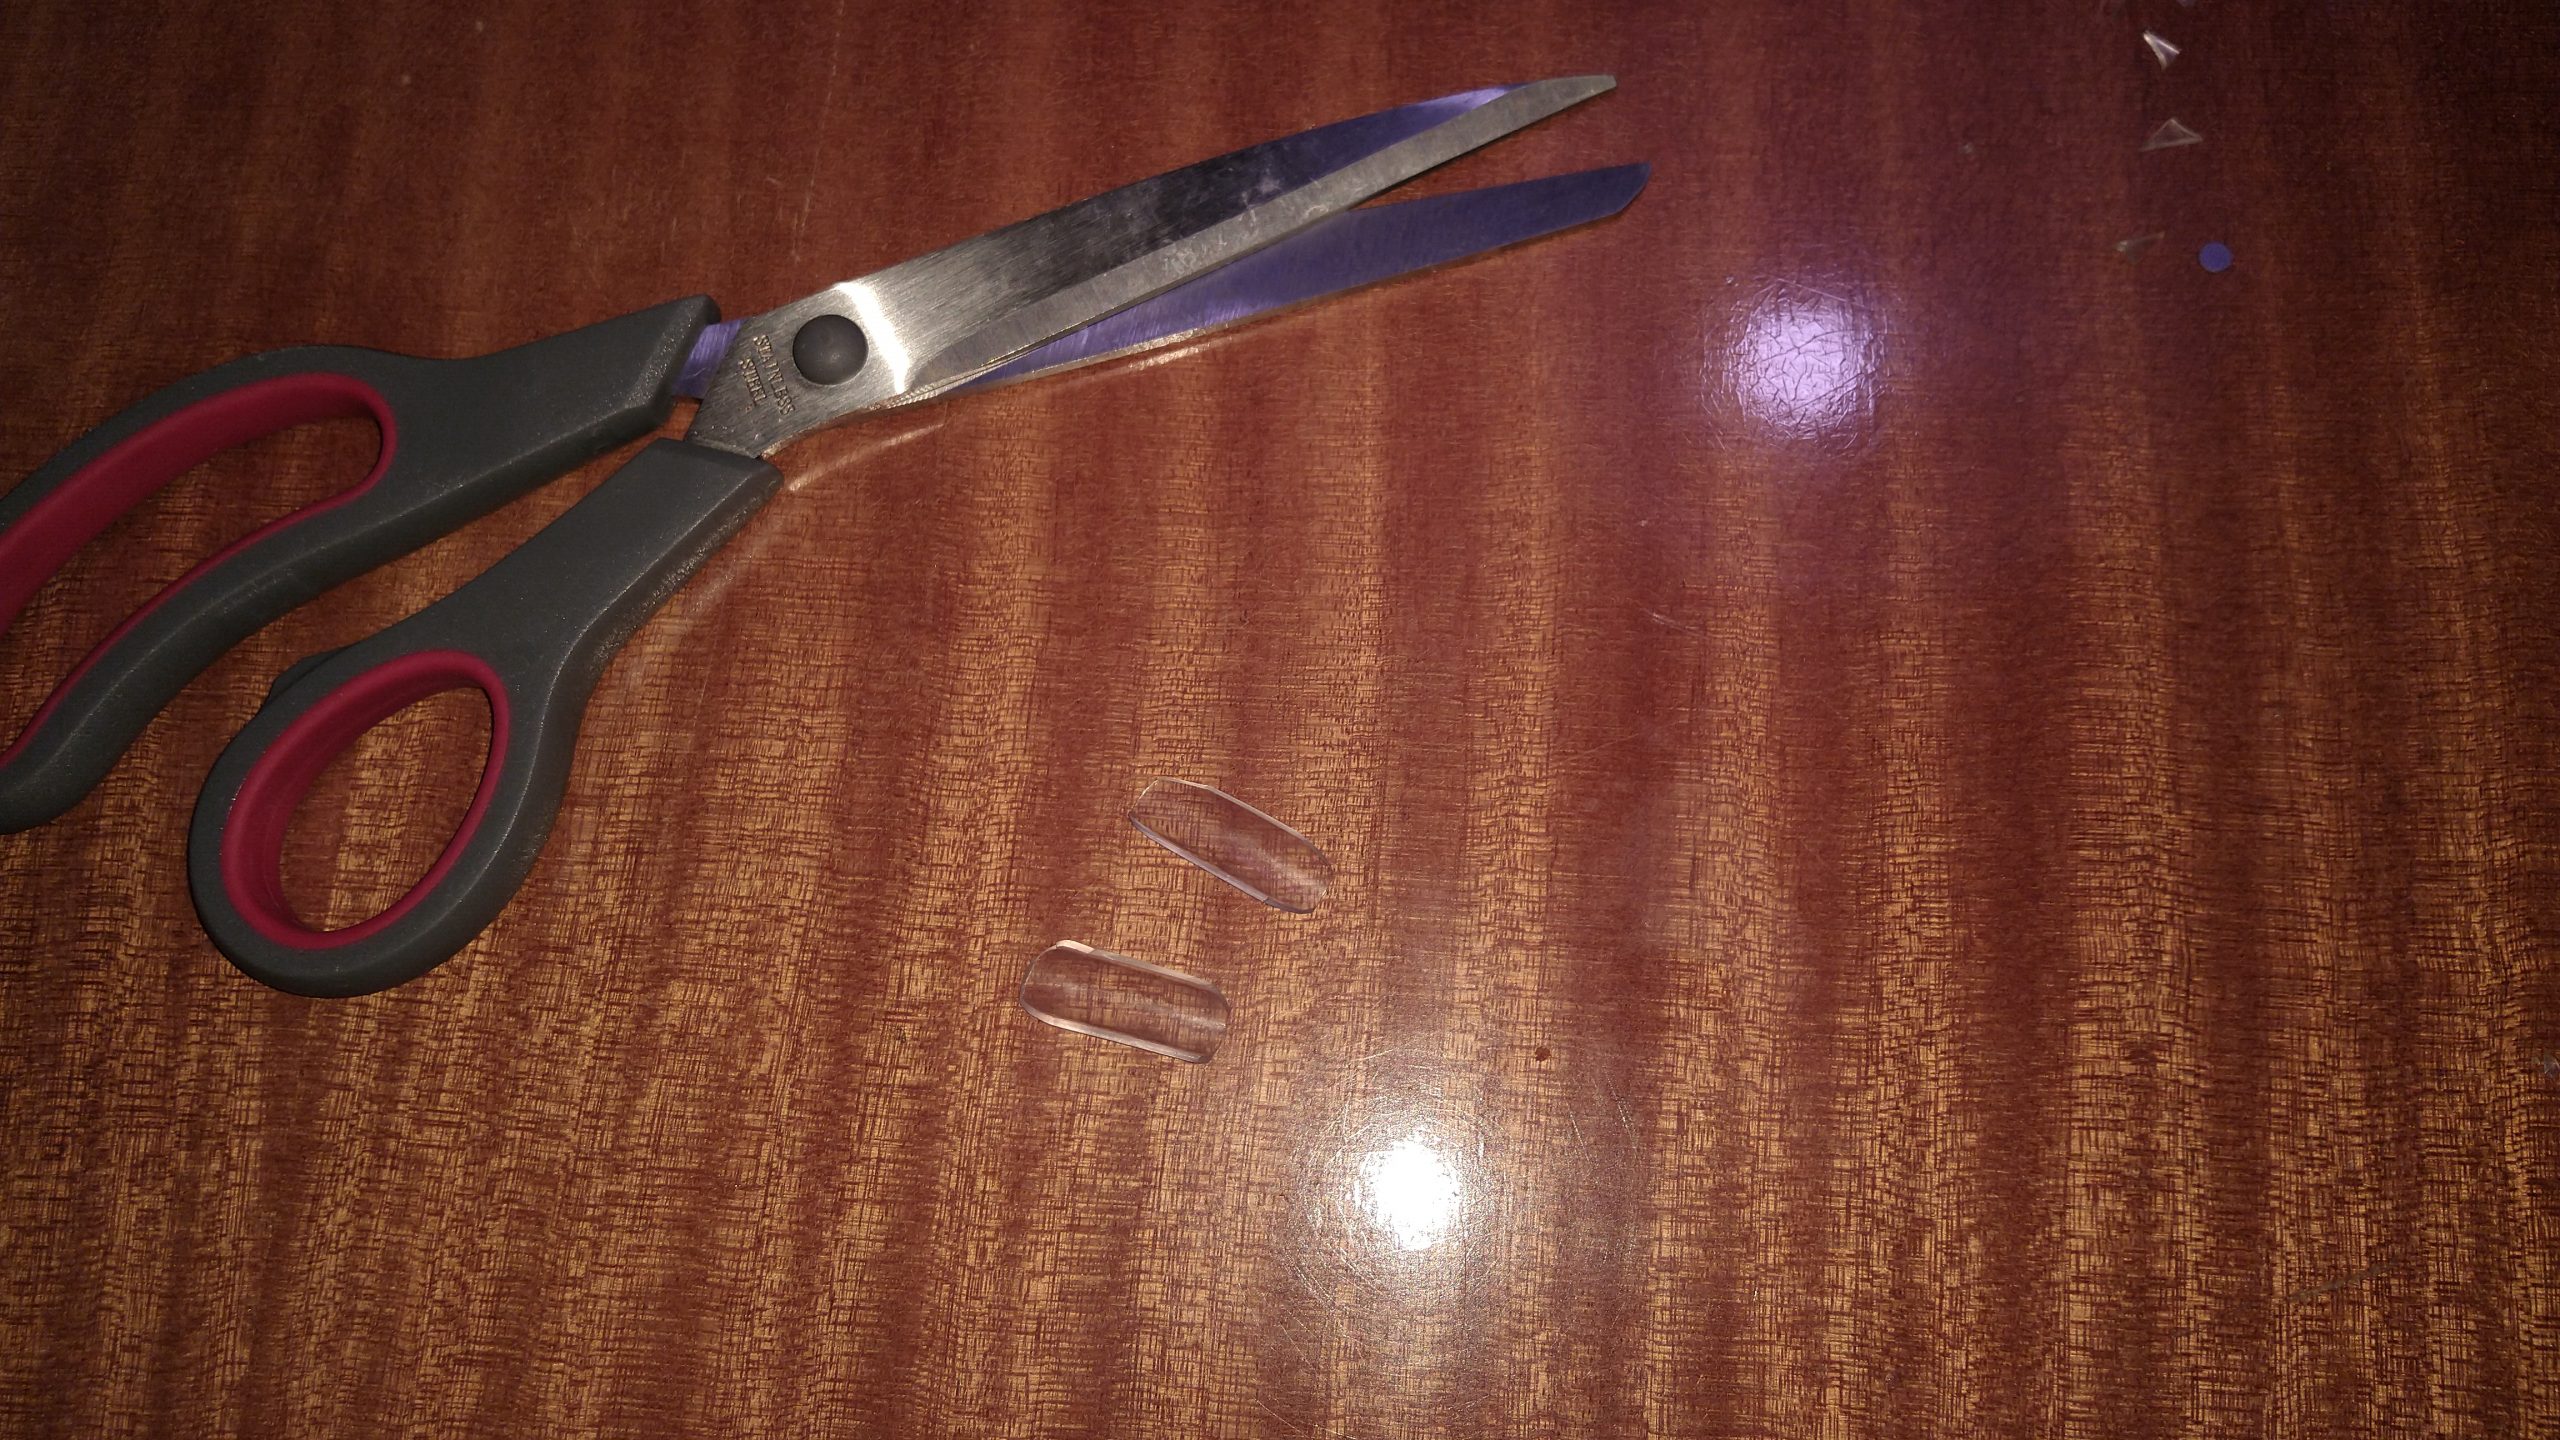
I use the same dacron reinforcement when I build QLKs, but also I use another type of reinforcement. It’s a cut-out piece of a transparent hose (used for aquariums) with two holes punched through.
But rather than me complicating this with more words, why not take a look at the photos below. I think they clear things up!

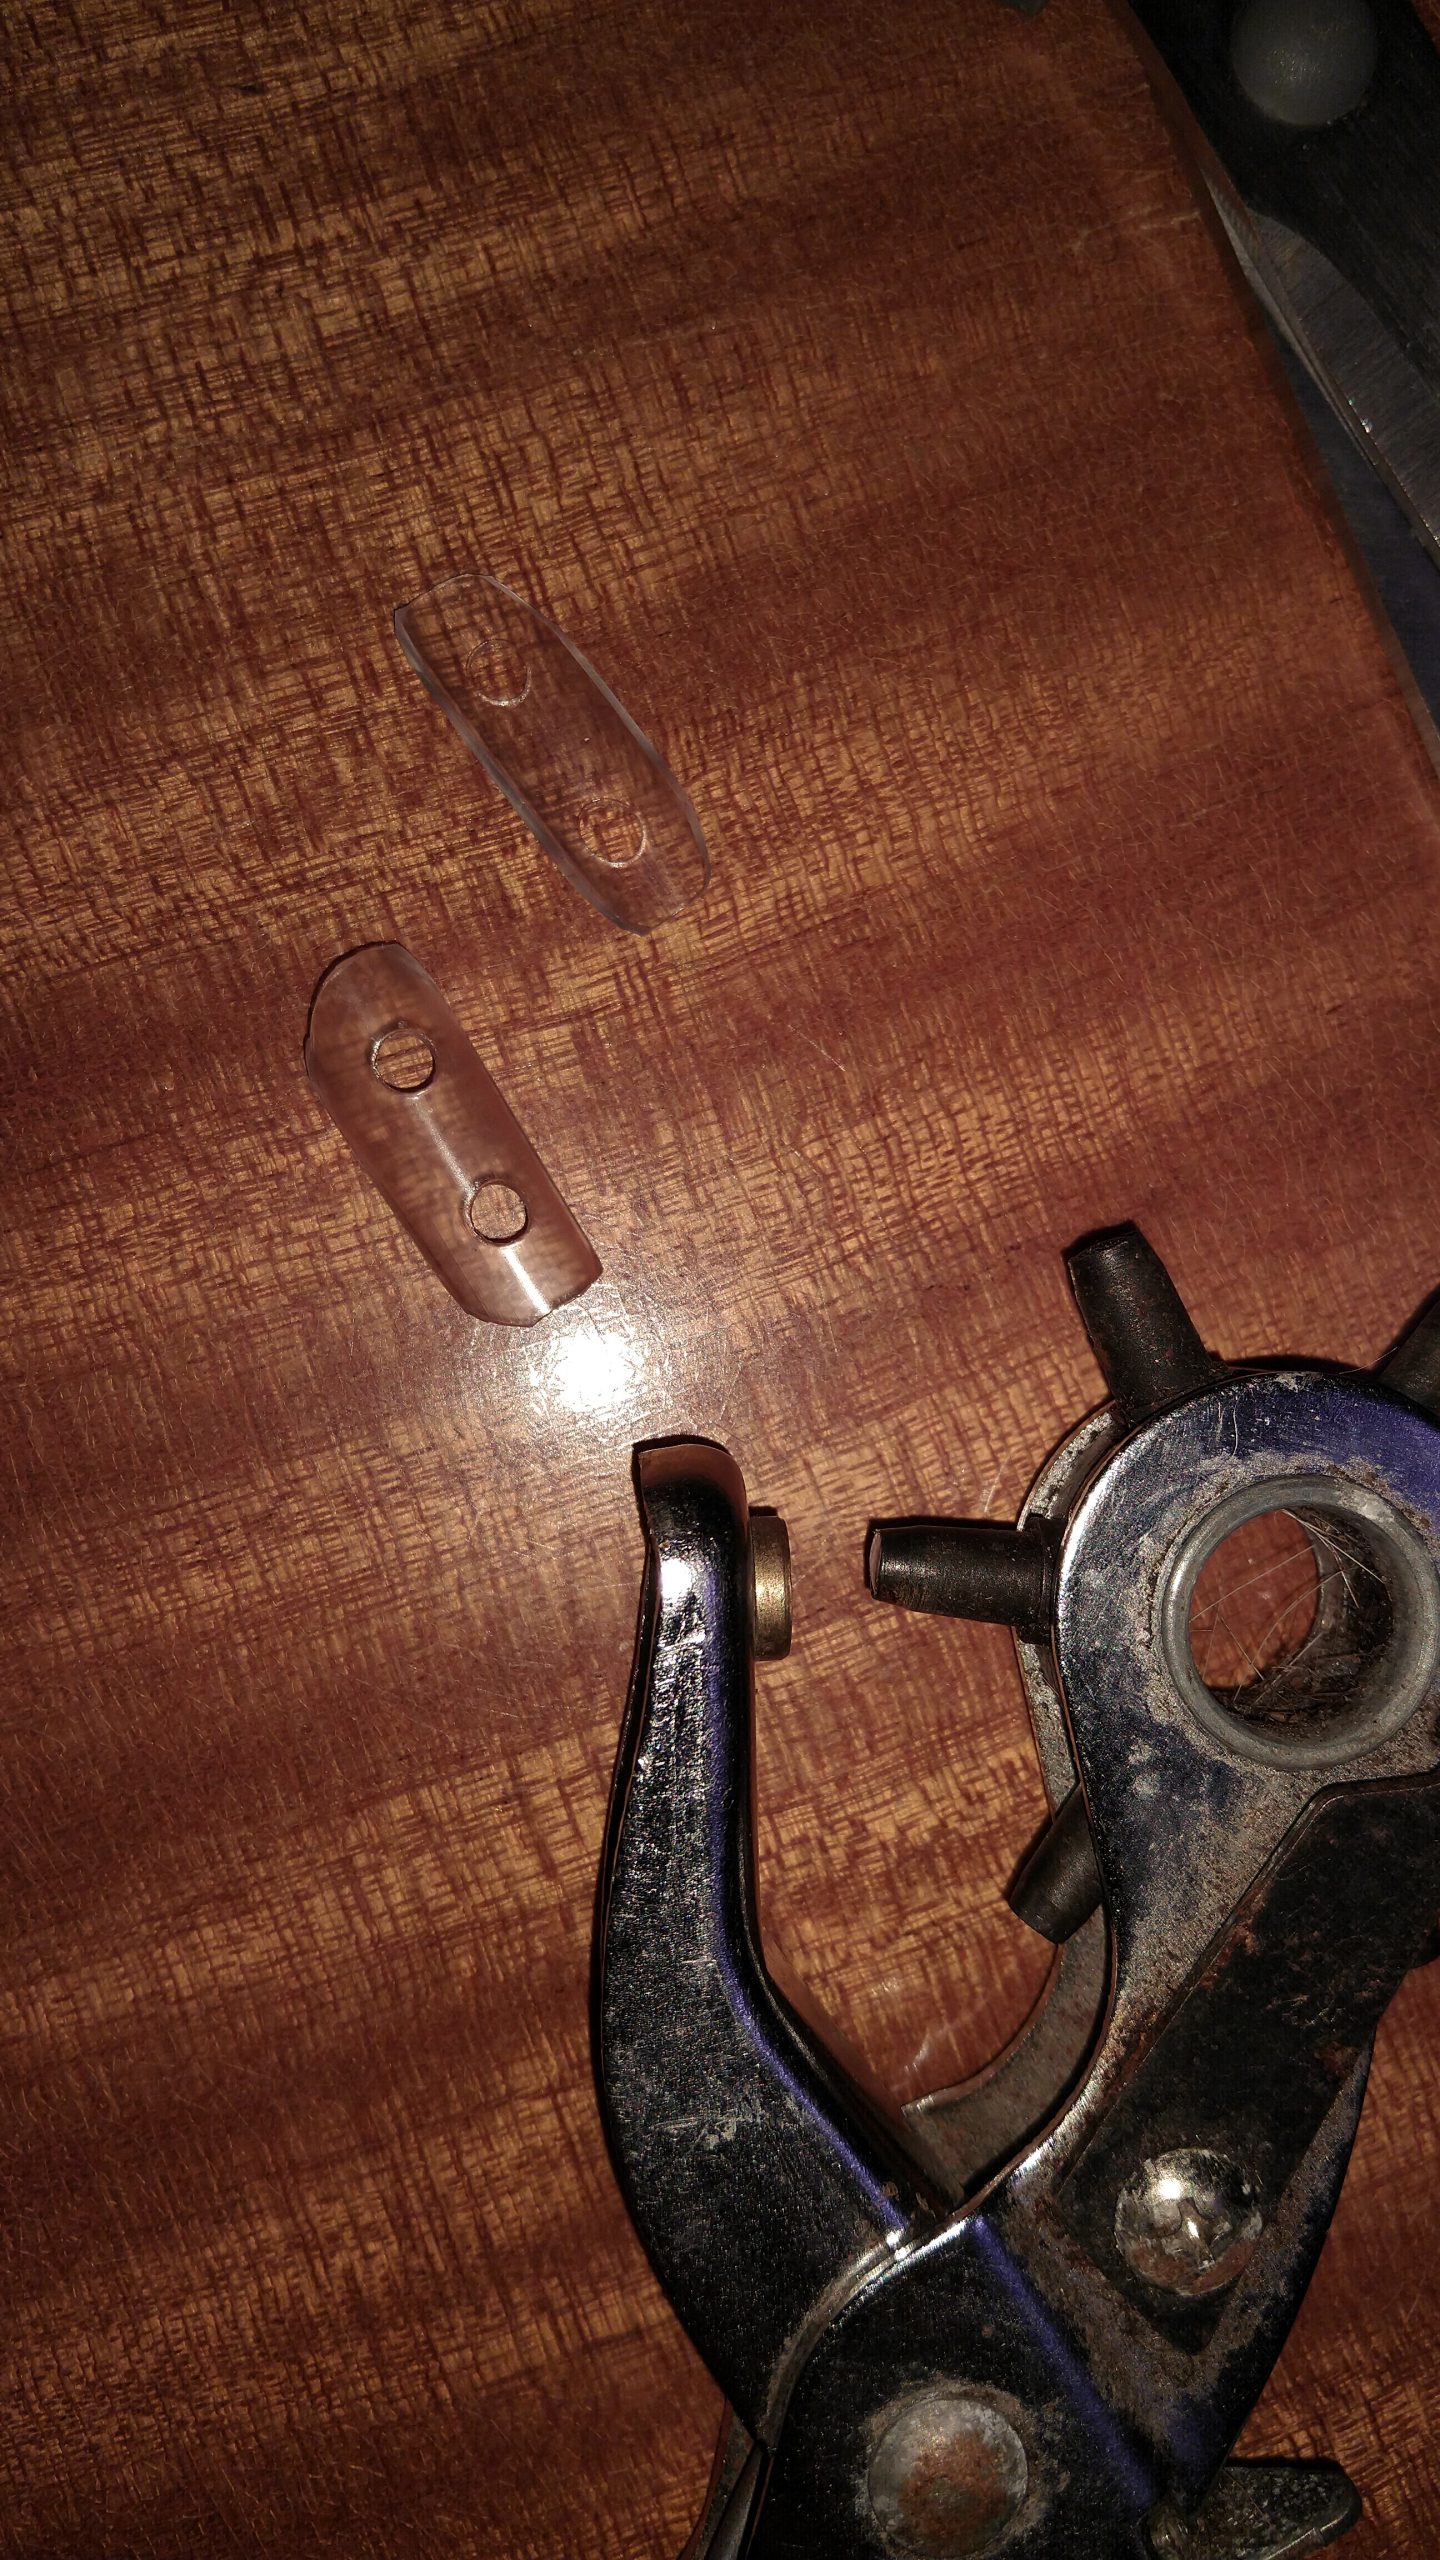

…and that’s all there’s to it. It will only take you five minutes and make your kite a tad more resistant to wear and tear! ?