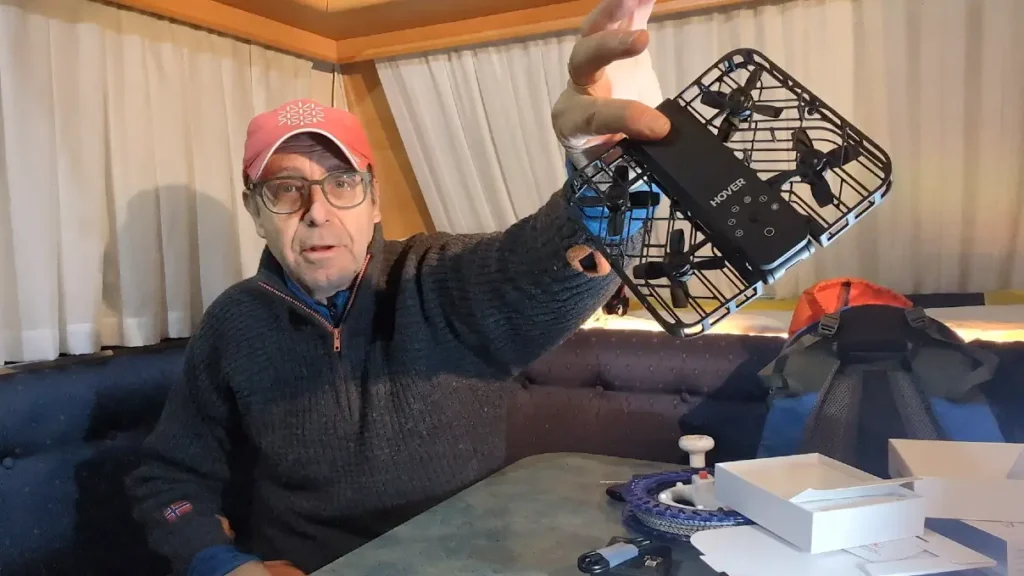
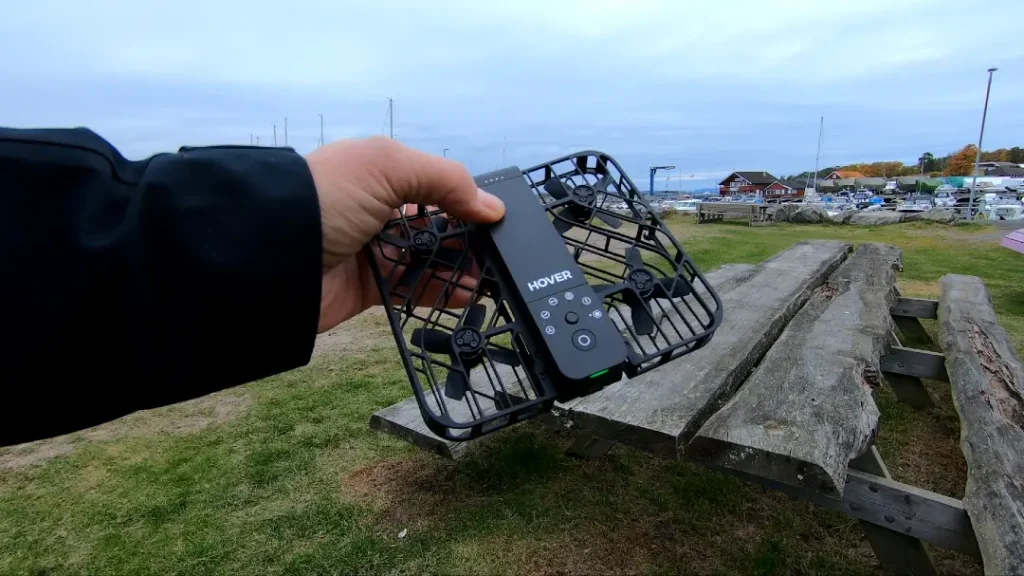
I’m starting to get the hang of using my Hover Air X1 now. It’s so simple to use. Download the app, activate the drone/camera, put your phone away and … just fly! Yes, it’s that easy!
As soon as you have activated the Hover Air X1 you really don’t need your phone (aka controller) anymore. The different autonomous flying modes are available literally with a push of a button. So just power it up, select your flight mode and let it fly!
The footage this little gadget is capturing is impressive. No, you only get 2.7k at 30 fps (2704 x 1520) or 1920 x 1080 at 60 fps or 1920 x 1080 at 30 fps HDR, so don’t expect super high resolution like you will get using other drones, like DJIs or others. But you’ll get surprisingly good image stabilisation, horizontal levelling and optical following functionality.
If you’re interested, you can read more about the nitty-gritty at the Hover Air X1’s website.
I plan to use the Hover Air X1 a lot in my video content creation. I think it’s a super little tool for capturing those shots that are impossible without a camera crew whilst filming myself solo. Because that’s how I create 98% of my kite videos, all by myself!
And the more I use it the more I’m learning about how to utilize it to capture interesting (B roll) shots that I can include in my final cut videos. In the video below I’ve included shots captured with the Hover Air X1 only and put them all together in the post process.
And I’ve only started to scratch the surface. I have many ideas on how to use this fun tool in my coming videos so stay tuned for more!
…and if you wanna see another video from yesterday, follow this link!
