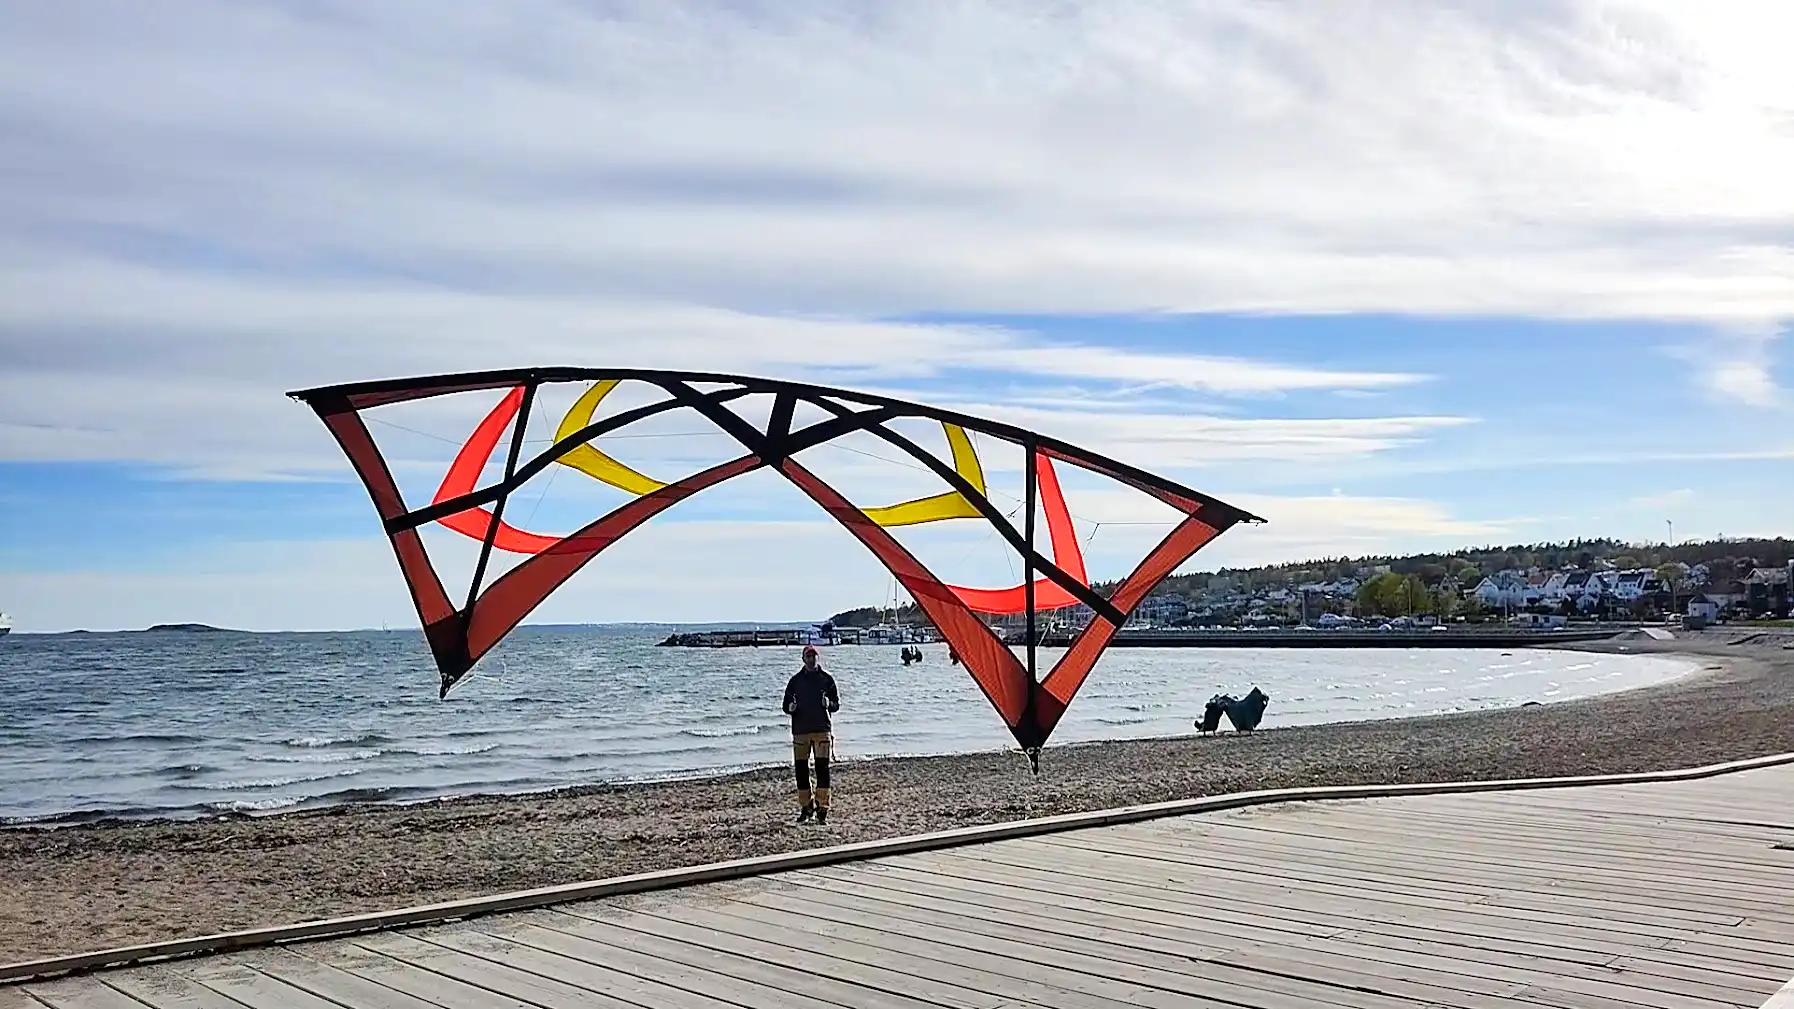
I really like to fly in light wind conditions. (Especially dual lined kites.) Somehow I get even more “in touch” with my kites. I think it’s because I must read the little wind there is to really make the most out of it. And when it drops below a certain point – which differs depending on what kite I’m flying – I must start “making” the wind myself.
The extreme point if this is flying indoor or in true no wind conditions outdoor. Then I must create sufficient pressure in the sail for the kite to fly. This is not as hard as you might think if there’s absolutely zero wind.
But how about those days when there’s just a slight draft, like 1 to 1,5 meters per second (2 to 4 mph)? You know, just a bit too much for 3D flying (unless you work your socks off) but not quite enough to effortlessly keep that kite in the air?
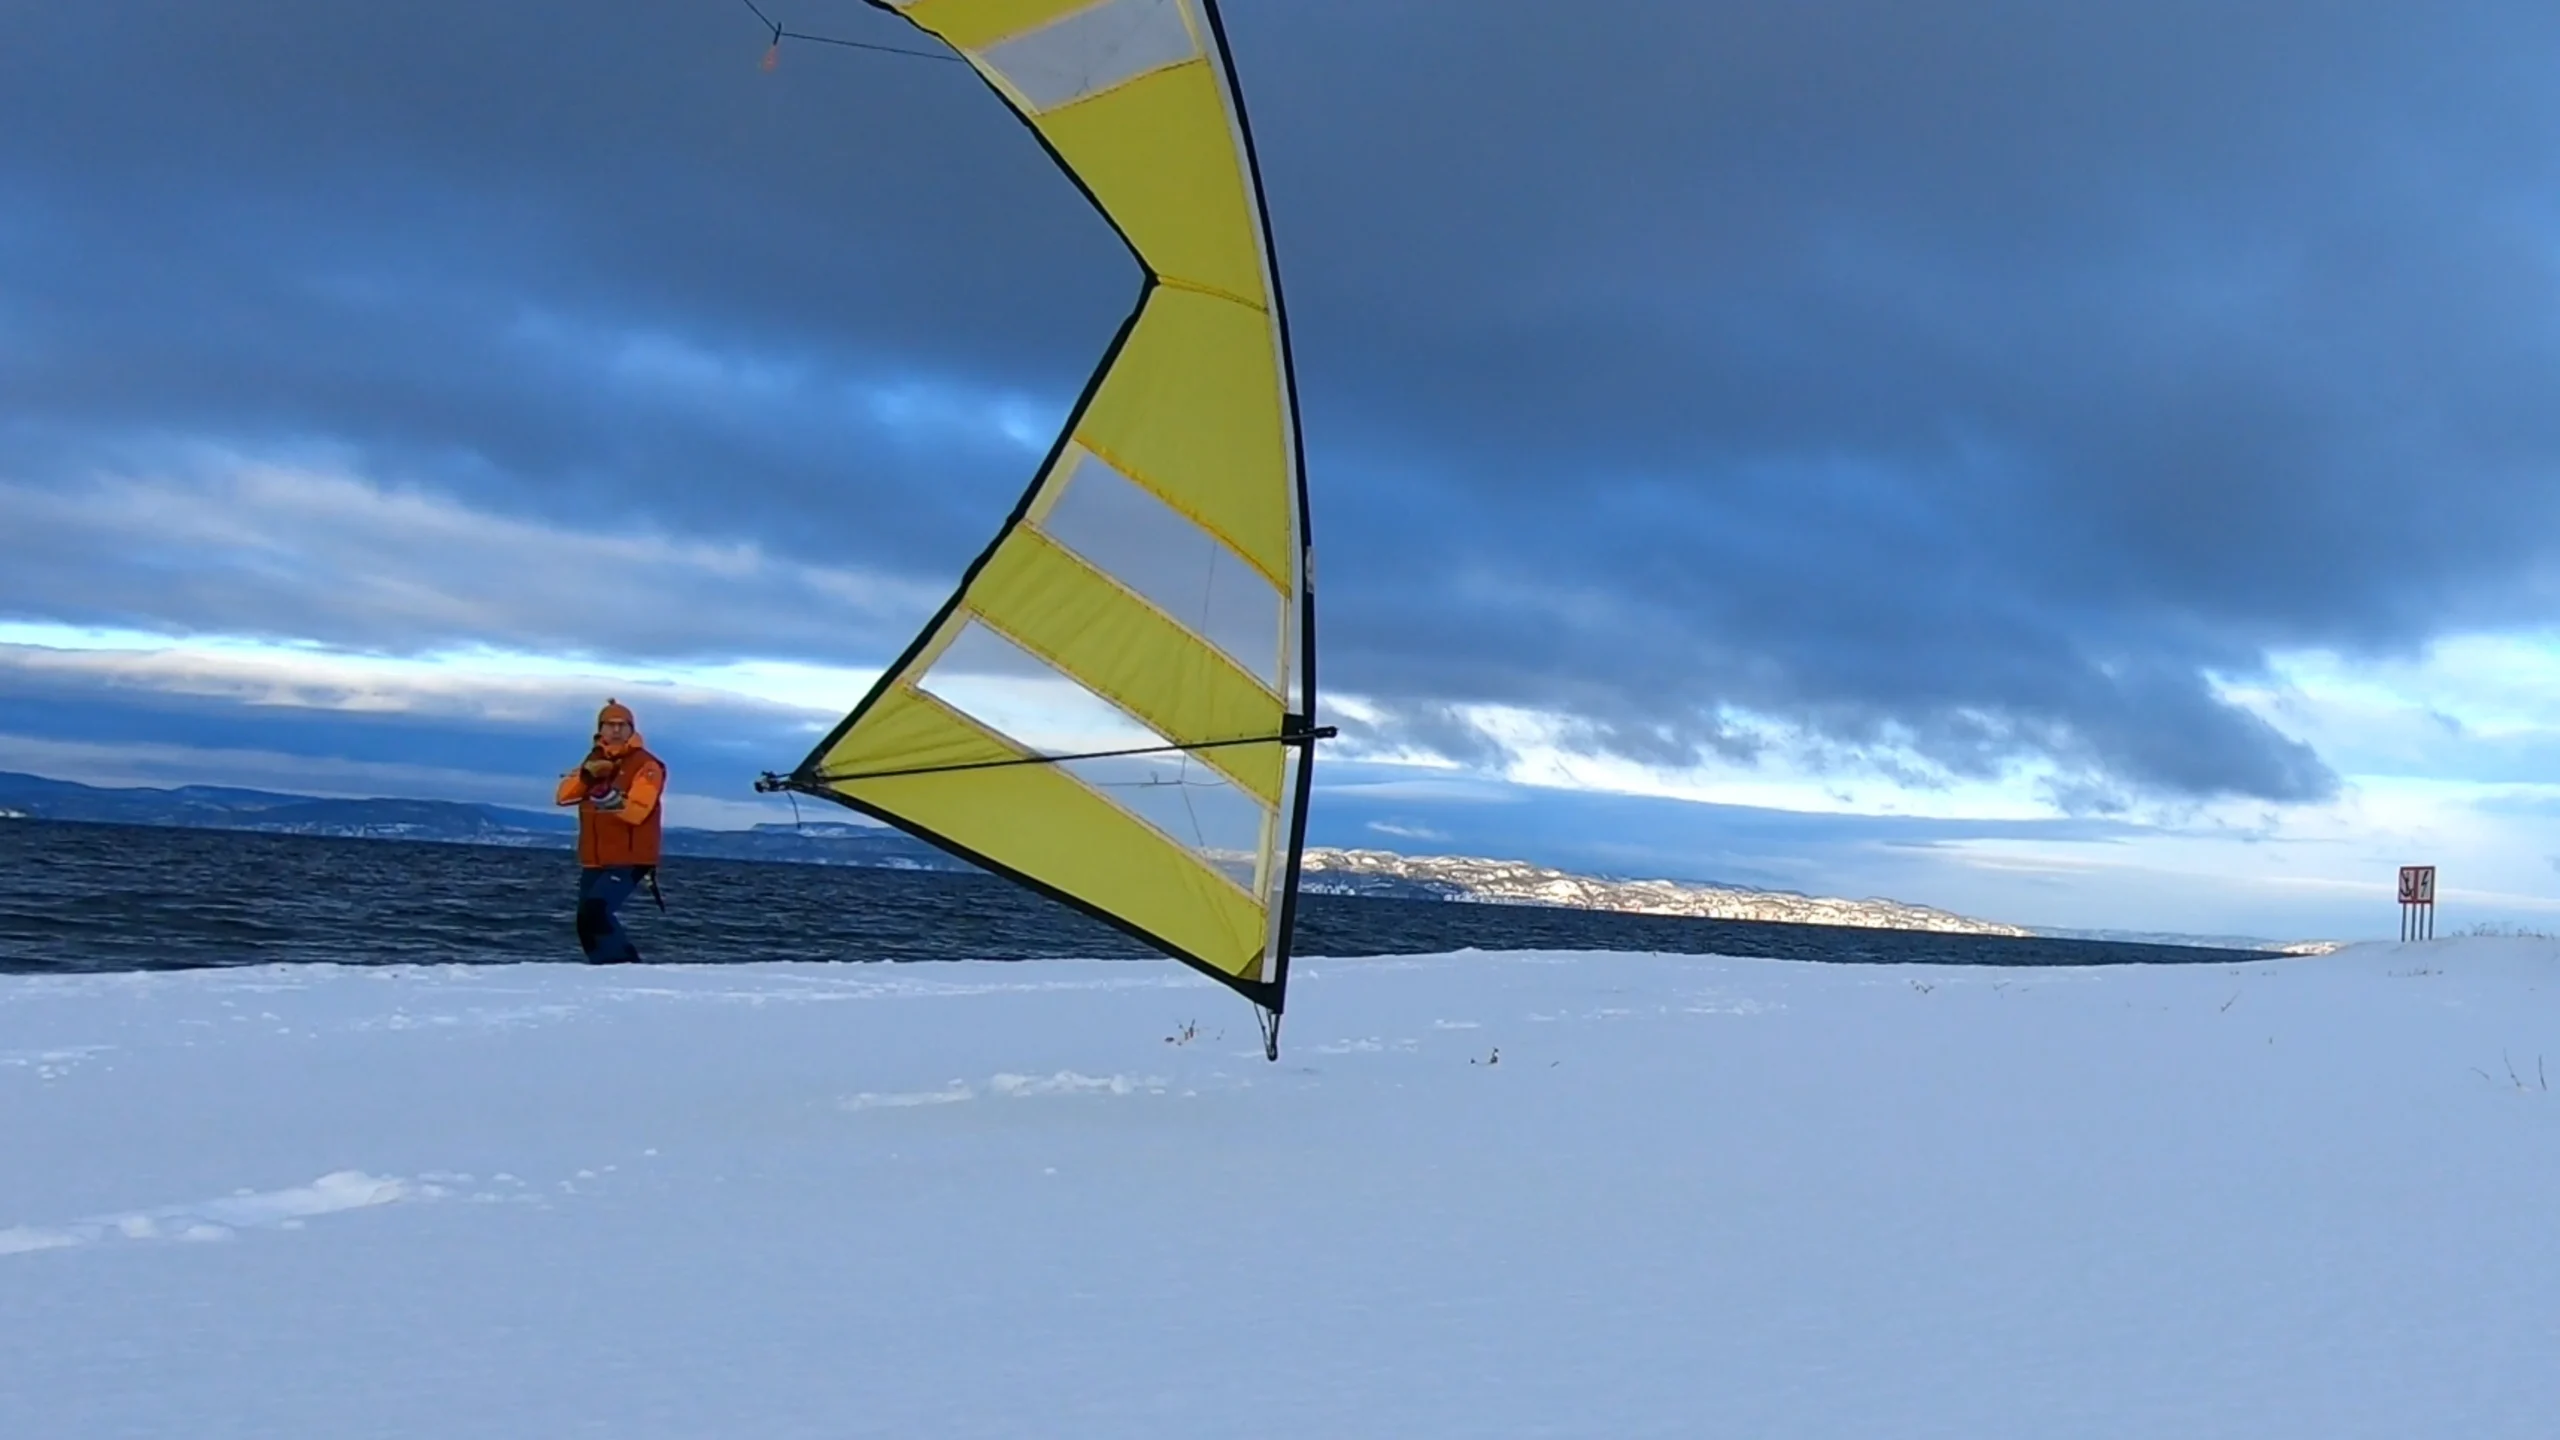
In such conditions, you will need to move backwards – upwind – to make sure there will be enough wind pressure in the sail to make the kite fly. However, you can’t move backwards forever. Sooner or later you will hit that wall, fall back into the water, step into a creek, hit a fence, a car or whatever. You’re running out of (field) space. So what to do?
No worries mate! I’ve got the solution for you. You just glide that kite and gain some ground! …and if you do it a couple of times more, you’ll end up where you started and you can keep on flying!
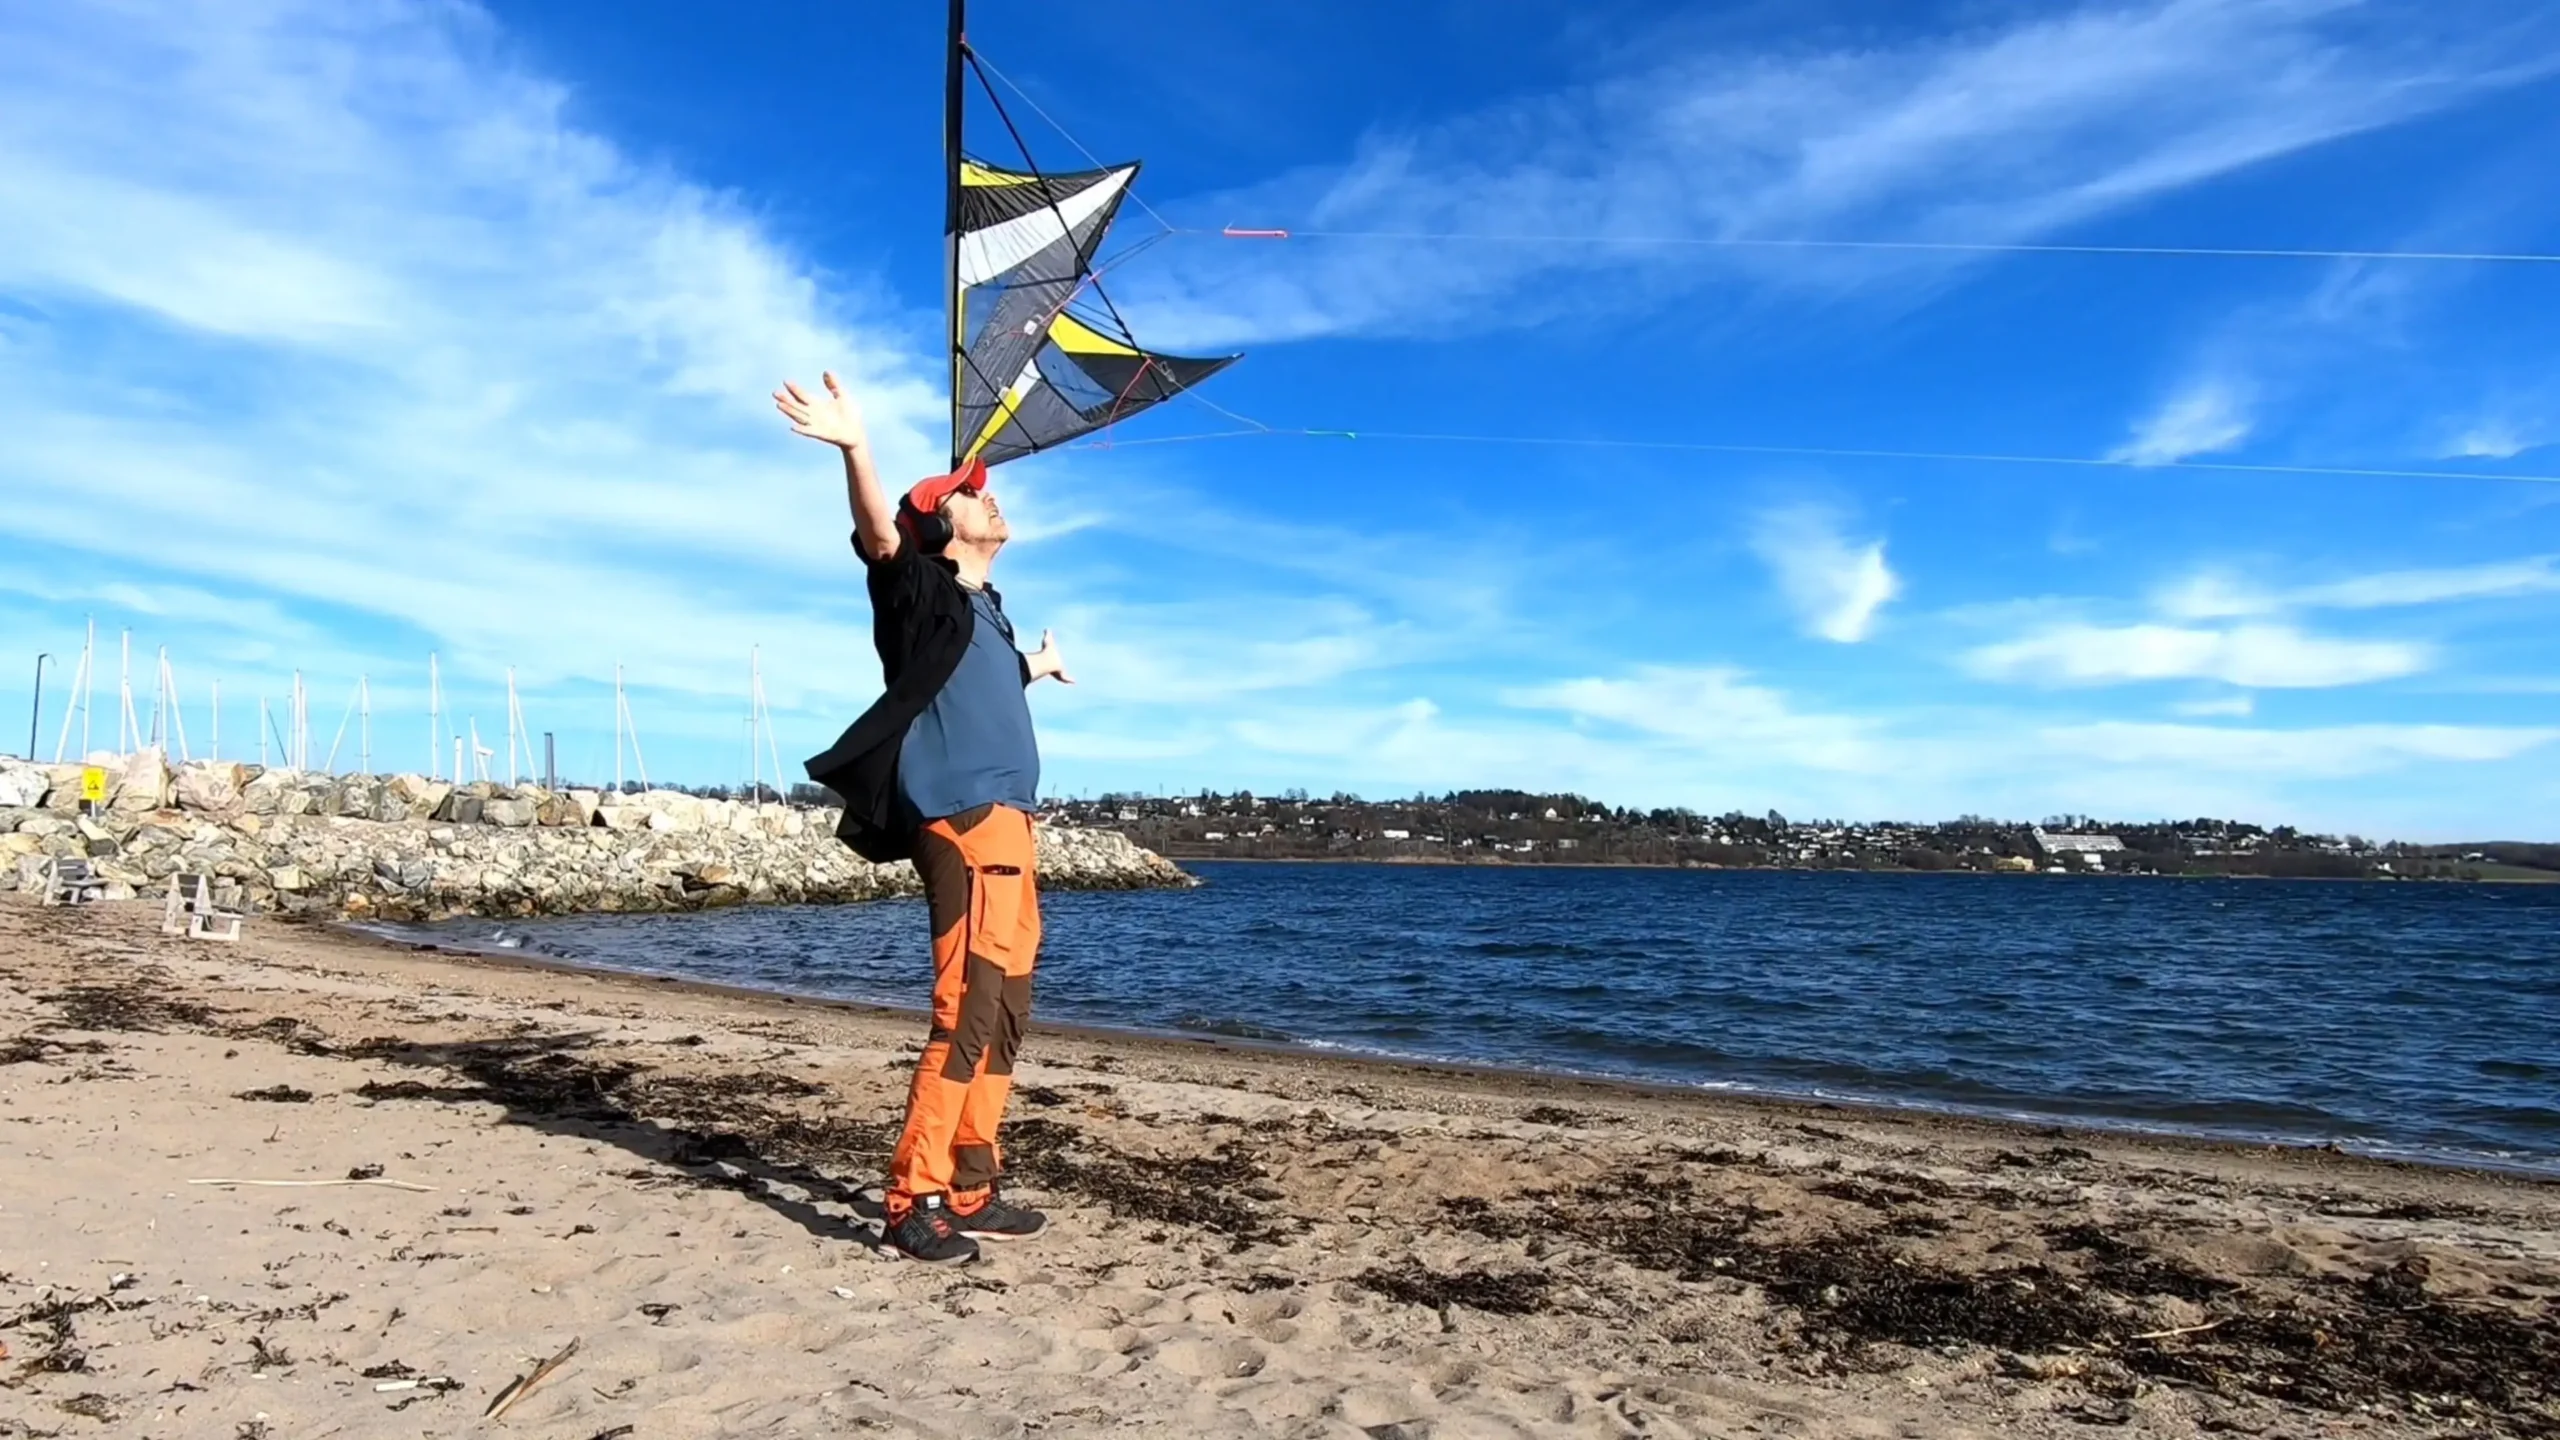
OK, let’s just do a quick summary of the Glide before turning to the video. You fly the kite up (as) high (as it gets) in the wind window. Then you turn it 180 degrees so that the leading edge is pointing down (inverted position). Start moving forward while the kite is gliding downwind. And before it hits the ground, turn it around again and repeat the whole thing.
Let’s check it out!
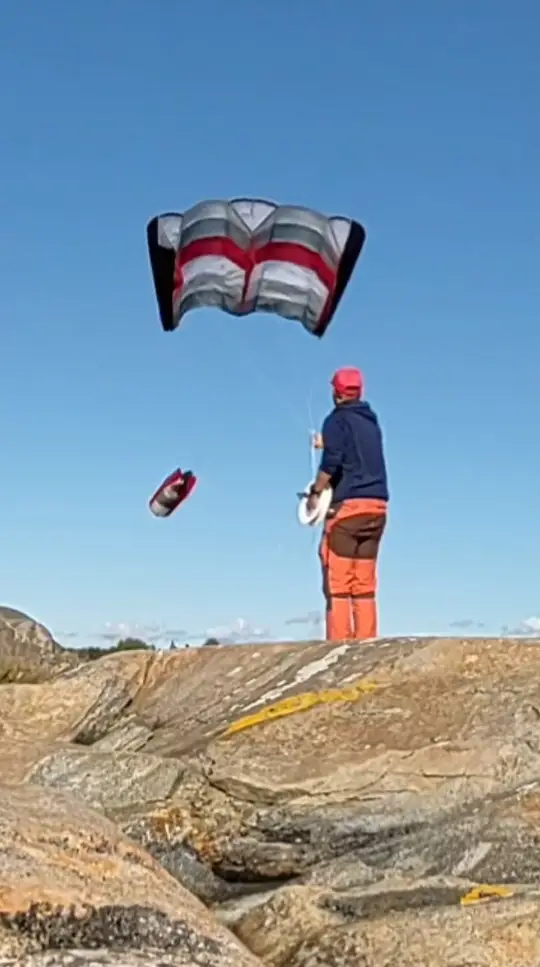
You must adapt your speed moving downwind depending on the gliding characteristics of your kite and the wind conditions. Some kites will glide for quite some distance while others lack something in the glide department. The speed of the glide will also vary. Sometimes you just walk slowly downwind, sometimes you must move faster, yeah, even run.
So just go out there on a day when the winds are low, experiment with the glide and see how much ground you can gain!
Just Fly!
2 Responses
One could add to the advice given, that one should maximize the “brake” input when gliding downwind to make the kite and flight path become as horizontal as possible. “Maximizing” given handle length, top leader setting and any other aspect that keeps the glide good.
Possibly one could separate “the keeping of the kite in the air for a long time when (somewhat) gliding” (walking slowly forwards – kite sinking) and “the gaining of much ground” (running forwards – kite gliding)? Jogging forwards a bit rapidly rather than jogging slowly during the glide tends to gain more metres for my Rev B-series std. For a wing to be efficient it can’t move too slowly through the air. If one throws the kite lightly with an emphasis of glide rather than ballistic raw power, the resulting speed of the kite is still at least jogging speed, not walking speed.
Yesterday, inspired by the video, I tried if also fast jogging glides worked with my Rev Indoor. As usual I was starting all glides close to the top. Initially the glides quickly stalled with a tendency to fall out of the sky. When instead speeding the kite up (forwards) by very briefly releasing the brakes before the glide I could do the quick jogging forwards during the glide. (Remains to be tested the next time a low wind session is possible: to speed the kite up before the glide by instead pulling the lines downwards)
(from the video) > “When doing these rotations I have to walk backwards to keep the pressure in the sail”
Feels much familiar, when the wing is not moving forward but is rotating or hovering you loose pressure, requiring many steps backwards.
> in light wind conditions. (Especially dual lined kites.) Somehow I get even more “in touch” with my kites
Same here, in order to “listen to” the kite through the lines better, I find it better to remove the high wind “bulk” pressure by flying in light wind (primarily thinking quads here, but understands it for duals as well). Kind of improves the resolution of “the feeling through the lines”.
Yo!
Thanks for your interesting thoughts on this tutorial and the glide. I didn’t plan for this tutorial at all. I just recorded it on the fly when the wind was (far) too light for my Plan A.
So I’m just talking from “the top of my head” and when I see it now, I probably would have done it somewhat different if I had prepared it.
Well… anyway ?
…and there is no “one truth”. There are several ways that will led you to your goal. What works for me doesn’t necessarily work for you, so maybe it’s better to call it ‘guidelines’ rather than ‘tutorials’…?
I hope I at least can lead some in the right direction and have some fun while trying!
Cheers
Sven A.