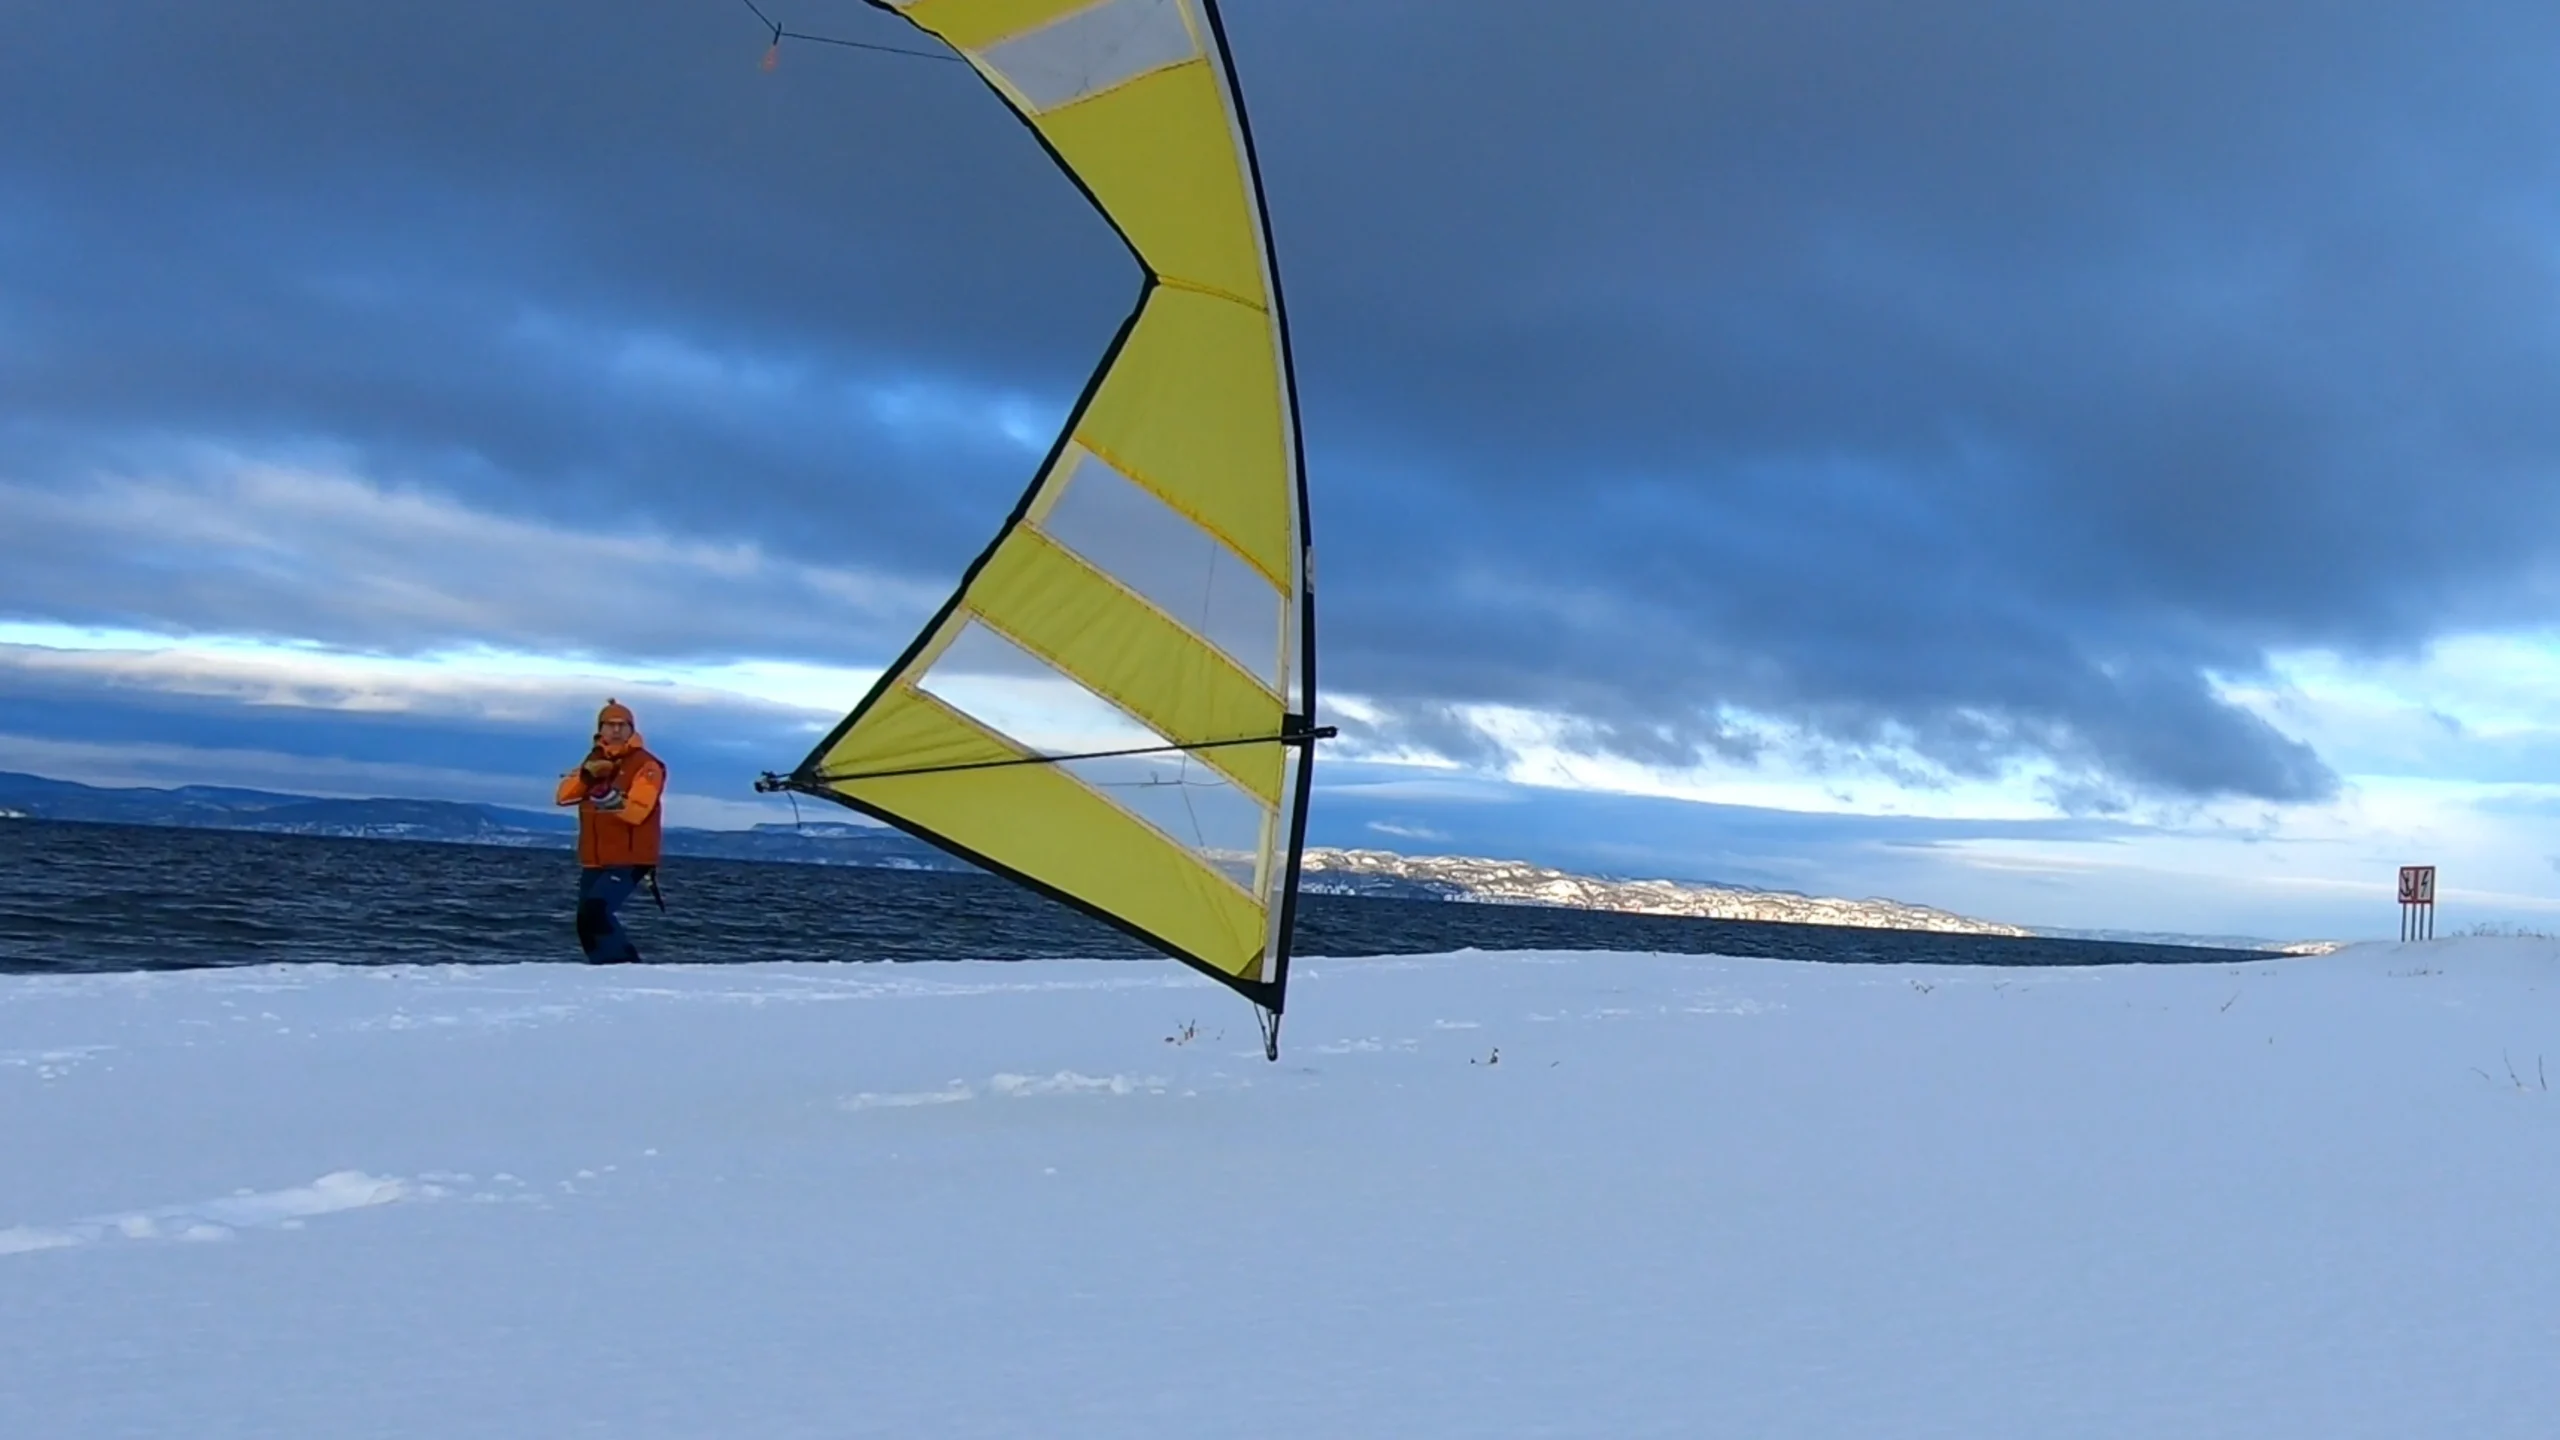
Because when you know where your challenges lie, the more likely you are to improve! So after working on the pairs routine for a while, I think I have discovered what needs to be pinpointed and focused on. All to have the routine looking good for both pilots and the spectators.
In the following text, I will talk you through the different sections that comprises the routine and pinpoint the key elements and what to pay extra attention to.
Off course there is the usual general stuff like speed control and spacing. I will not get into those now other than try to obtain consistency in speed and keep the spacing right all the time. Improving this comes with practice and will add a considerable amount of distinction to the routine.
So… Let’s get started on the details!
- Snakes – 0:22 – 1:11
- Pumping star – 1:14 – 1:44
- Eights – 1:45 – 2:08
- Alternate – 2:10 – 2:55
- Burst – 2:56 – 3:25
- Radar – 3:26 – 3:55
- Slider – 3:56 – 4:12
Section: SNAKES
In the SNAKES section there are a few things to address.
The Down-turns
You need to focus on not losing height when you do the down-turns. If you lose height, the lower horizontal trajectories will be squeezed together. So make sure to keep the pressure in the sail as you perform the down-turns.
Down-turn positions
The SNAKES sections consist of four down-turns, two in each direction. Focus on positioning the down-turns at the correct positions in the wind window. This will make the proportions of the SNAKES right and enhance the overall performance.
Section: PUMPING STAR
The PUMPING STAR is all about positioning!
The Center
When you take off, make sure to go to the centre of the wind window before you split. This defines the star centre and the position both kite should aim at when flying “into” the star.
Pivot positions
Memorize the four pivot points (sky anchor). One at 2 o’clock, one at 4 o’clock, the third at 8 o’clock and the fourth at 10 o’clock.
Make sure to aim for these positions when flying out from the centre of the star and pivot.
Section: EIGHTS
The figure of EIGHT is actually two half circles connected by two equally long diagonal trajectories.
Parallel eight
Make sure the spacing is the same throughout the ‘eight’.
Stay on height
Pay attention to the height of the ‘eights’. The height should be the same for the whole section.
Sail pressure
In order to achieve a constant speed, you will need to maintain the pressure in the sail in all downturns. You can do this by simulating a (sort of) slow karate stroke with your outer hand. (I’ll try to shoot a video of this.) By doing this you can actually feel the pressure being constant.
Section: ALTERNATE
This section is all about kite control focusing on the (upright) hover and (upright) slides in both directions.
Hovering
When hovering, make sure to keep your kite stationary in the sky using tiny inputs. You can ‘cheat’ by doing lots of really tiny inputs. For some reason, this seems to ease the hover without moving the kite.
Side Slides
Pay attention to do the side slides completely horizontal. You can ‘cheat’ by taking a couple of steps in the direction of the slide. Your kite is gonna slide back in the other direction to so you’ll be ending up on the same spot on the ground.
Section: BURSTS
The BURSTS are spectacular when executed correctly, but you cannot let your concentration slip for even a split second!
Starting point
Make sure to start the first, slow burst pretty low – I’d say 15% give or take – in the wind window. This makes for longer trajectories before you hit the edge of the wind window.
Trajectories
The trajectories should be as close to 45 degrees as possible, and, of course, ruler-straight!
The Reverse
It’s kind of hard to fly the kite backwards and down at a 45-degree line (trajectory). Make sure to compensate for gravity trying to pull the kite to the ground by slightly oversteer it. (If you see what I mean by this.)
The reverse should end up at the very point where you started the slow burst.
The Fall Down
When completing the fast burst, and hitting the edge of the wind window, the kite should “fall” down vertically to the ground. Make sure that the kite’s leading edge is perfectly vertical when falling.
Section: RADAR
The RADAR is basically the two kites flying an arc from one side of the wind window to the other. When the kite meet at the top, one kite above the other, both kite stop and hover at the centre before the arc is continued and completed. Then both kites take off and do the arc in the opposite direction, once again stopping and hovering at the top. But rather than continuing both kites turn leading edge down, fly (slowly) towards the ground and land.
The Stop at the centre
The right kite should aim for a slightly larger arc compared to the left kite. This will make sure the right kite is above the left kite when they meet, stop and hover at the top of the arc.
The hover is kept for a second or so.
Landings
Speed control is crucial so the landings are simultaneous. When flying, keep an eye on both your own and that other kite to synchronize the landings.
Section: SLIDER
We’re approaching the finale and for this, you’ll have to have that inverted side slide well into your bag of … moves!
Trajectory
Lite mentioned above, the trajectory should be as close to 45 degrees as possible, and, of course, ruler-straight!
The Fall Down
After hitting the edge of the wind window, the kite should “fall” down vertically to the ground. Once again make sure that the kite’s leading edge is perfectly vertical when falling.
The Slide
Gently slide the kite in an inverted position towards the centre just 50cm or so above the ground. The leading edge should be parallel to the ground, or horizontal if you like!
The Landing
Make sure to initiate the landing with enough space between the kites allowing them to “roll over” for the landing.
Get out and fly!
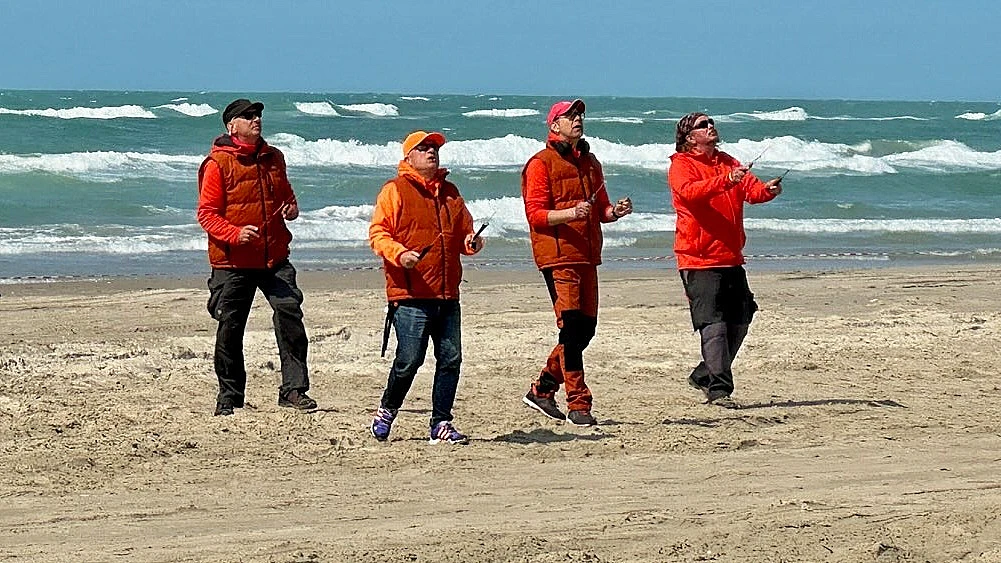
Yeah, that’s all there’s left. The more you fly, the better you get. And if you make sure to focus on the key elements I’ve talked you through by now, chances are pretty good that you’ll nail this pairs routine.
Why not take a stab at it with me at the Nordic Kite Meeting 2020?!!!